 |
| |
|
So, you want to know how to take them apart?
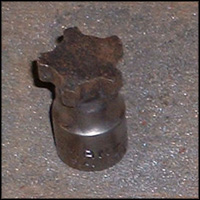
Firstly you'll need a specialist
tool to fit the centre of the spots.
|
 |
|
Make
sure you've got the right tools and new seals in able
to reassemble. (Click the image to see
the link).
Seals are the same as the ones fitted
to the XJR1300 and are shown on the Official Yamaha
parts list. |
|
 |
|
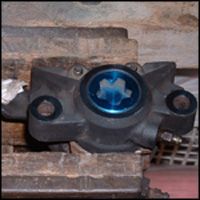
Make sure
the caliper is well secured as theres a fair amount of
force required to brake the seal. This was an old item
kindly donated by a forum member especially for the purpose
of this project. |
|
 |
|
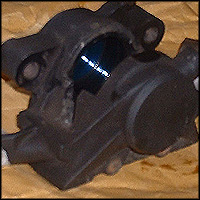
Firstly
remove the piston from the rear of the spot recess. In
this instance I used compressed air to blow it out.
(Gently does it, don't wish to damage the seals or inflict
injury)! |
|
 |
|
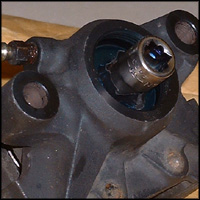
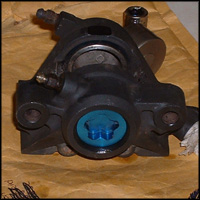
The spot
turns inward to remove...like screwing in a bolt! |
|
 |
|
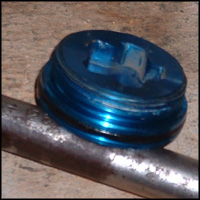
There you
go...access to the other piston too. |
|
 |
|
Make sure
the seals are replaced prior to reassembly and that ALL
surfaces are immaculately clean; afterall, its your life
on the line if this goes pear shaped. (And don't blame
me for your messing!). |
|
|
| Back
to Brakes |
| |
www.exup1000.co.uk is owned and
run by EXUP enthusiasts, for EXUP enthusiasts
Contact the webmaster
|