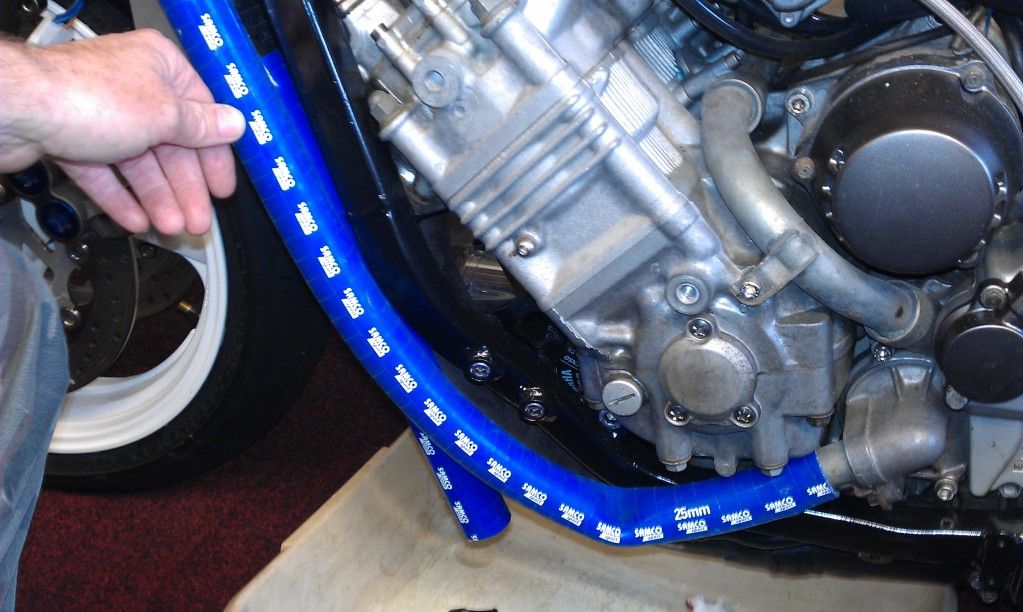
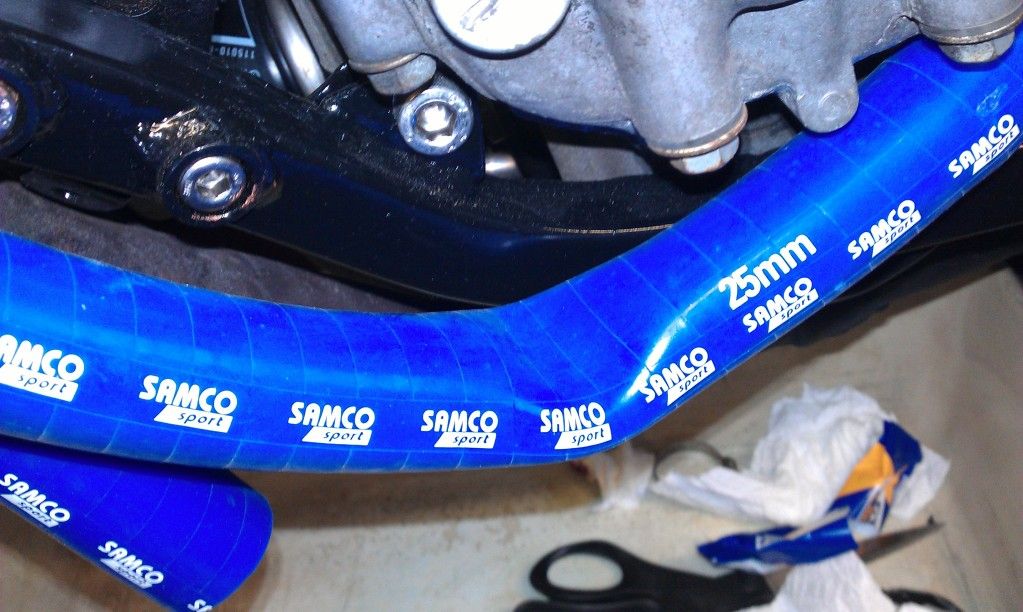
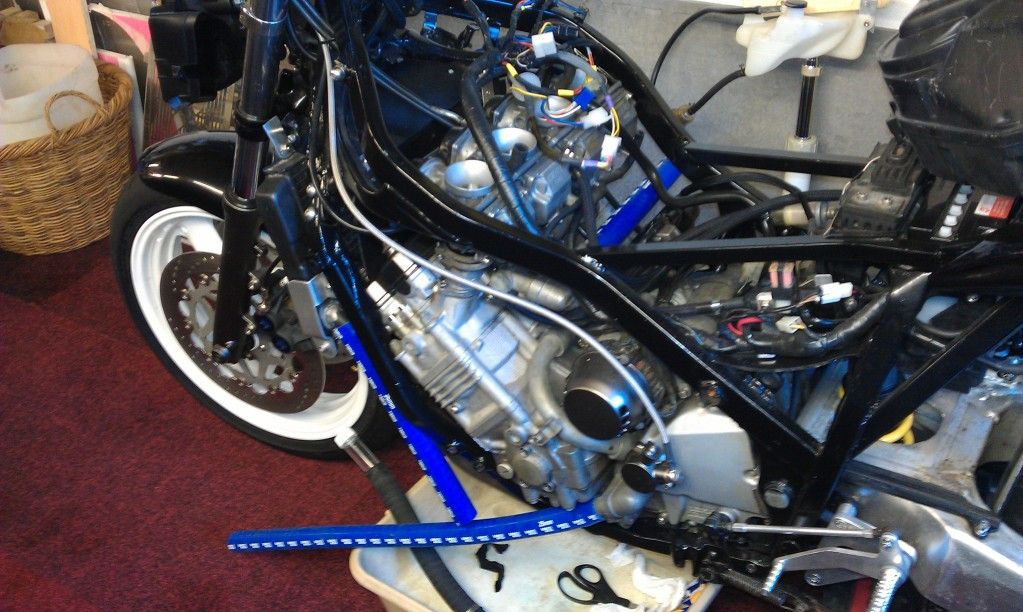
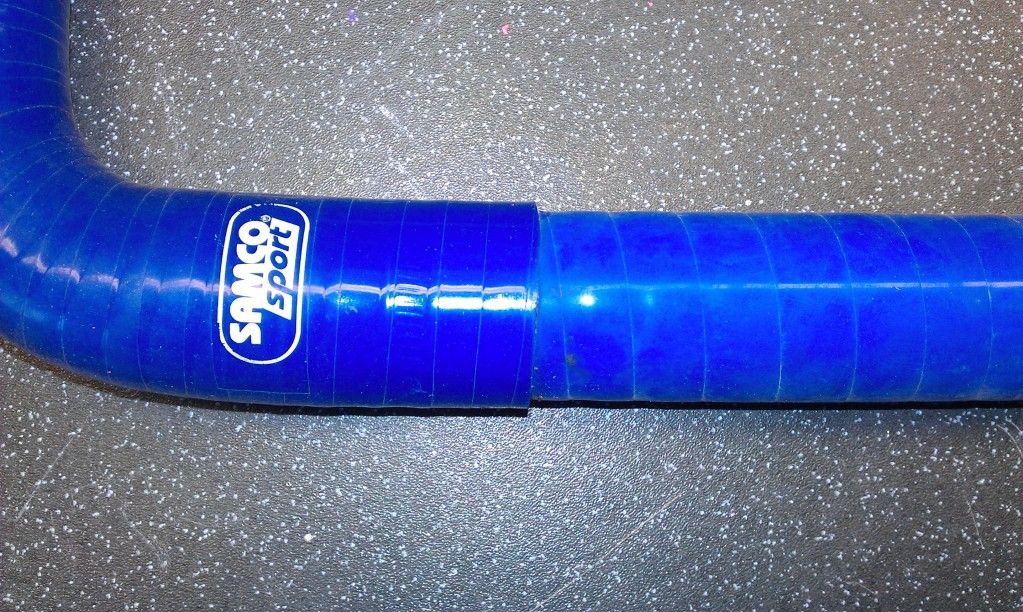
I agree Paul, had a problem with the wrong type of clamps being sent to me, but there customer services seem very good, we'll see if the clamps get here correctly this time

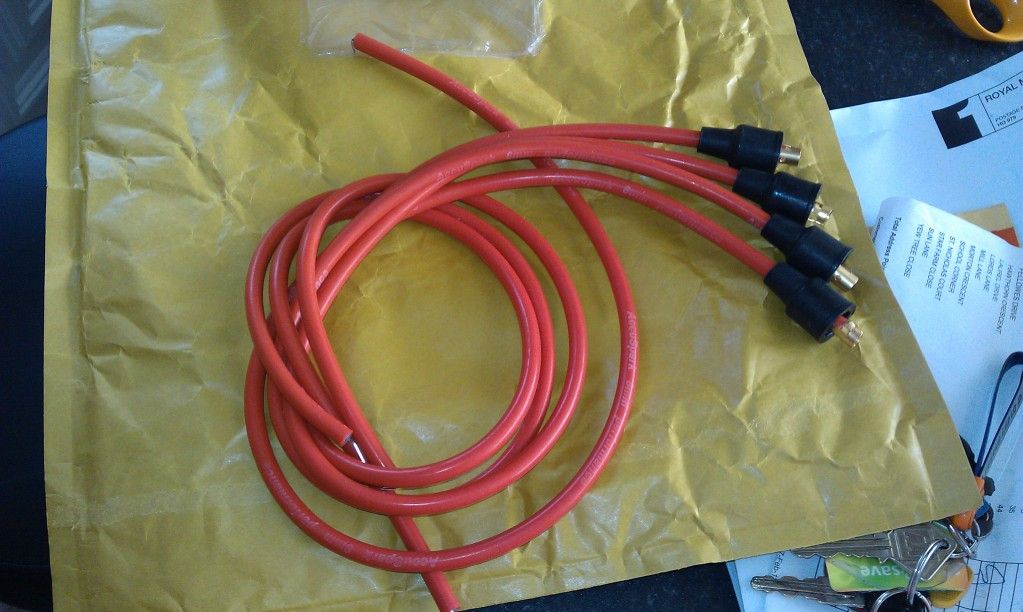
Anyway, the replacement blue HT leads arrived
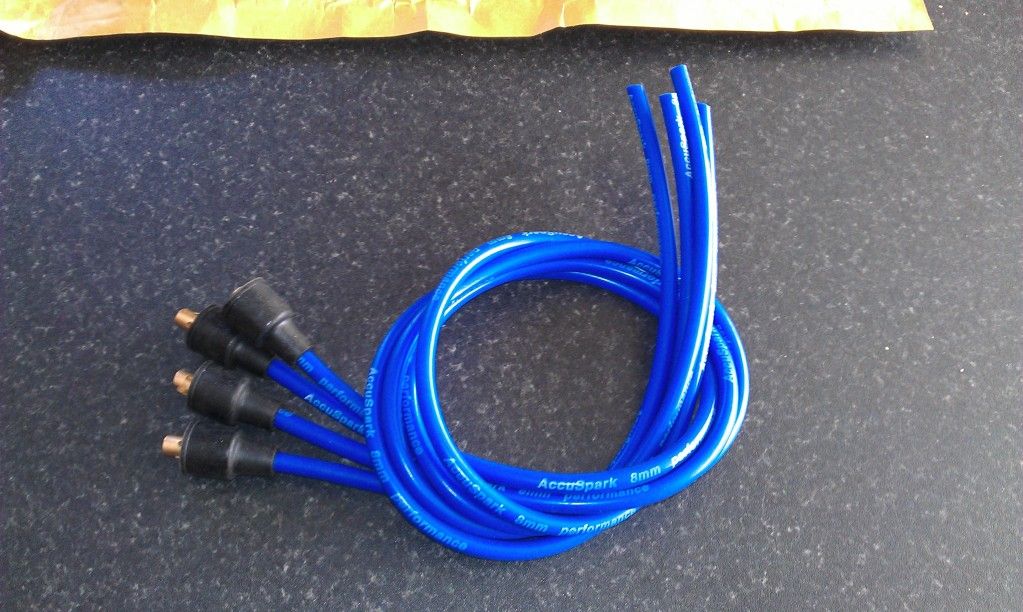
So I set about replacing the stiffer copper cored ones, its not obvious but the red ones on the left are "resting" in their installed orientation, where as, in comparison, the blue silicone ones are infinately more flexible.
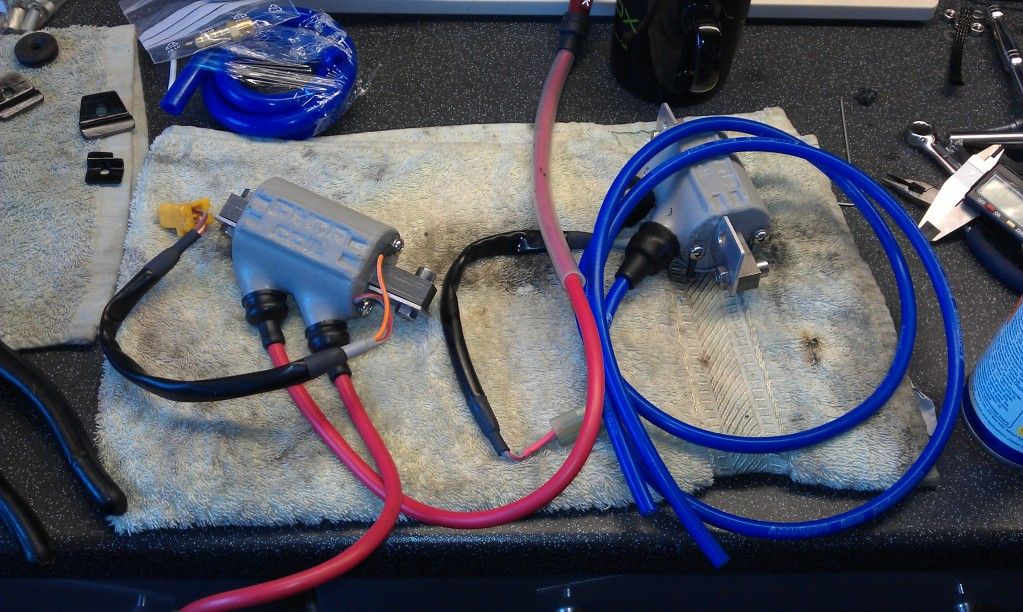
This in itself made installation a breeze, just needed to smear the outside of the lead with WD40 otherwise it "grabbed" the inside of the spark cap as it was screwed onto the internal post.
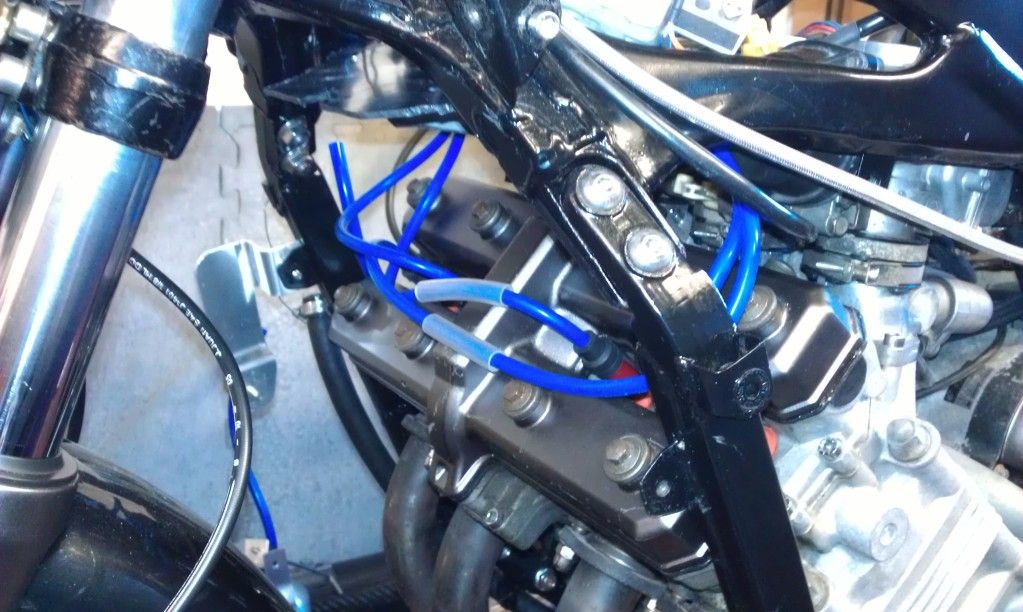
It doesn't look it but the revised splash guard and trimmed wiring has helped immensely with the re-installation of the connections.
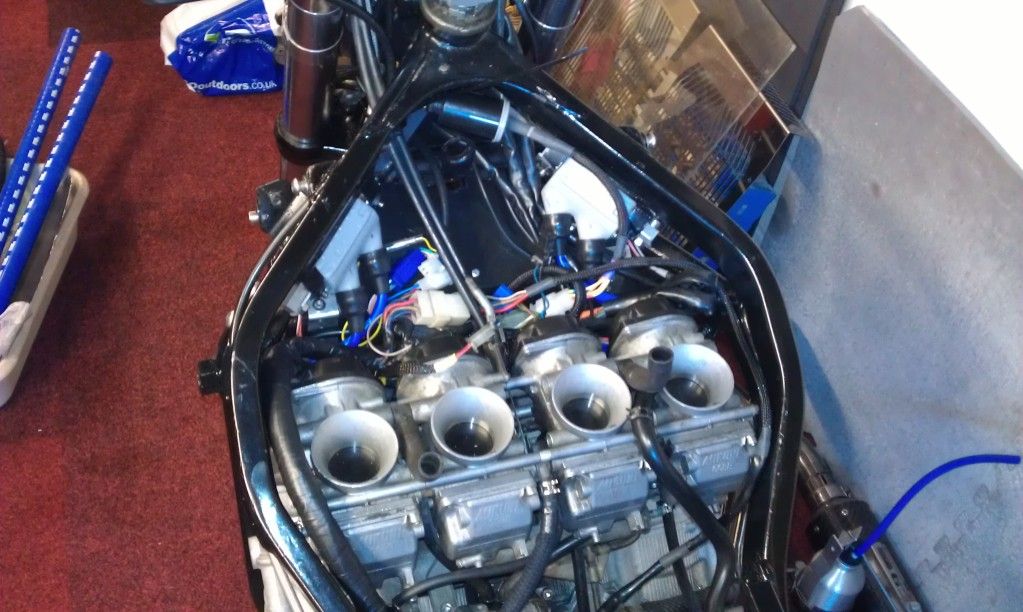
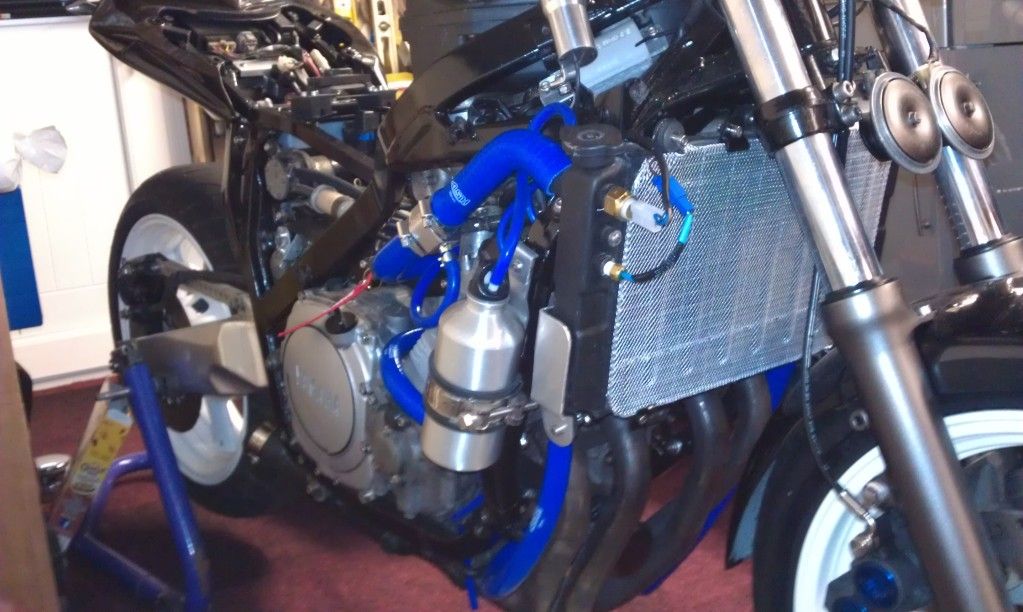
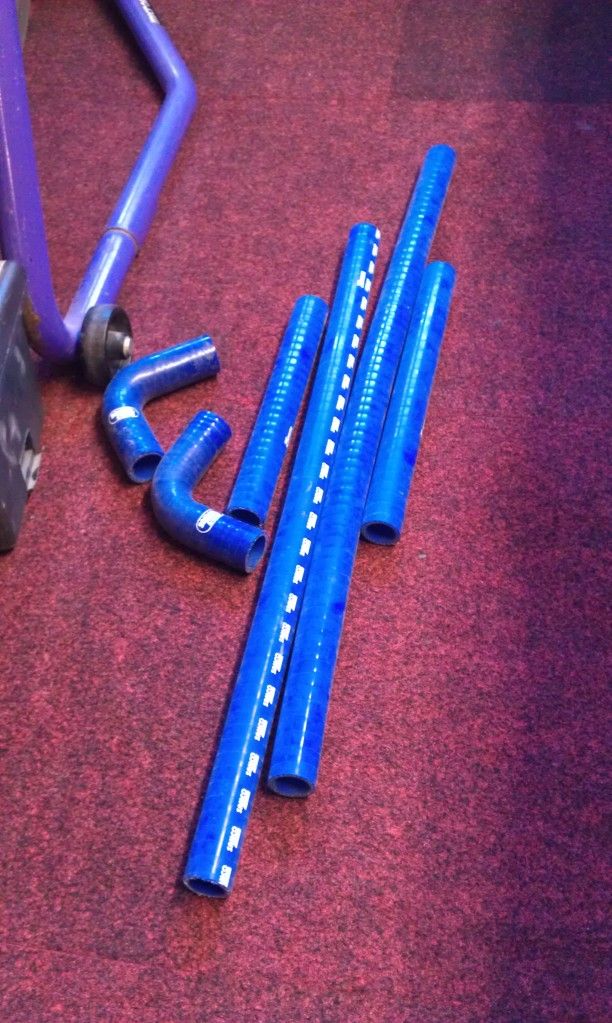
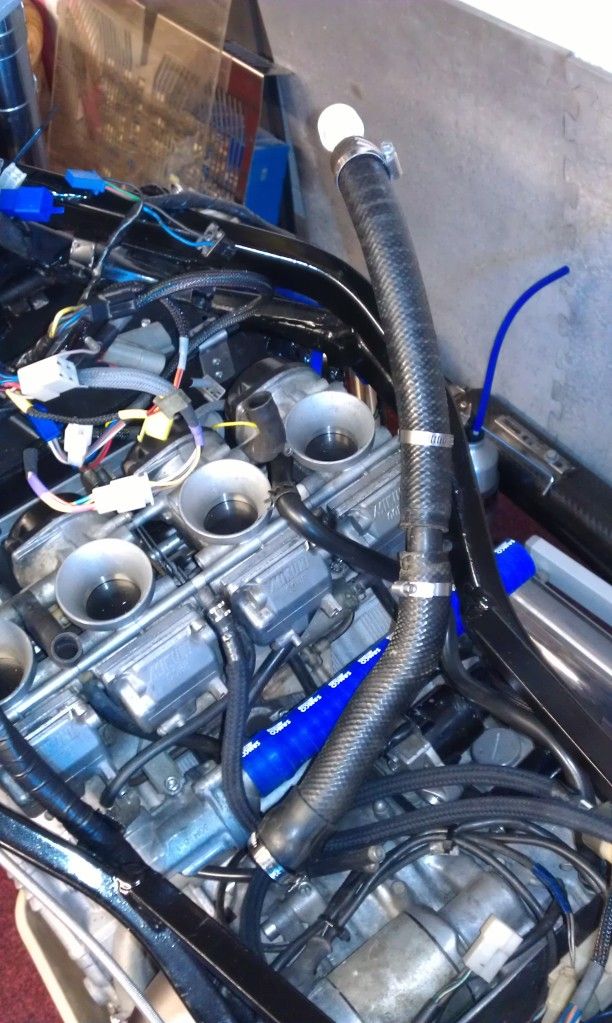
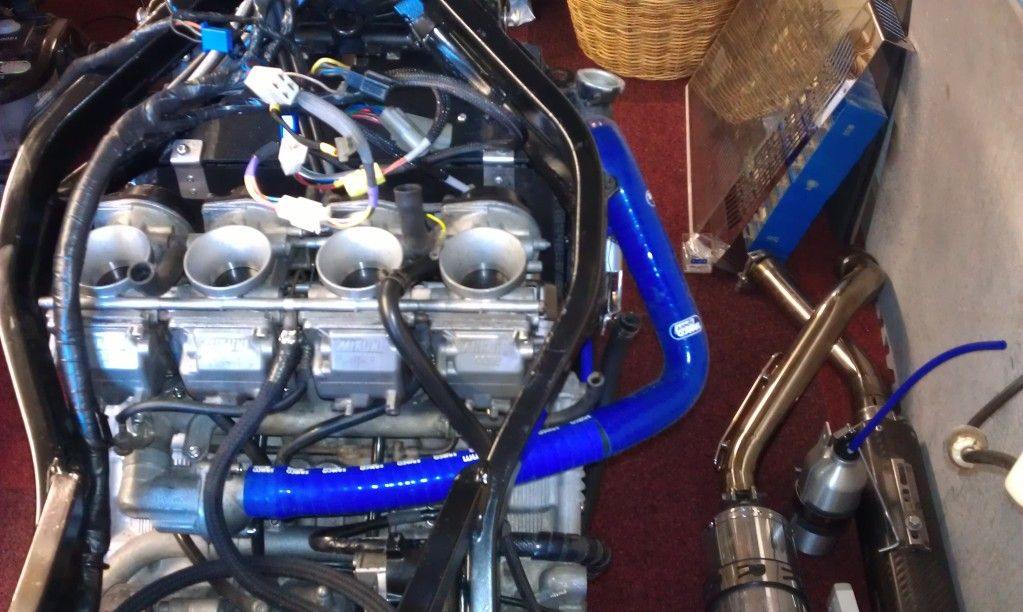
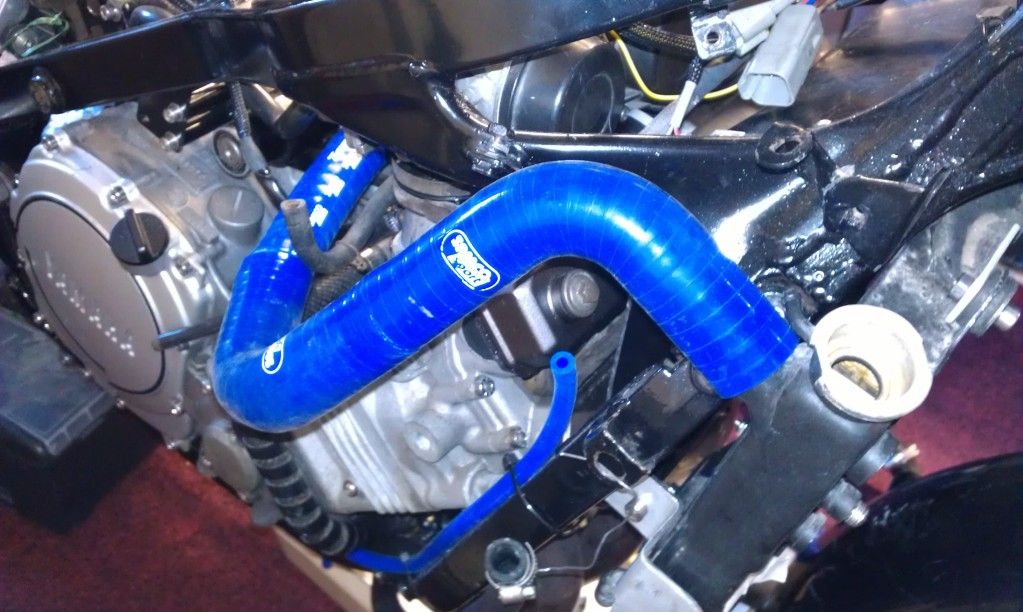
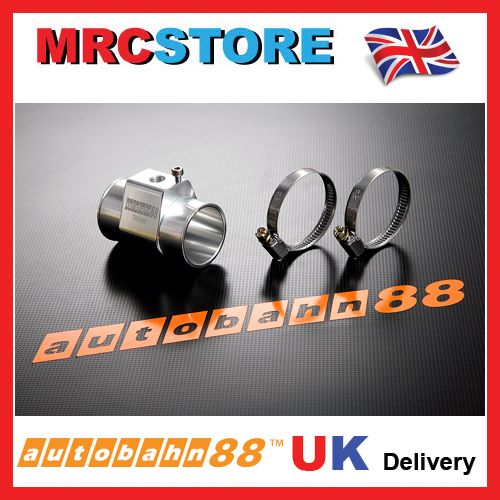
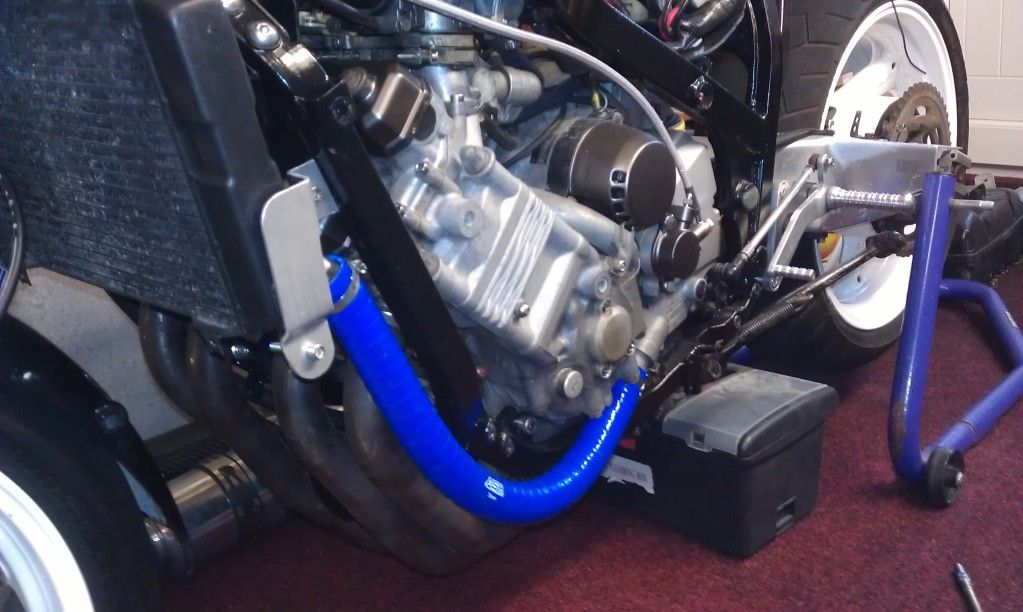
then my elbows and hose adapters arrived so I could replace the top hose.
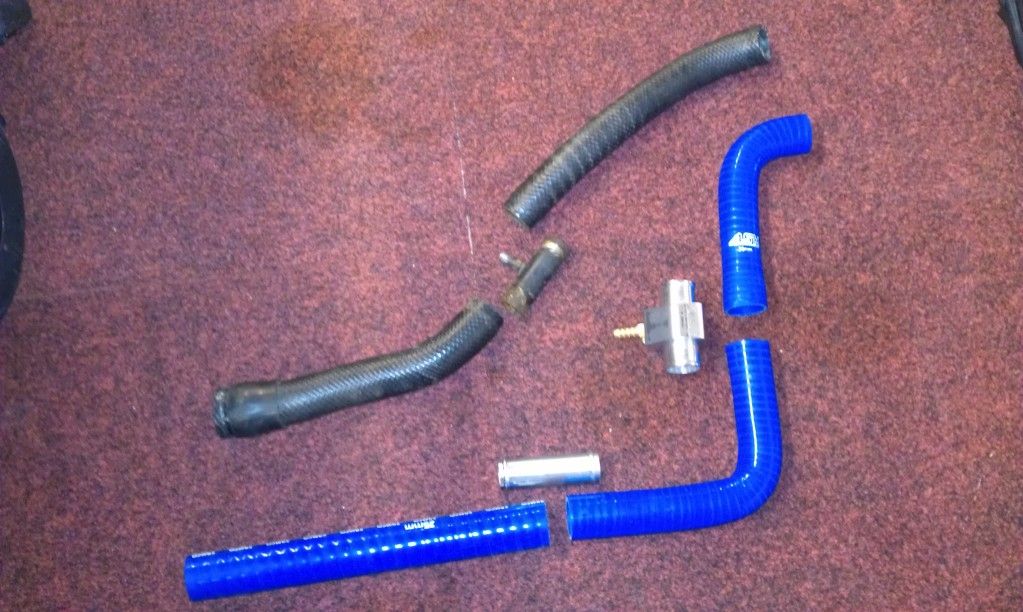
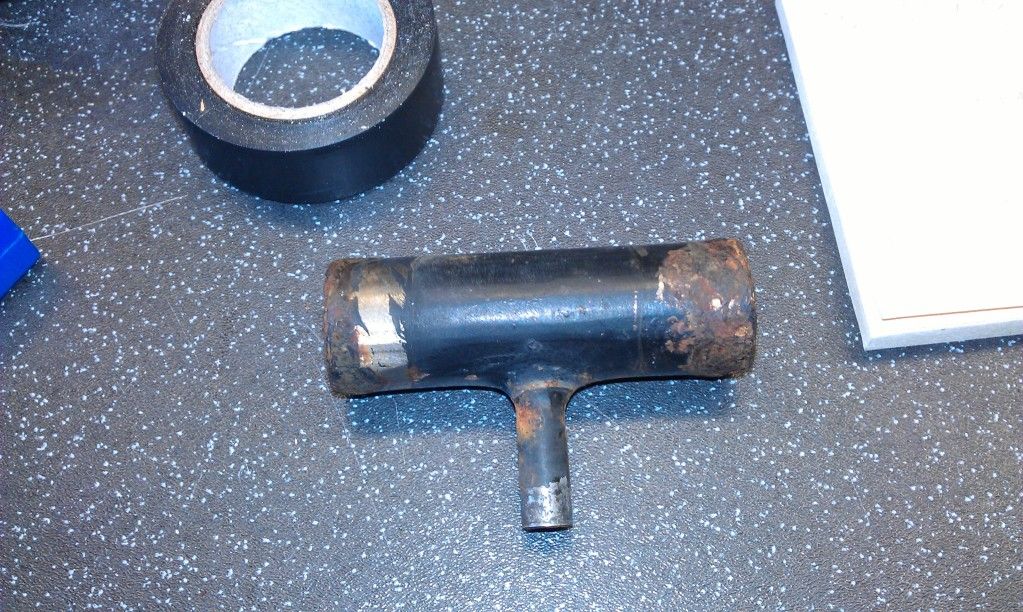
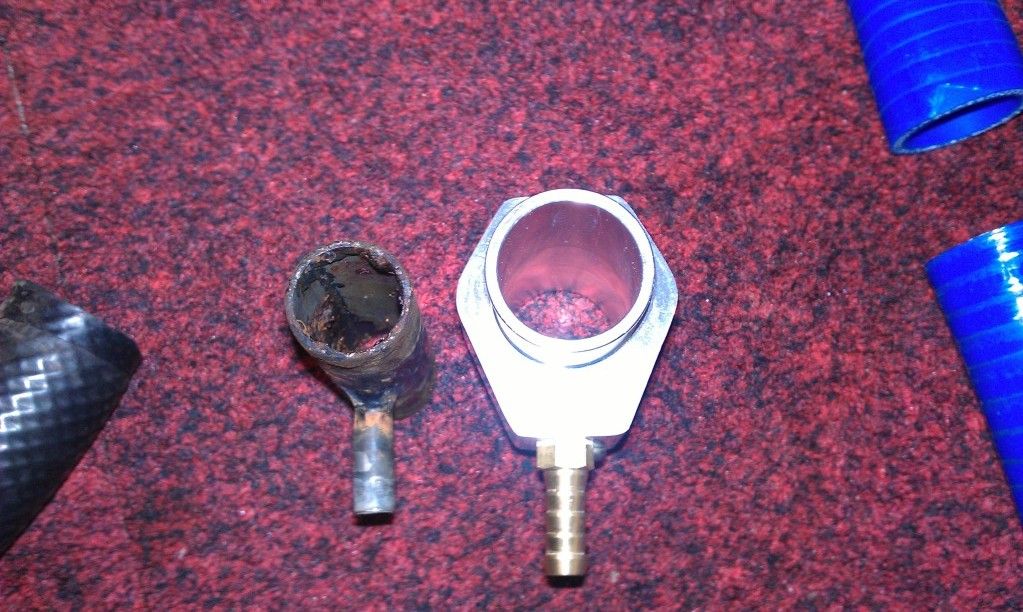
I reckon the hose adapter will go a long way in helping the flow when comparing the bore to the original DIY effort.
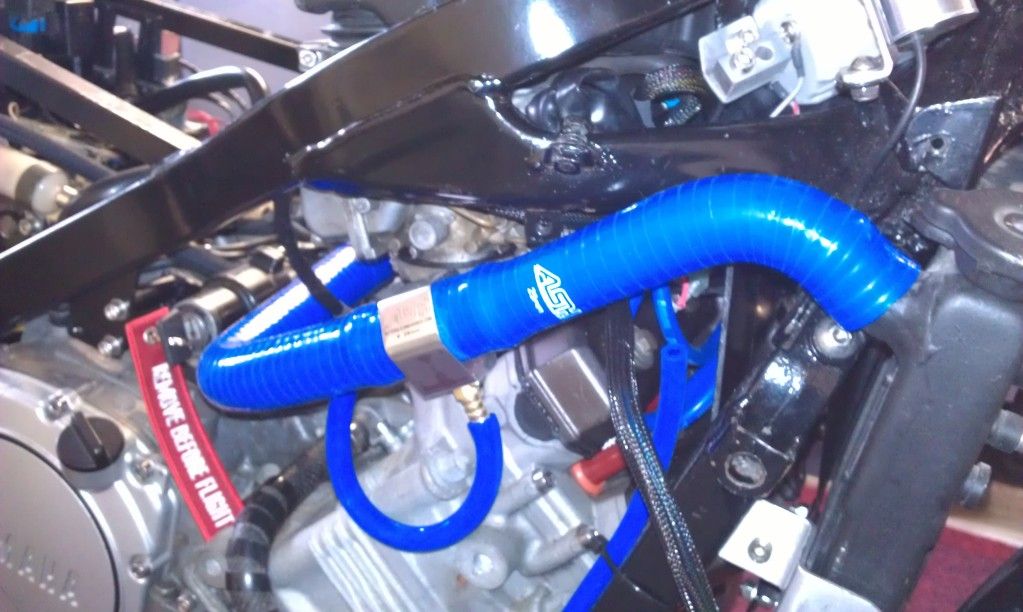
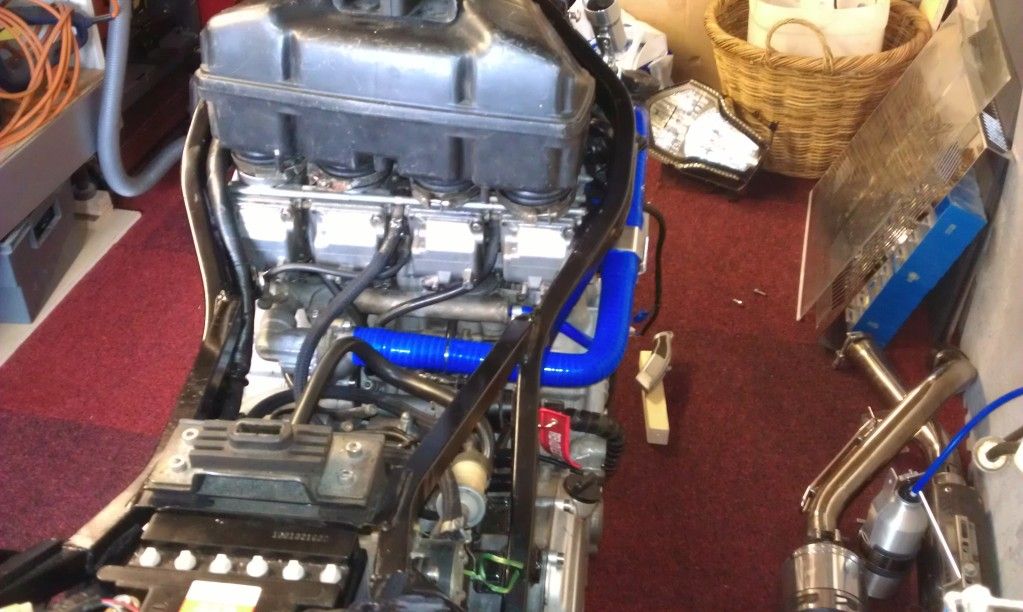
Got it all mocked up
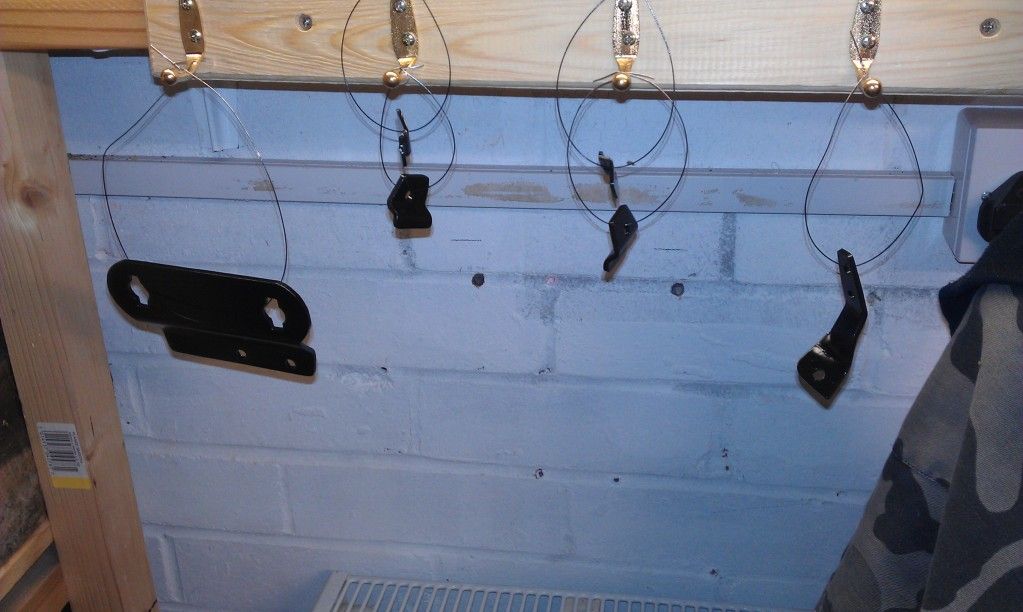
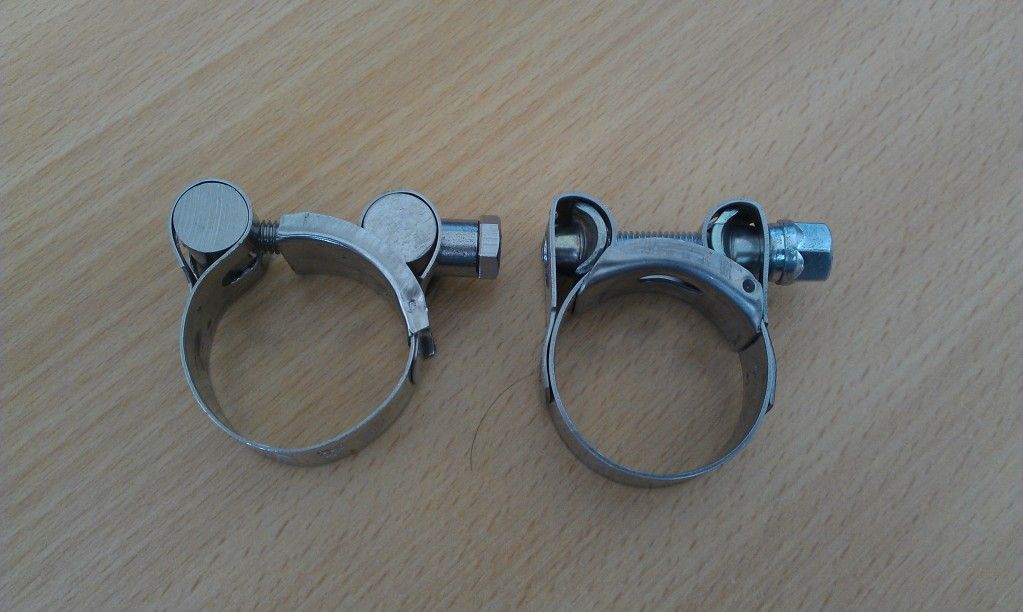
then ordered the relevant clamps required, but unfortunately I was sent a mix of two types, I ordered the style on the left, but only got sent one of these and all the rest were the type on the right, so I am currently waiting for the replacements to arrive. Not been having much luck in the online ordering department lately.
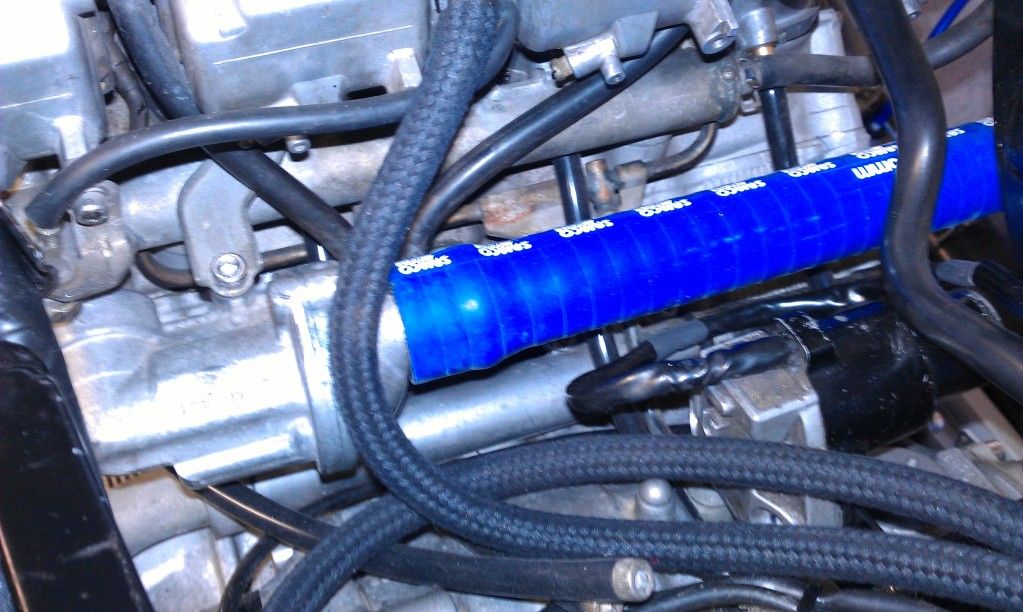
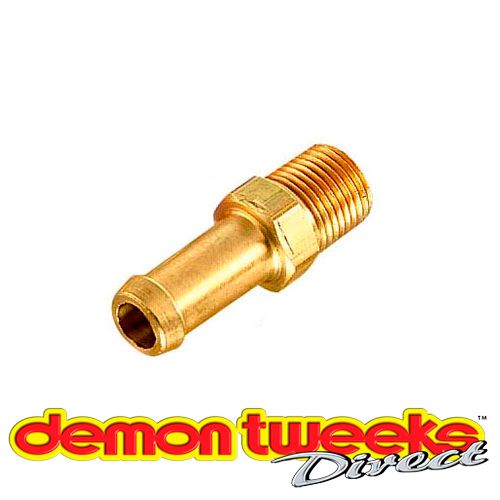
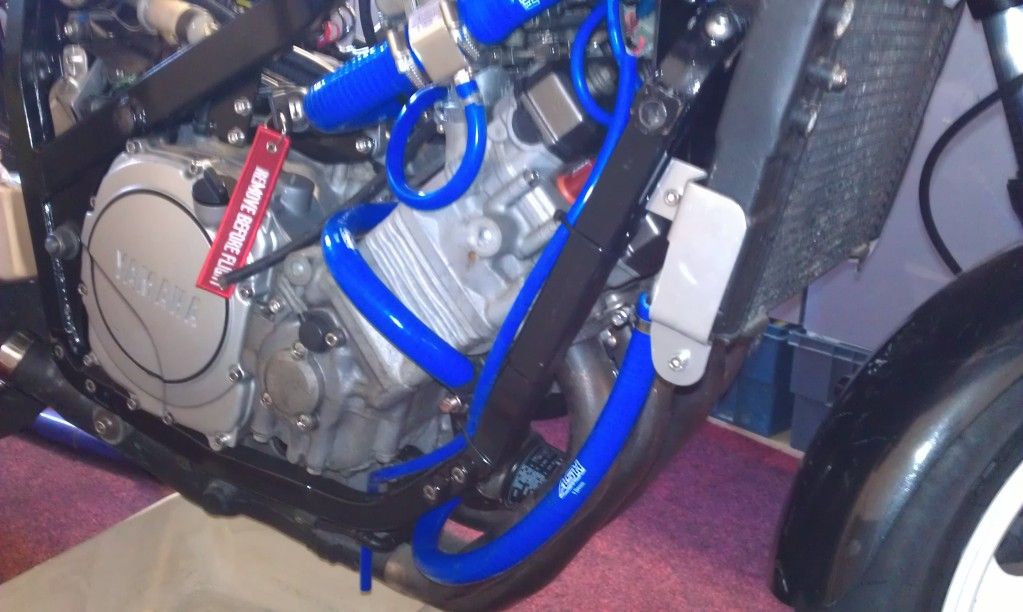
Any way, in the meantime I decided not to "ruin the ship for a ha'peth of tar" and investigated replacing the adapted water cooled oil filter hoses.
one of them is a straight run, but the other takes a rather tight route round the block and between the casing and front lower engine mount!
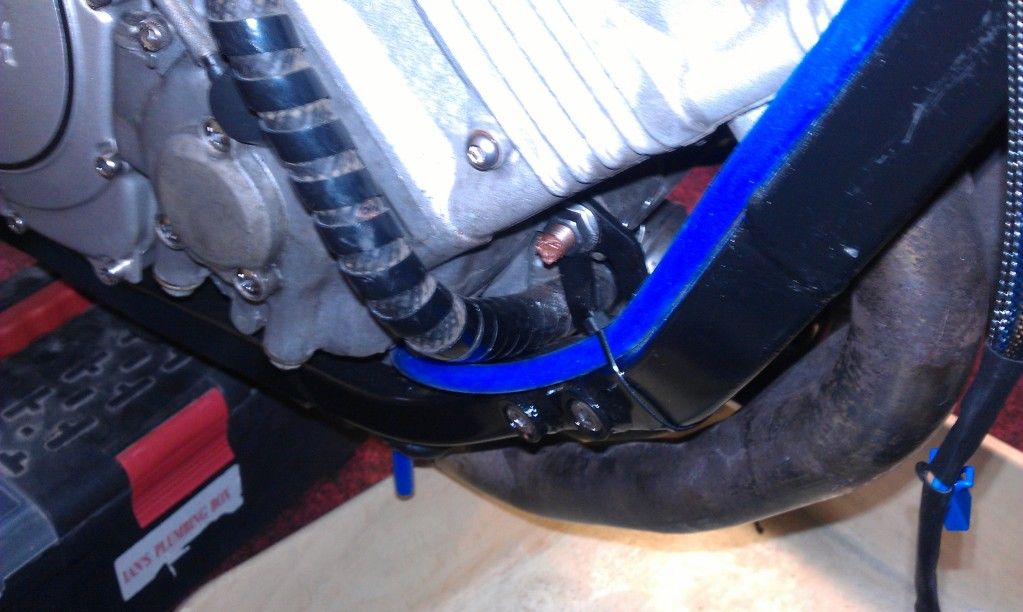
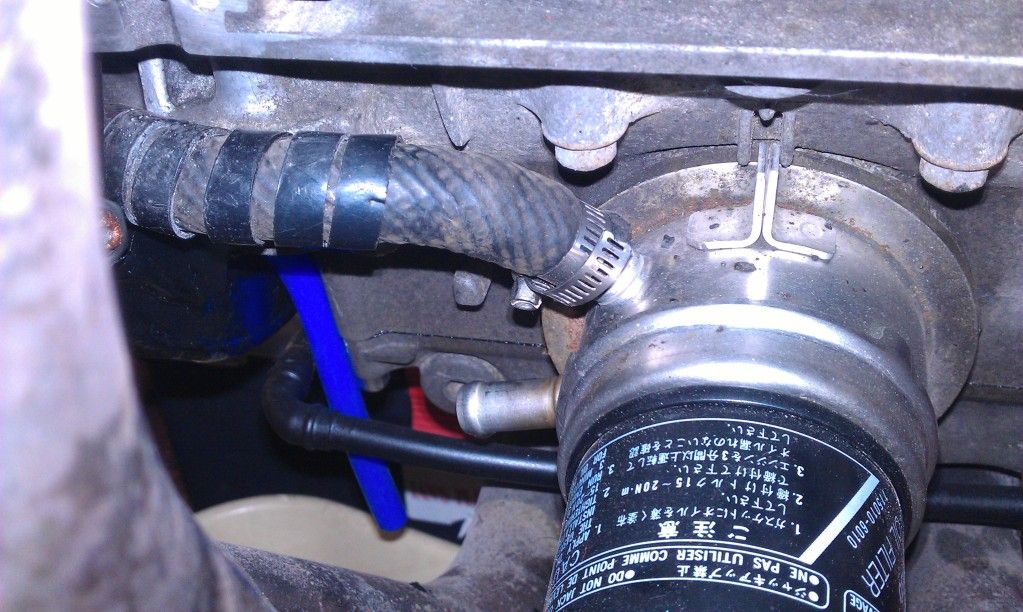
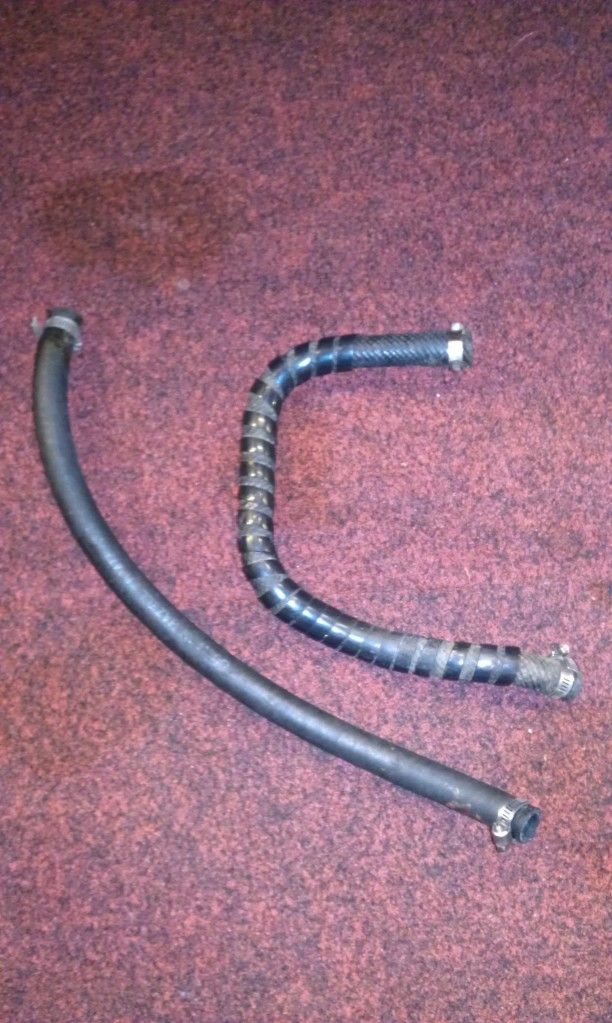
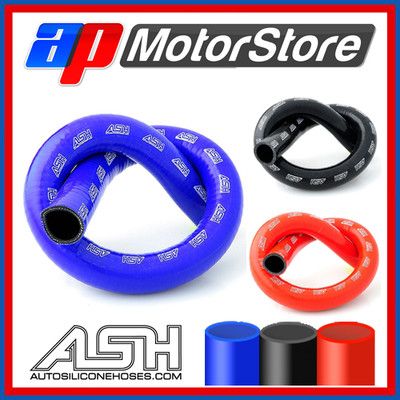
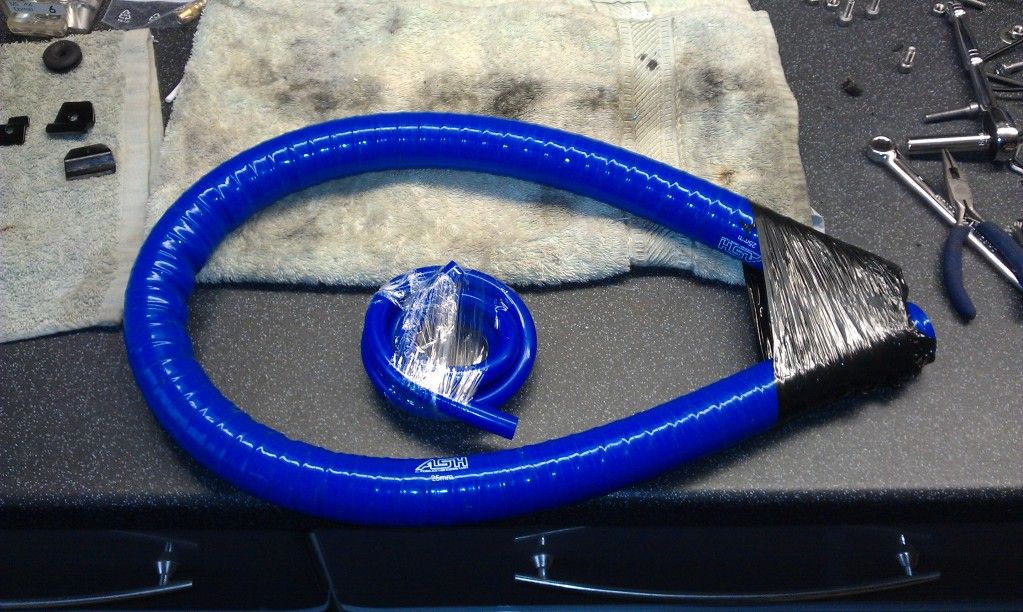
So I ordered a 1m length of 13mm flexihose that would hopefully be long enough to do both lines along with some stainless jubilee clips.
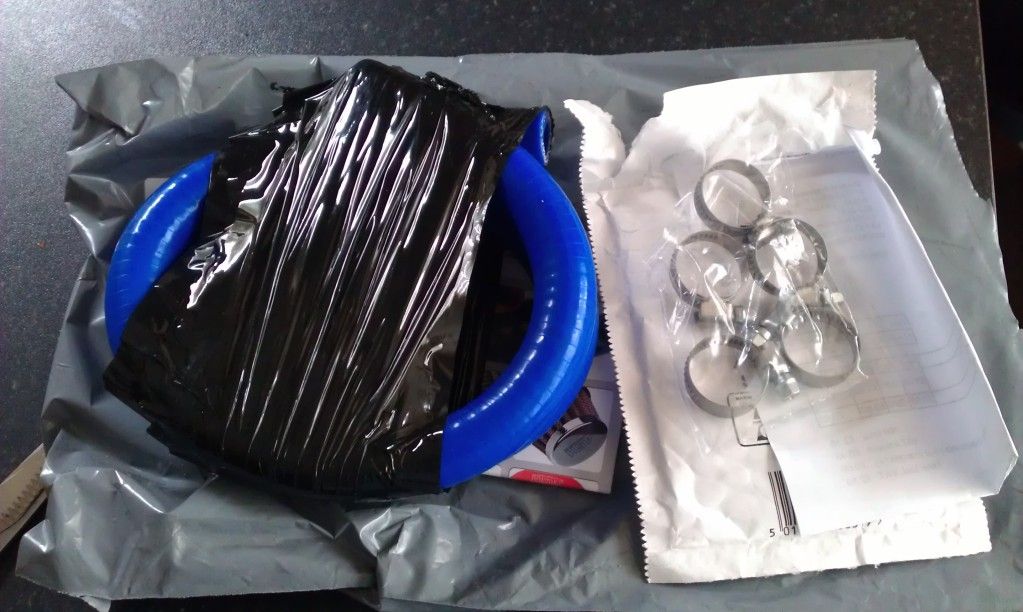
Luckily it was flexible enough, more so than the 25mm hose, to make the curves required and long enough to replace both hoses from the one length.
to give the hose a bit of extra abrasion protection where it passes the front engine mount I reused the plastic spiral wrap and held it in place with tape.
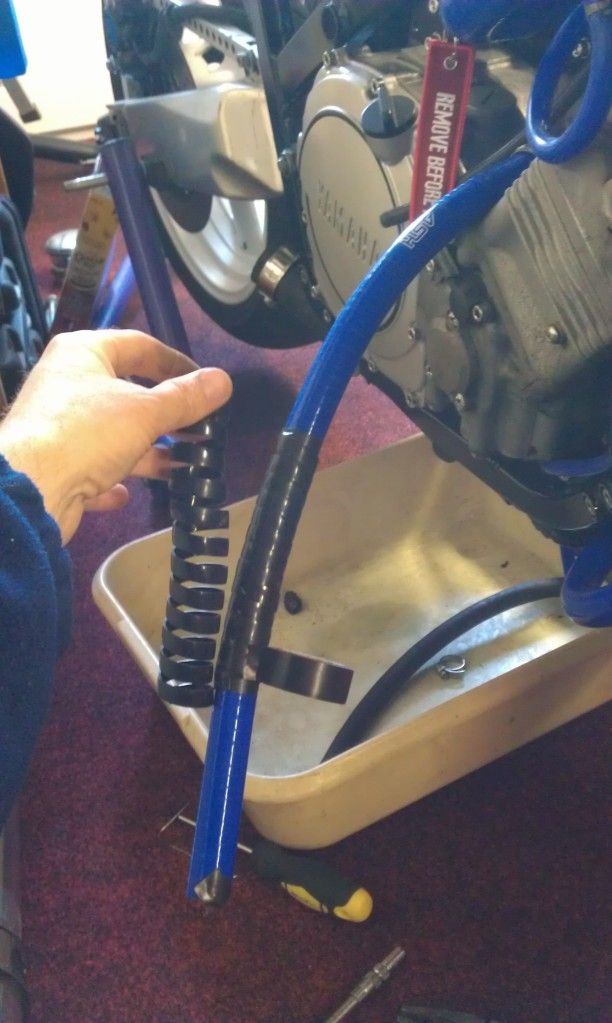
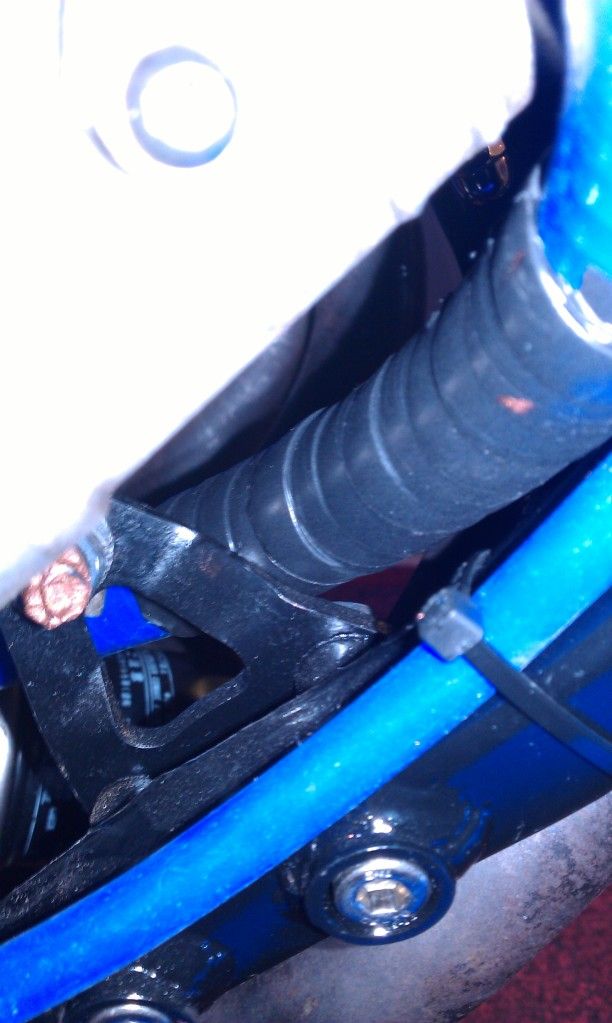
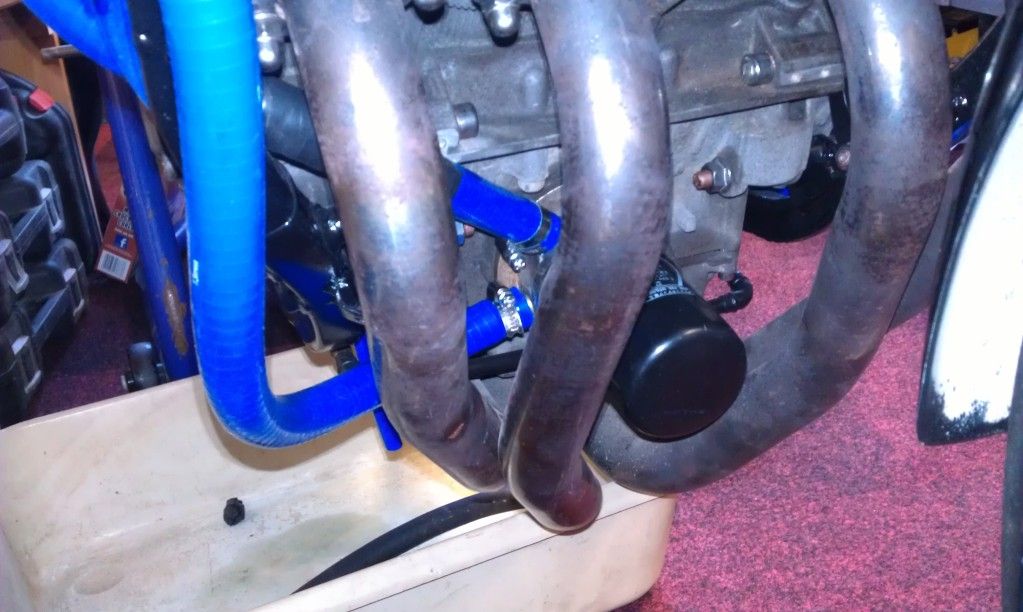
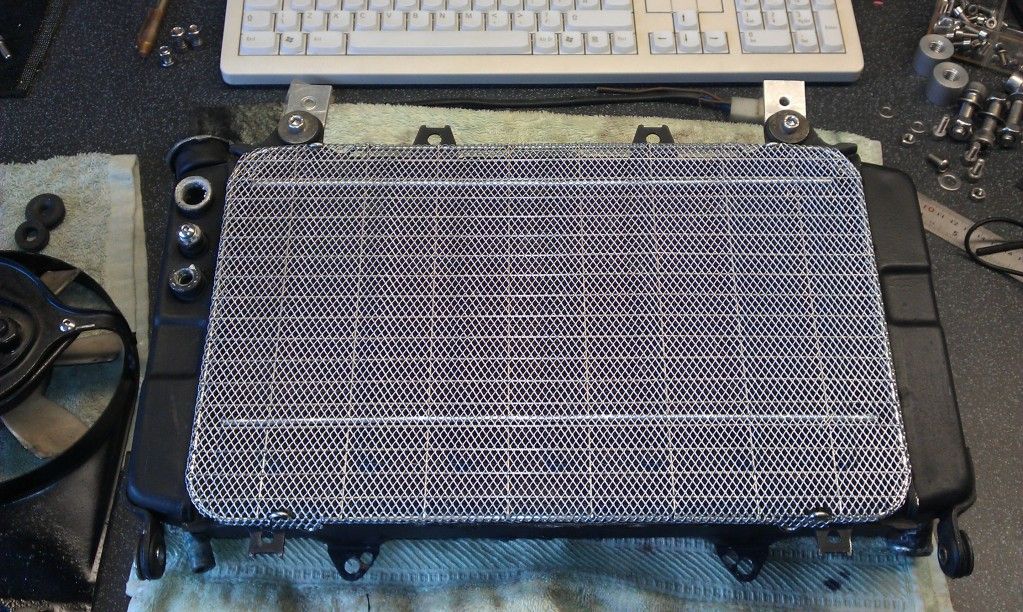
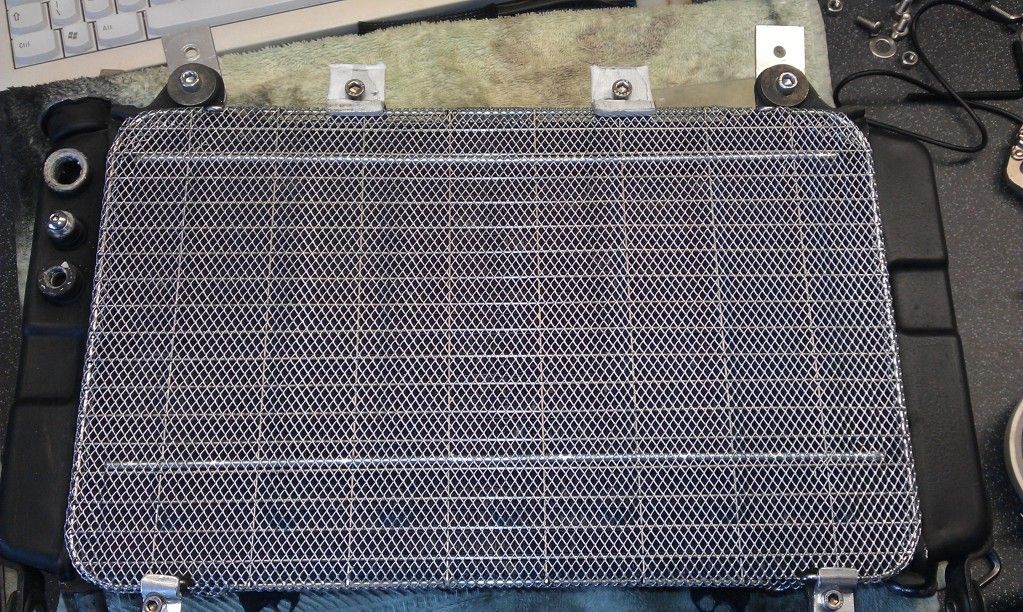
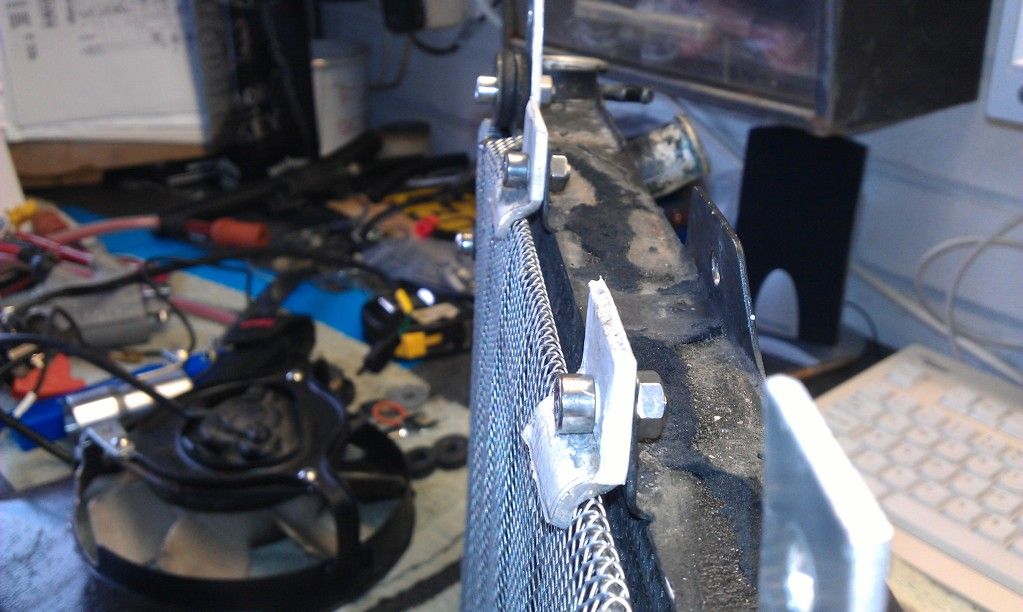
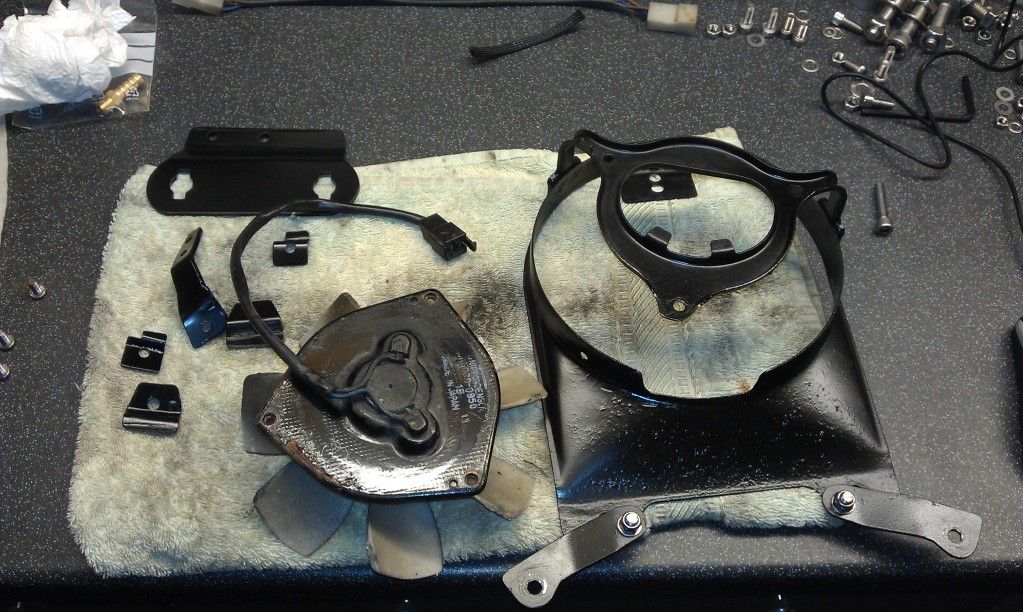
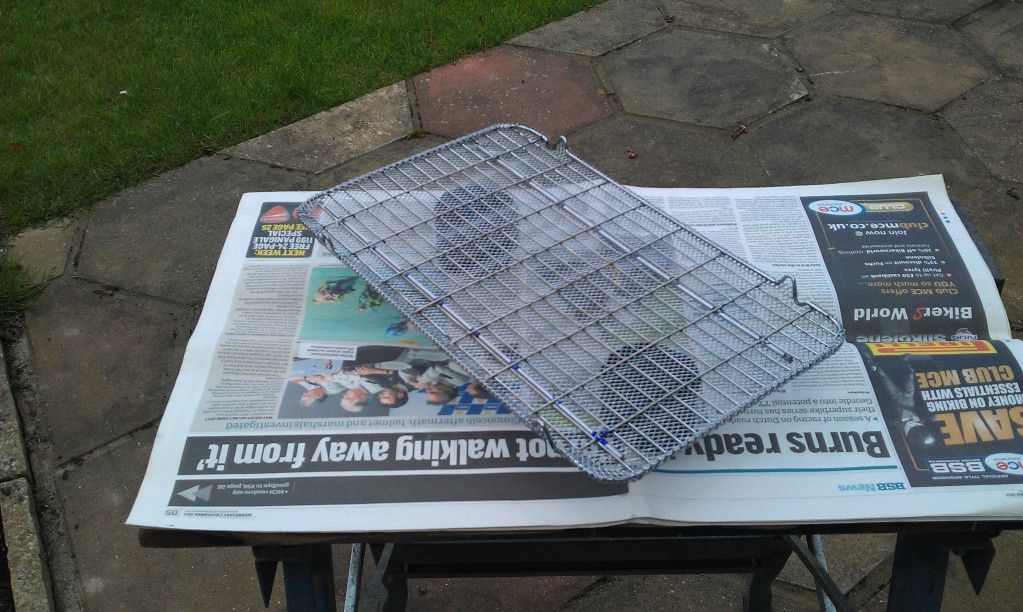
All looks good so I took my rad guard outside and gave it a coat of paint
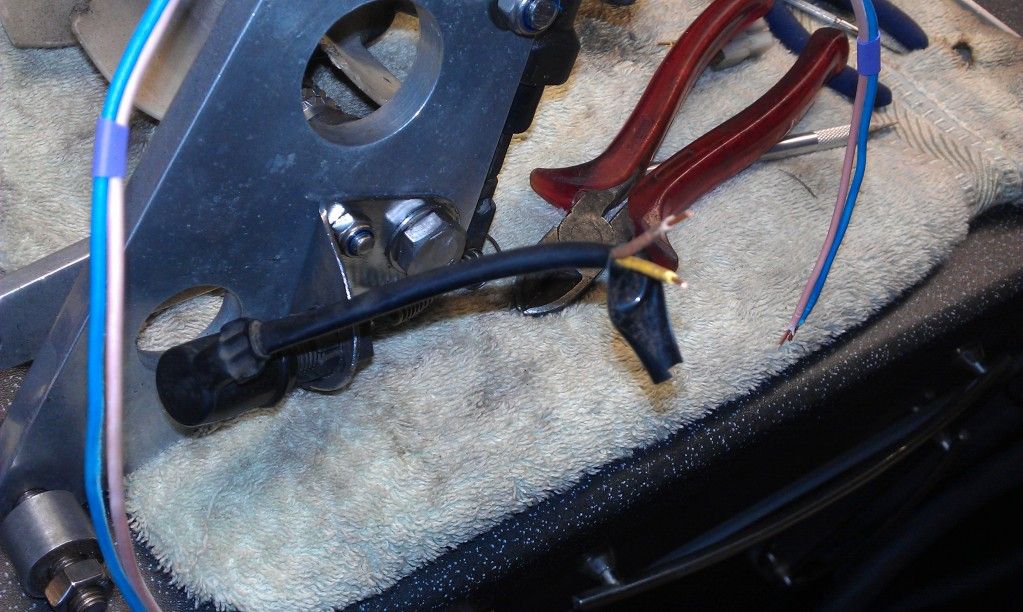
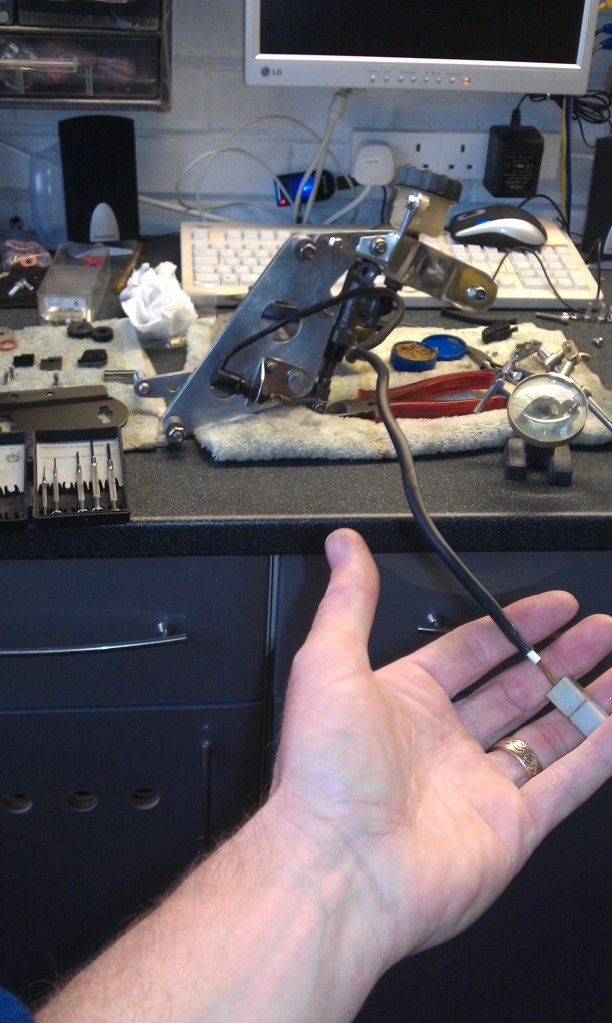
And installed it on the rad along with the new fan switch and temp gauge sensor ready for refitting.
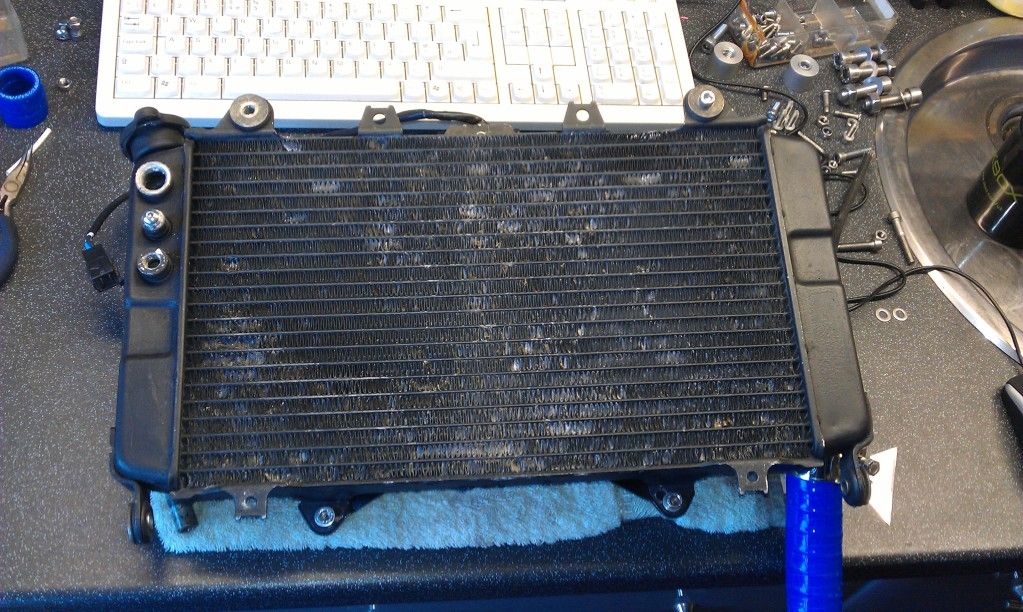
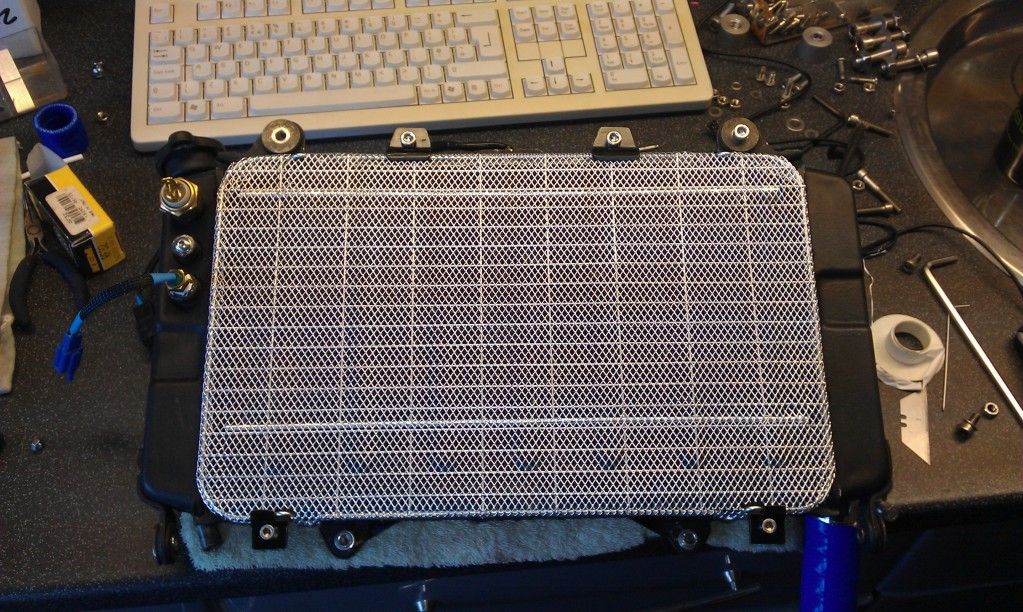
Refitted the expansion bottle and rad, just need to wait for the clamps to arrive so I can fill her up and test for leaks.

