Vivian - Banner's streetfighter experiment.

Post your pictures here: your bikes, meets you've attended, modifications you've made, x-rays you've had taken...
Post Reply
banner001
Pit-lane Reporter
Pit-lane Reporter
Posts: 739
Joined: Tue Sep 25, 2012 3:50 pm
Location: Nuneaton, UK

Post by banner001 »

excellent, that answers that :D

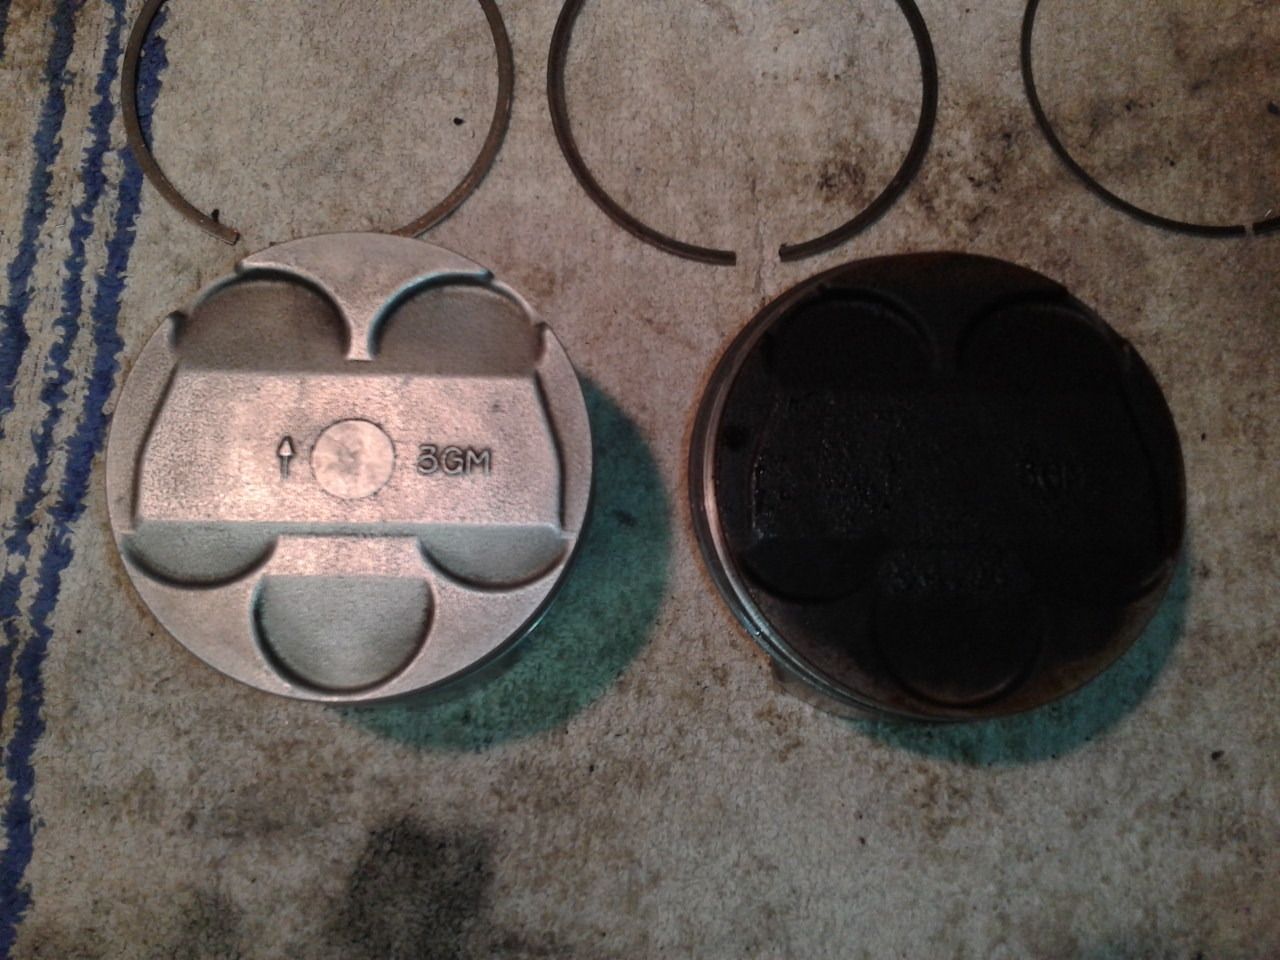
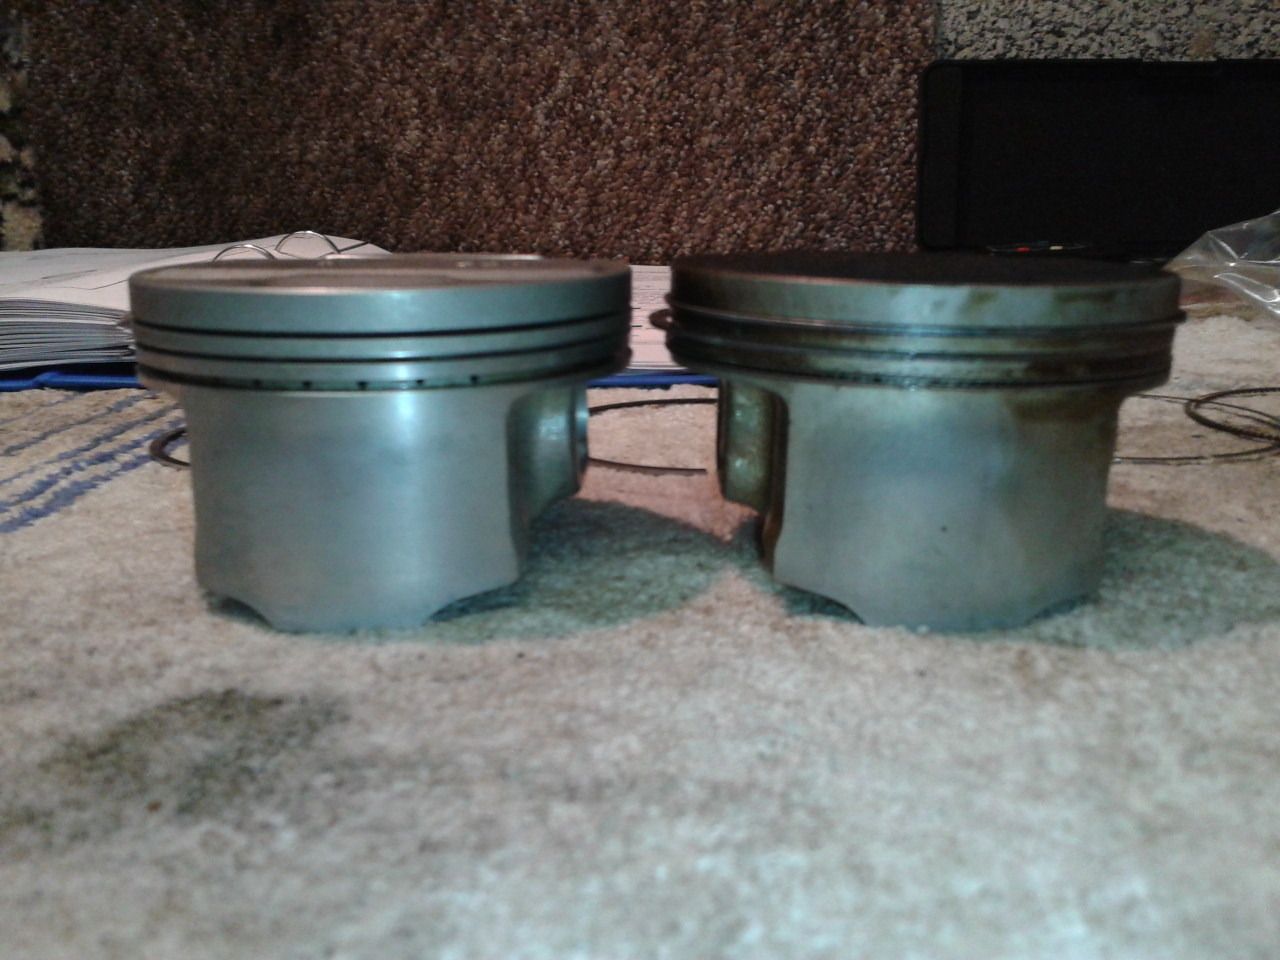
going to clean the pistons and check tollerances tonight...as an aside has anyone replaced big and small end shell bearings on their fzr 1000?

i have looked at the markings on the crankcase (they are something like 23654) and i have matched those up to the numbers on the side of the crankshaft, i have a list in my book at home of bearing shells and "colours" - is this what i need to rebuild the bottom end, so i would as for "2 yellows, a blue and 2 green"?? if you follow me?

likewise for the small end shell bearings, i have a similar list...confused i am, i am assuming a dealer knows what to order?

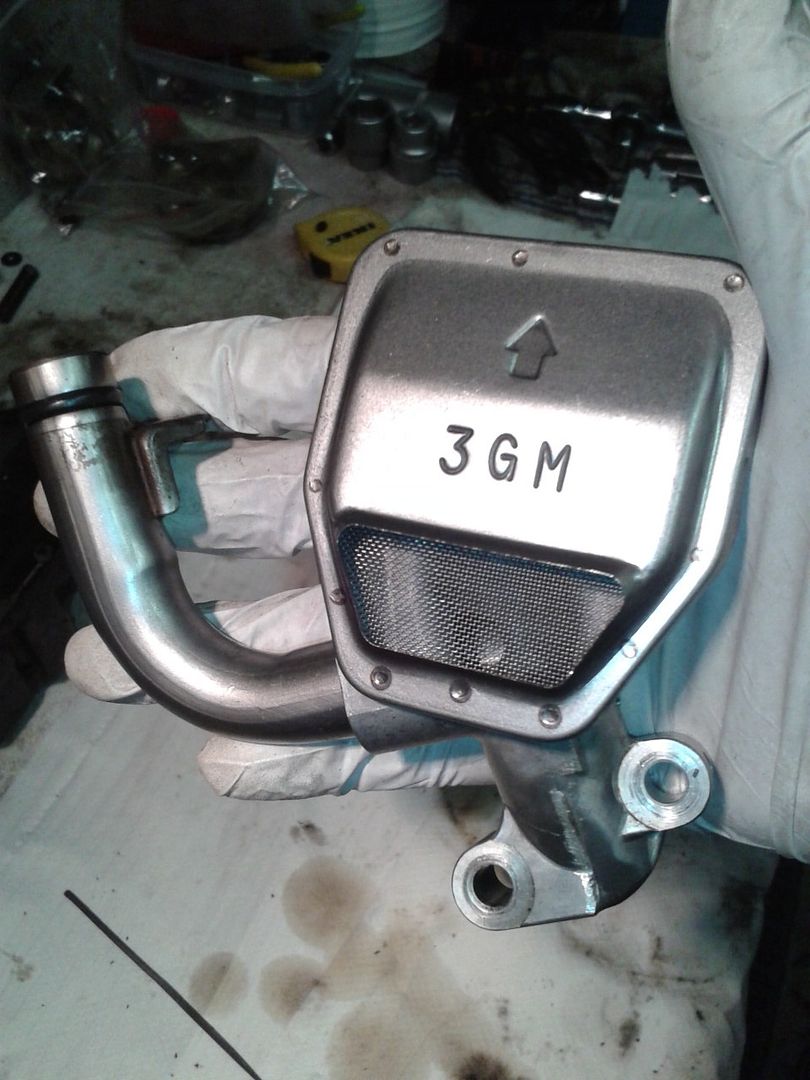
then the crank, conrods, pistons and shell bearings will be ready to go in, oil pump is cleaned, if i get time tonight i will also clean the oilpan, or i will at least strip everything off it, gear selector forks and shaft are also clean, i need to clean the oil feed lines, installing new oil jets, clutch cover is fully dissassembled and cleaned, need to remove a few bits of paper gasket here and there...so most bits are ready for assembly :D

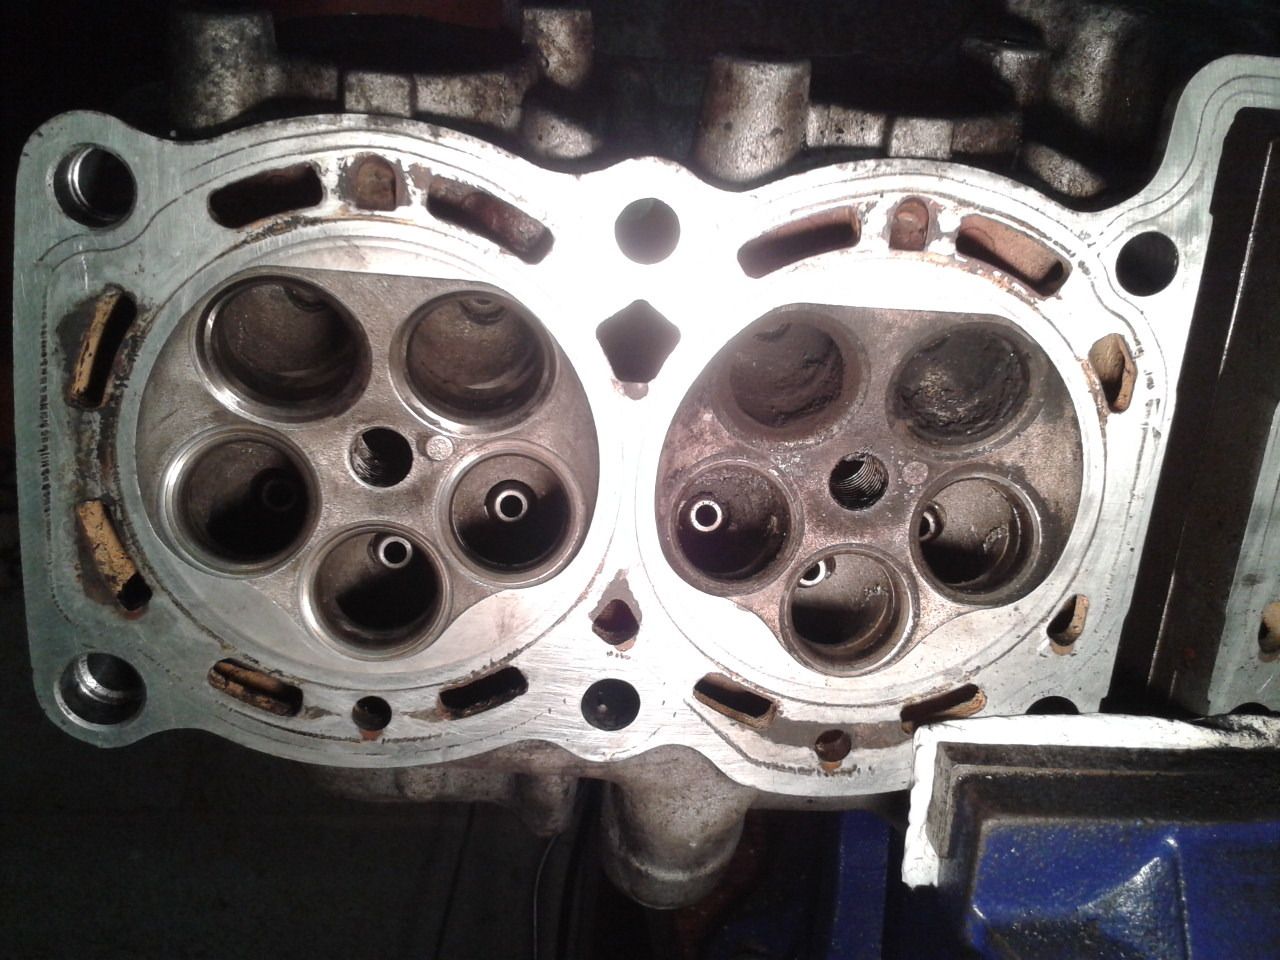
crankcases and head are at my mates garage, he has another few bolts of someone elses bike to drill and helicoil so he will do mine at the same time, shouldnt be too long :D
banner001
Pit-lane Reporter
Pit-lane Reporter
Posts: 739
Joined: Tue Sep 25, 2012 3:50 pm
Location: Nuneaton, UK

Post by banner001 »

been cleaning pistons and oil feeds...
cleaned one on the left, uncleaned on the right:-
Image
Image
Image
Image

cleaned the oil feed lines in the pan, managed to lose the (i think its 15mm) internal circlip from the oil pressure relief valve (and i only have 14mm and 16mm in my collection-doh!), and cleaned the oil strainer...the amount of muck that was on the filter was unbelievable...i was knocking pieces of crap out of it for a good 10 minutes...but now its like new - you could eat and strain your dinner through it now :D
Image

got a mate coming over tonight so probably no work in the garage, need to get the baffle plate off the oil pan and clean that, and then cleanup the actual oil pan ready for sandplasting/painting, will work on the cylinder block and the very top of the head and then all i have to do is clean out the carbon from the exhaust ports and its ready for blasting!

i have some small "lips" on some of my valves so i think i will get them refaced, they need lapping anyways.
banner001
Pit-lane Reporter
Pit-lane Reporter
Posts: 739
Joined: Tue Sep 25, 2012 3:50 pm
Location: Nuneaton, UK

crappy googlemail photos...

Post by banner001 »

Image
Image
Image
Image

Image
User avatar
creedxup
Parts department
Parts department
Posts: 2556
Joined: Fri Oct 14, 2005 11:51 am
Location: hastings sussex

Post by creedxup »

That all looks nice and clean :nod:

The small end bearings are part of the Conrod they're not replaceable.

The 5 numbers you have on the crankcase are the MAIN bearing hole size numbers ( not the big end numbers )' they're stamped upside down so that when the case is sitting ready to fit the crankshaft they're the right way around, the numbers on the crank are printed normally so make sure you know which journal you're calculating the bearing for before you start.

The big end bearing numbers X4 are stamped on the end of the crank, the big end hole size is supposed to be "stamped in ink" on the conrod, I've never been able to find it, so I've never changed the big end shells, unless they're badly marked, I'd leave them.
1992 RU midnight blue, Wiseco 1070, 6 speed, r1 calipers, ducati discs , 157 bhp crank, Ohlins shock
User avatar
creedxup
Parts department
Parts department
Posts: 2556
Joined: Fri Oct 14, 2005 11:51 am
Location: hastings sussex

Post by creedxup »

Yes, they're not cheap, they're priced individually and there are 2 per bearing position, if they're not visibly scored I wouldn't replace them.

Some visible wear is always present but it's only the surface coating, it's not measureable wear.

I have some new ones that I've never used, if you decide to change them let me know first I'll see if I have the right ones.

But like I say, I'd leave them alone.

The centre one is different by the way, it has different shaped oilways.
1992 RU midnight blue, Wiseco 1070, 6 speed, r1 calipers, ducati discs , 157 bhp crank, Ohlins shock
banner001
Pit-lane Reporter
Pit-lane Reporter
Posts: 739
Joined: Tue Sep 25, 2012 3:50 pm
Location: Nuneaton, UK

Post by banner001 »

a friend of mine told me that they are white metal and to not touch them with my hands...this was after i had dissassembled them and cleaned them with acetone etc...

also in order to identify them i wrote on them with a permanant marker - didnt realise how expensive they were at the time...will this have killed them? if so ill need to replace the main bearings only.
User avatar
creedxup
Parts department
Parts department
Posts: 2556
Joined: Fri Oct 14, 2005 11:51 am
Location: hastings sussex

Post by creedxup »

You won't have damaged the main bearings by cleaning them or using a marker pen on them, as long as they're not visibly scored, they'll be fine,

I'll have to have a look what swinging arm spares I have tomorrow I'll definitely have a swinging arm pivot bolt, I'm not sure of the condition of the bearing inner races that I have though.
1992 RU midnight blue, Wiseco 1070, 6 speed, r1 calipers, ducati discs , 157 bhp crank, Ohlins shock
banner001
Pit-lane Reporter
Pit-lane Reporter
Posts: 739
Joined: Tue Sep 25, 2012 3:50 pm
Location: Nuneaton, UK

Post by banner001 »

cheers creed, thats what i thought, i checked them with plastigauge and they were all within tolerance (they were at the "loose" end IIRC), i have no play in the conrods or crank when everything is bolted down, so i think im good. there is no visible scoring, some have a slight wear mark, but i think its just the top of the metal, ill take a picture later.

ebay comes up with nowt, but its gonna be 6 months before i need that bearing to be correct, for all the fitting and adjustments i am doing it will be ok, i will need it when i come to press out the current knackered swingarm bearings...theres about 4 rollers missing from each side...and someone used to ride this bike!!!
banner001
Pit-lane Reporter
Pit-lane Reporter
Posts: 739
Joined: Tue Sep 25, 2012 3:50 pm
Location: Nuneaton, UK

Post by banner001 »

not looked like this for a while! get the head back, give it a quick clean internally and its off for blasting and painting!

Image
banner001
Pit-lane Reporter
Pit-lane Reporter
Posts: 739
Joined: Tue Sep 25, 2012 3:50 pm
Location: Nuneaton, UK

Post by banner001 »

might be coming into a bit of cash, should be at least enough to fully rebuild the engine, including sandblasting and painting...
banner001
Pit-lane Reporter
Pit-lane Reporter
Posts: 739
Joined: Tue Sep 25, 2012 3:50 pm
Location: Nuneaton, UK

Post by banner001 »

been cleaning the cylinder head, might be a small amount of carbon buildup in here...hard to take pictres in my garage, i have low lighting in there. in general the head seems to have 0.5-1.0mm of carbon buildup everywhere...its bloody awfull but could be worse for a 48,000+ mile engine.

before and after pics:-
exhaust ports before
Image
after
Image

exhaust ports before
Image
after
Image

exhaust valves before
Image
after
Image

comparison
Image

hope to have this finished by tonight/tomorrow at the latest, then i will buy some lapping compounds and lap the valves back if necessary-the clean might have sorted them out just fine, then everything else is pretty much cleaned ready for sanding and painting
banner001
Pit-lane Reporter
Pit-lane Reporter
Posts: 739
Joined: Tue Sep 25, 2012 3:50 pm
Location: Nuneaton, UK

Post by banner001 »

cylinder block has been sent for honing, should be back friday, valves have been sent to be re-surfaced...basically the exhaust valves "feel" fine, but i might take them up tomorrow just to get them checked out...might as well know for definite that they are all ok.

they put them on a kind of upright projecting microscope with 90-degree lines on it and you can see the extent of the edge "damage" and what the valve will look like when re-cut.

i took all the intake valves up, 4 have almost no wear, 5 have some wear, and 3 are bad and have signifficant "lips"...but, looking at the images of the valves they should all grind fine, they will only just lightly go over the mating sufrace to make sure that they are all level...so thats saved up a packet, i though i might need to replace 3-8 valves, and they're not cheap.

the wear looks like this:-
Image

valves should be back in a week, they are a busy place :D
banner001
Pit-lane Reporter
Pit-lane Reporter
Posts: 739
Joined: Tue Sep 25, 2012 3:50 pm
Location: Nuneaton, UK

Post by banner001 »

gave myself mini-heartattack this afternoon...thought i needad 4 new oversize pistons...stupid service manual!

front of service manual shows what the cylinder bore should be, 75.5 - 75.505mm which i thought was the wear limit, honing place rang to say that mine are bang on 75.505mm and do i want a rebore instead, as the hone will take off ~0.005-0.01mm...which would have made my cylinders to big...check on the actual service page for cylinders, wear limit 75.515mm...so im good.

but for future reference people, you can hone your cylinders once, maybe twice before a rebore is needed...ill do a rebore when i eventually buy a 1070cc kit.

cylinders should be good to pickup tomorrow, and ill take the exhaust valves up to see if they need grinding (shouldnt do, but i might ask them to ever so gently skim them so they are guaranteed flat).

next weekend i will hopefully lap the valves in, my engineers blue arrived today so i can check for high spots, i have got some valve seat cutters if they need doing (hopefully not). so checking my calendar, by the weekend of 20th-21st my engine should hopefully be ready for sanding, cleaning and spraying!

damn its gonna look good :D
banner001
Pit-lane Reporter
Pit-lane Reporter
Posts: 739
Joined: Tue Sep 25, 2012 3:50 pm
Location: Nuneaton, UK

Post by banner001 »

oooh...scratchy :D

Image

just waiting for the valves now, will check them to see if i need to cut the valve seats, cut them in if needed, then valve lap and the head will be finished :D
banner001
Pit-lane Reporter
Pit-lane Reporter
Posts: 739
Joined: Tue Sep 25, 2012 3:50 pm
Location: Nuneaton, UK

Post by banner001 »

all 12 intake valves are refaced...ill take the exhaust ones to be done, then i know they are good.

Image
Post Reply