Day off work today, and as Lisa had to work (she normaly has Wednesdays off too) that meant an entire day in the garage!!

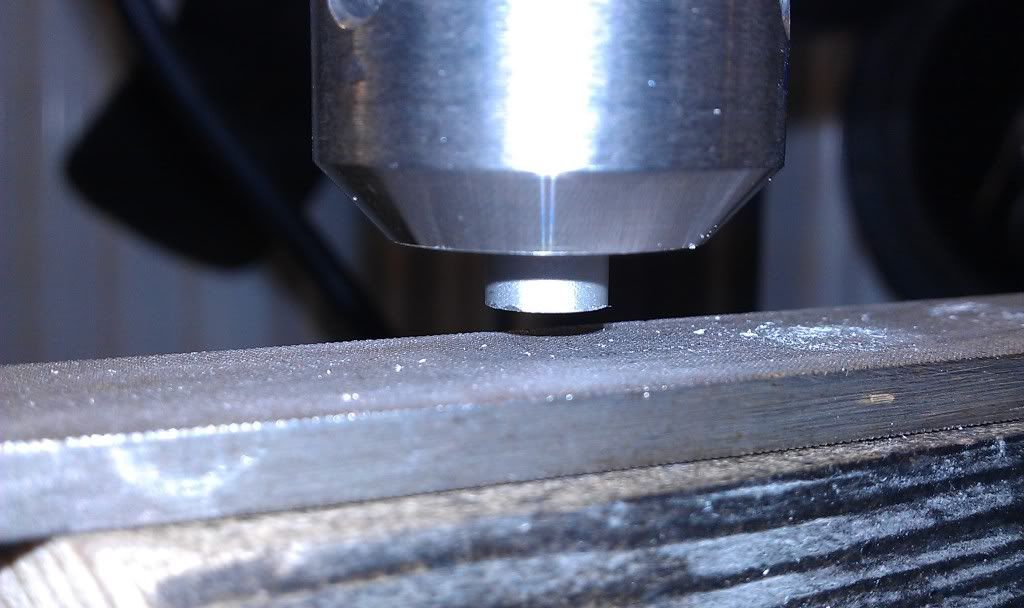
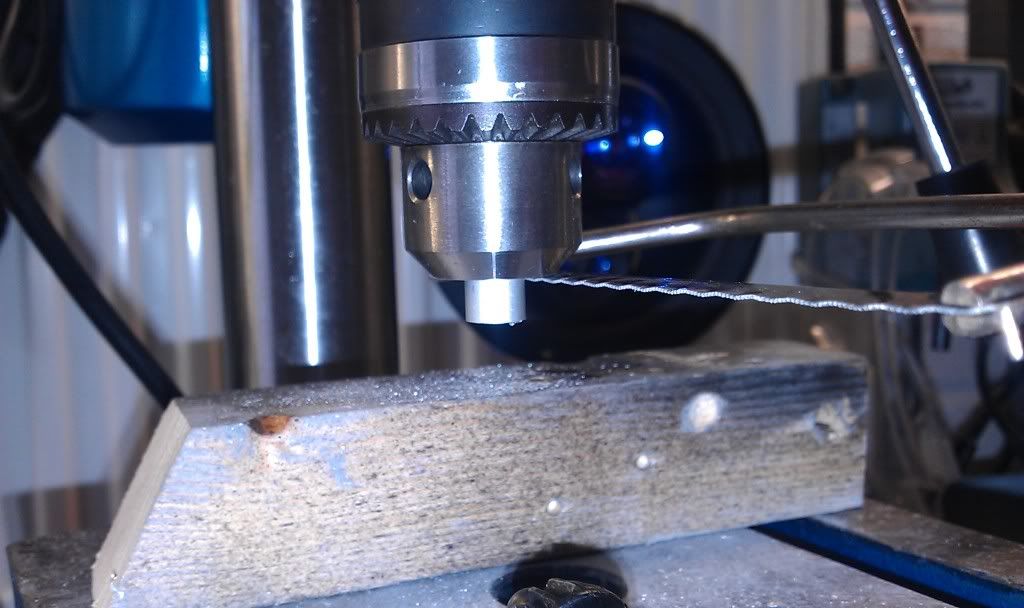
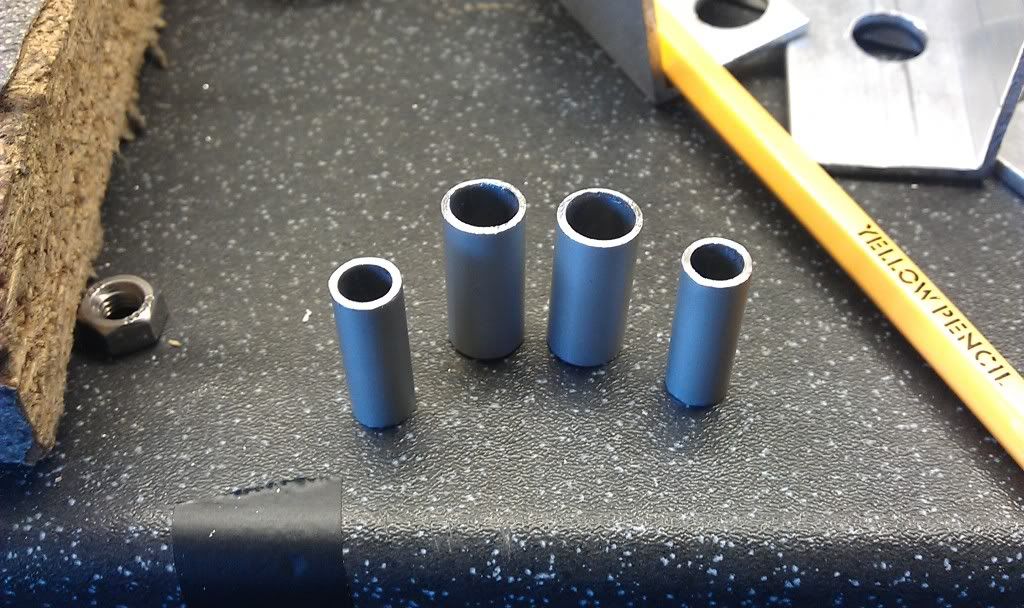
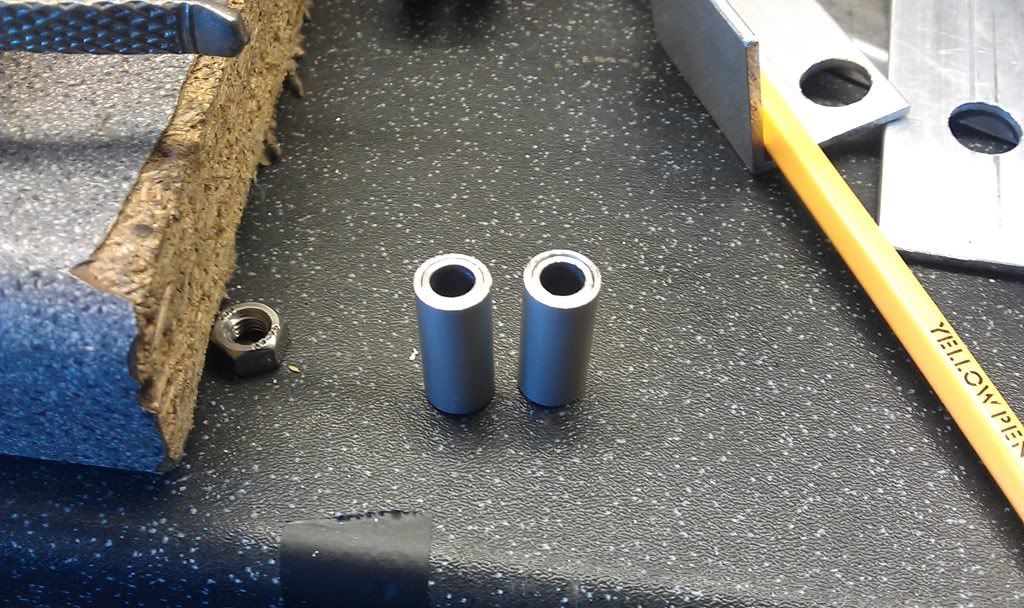
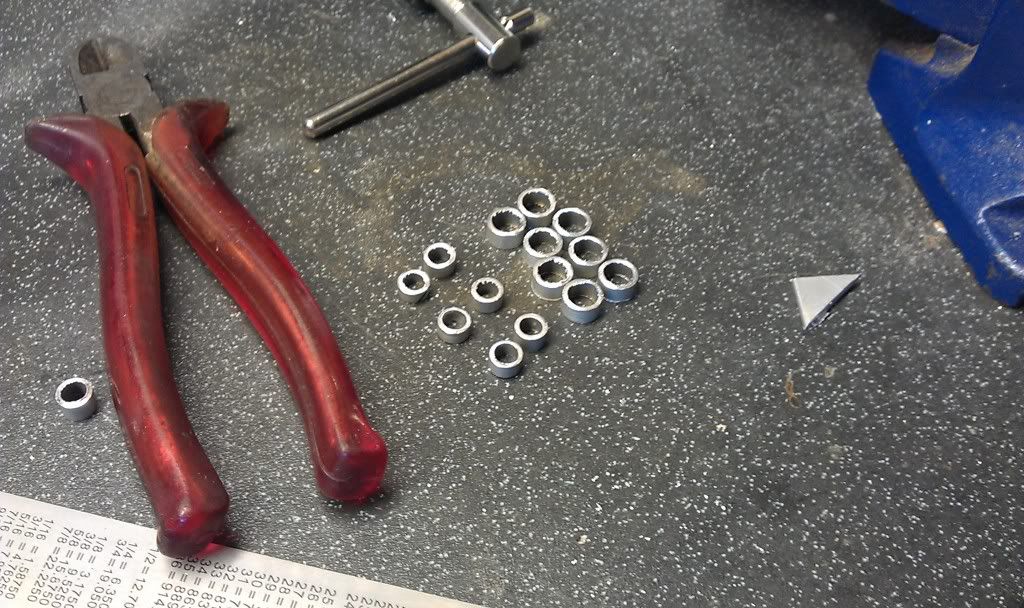
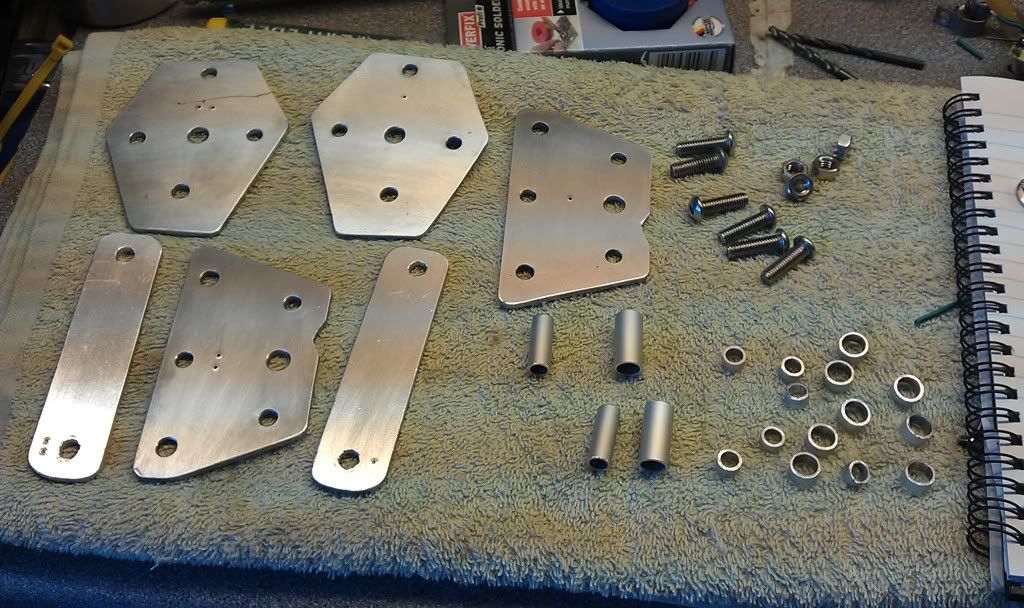
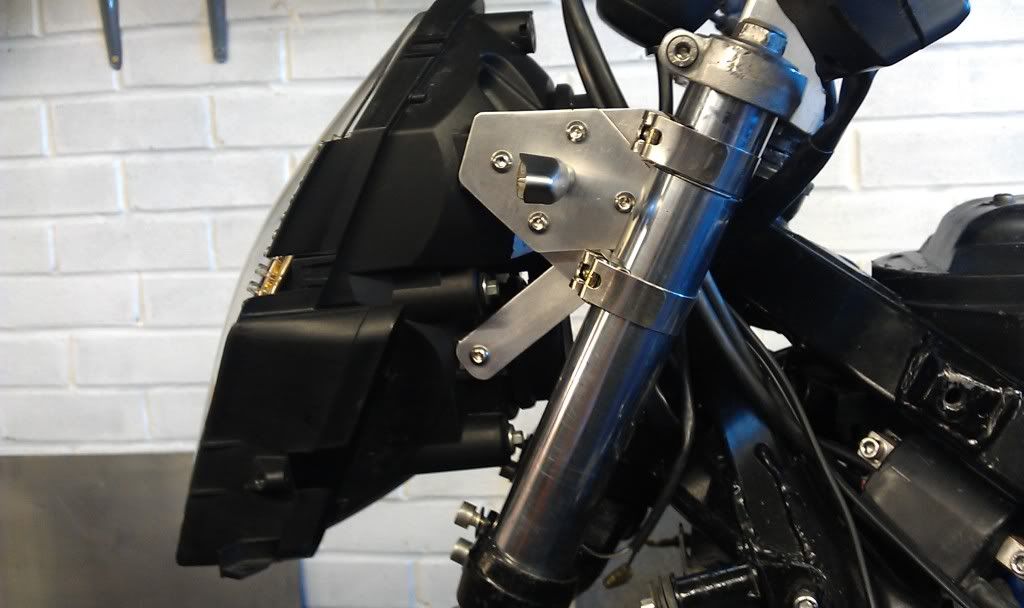
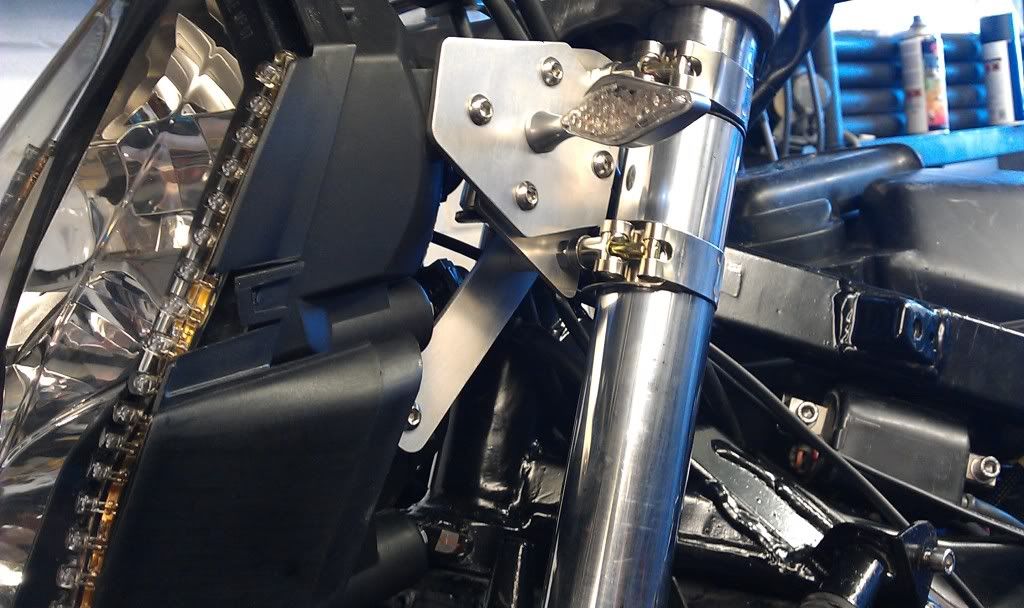
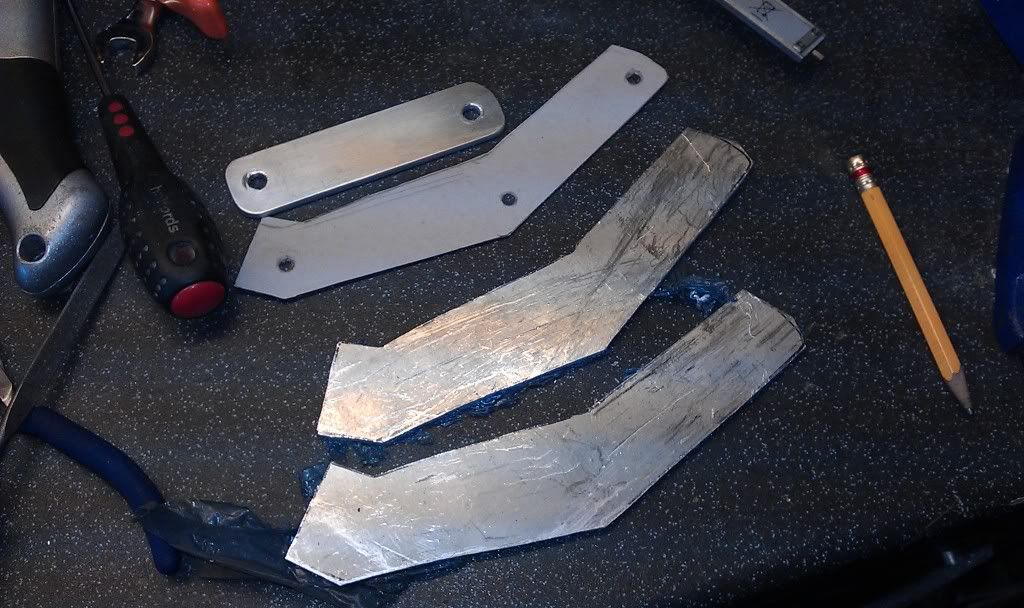
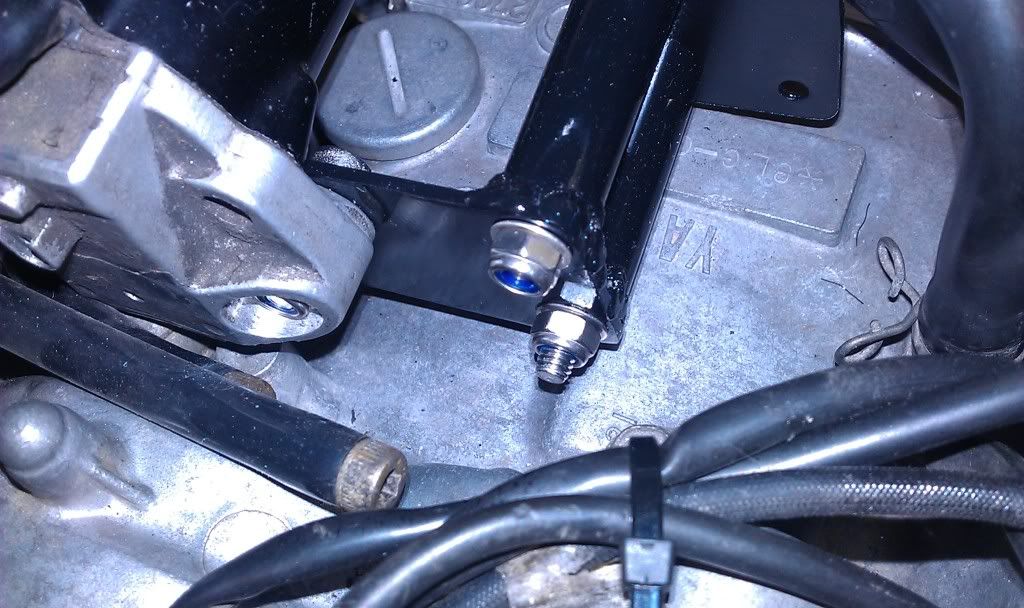
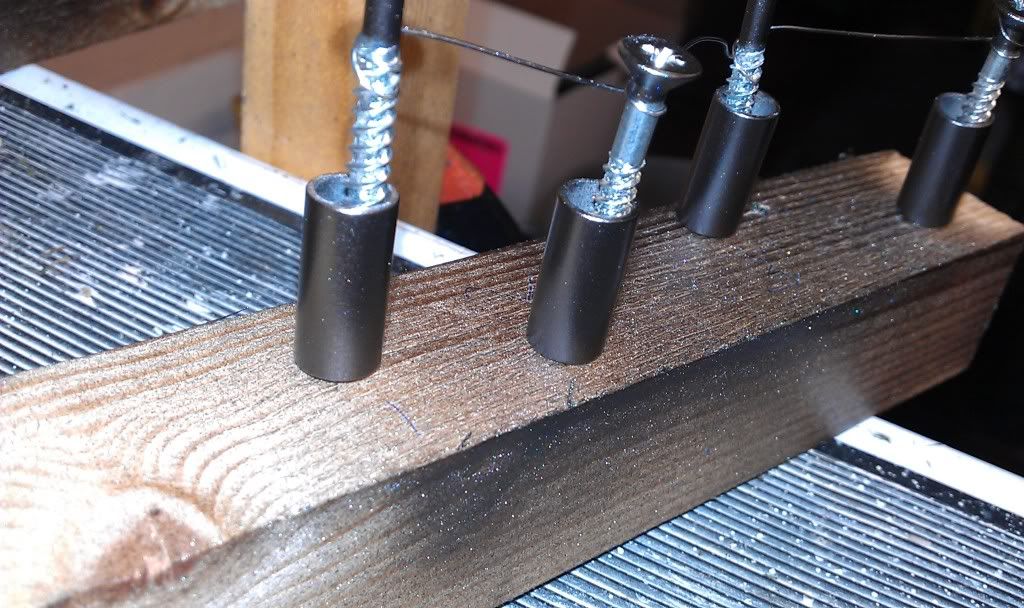
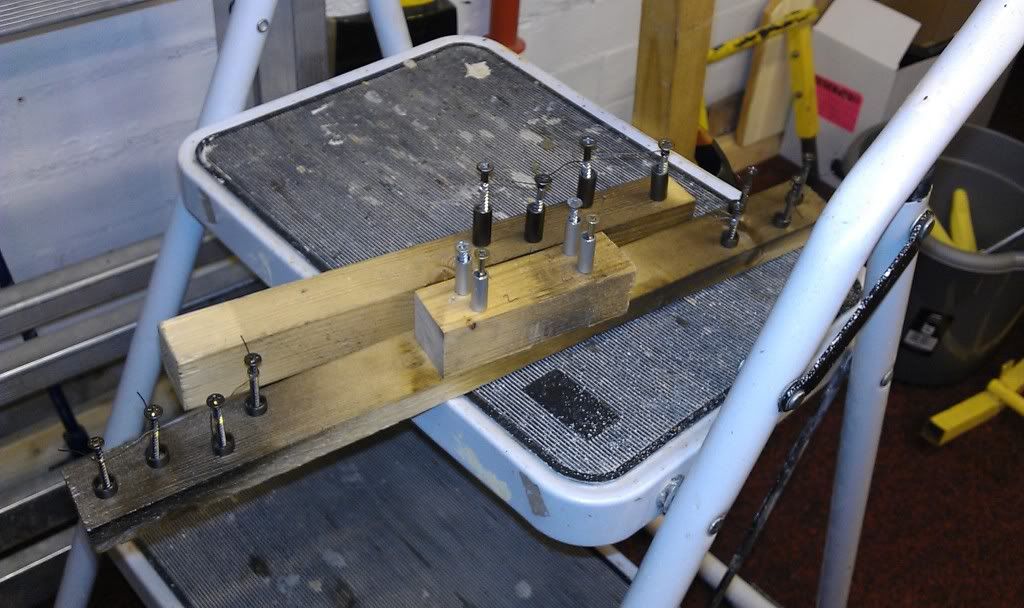
So I started off by making some more spacers for the "boomerang" bracket as I needed 2 more sets.
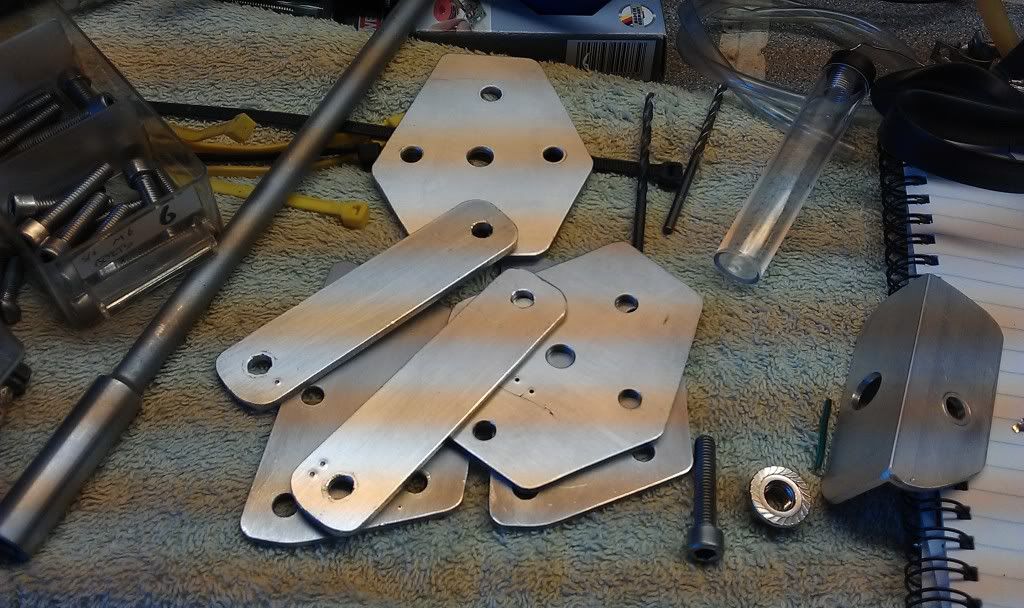
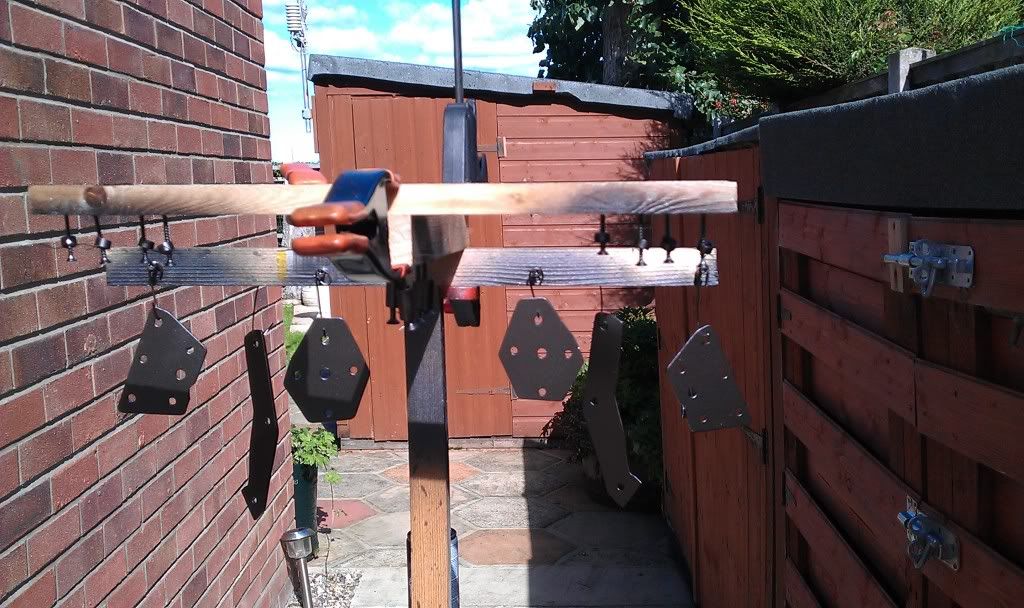
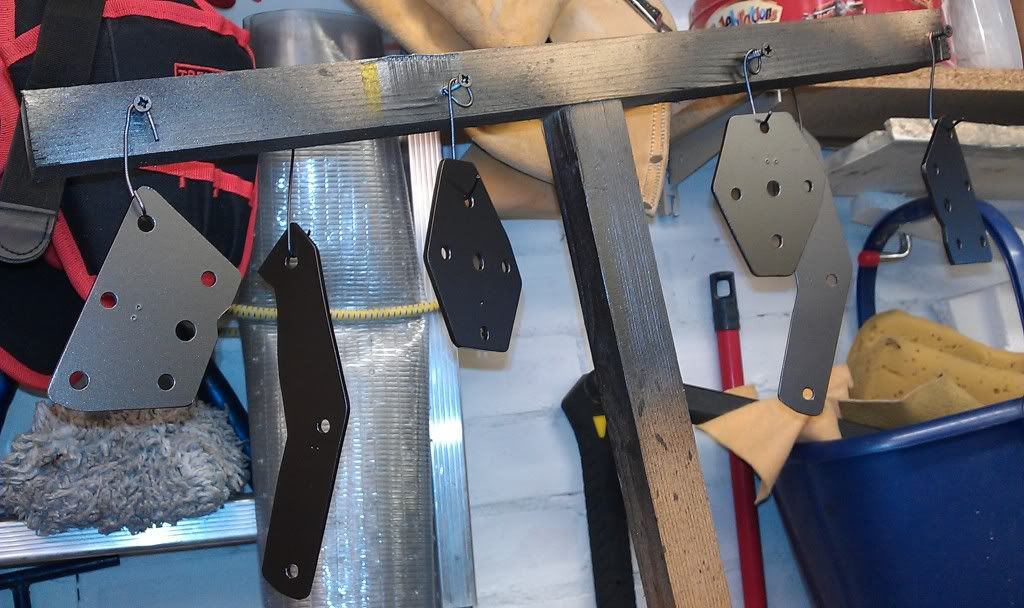
Once this was done the "boomerang" brackets got a clean up with wire wool ready for painting, hopefuly the Postie will bring the paint today.
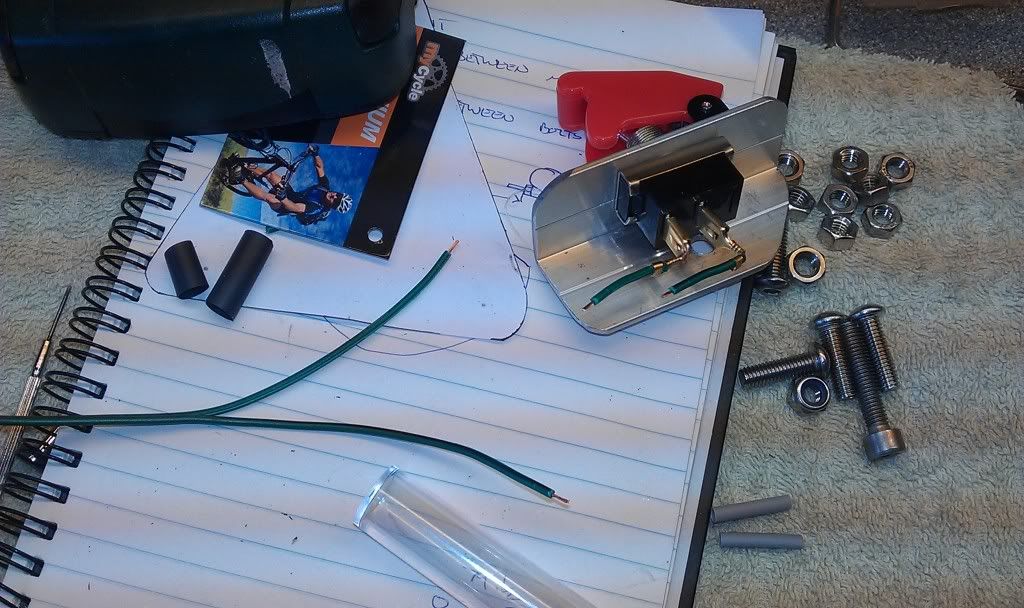
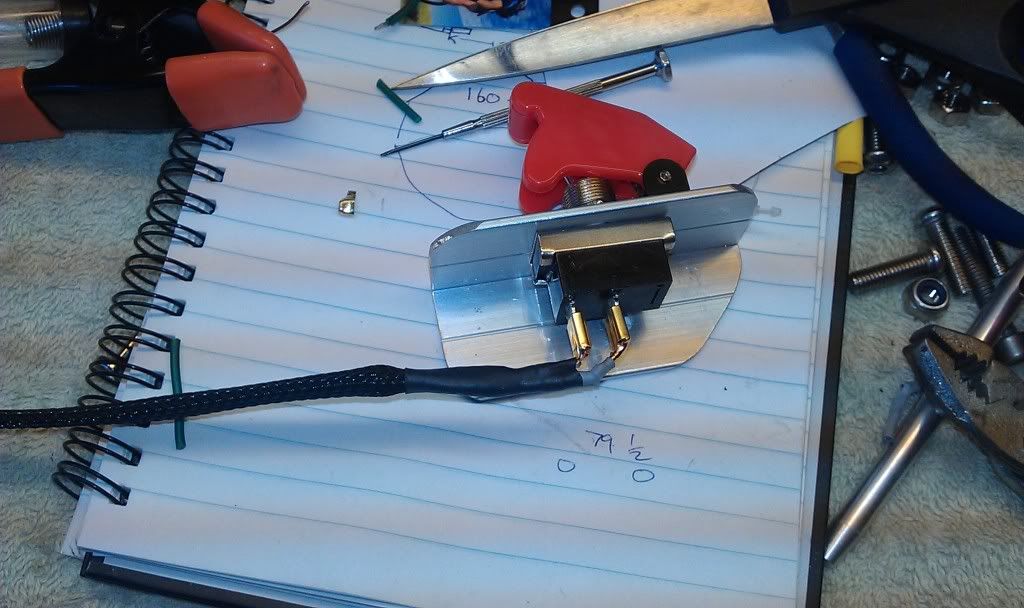
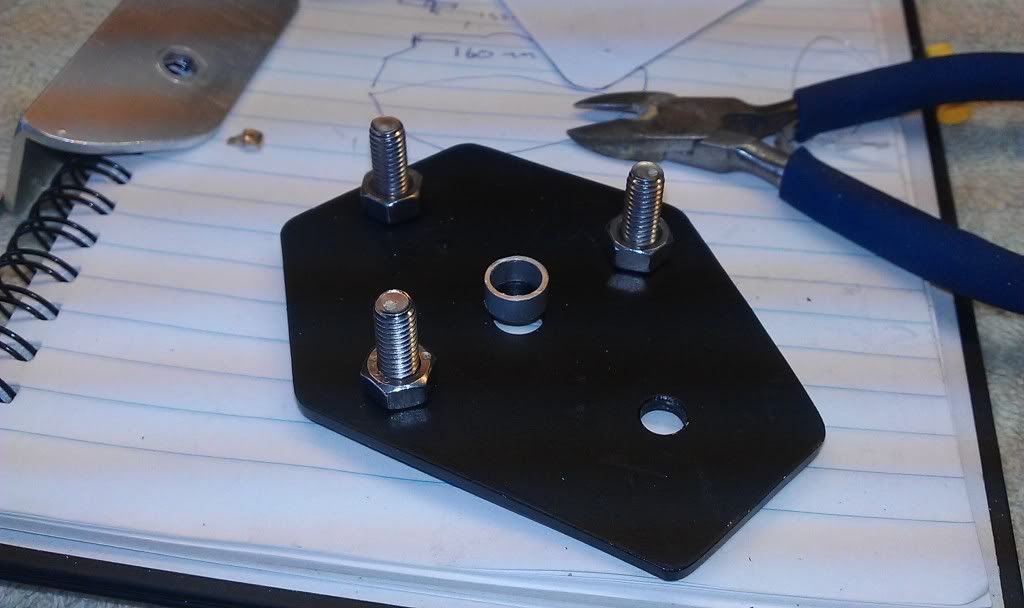
Items awaiting paint

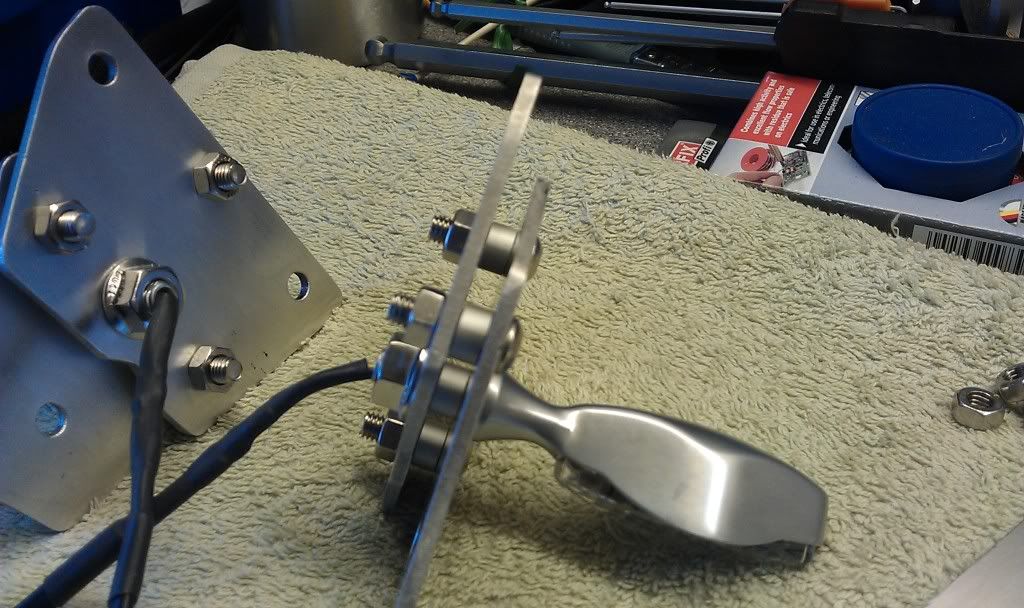
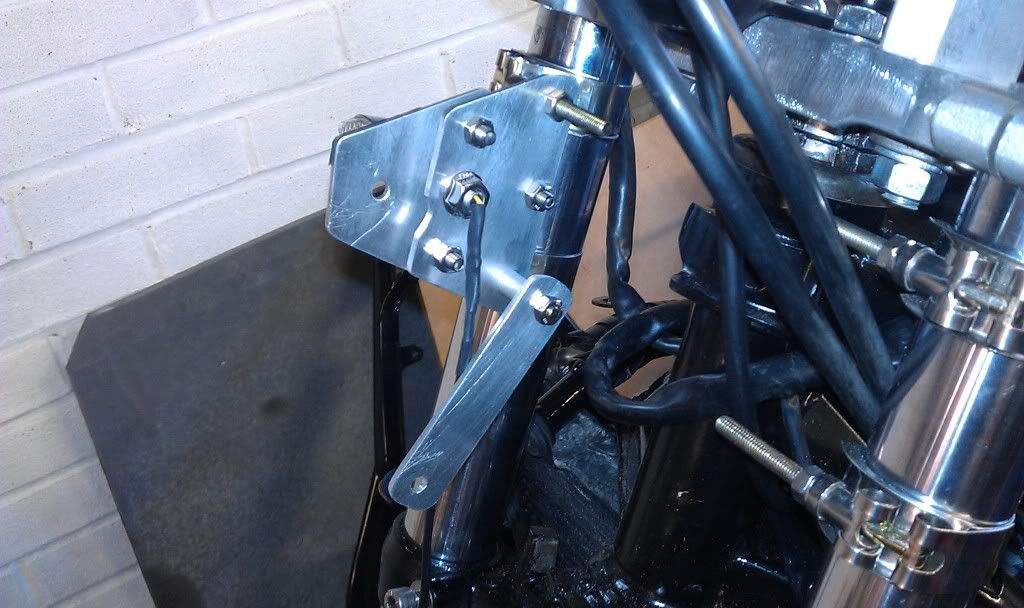
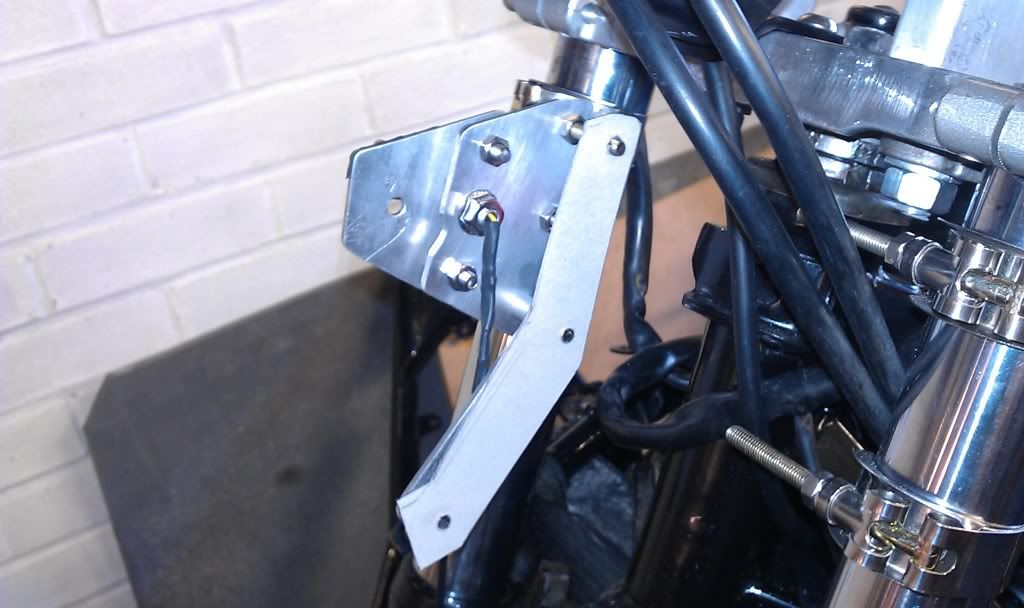
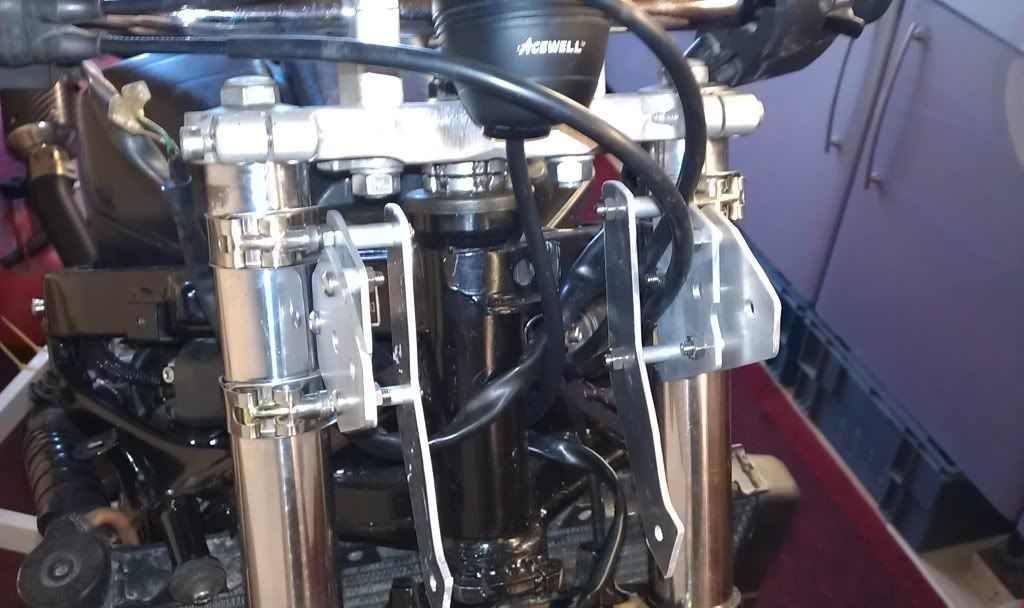
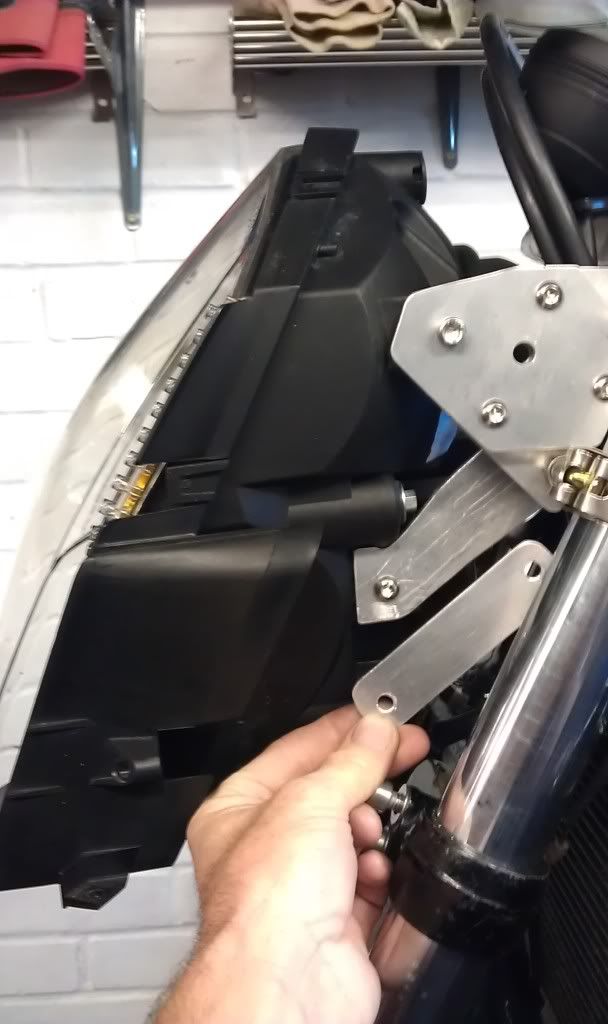
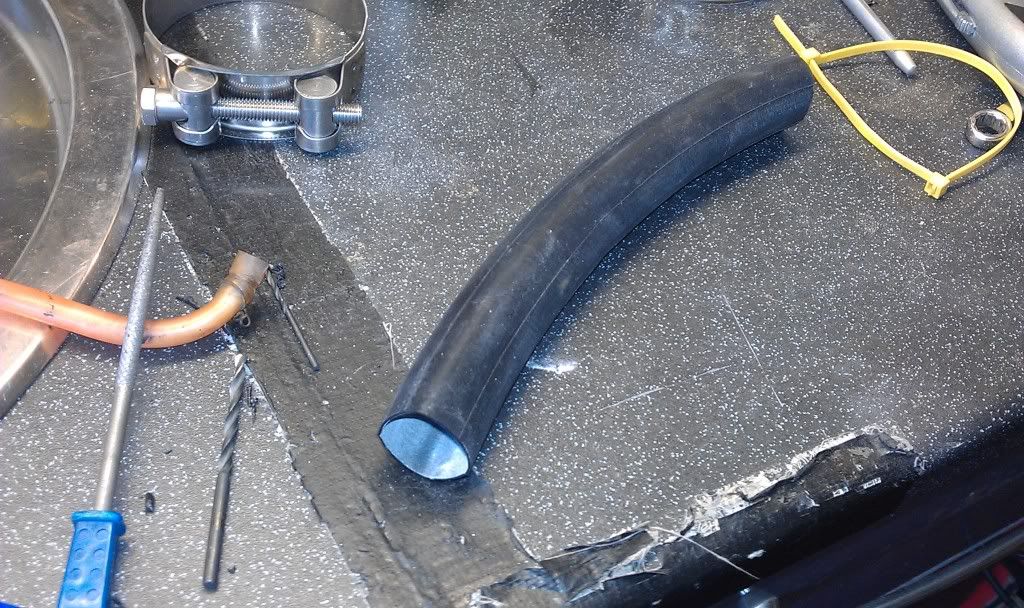
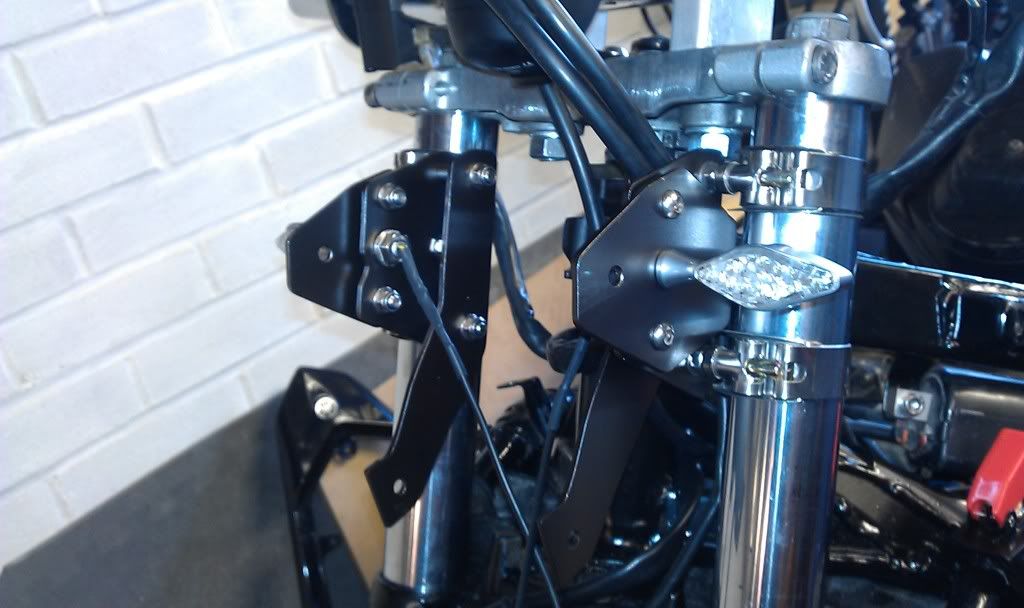
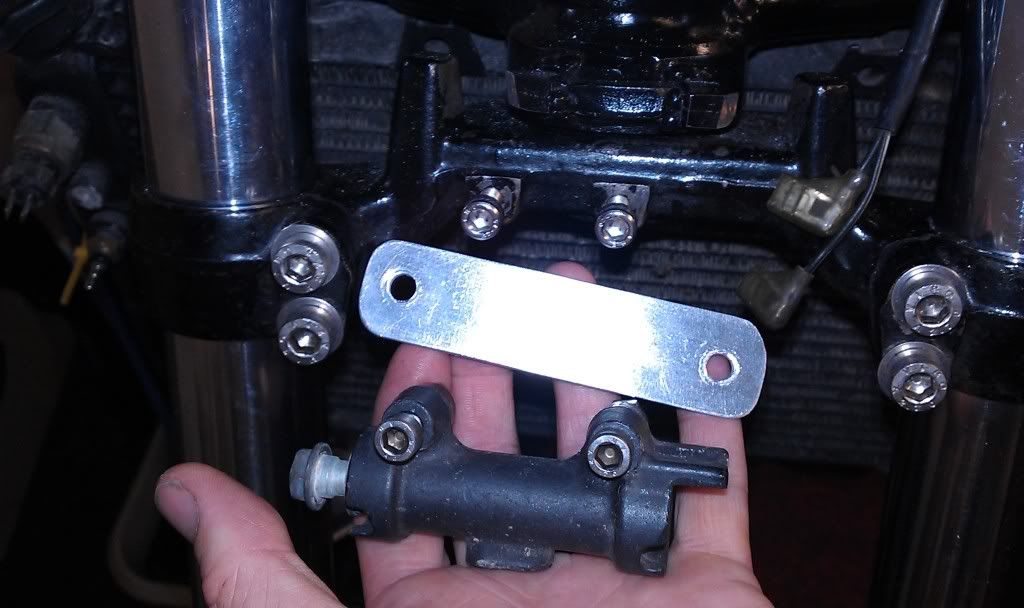
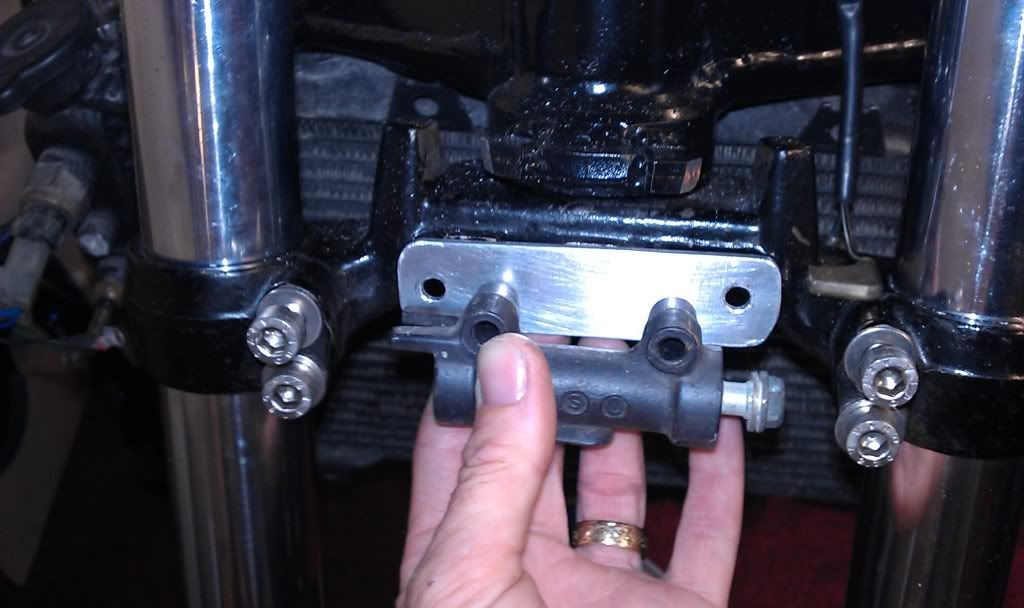
So to while away the time I made use of the original lower mount (waste not, want not
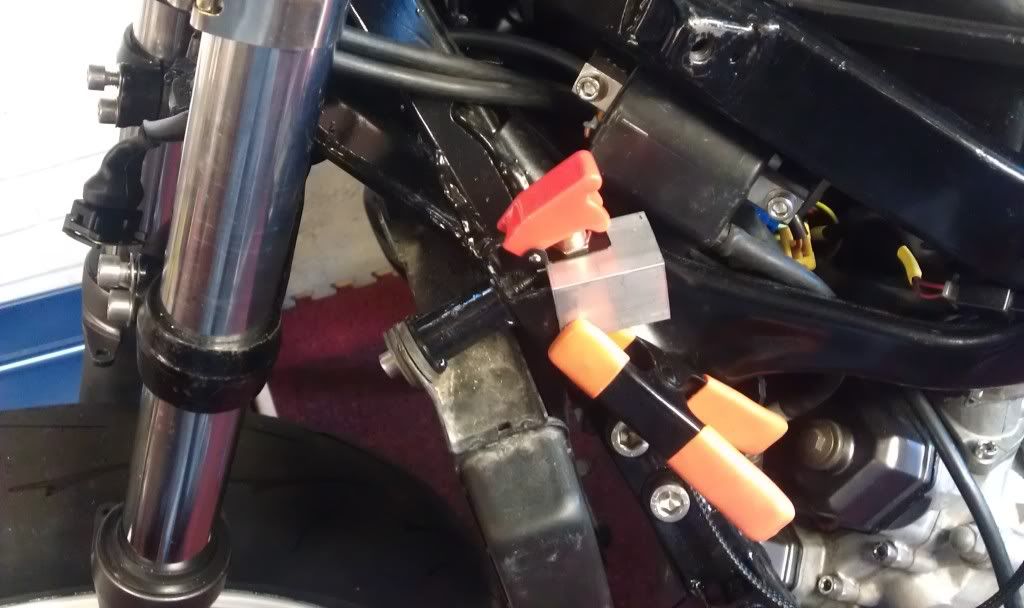
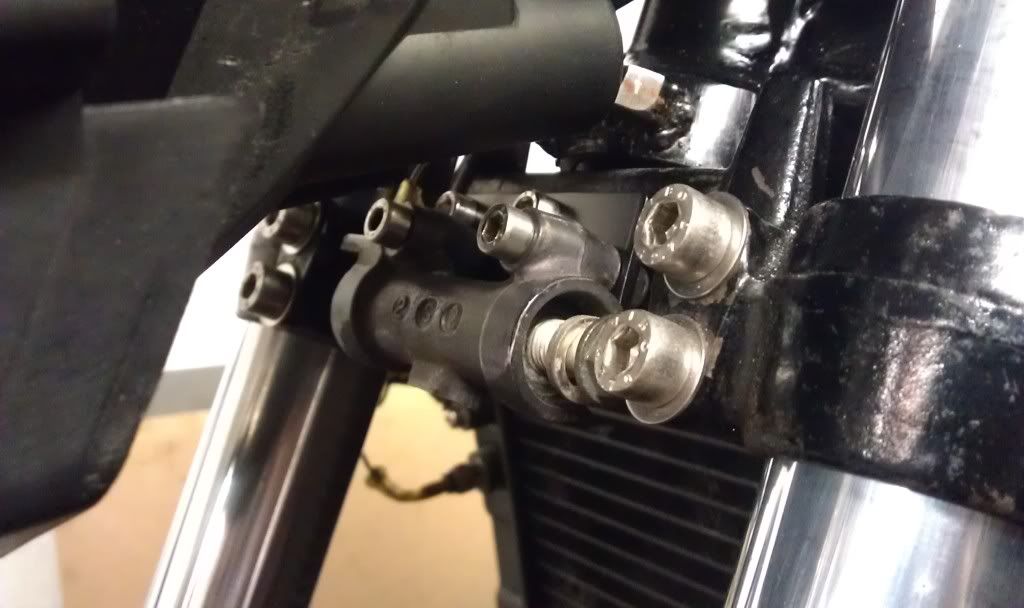
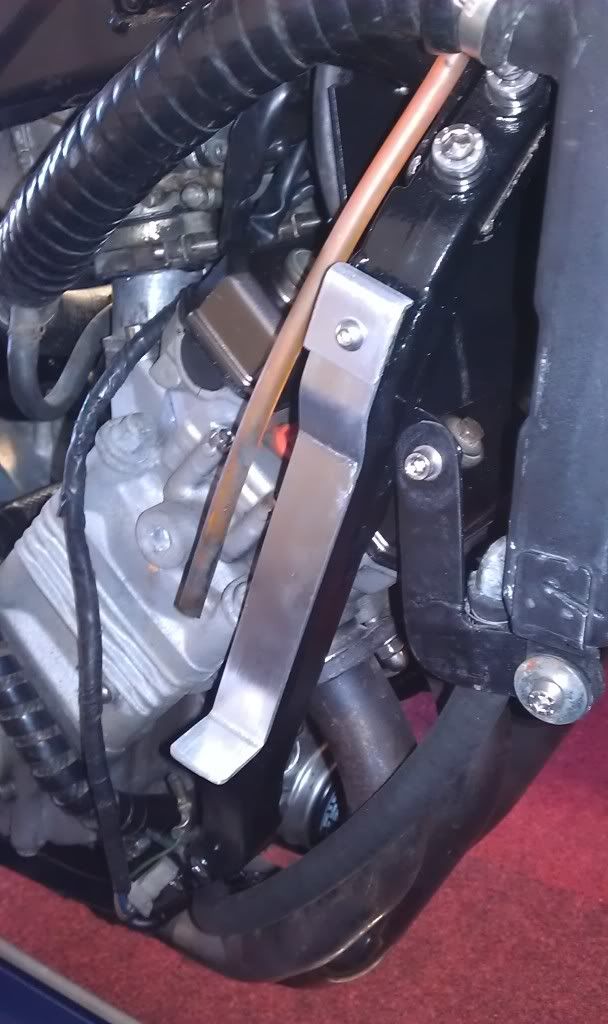
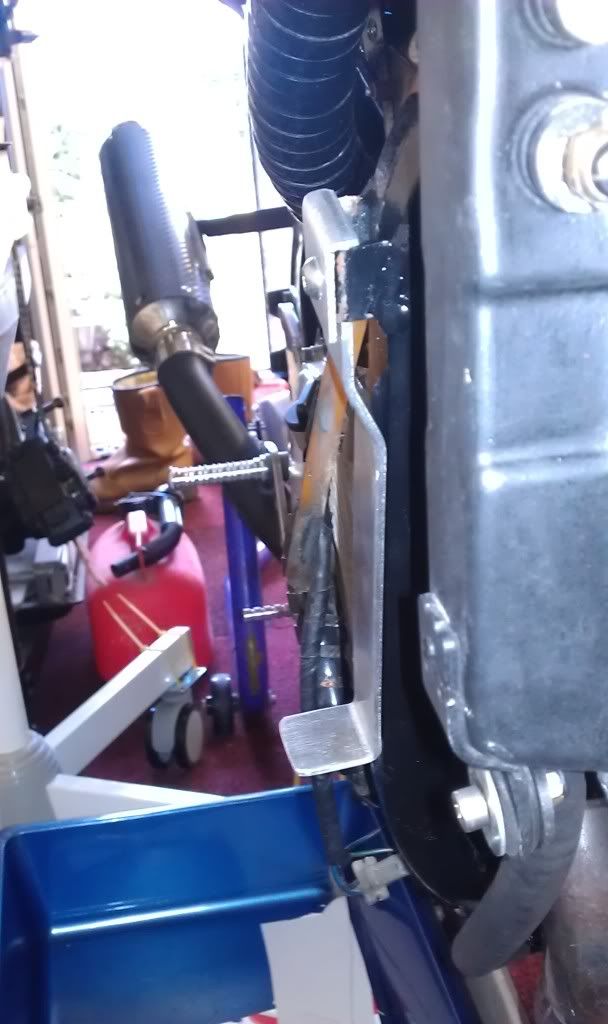
) to make a bracket for my brake hose splitter, as the one that came with the bike is th wrong shape.
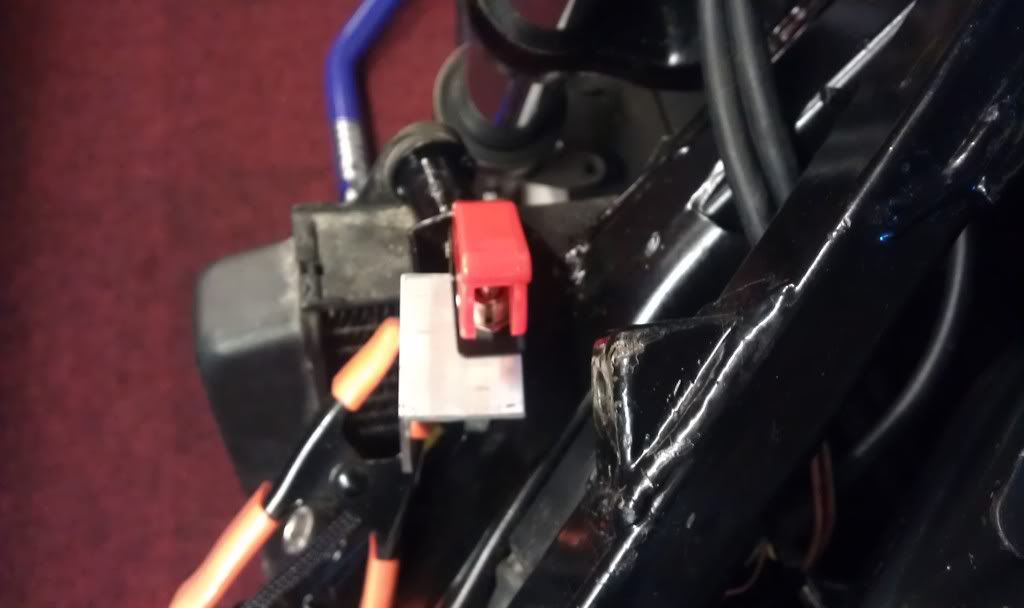
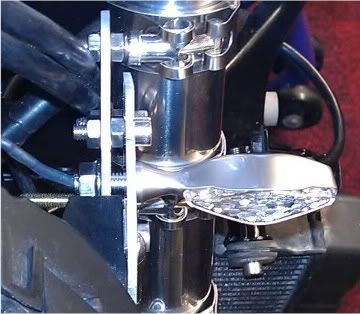
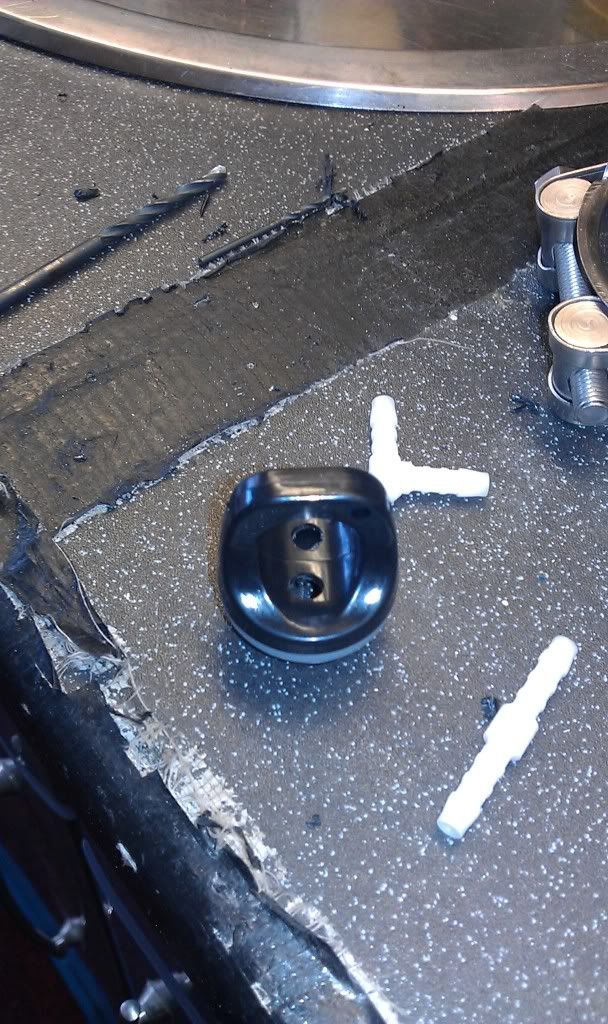
Original splitter
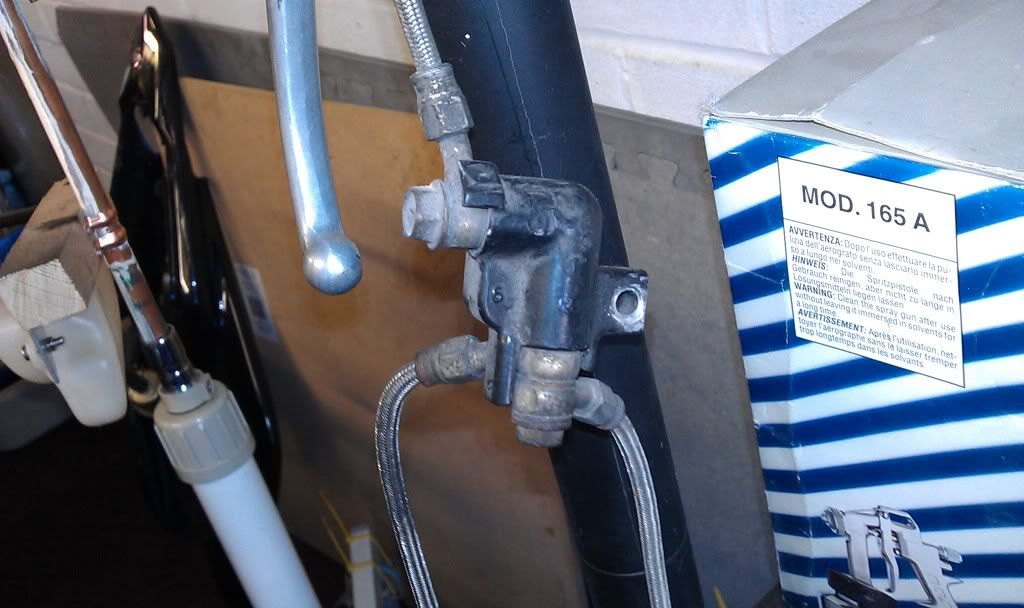
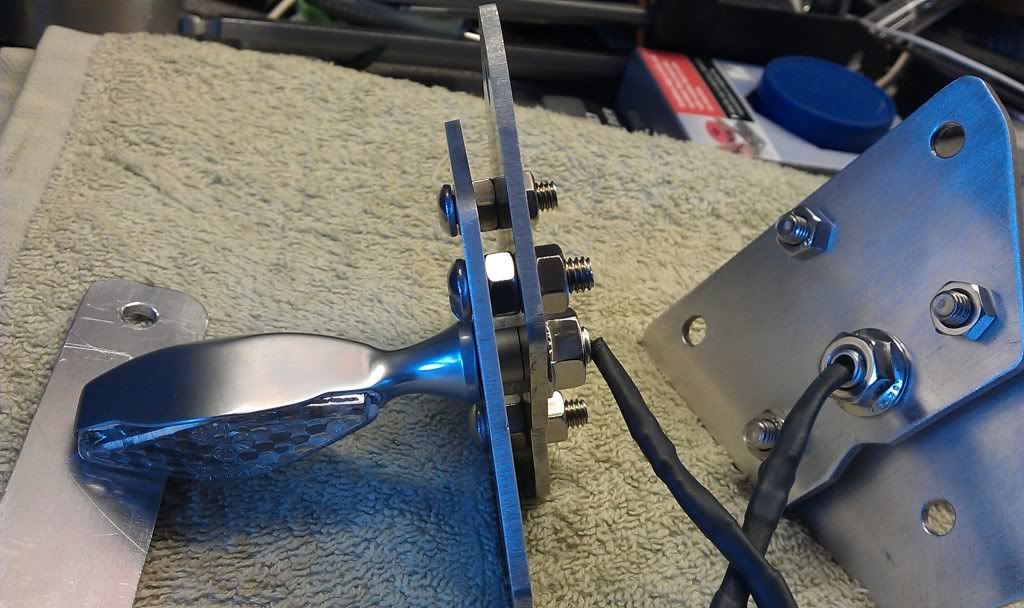
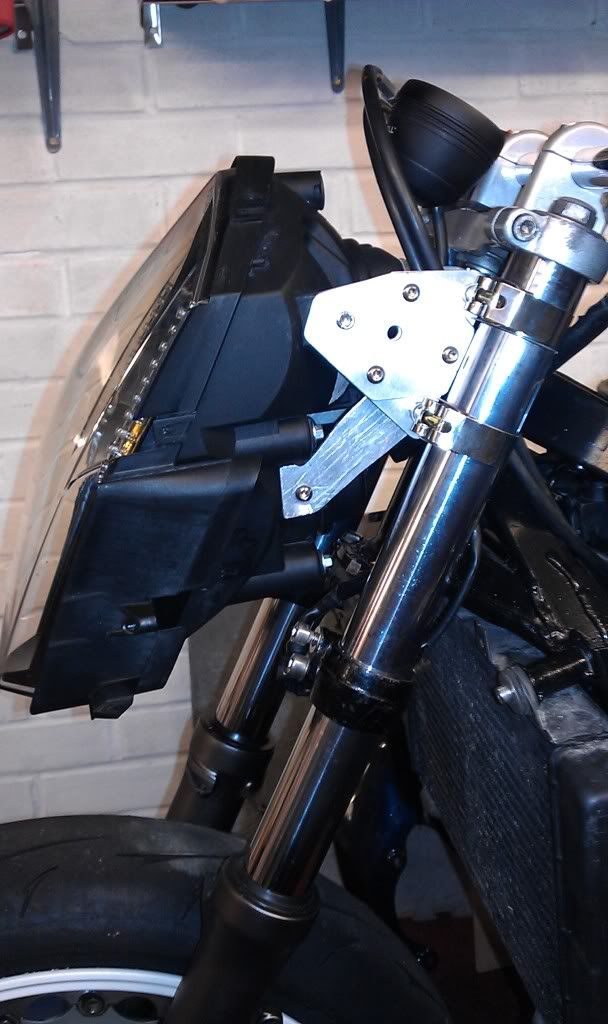
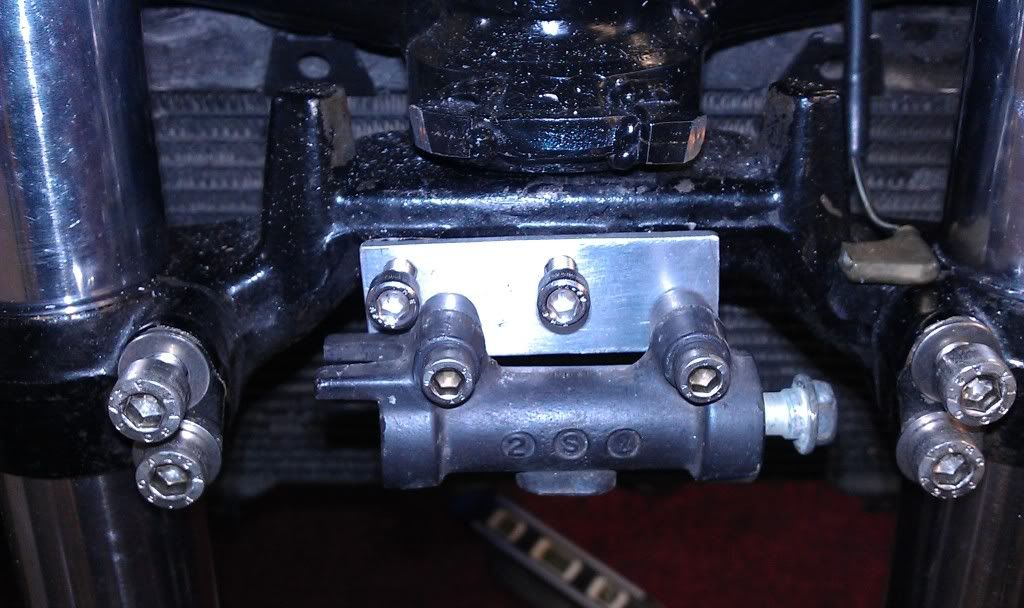
"new" splitter
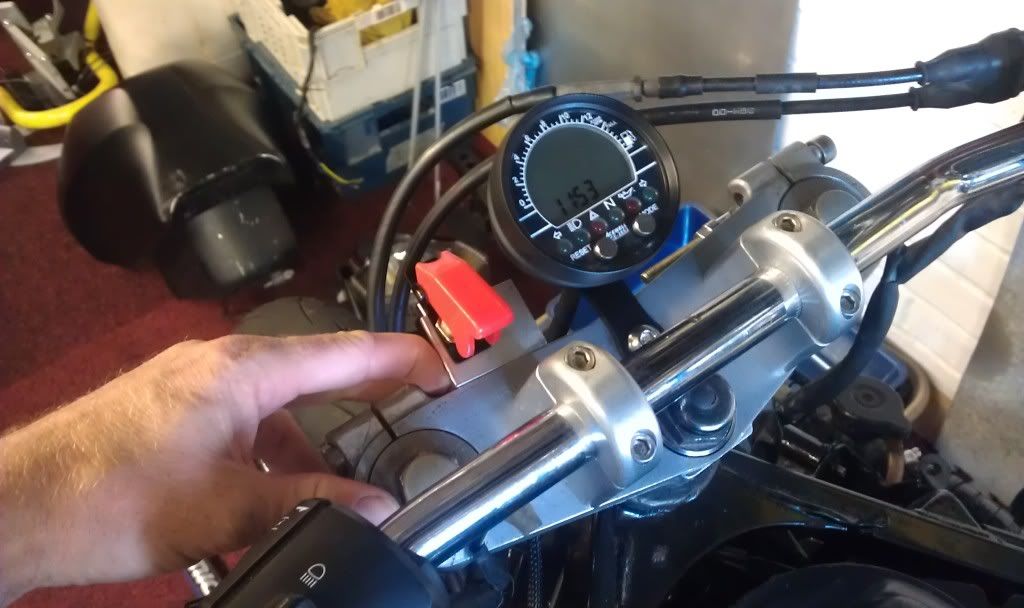
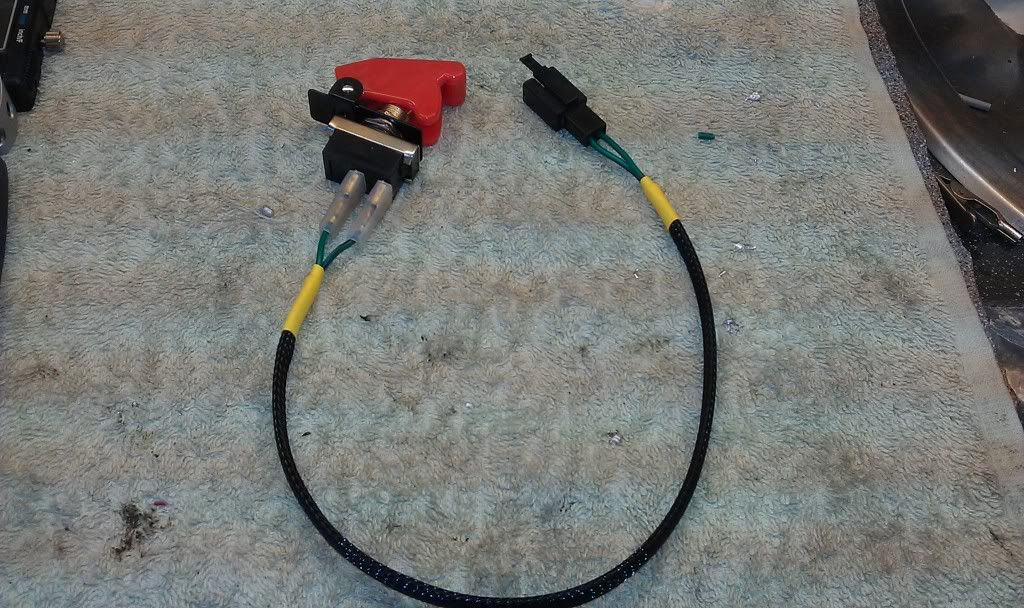
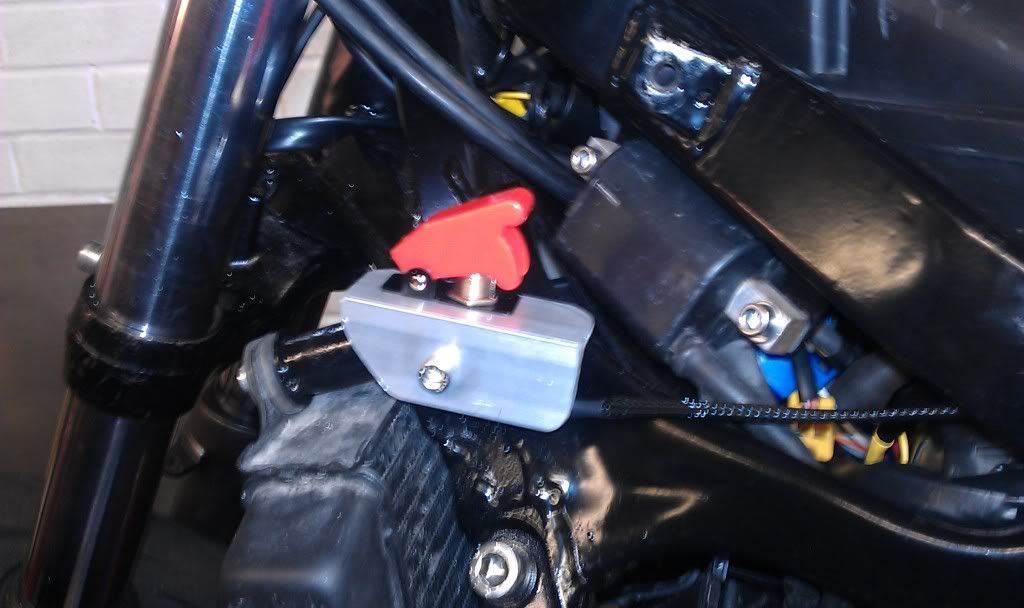
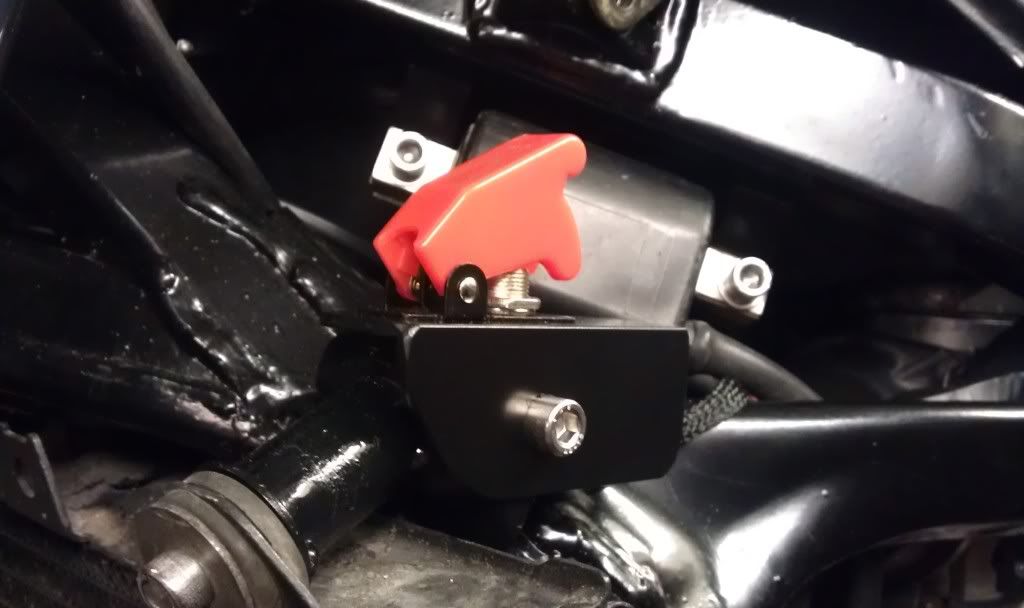
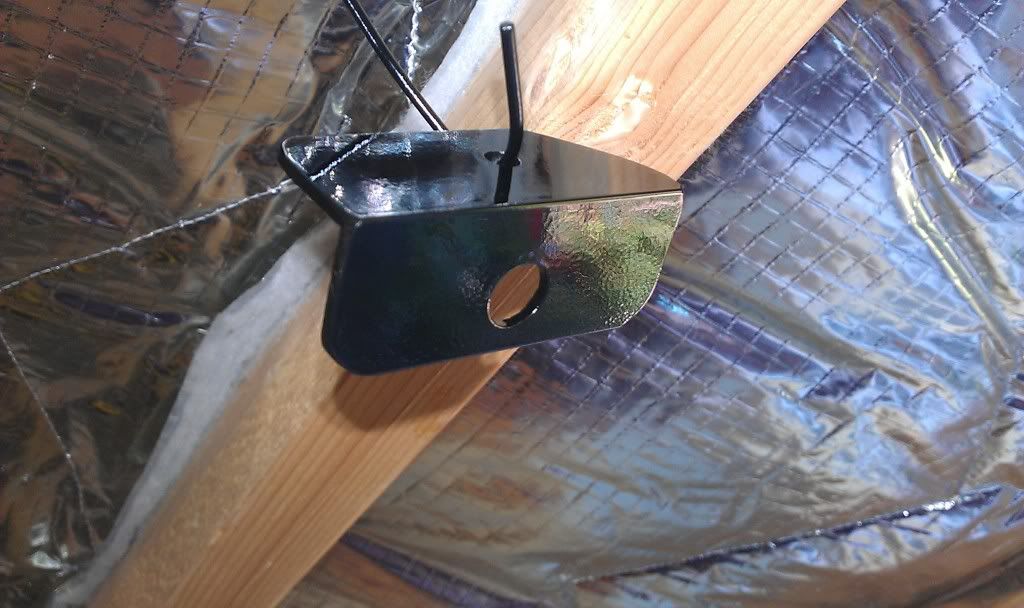
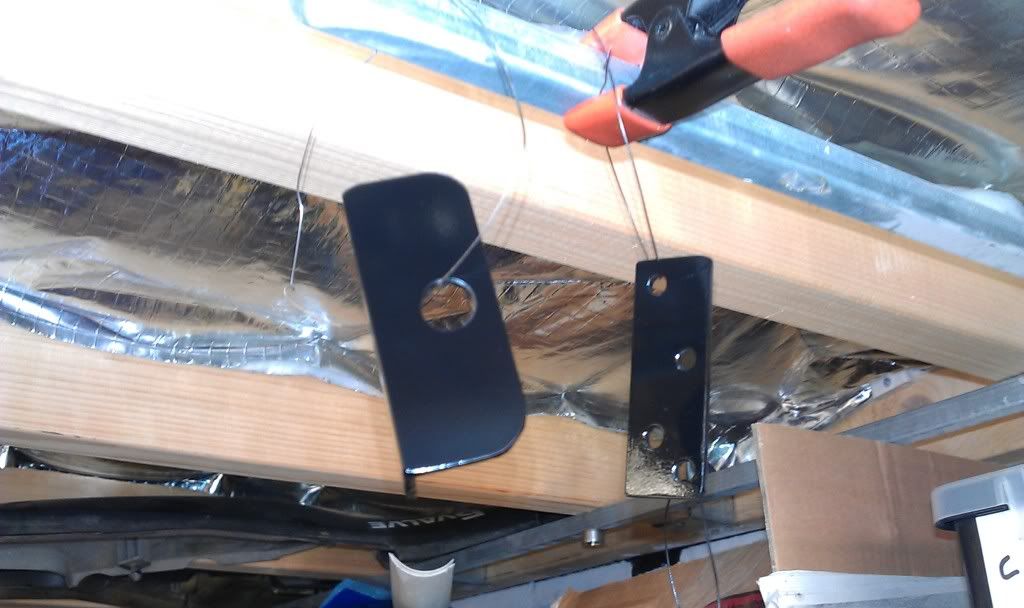
Then gave this and the reserve switch bracket a coat of paint
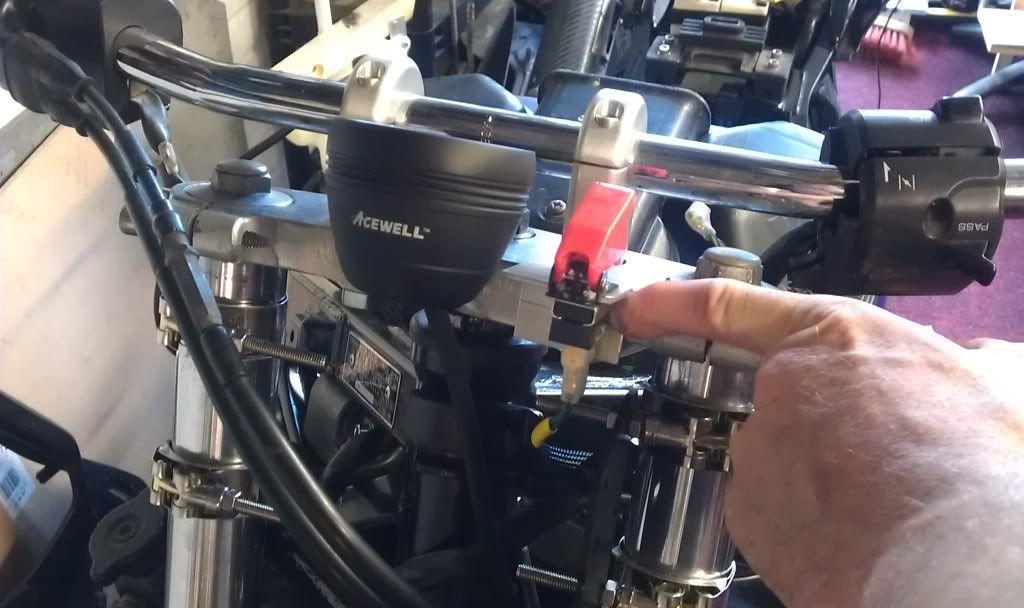
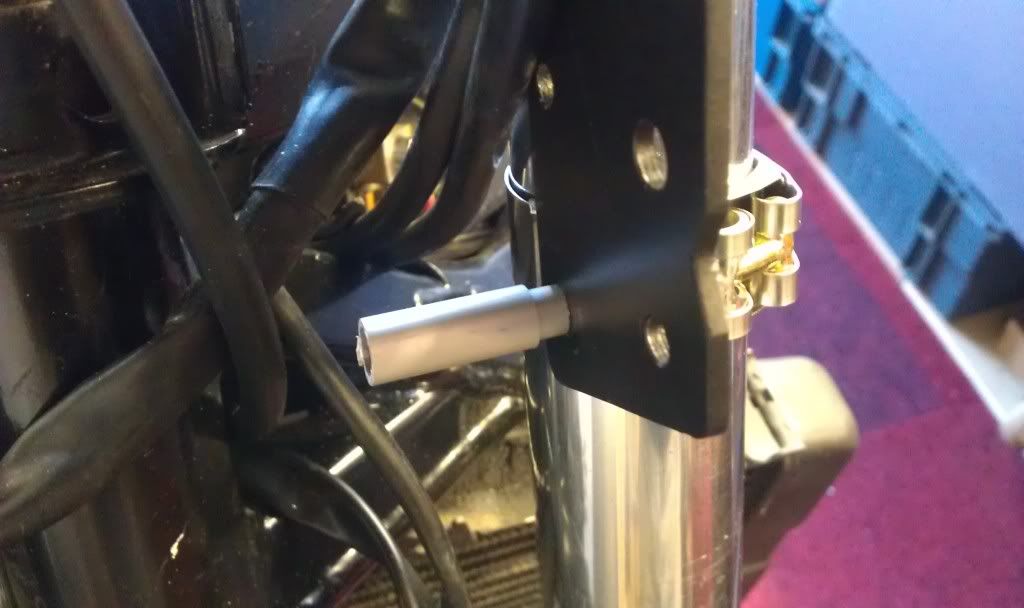
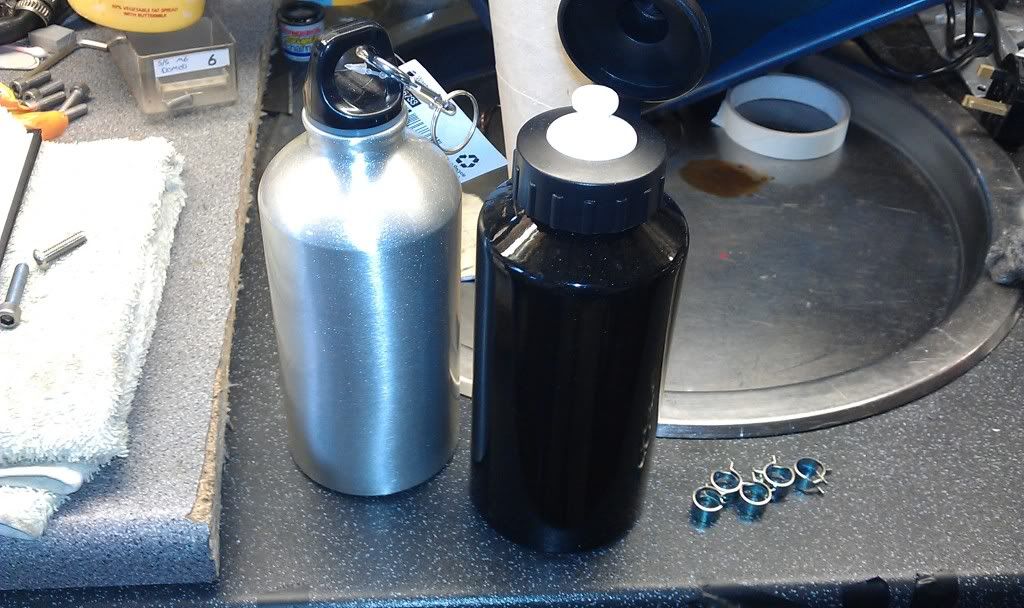
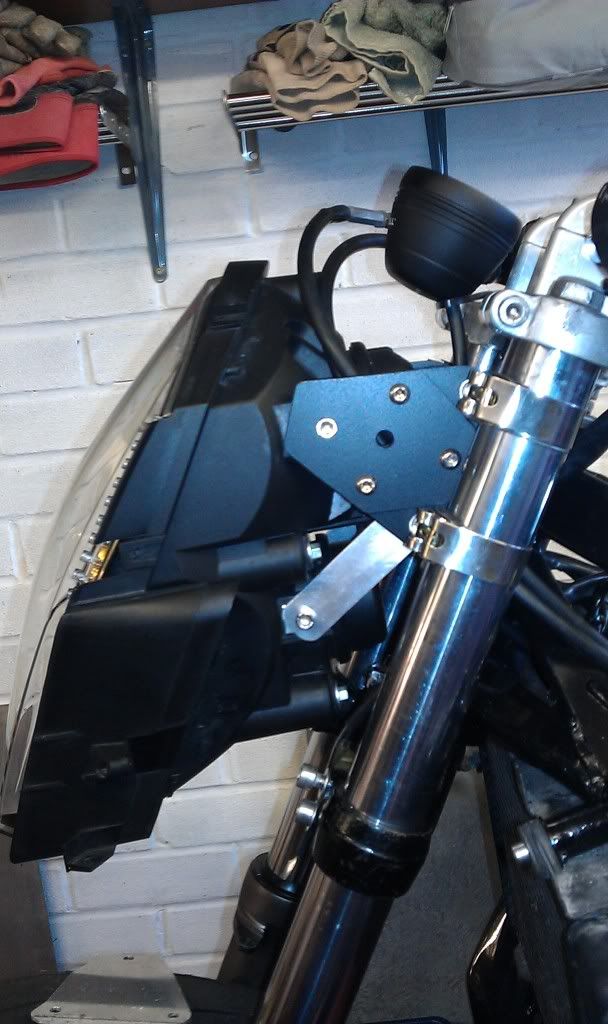
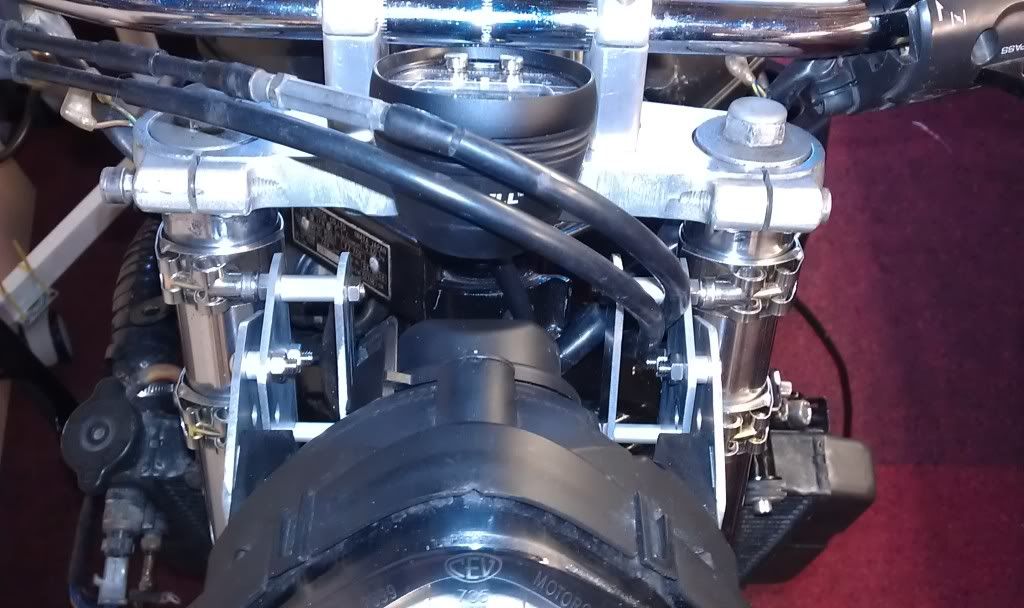
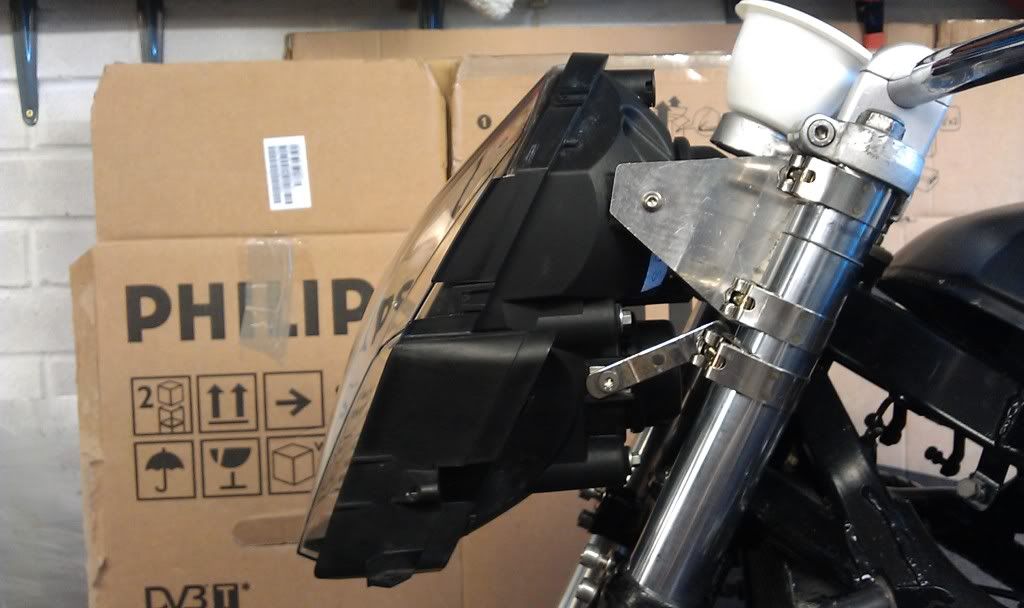
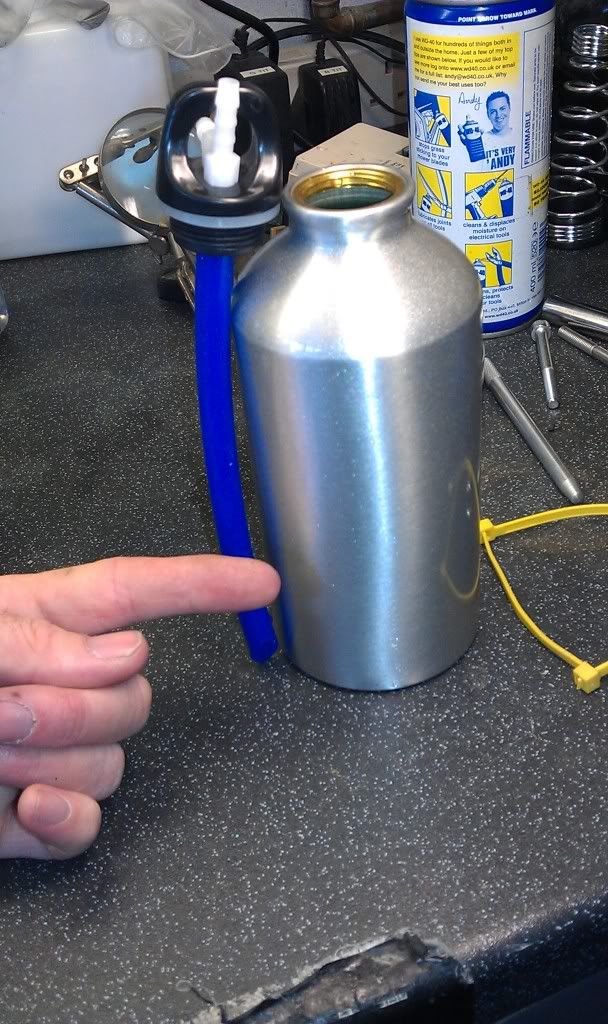
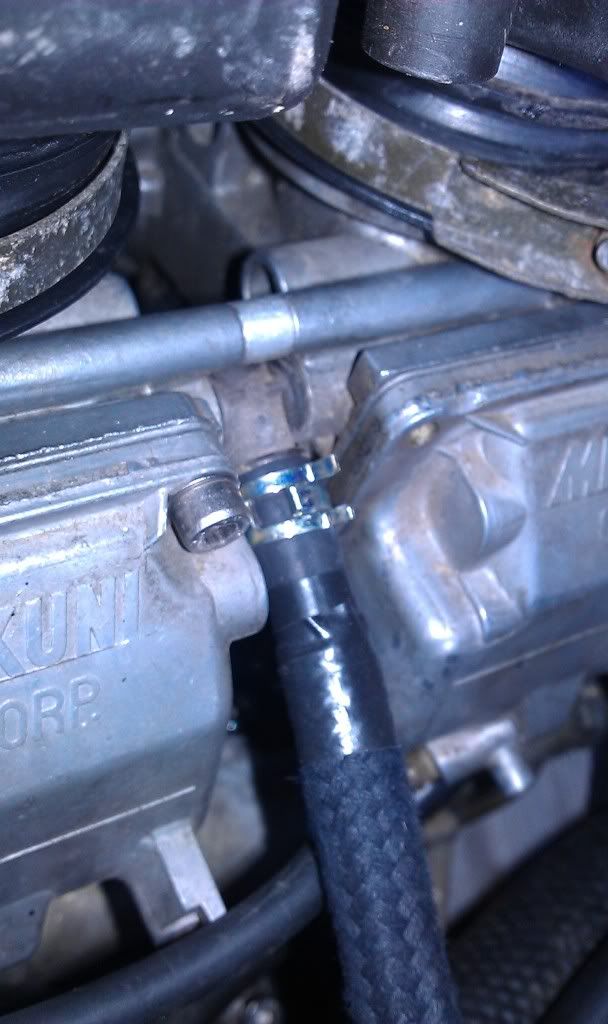
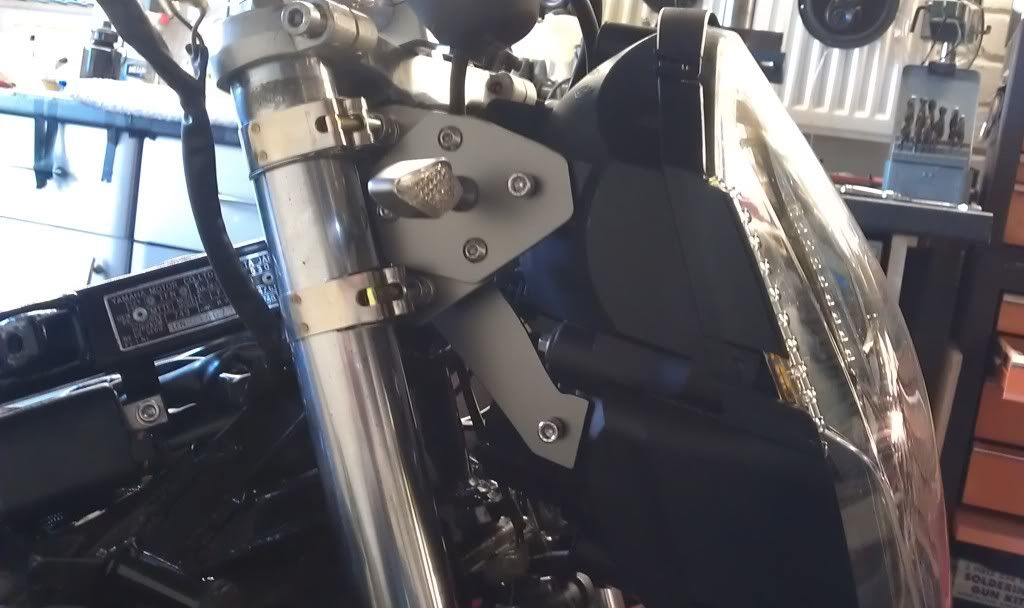
Next I got the cardboard out to make a template for my expansion bottle bracket.
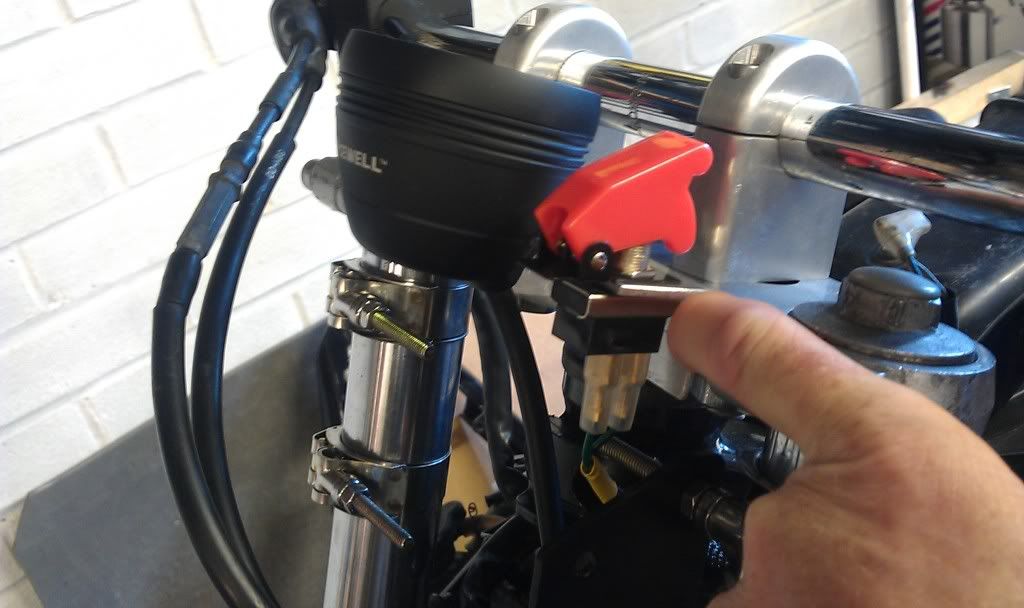
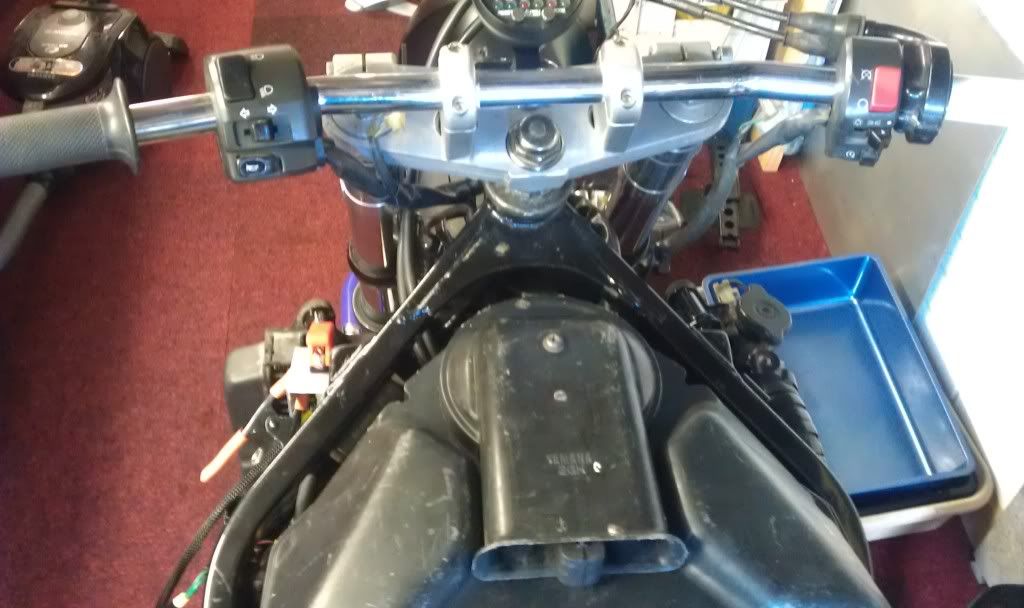
Thought I'd utilise the lower fairing mounting point.
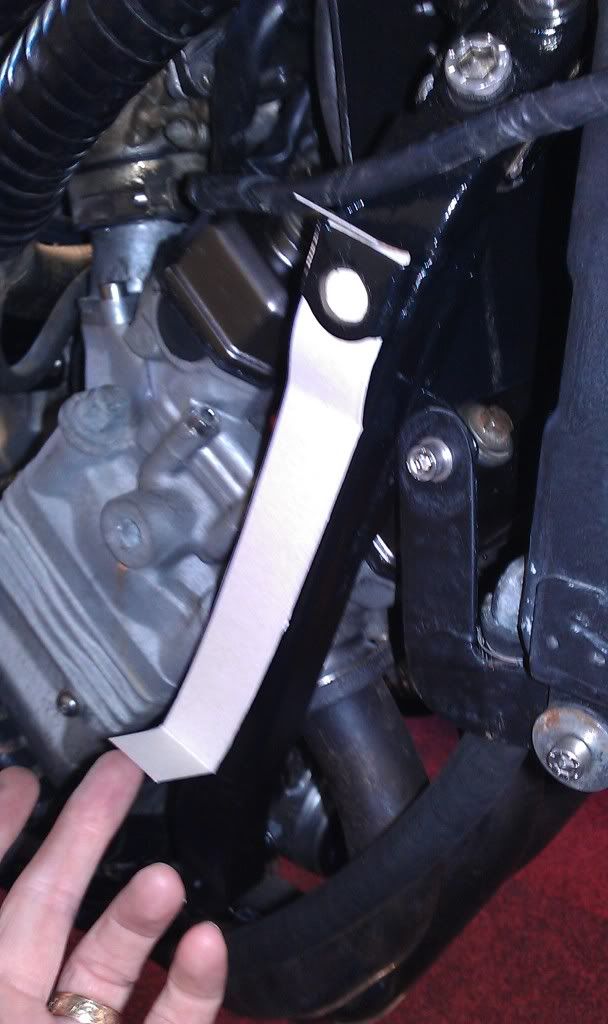
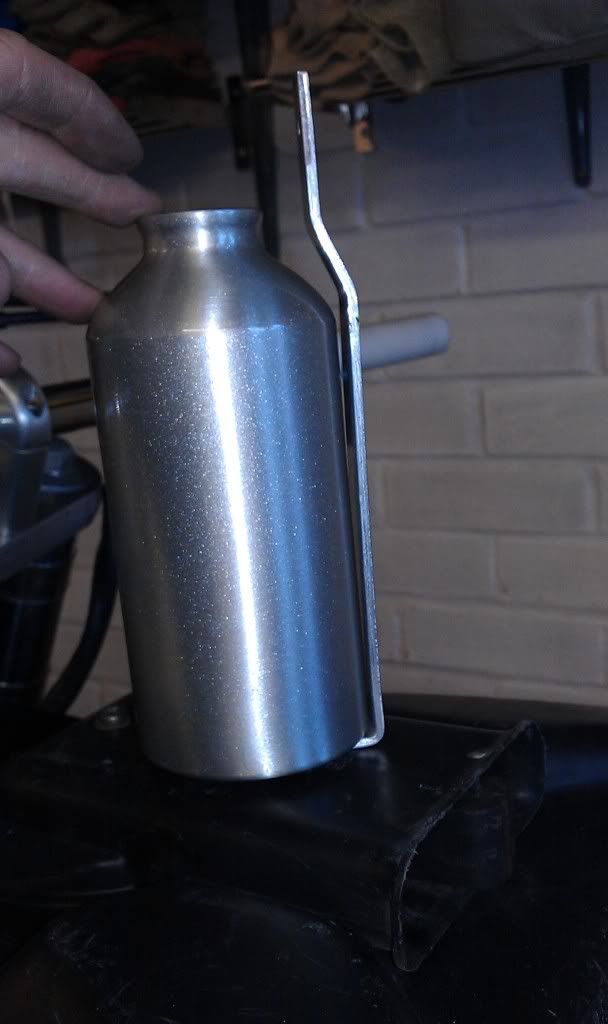
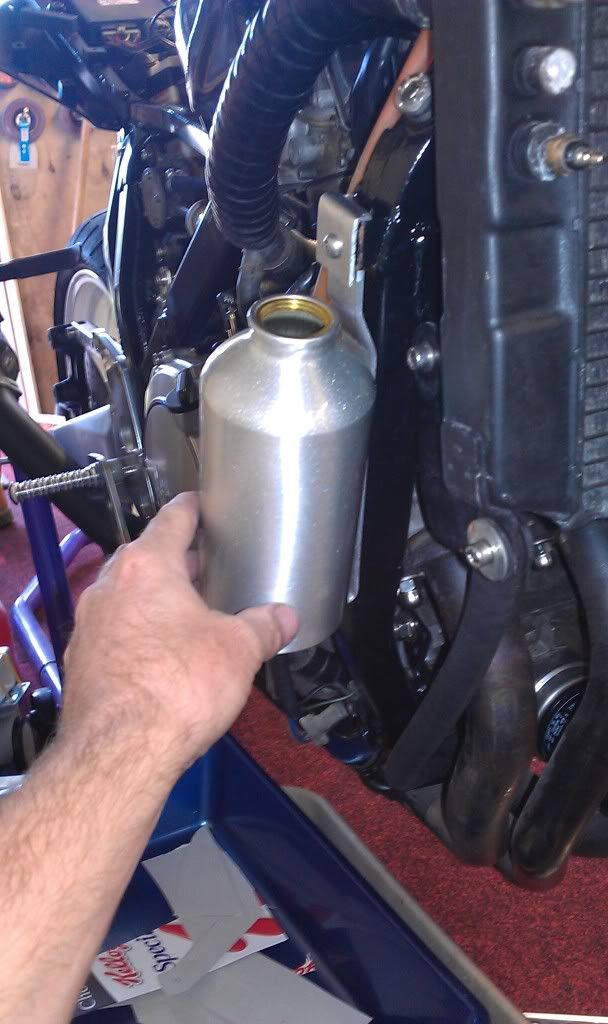
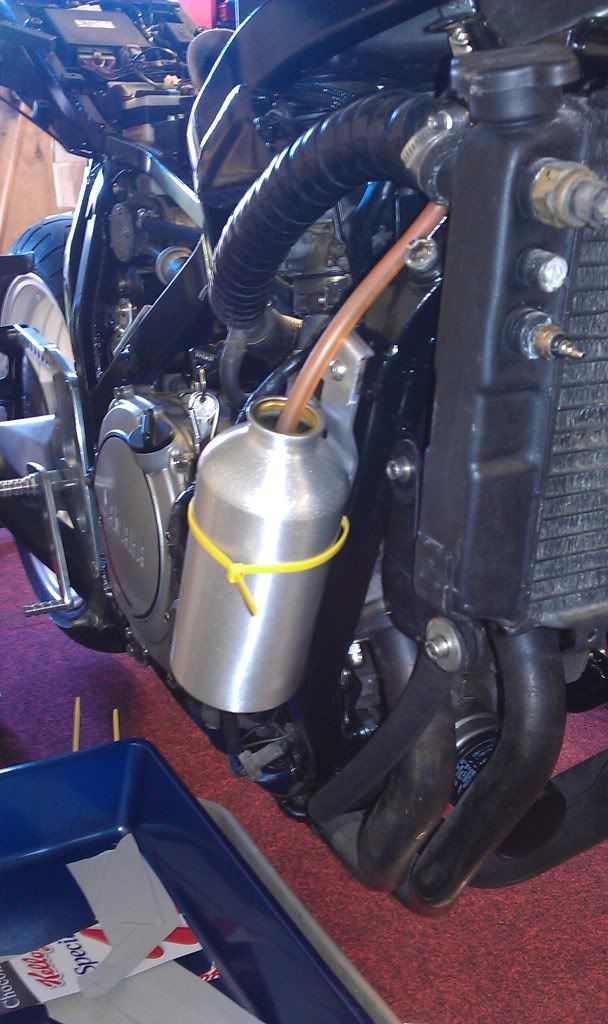
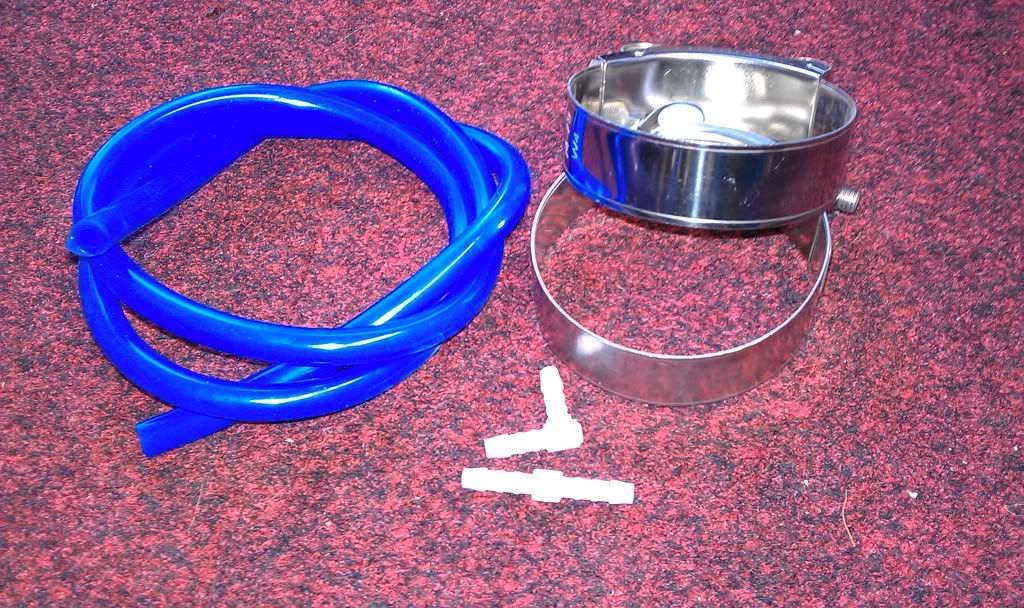
Just need to sort out some proper fittings,I have a lid and the tie wrap is temporary, but I think I'll leave this as ally and not paint it.
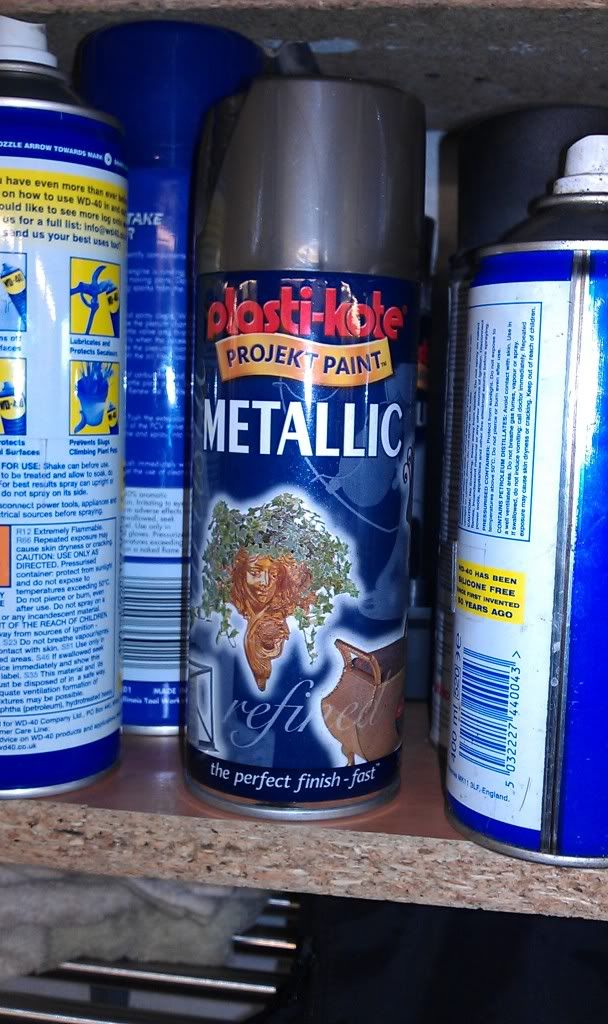
Speaking of paint, the Postie delivered the can of graphite, so off we go.
Bits painted and inside drying.
So thats todays effort, not much to show for a days work but it all takes time.
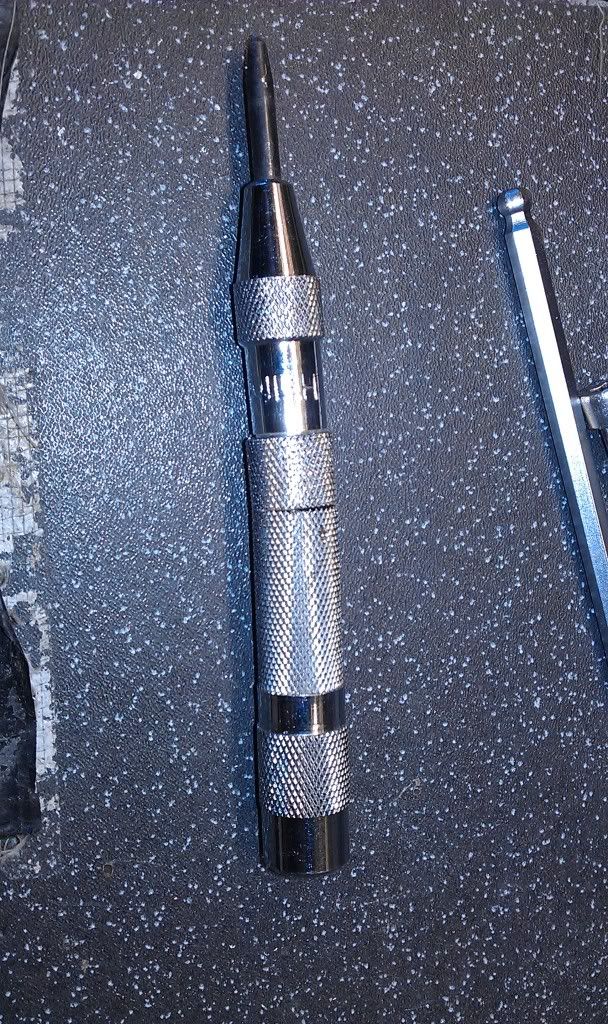
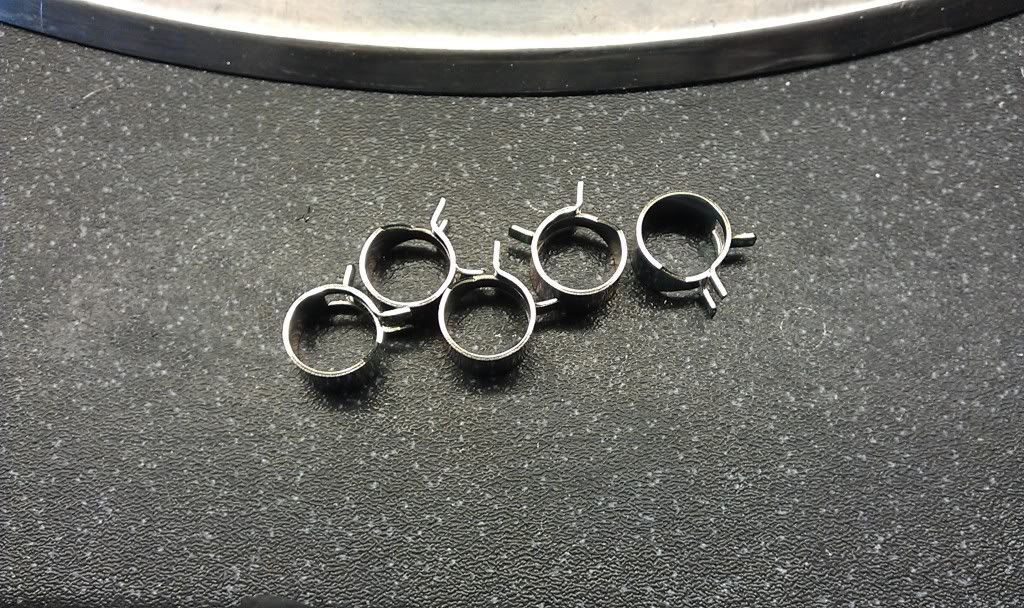
Just need to do some T'interweb ordering for hose and clamps and a new automatic centre punch as mine split!!