Fangs "new" toy!!

Post your pictures here: your bikes, meets you've attended, modifications you've made, x-rays you've had taken...
Post Reply
User avatar
fang
Pit-lane Reporter
Pit-lane Reporter
Posts: 741
Joined: Mon Jun 19, 2006 5:38 pm
Location: Bootiful Norfolk

Post by fang »

Cheers for the input boys, Think I'll stick with the full setup for the meantime and see how it goes once she's on the road.

Anyhow, finished making the fuel light sensor, just need to integrate it into the wiring loom..

Image

Along with the Acewell, but I have notes :unibrow:

Image

Ordered some fuel pipe to replace the mank stuff fitted

Image

But it was a bit "industrial" so got some more appropriate sized instead.
The originally purchased stuff had an ID of 8mm to suit the carb fuel inlet stub but the fuel pump outlet has a 6mm stub, and there aint no way that pipe will be clamped down to fit.

So got some 7mm ID stuff instead, more flexible than the other stuff and fits both stubs with no worries.
Its surprising what 1mm difference can make. :unibrow:
Image
Image
Image
Image

On a seperate note, I have finally decided where to relocate the ignition switch to, after spending the last few weeks trying to find a key operated switch on Ebay that's suitable to the task, I gave up and used the original.

location for switch.

Image
Image
Image

Just need to sort out a suitable bracket.

Image

Decided against that, so went another route.
Out with the cardboard.
Image
Image
Image
Image

After several test fittings of the tank and switch to make sure everything has enough clearance it was time, once again, to wheel everything out of the garage for welding :rolleyes:

Image
Image
Image

Once welded, the obligatory coat of protective black paint is applied.

Image
Image

Also to the other half of the bracket, just need to let it dry before re-assembly.

Image

Then the Postie delivered the replacement fuel sender, which works this time.

Image

So I now have everything needed to finish the fuel light side of the electrical system, and once the ignition switch wires have been extended, that should be the wiring done too. :D

Happy days :lol:
Never Ever Bloody Anything Ever!!!
User avatar
fang
Pit-lane Reporter
Pit-lane Reporter
Posts: 741
Joined: Mon Jun 19, 2006 5:38 pm
Location: Bootiful Norfolk

Post by fang »

So, done a bit more, thought I'd get the fuel sender sorted out.

Level out
Image

Parts removed

Image

New sender installed and awaiting testing :D

Image

Next I had to remove a bit of ally from around the ignition switch mountings so I could get a thin walled socket in there to tighten the nylock nuts.

Image

Image

Then set about lengthening the ignition switch wires.

Image

Got some overbraid to make it look neat.

Image

Finished article!

Image

Stainless bolts arrived so I could install the switch

Image

But I was sent 90mm bolts not 60mm bolts that I ordered, and can't cut them down, so replacements are on the way, FOC :D

Image

Sorted out my reserve switch

Image

Image

But thinking about it, though it look neat and descrete, its gonna be akward to flick with a bike glove on cos of its size, and its on the wrong side, so a replacement is on its way!!

And I have spent most of the afternoon soldering the connections for the Acewell in, its time consuming, but theres not much to show for it!!

Acewell wired in

Image

Ignition switch wired in (the 4 non terminated wires between the two are for the fuel light sender unit, awaiting connector block :D )

Image


On the plus side, everything that can be tested works (although I still have to install the fuel tank and fuel light sender) so things are going in the right direction.
Never Ever Bloody Anything Ever!!!
User avatar
fang
Pit-lane Reporter
Pit-lane Reporter
Posts: 741
Joined: Mon Jun 19, 2006 5:38 pm
Location: Bootiful Norfolk

Post by fang »

Got home today to find out that my co-workers (Royal mail) had lived up to there side of the bargain and delivered this lot.

Image

so with the right length bolts I could install the ignition switch.

Image

Image

Nicely tucked out of the way so shouldn't smack my knee on it :D

Image

Then set about installing the fuel light unit.

Image
Image
Image
Image
Image

Next on the list was to replace the reserve switch with something a little larger.

Image

So using the connecter block from the replacement fuel sender ( waste not want not :D ) a new switch was constructed.

Image

Image

overbraid. like fishnet stockings on your wiring :lol:

Image

This will be where I install it, just need to make a bracket.

The bonus being that when reserve is on the switch is in an obvious position as a visual reminder.

Fuel on

Image

Reserve position

Image

So just need to tidy up the wiring and I can move on to something else.

Image

just as a curious aside, I checked all the lights on the Acewell, high beam, indicators, nuetral light all work.
But to check the oil light I turned the kill switch off and pressed the starter button, but curiously this also lit the Fuel light "hazzard symbol"
see pics

ignition on, nuetral light on
Image

kill switch off, starter button pushed, oil and "fuel" hazzard led lit.

Image

Never had a YZF750 (as this is the wiring loom and gubbins fitted) so don't know if this is normal, or if its a spurious result because I'm using a temporary battery thats simply for testing the circuits.
As I dont recall this being the case when I tested the theory, but then it could be because the tank isn't connected yet....we'll see in due course :D
Never Ever Bloody Anything Ever!!!
User avatar
Stig
Site Admin
Site Admin
Posts: 11786
Joined: Wed Sep 28, 2005 7:54 am
Location: Searching for my bike

Post by Stig »

ha! Someone who's done less miles than me :D :p :p :p
AKA Bald headed b'stard
User avatar
Stig
Site Admin
Site Admin
Posts: 11786
Joined: Wed Sep 28, 2005 7:54 am
Location: Searching for my bike

Post by Stig »

oh, and just a note...make sure the key dont rattle out the ignition when its turned to the on postion :idea:
AKA Bald headed b'stard
User avatar
fang
Pit-lane Reporter
Pit-lane Reporter
Posts: 741
Joined: Mon Jun 19, 2006 5:38 pm
Location: Bootiful Norfolk

Post by fang »

Stig wrote:oh, and just a note...make sure the key dont rattle out the ignition when its turned to the on postion :idea:
Thankfully the ignition switch is in pretty good shape so the key remains in the lock securely when turned on.

That was the problem with all the other keyed switches I looked at, because they are designed for use on alrm systems etc, the key can be removed in both positions, so would fall out in use!!! :lol:
Never Ever Bloody Anything Ever!!!
User avatar
fang
Pit-lane Reporter
Pit-lane Reporter
Posts: 741
Joined: Mon Jun 19, 2006 5:38 pm
Location: Bootiful Norfolk

Post by fang »

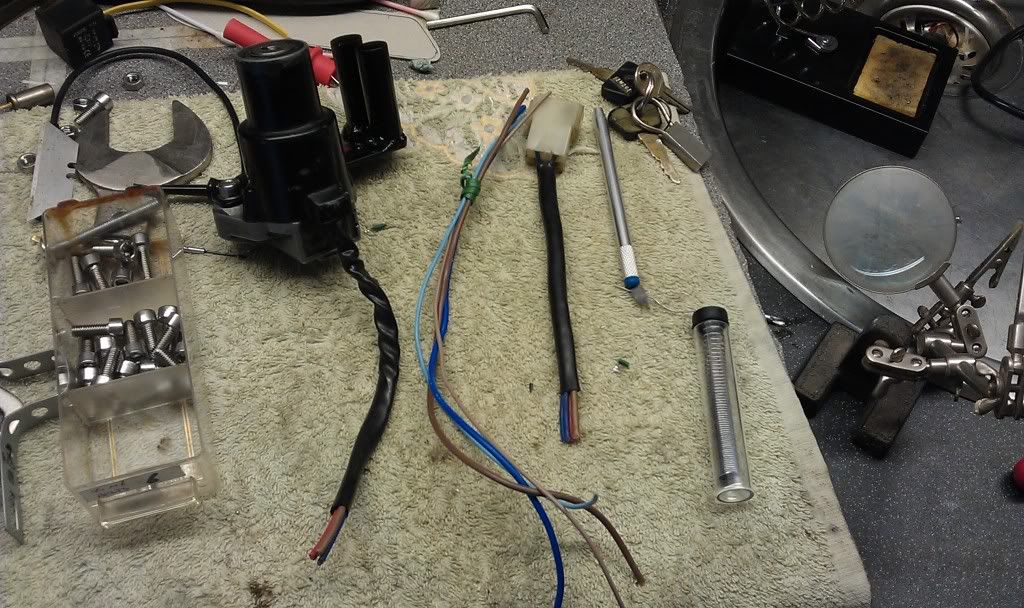
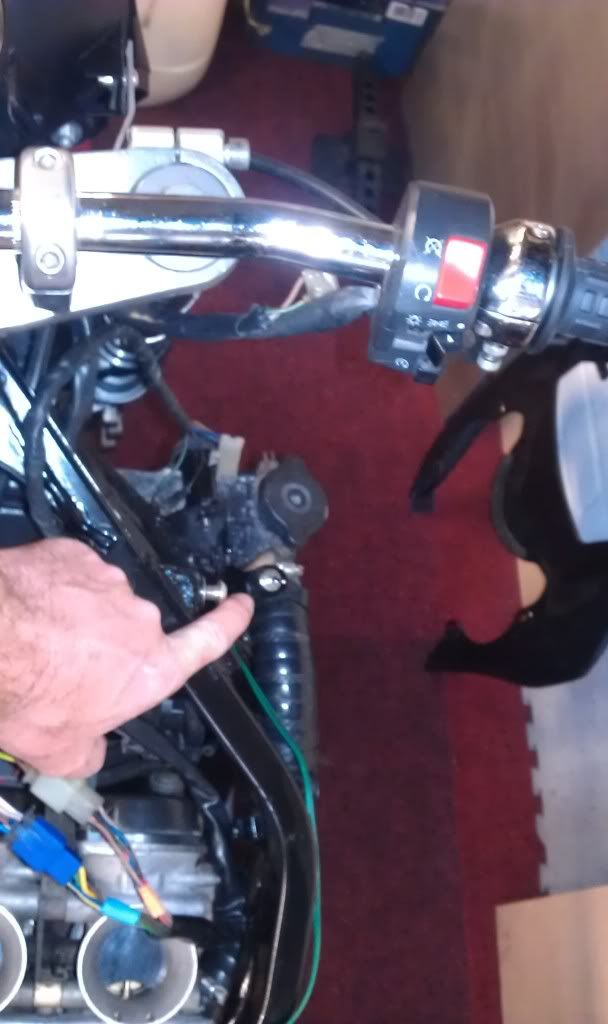
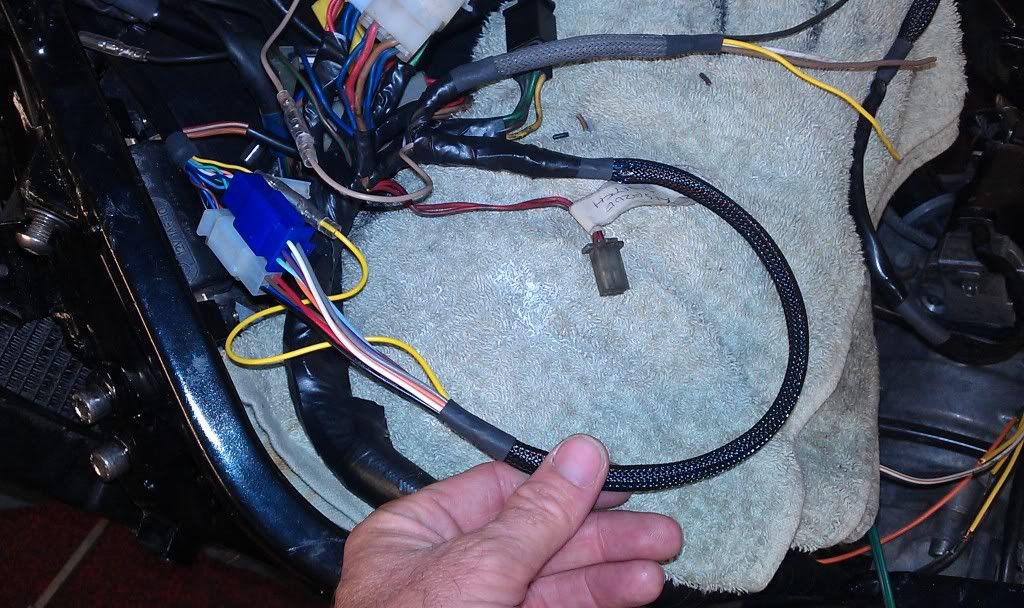
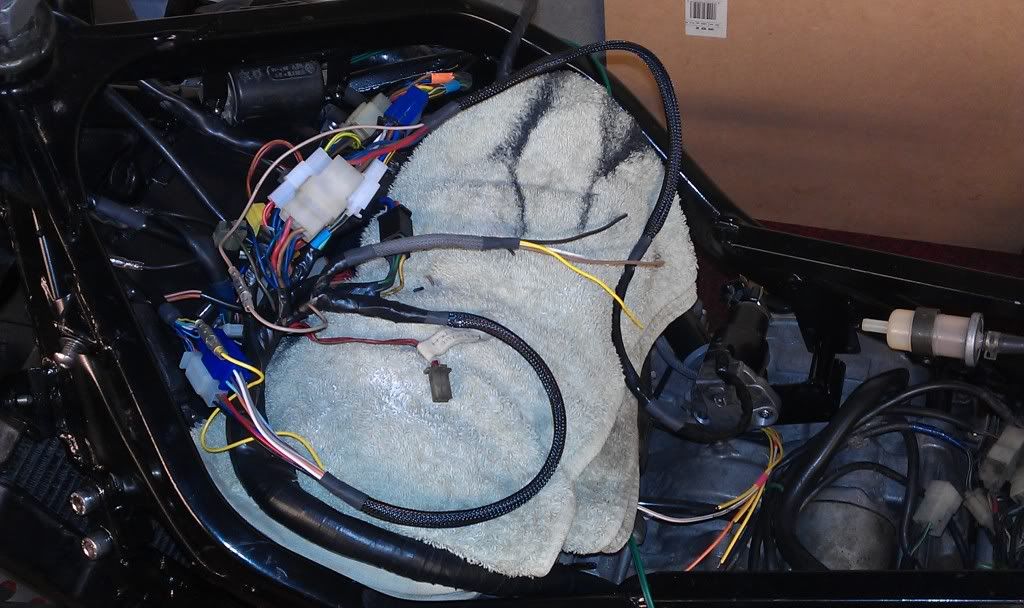
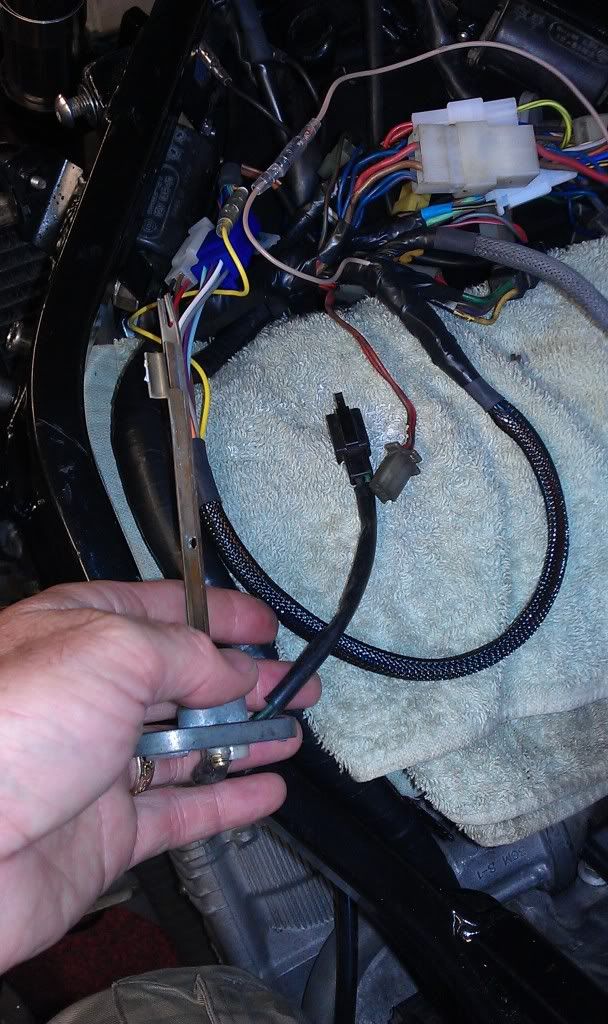
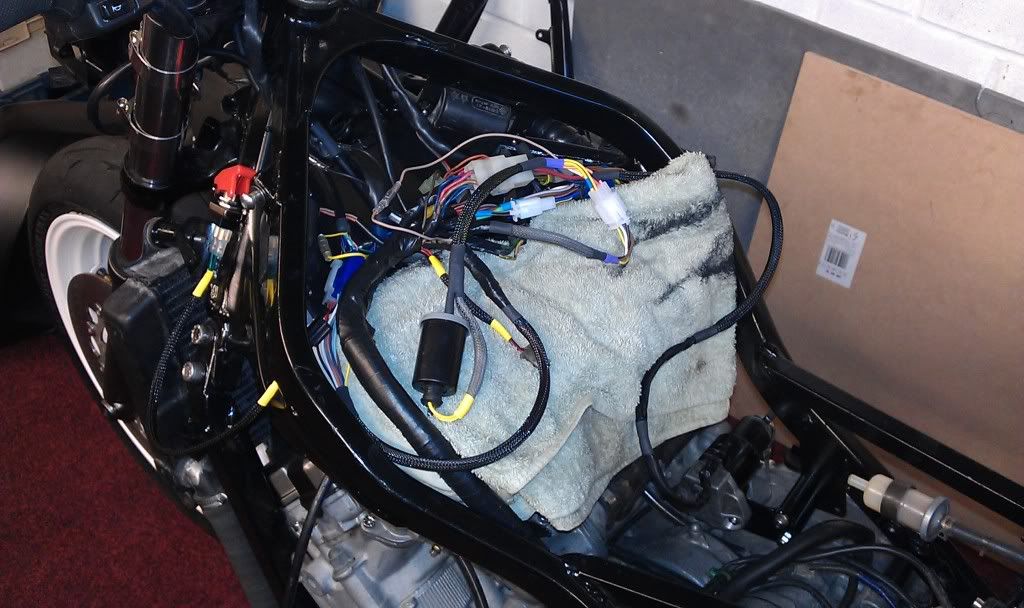
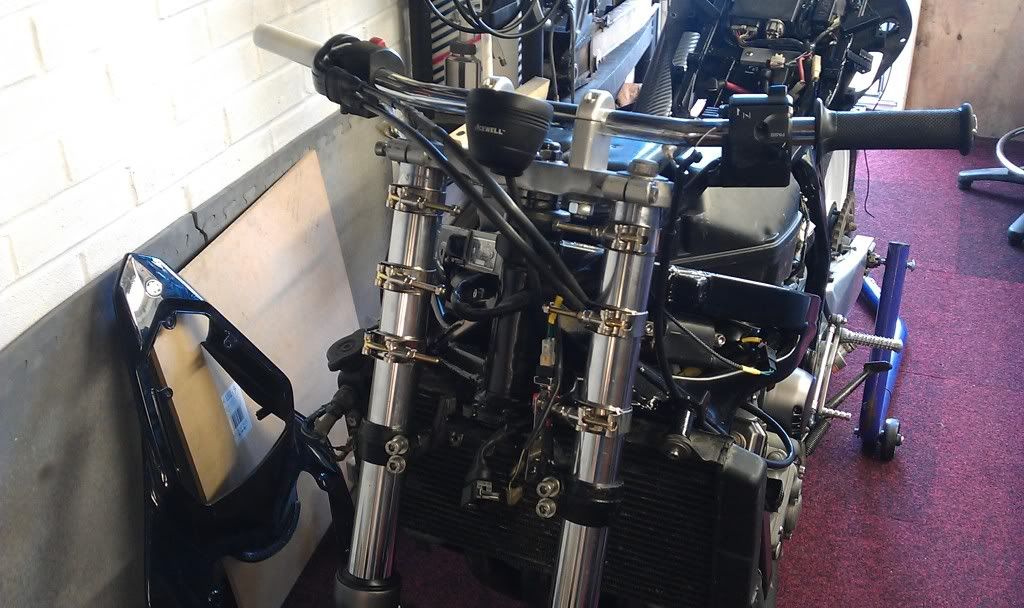
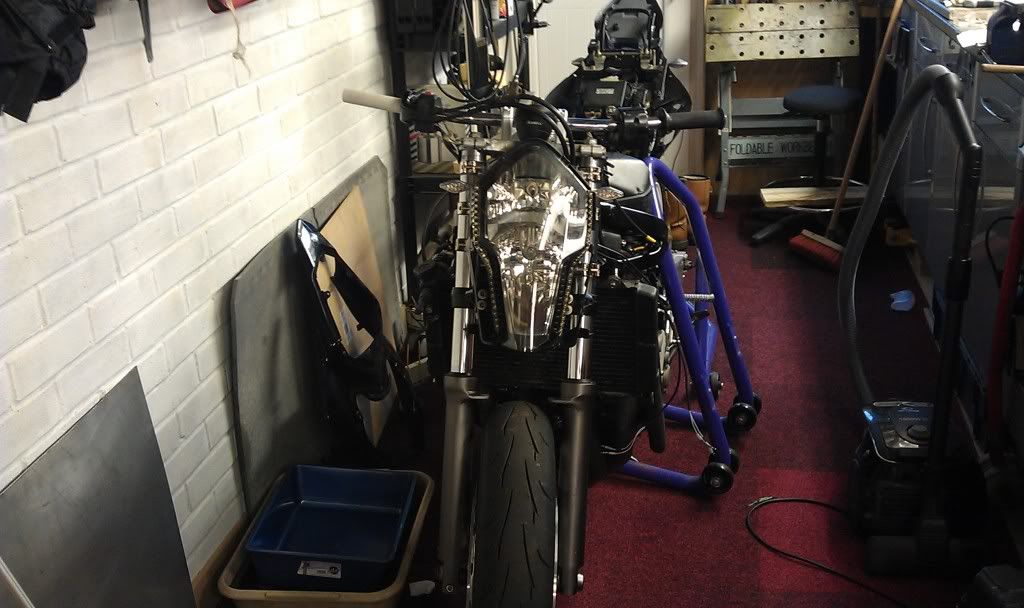
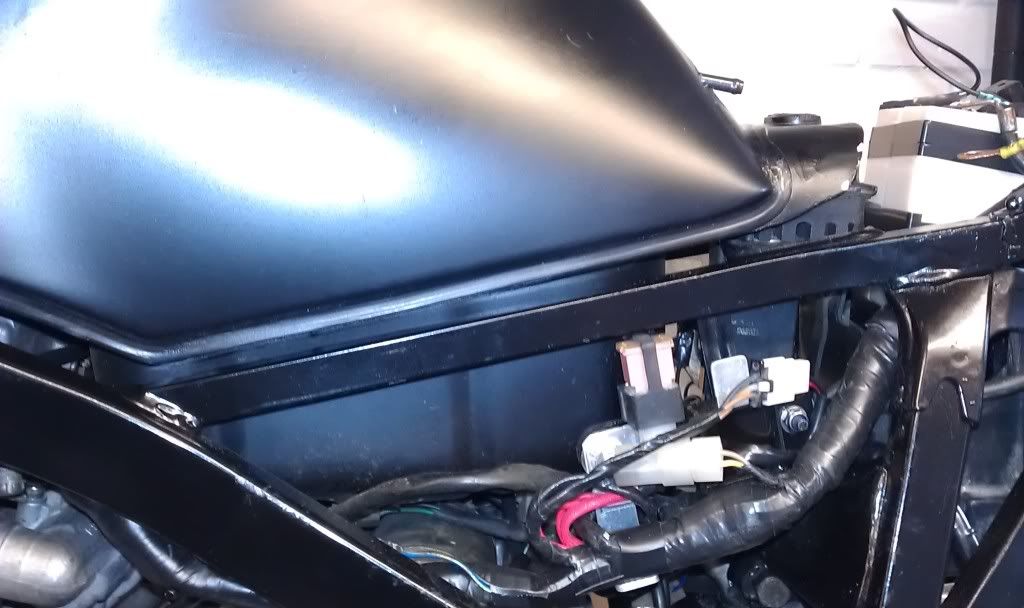
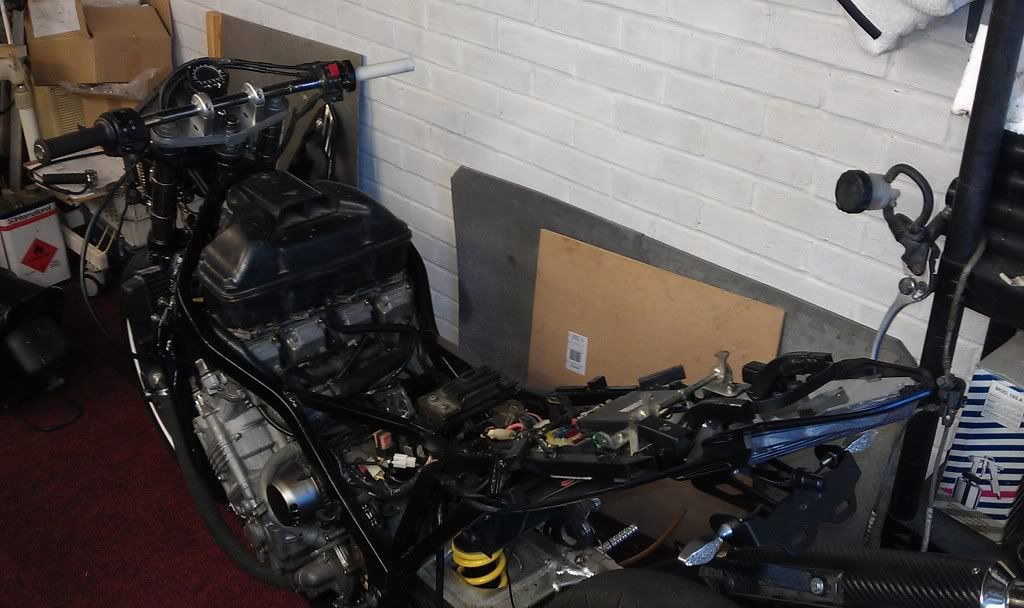
So, had a go at tidying up the wiring and decided to change the throttle for the original one the was on my Exup (fitted a quick action one a few years back) as the one that came with the FZ has a frayed cable.
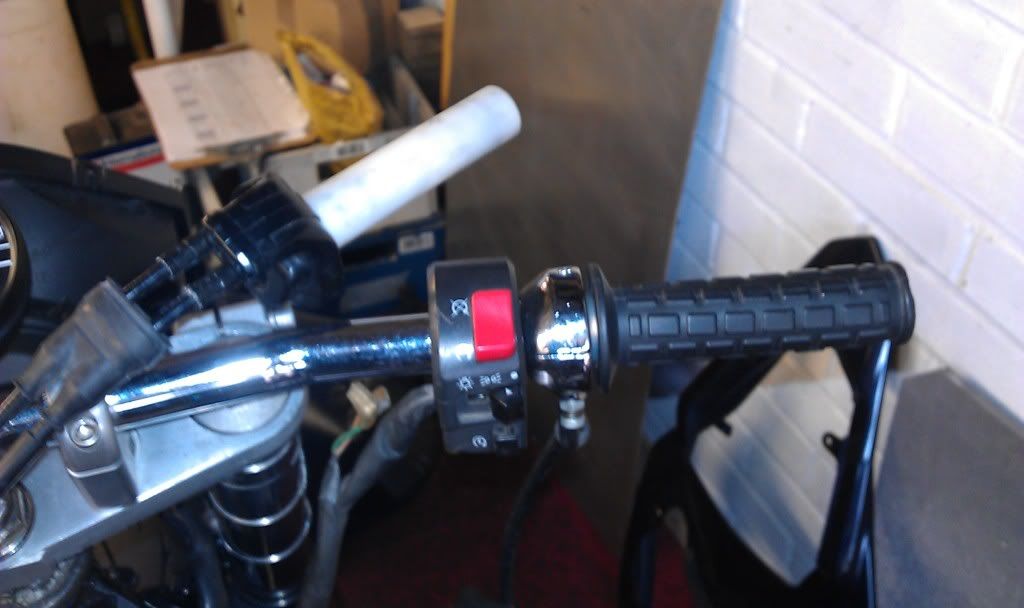
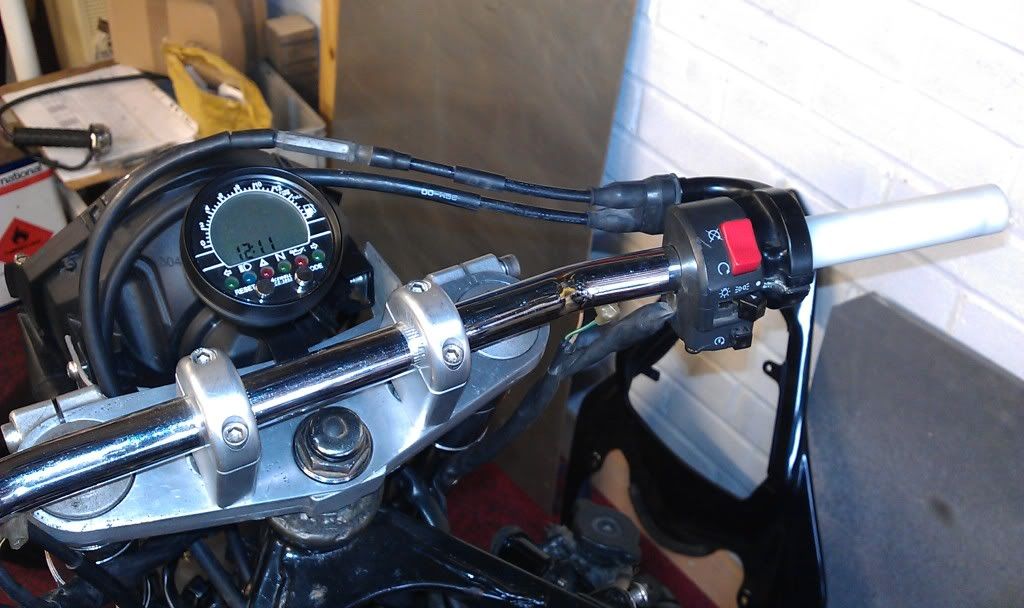
Image


Image

Wiring tidied, ish!

Image


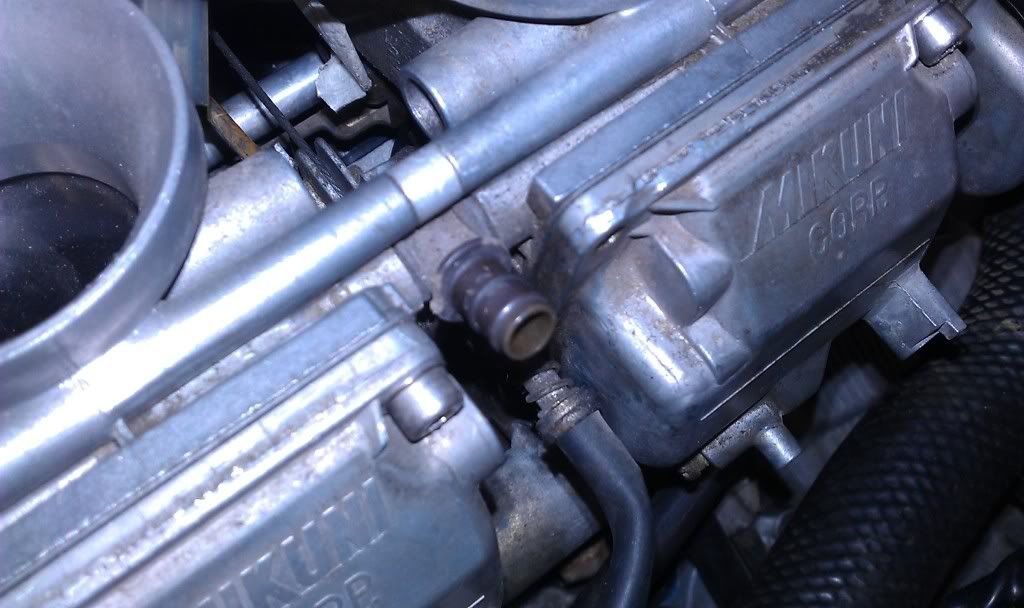
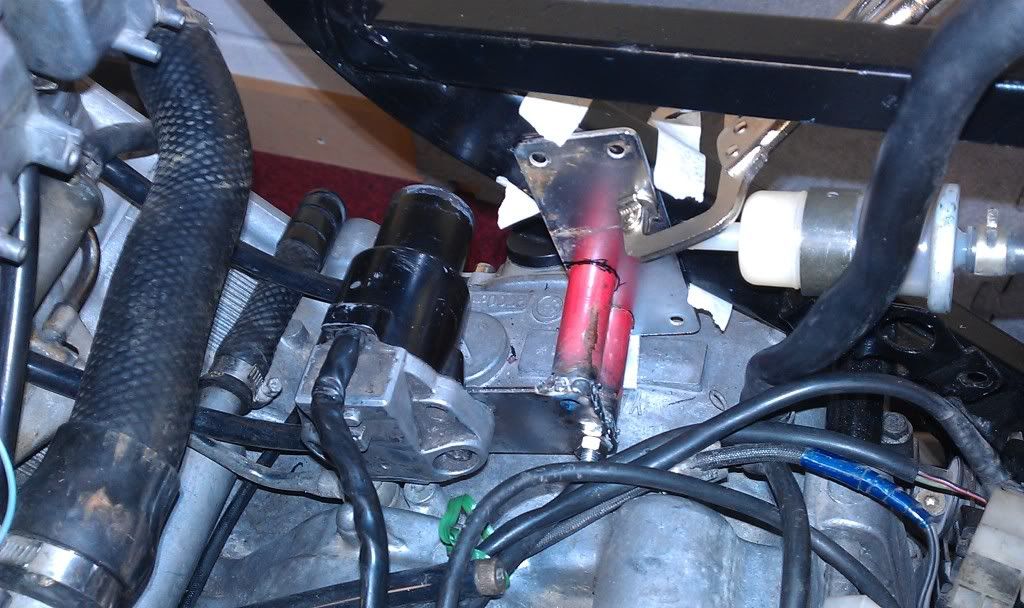
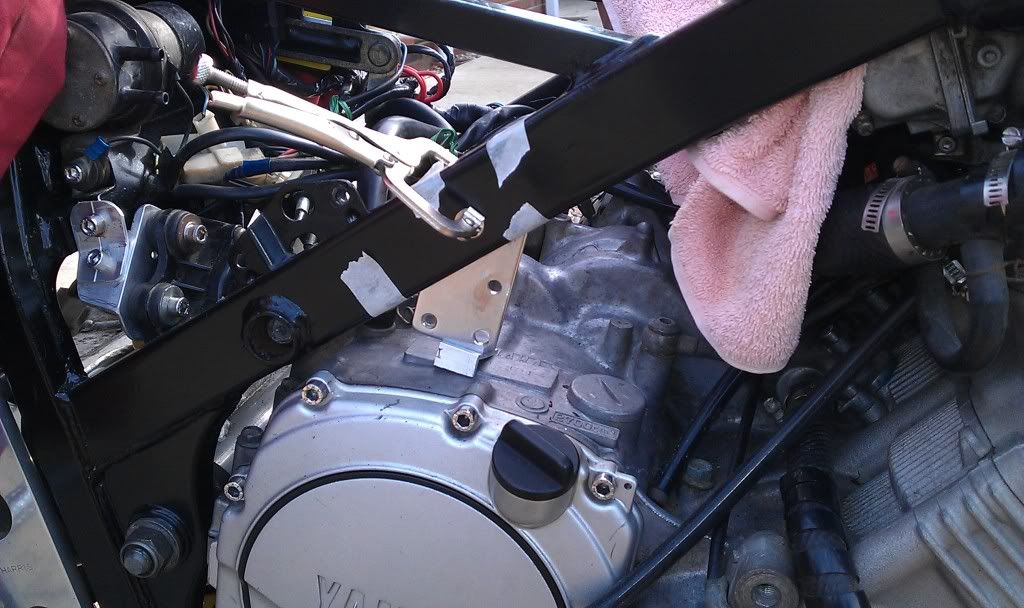
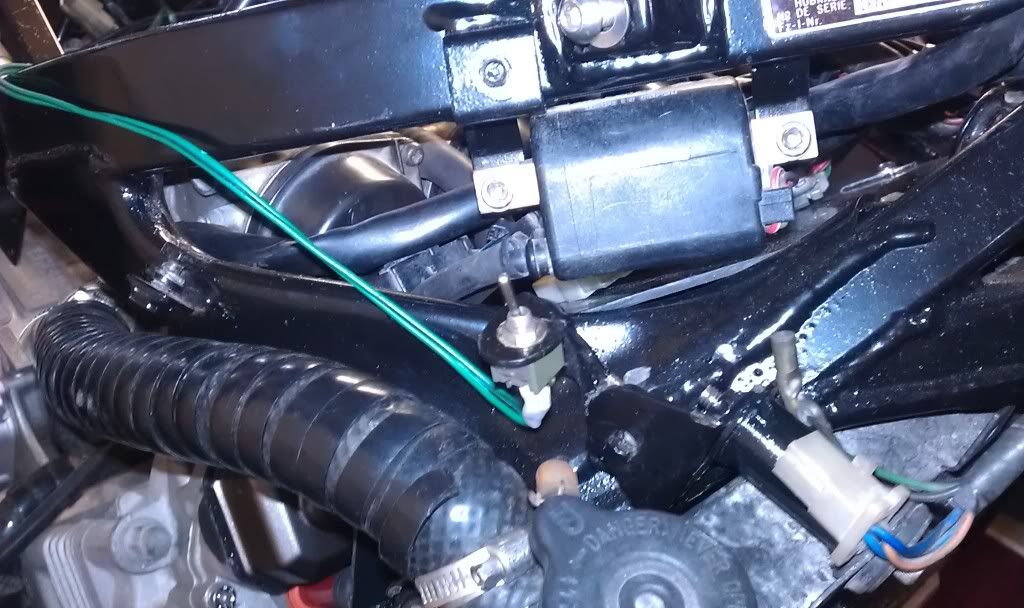
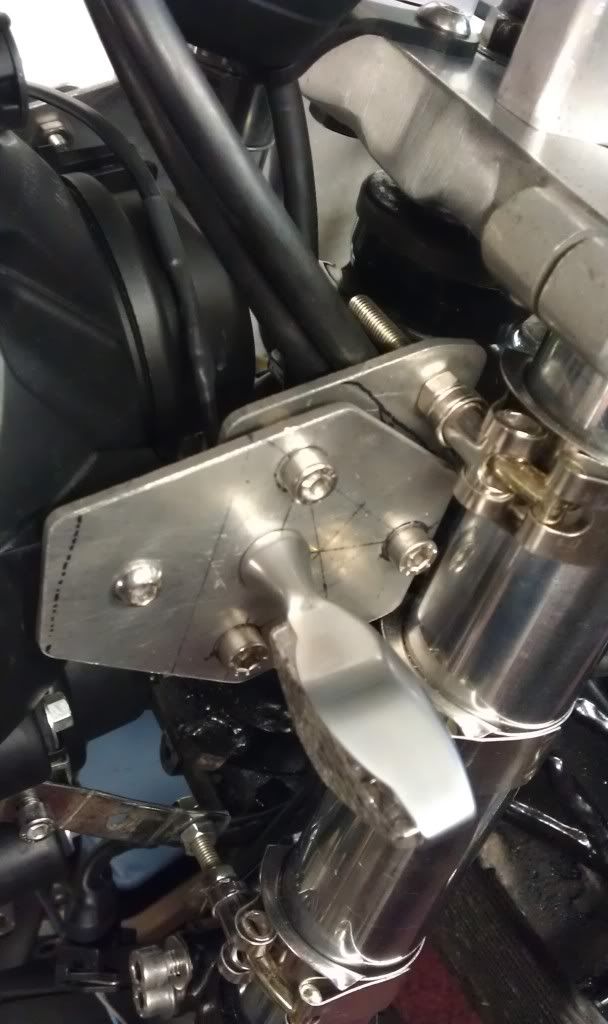
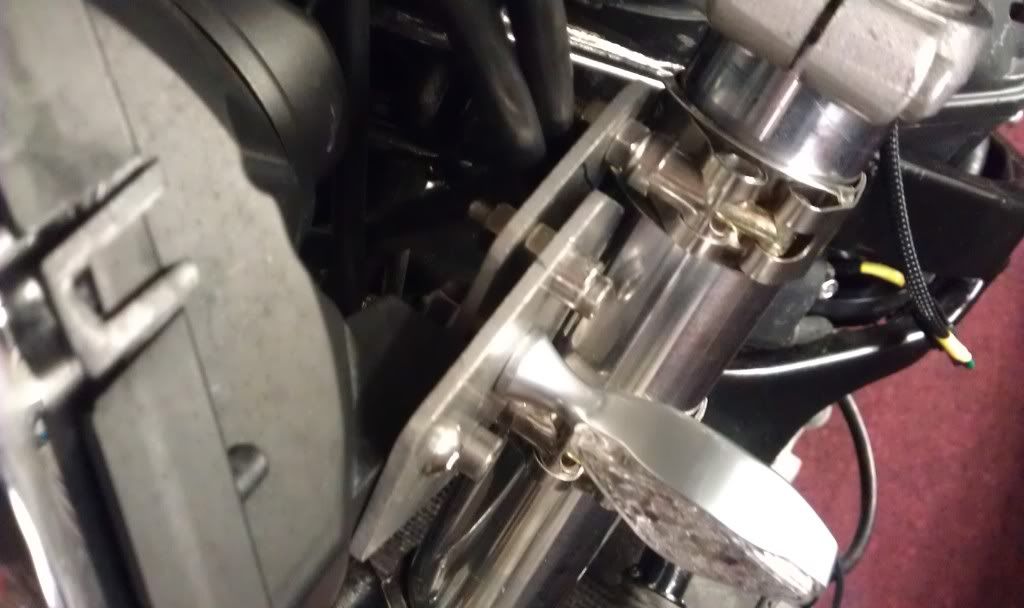
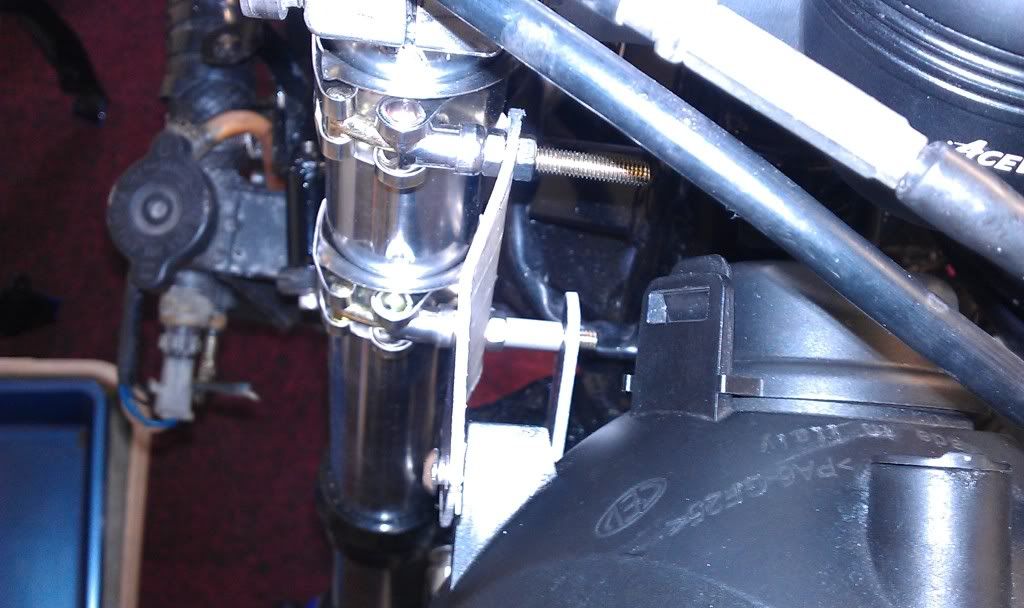
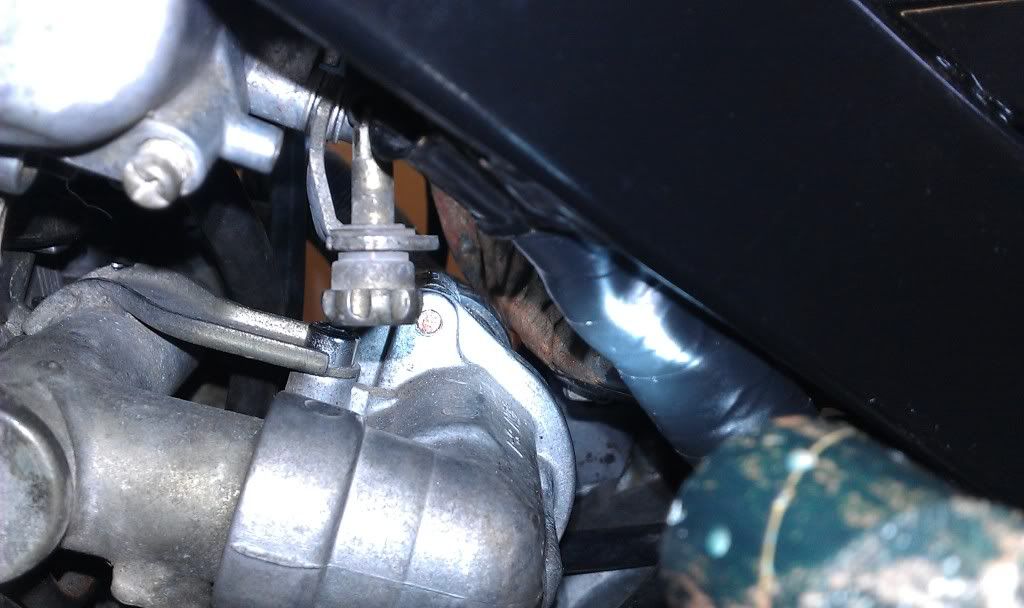
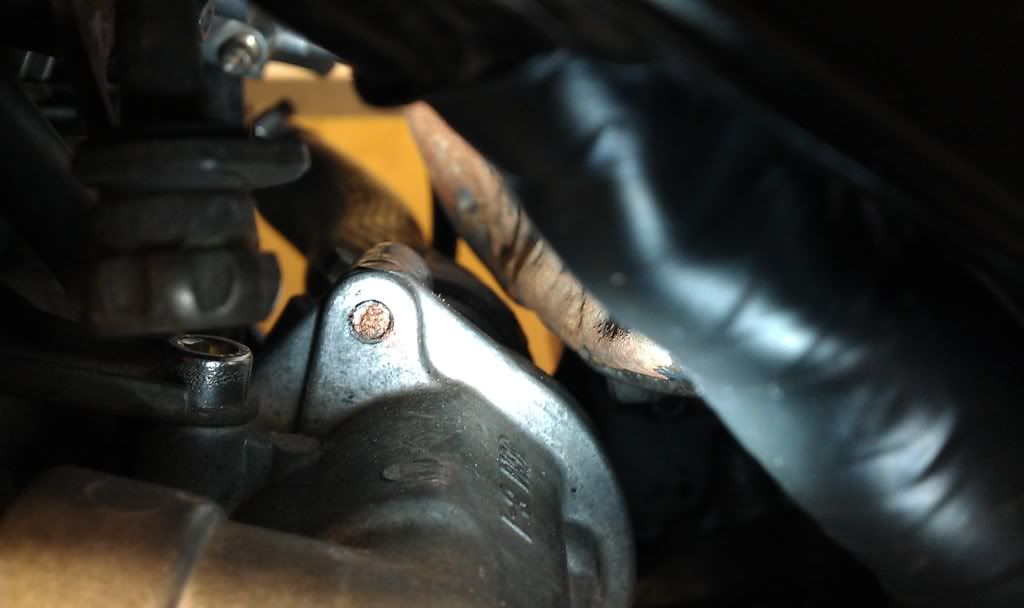
Whilst playing with the fuel tank it became obvious that the engine seems to sit in the frame slightly higher than it did in the other frame as the "modified" bottom of the tank no longer clears the thermostat housing!
Maybe the other frame WAS twisted??

Not obvious but tank is touching thermostat housing.

Image

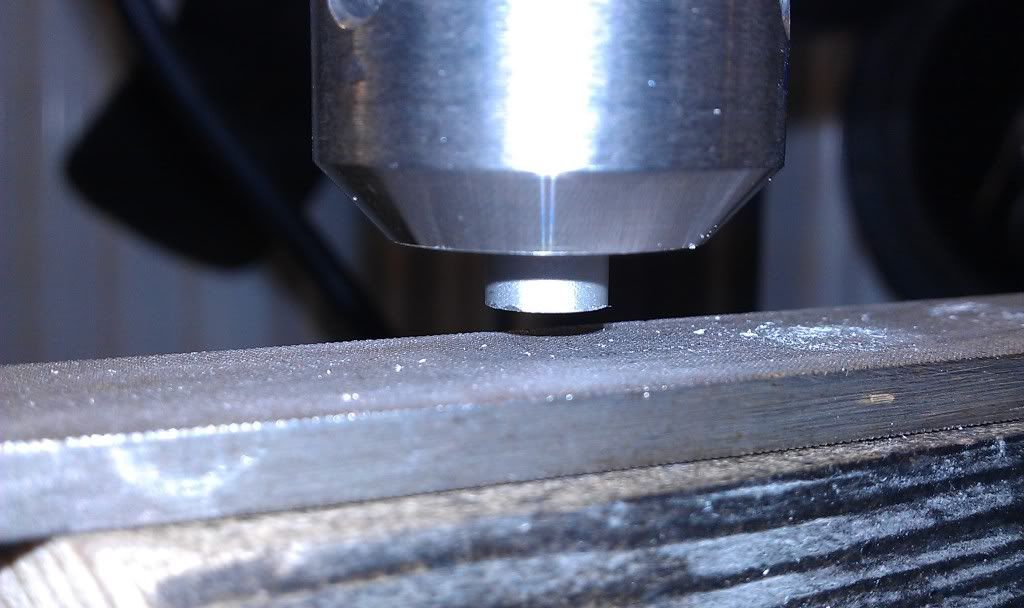
So to alleviate this situation the rear of the tank needs lifting.
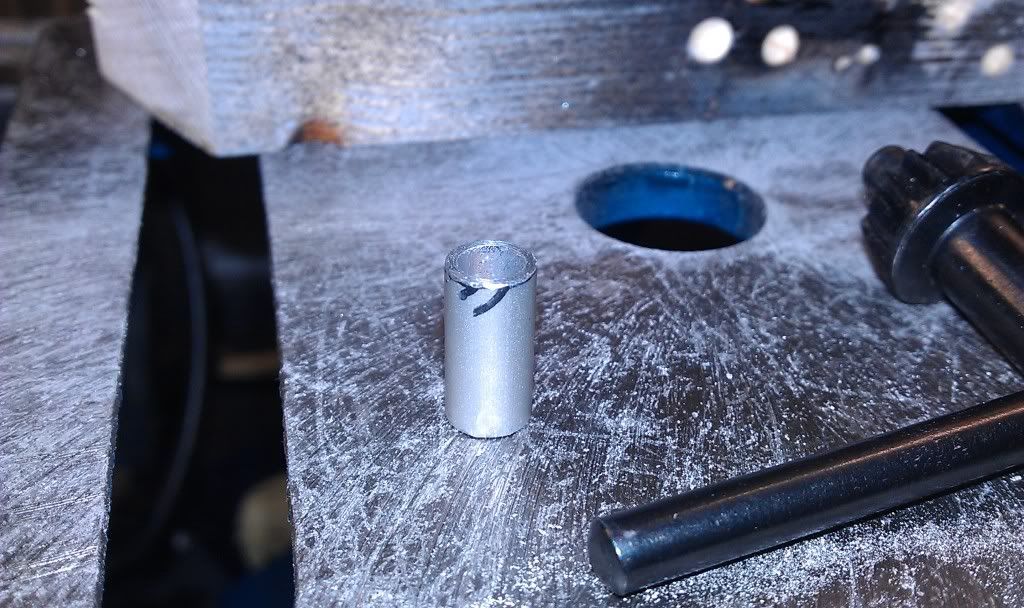
Easy enough to do, just re-arrange some spacers.
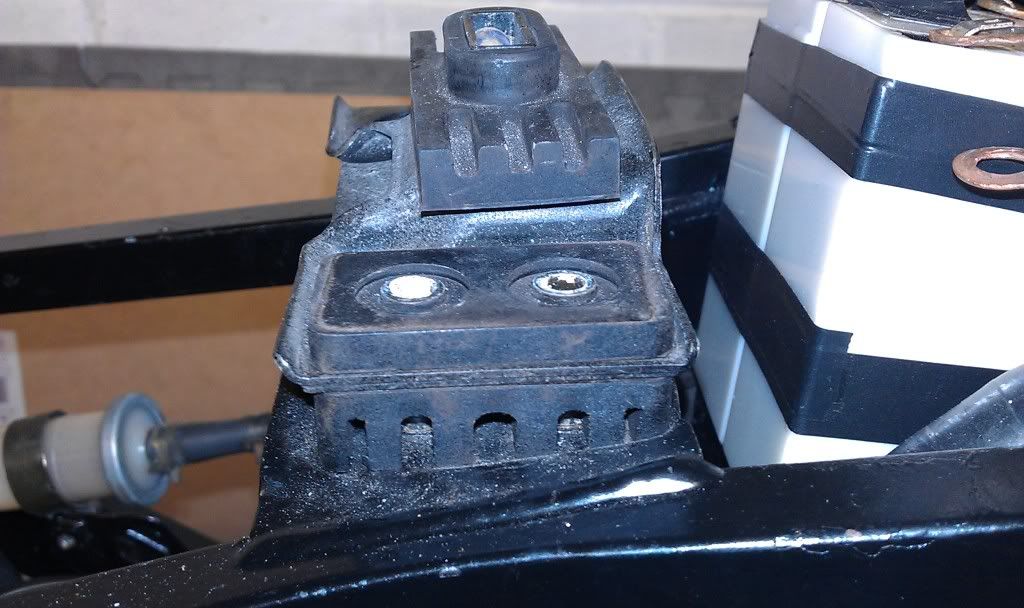
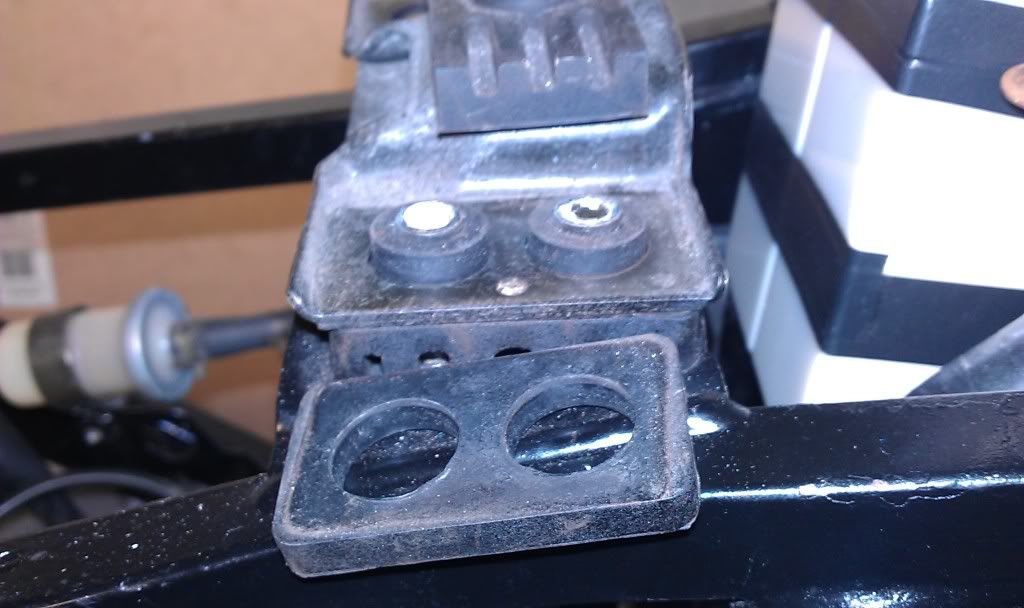
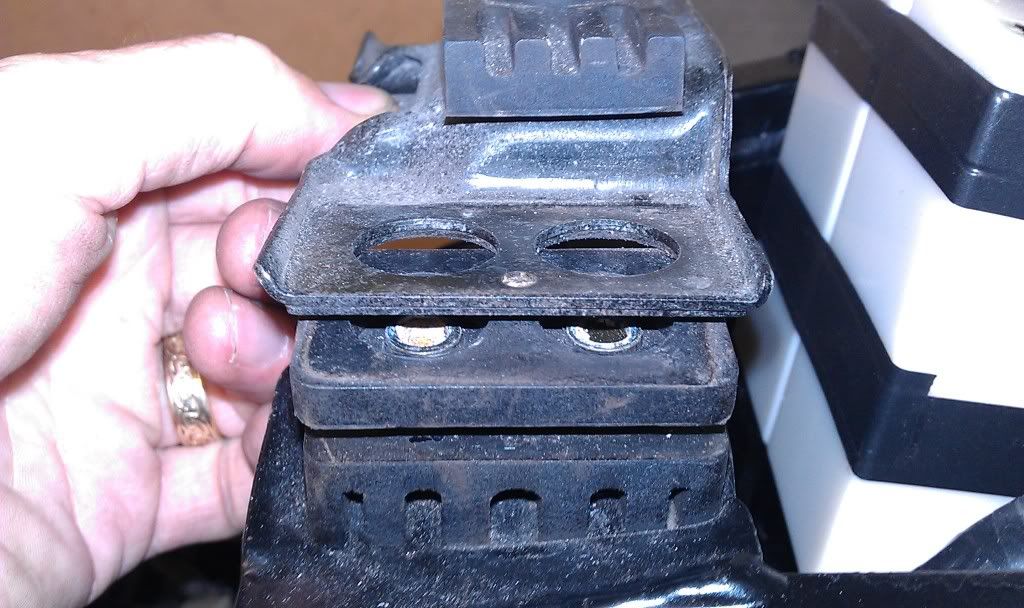
Image
Image
Image

Clearance achieved

Image

Doesn't noticeably alter the lines of the tank either which is good.

Image

But that threw up another issue, the seat now sits high of the subframe because it rests on the tank, which has now been raised, so out with the hacksaw!!

Image
Image

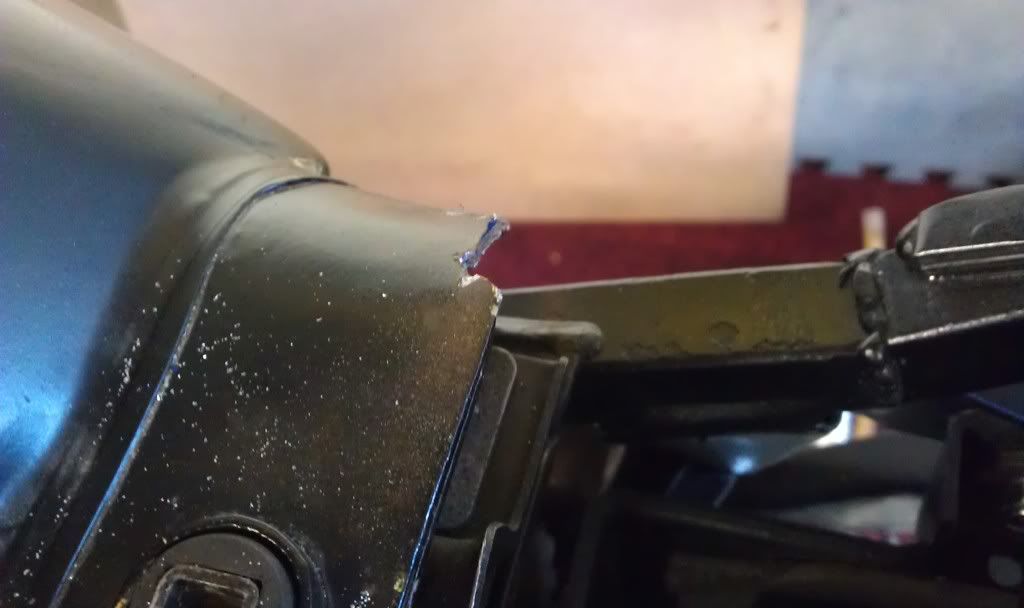
This has since been neatened up and smoothed off.

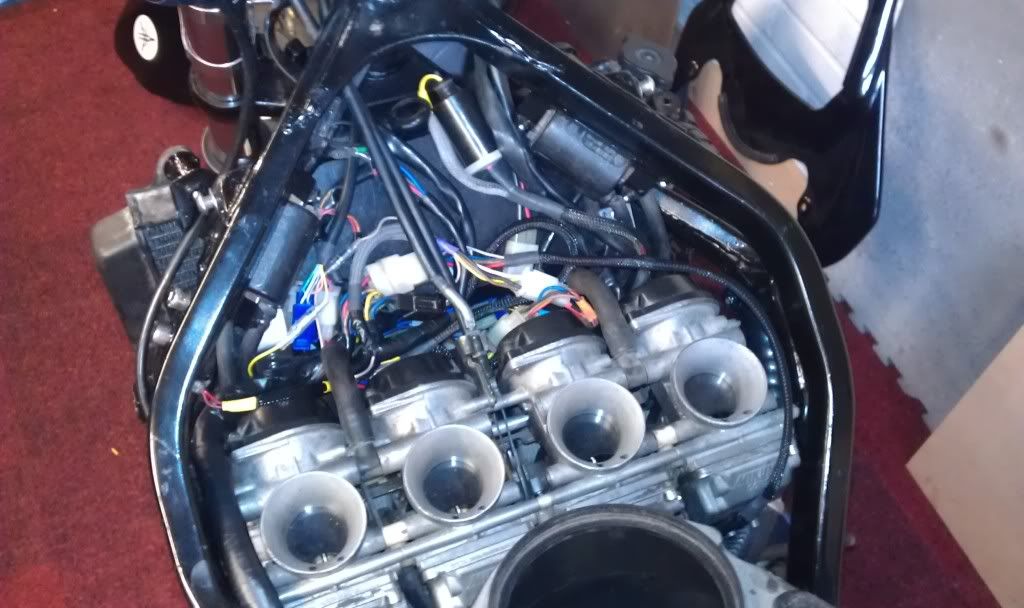
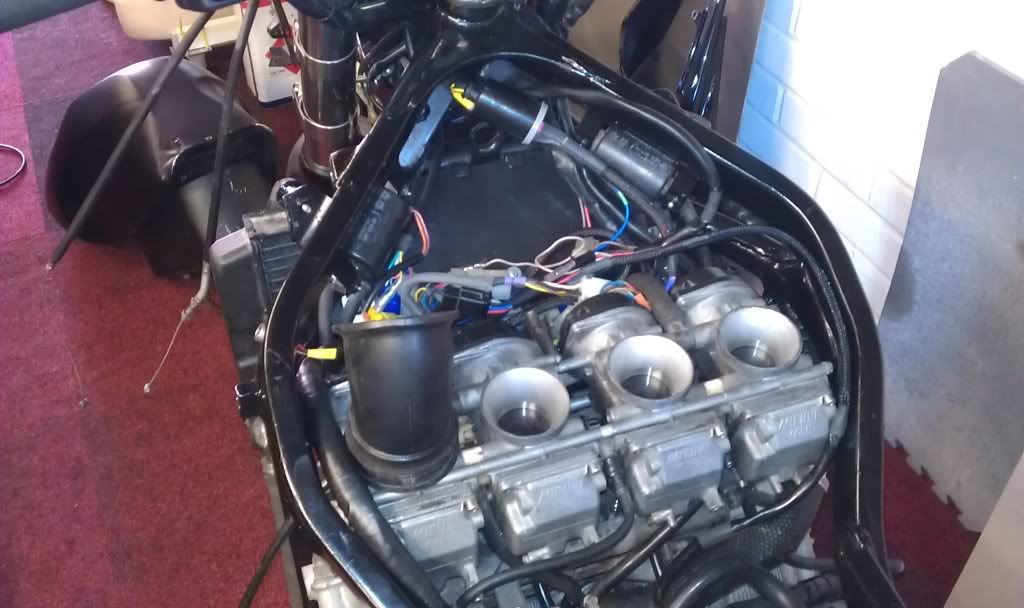
Anyhow, next on the agenda is trial fitting of the airbox.

Image

With a little rearrangement of the throttle cables and wiring underneath it "sort of" fits.
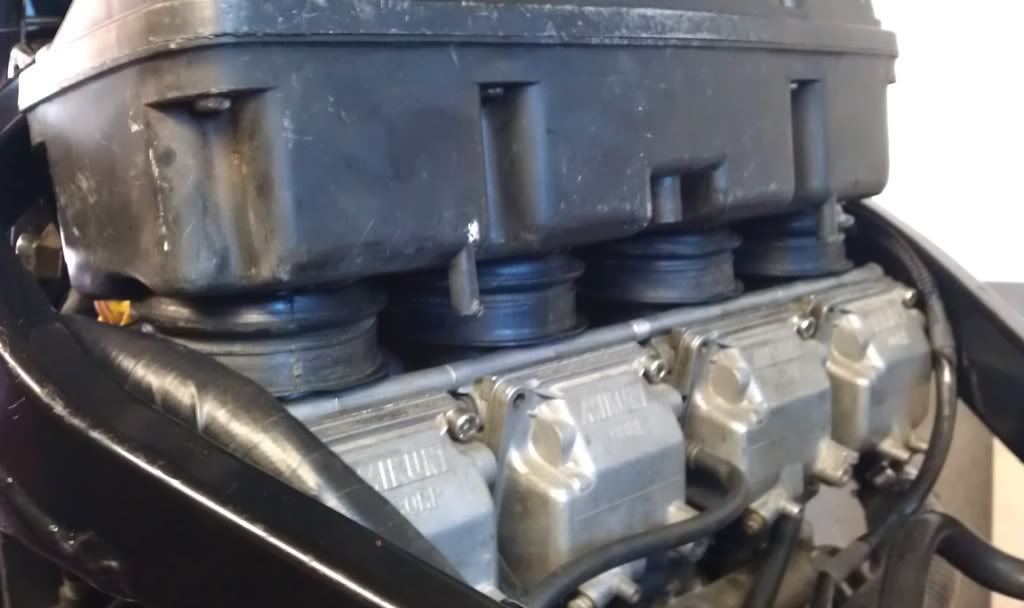
The issue being the front edge of the inlet rubbers wont fit over the carbs.

As these are Exup rubbers fitted into a modified FZ airbox they fit too close to the box.

Image

To give a bit of extra fitting wiggle room the would need to fit like this (rubbera pulled out of airbox)

Image

as they fit over the carbs no problem when not installed in an airbox.

Image

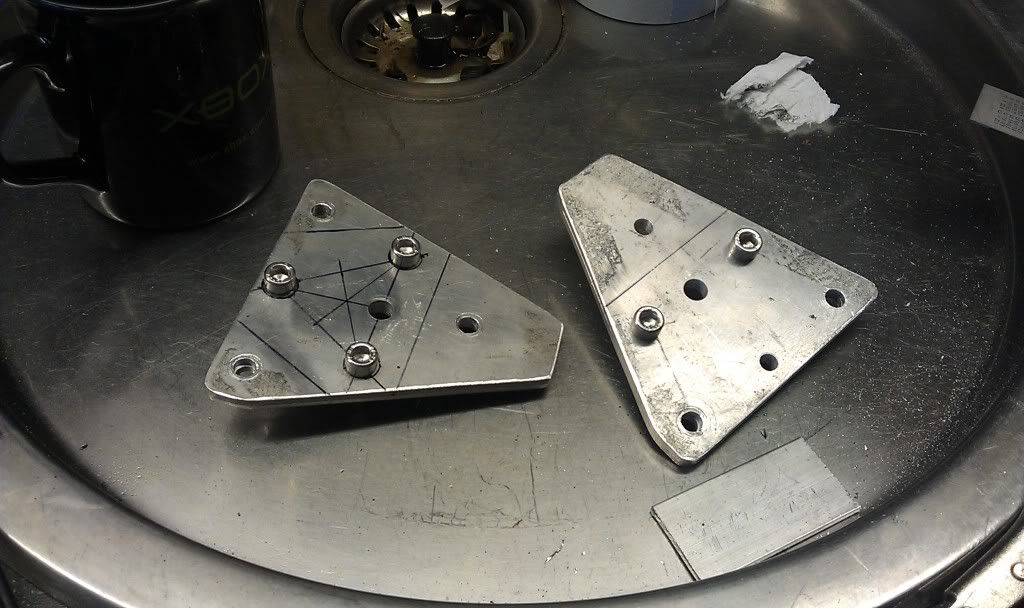
I thought about making up some spacers to glue/ weld into place but then remembered It just so happens that I have another airbox.

Image

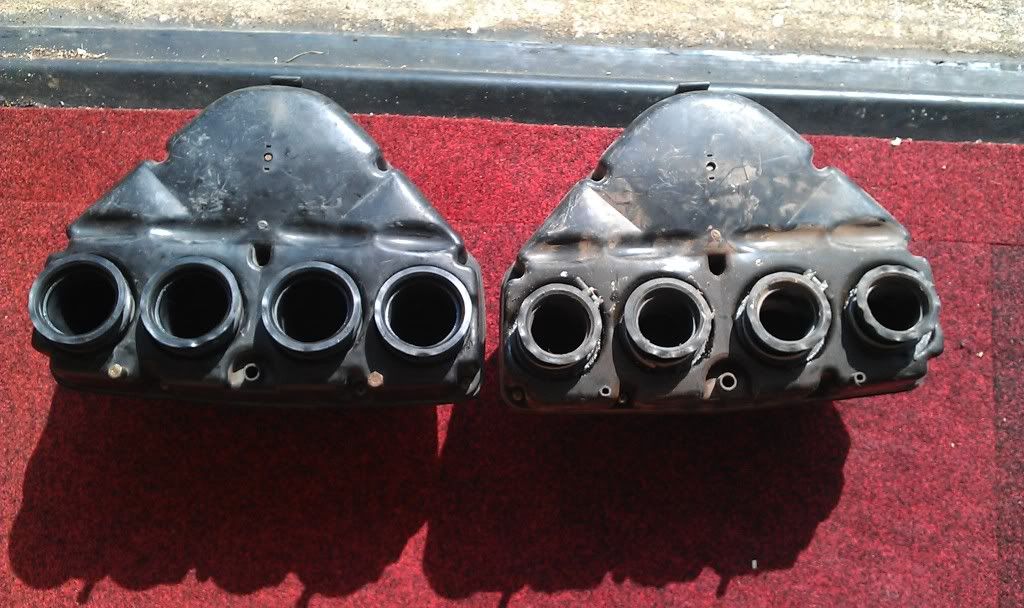
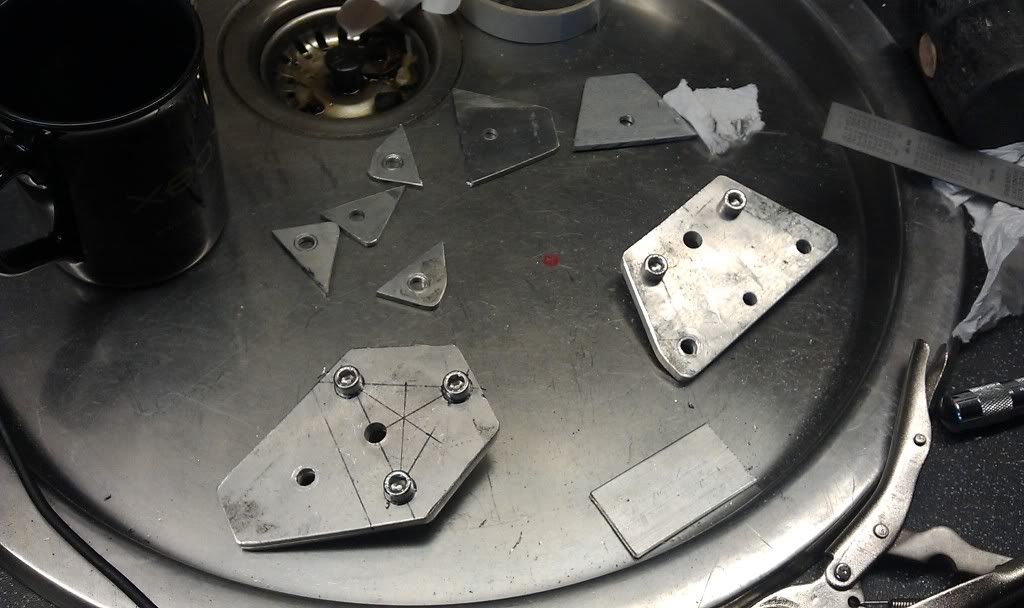
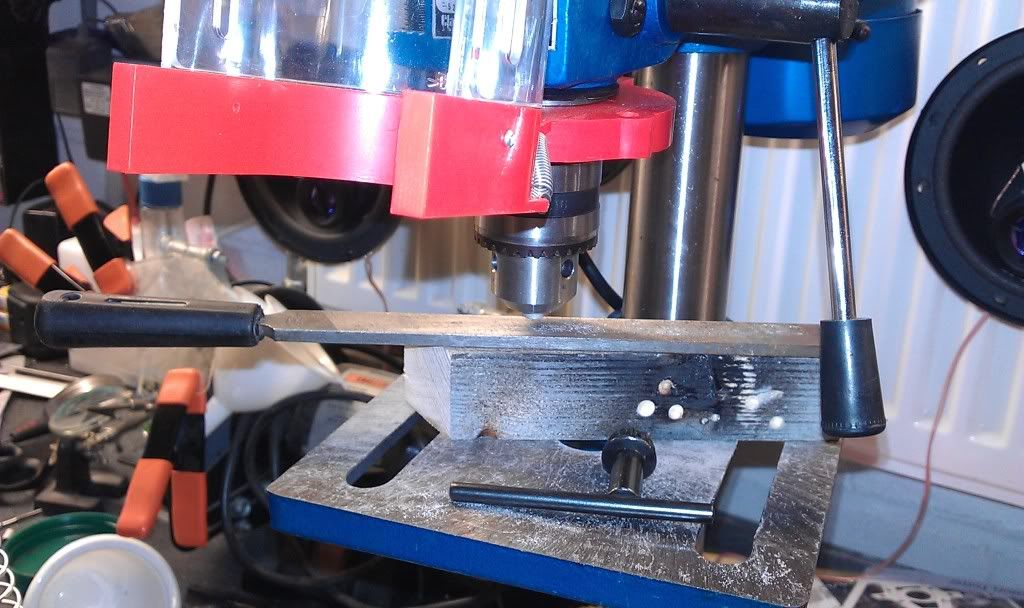
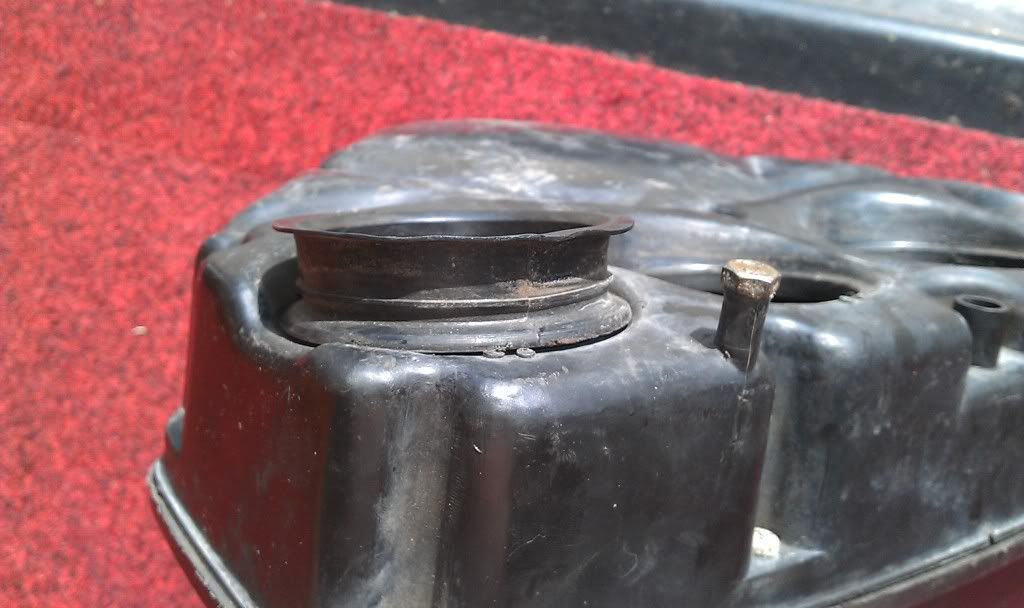
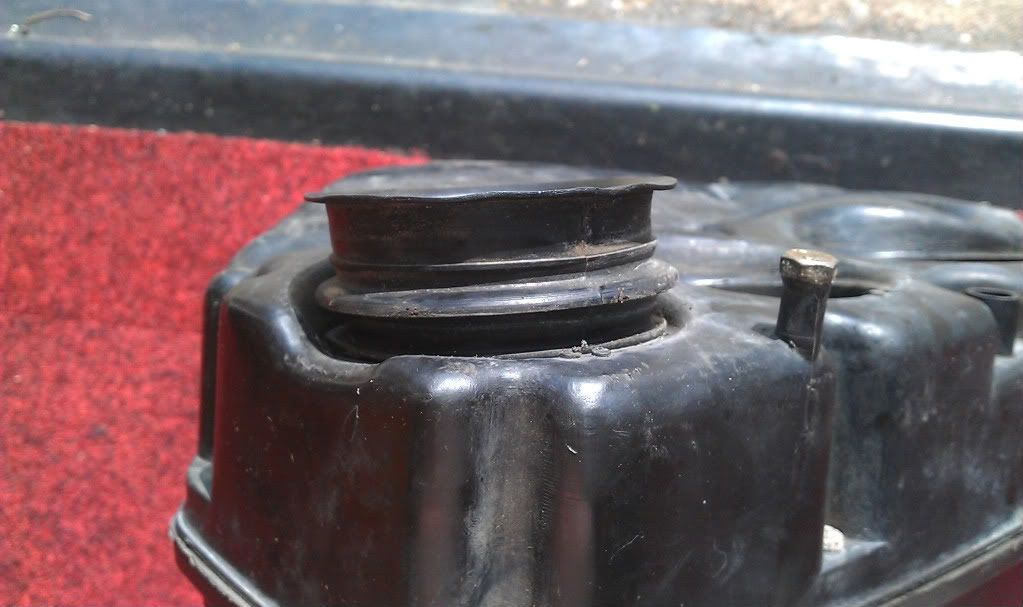
As you can see the original airbox has had its holes enlarged.

Image

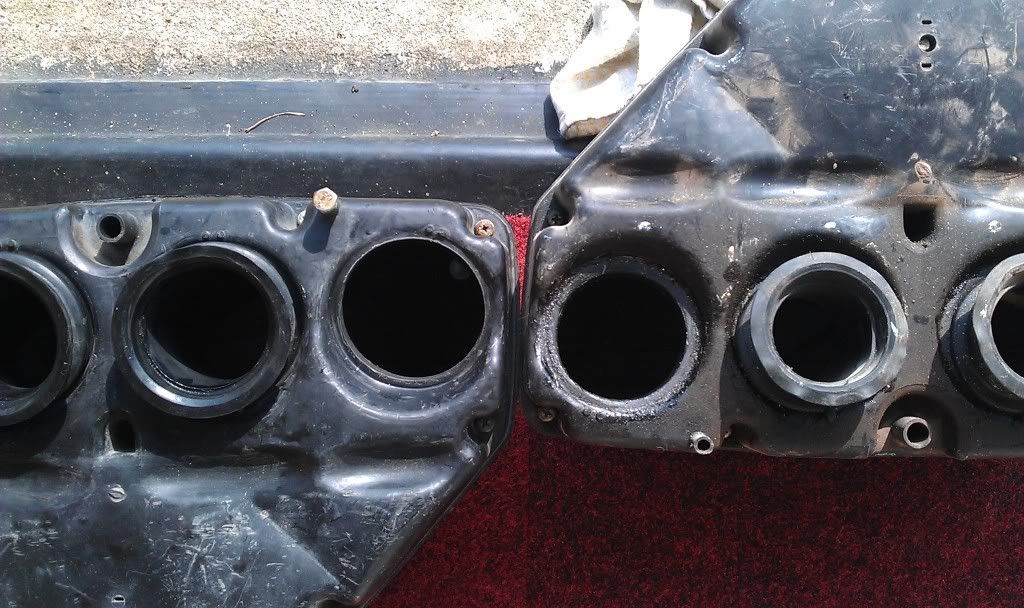
Using the original airbox the rubbers fit too loosely at the "ideal" position and dont seal with the box, but it just so happens that when I had a trial fit of the Exup rubbers in the smaller holed FZ airbox they fit snuggly upto the first lip...............bonus!!

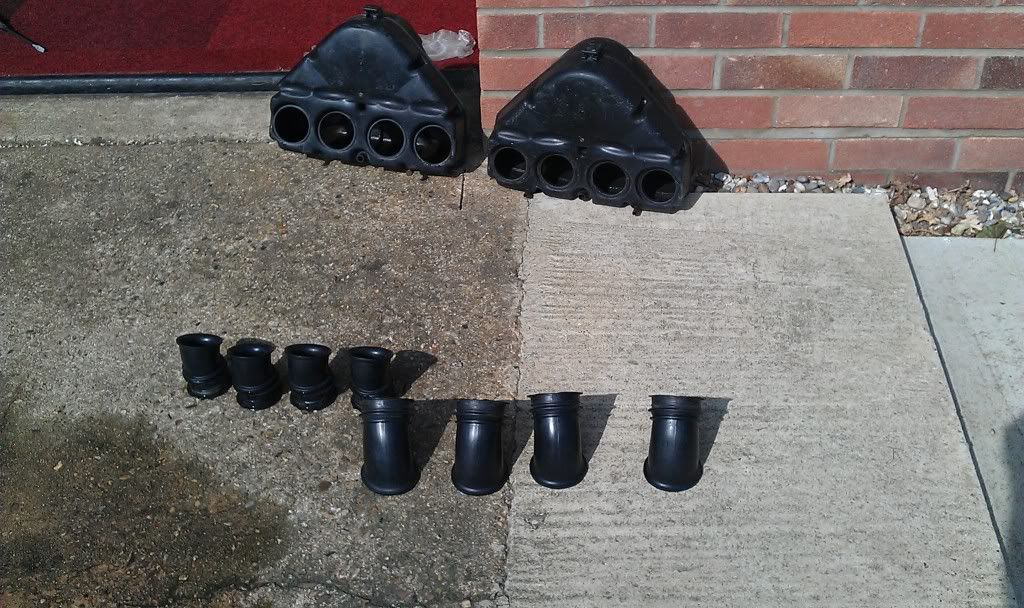
So gave them a clean and assembled my mish mash.
Good job it was sunny today as after 10 mins in the sun the rubbers where nice and pliable and easy to squeeze into the 750 airbox.

Image
Image

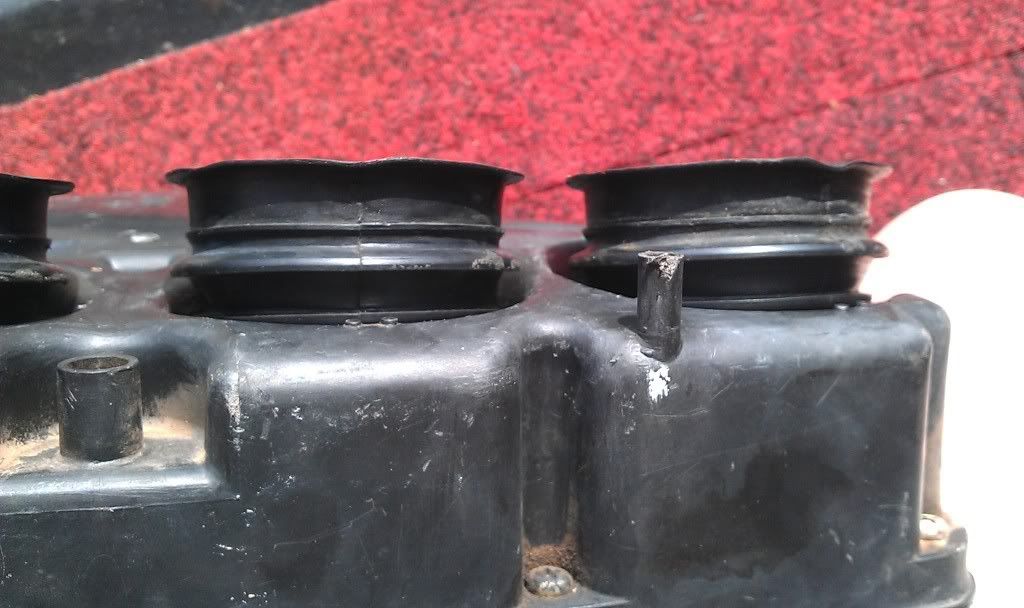
and with the extra wiggle room they fit nicely on the carbs

Image

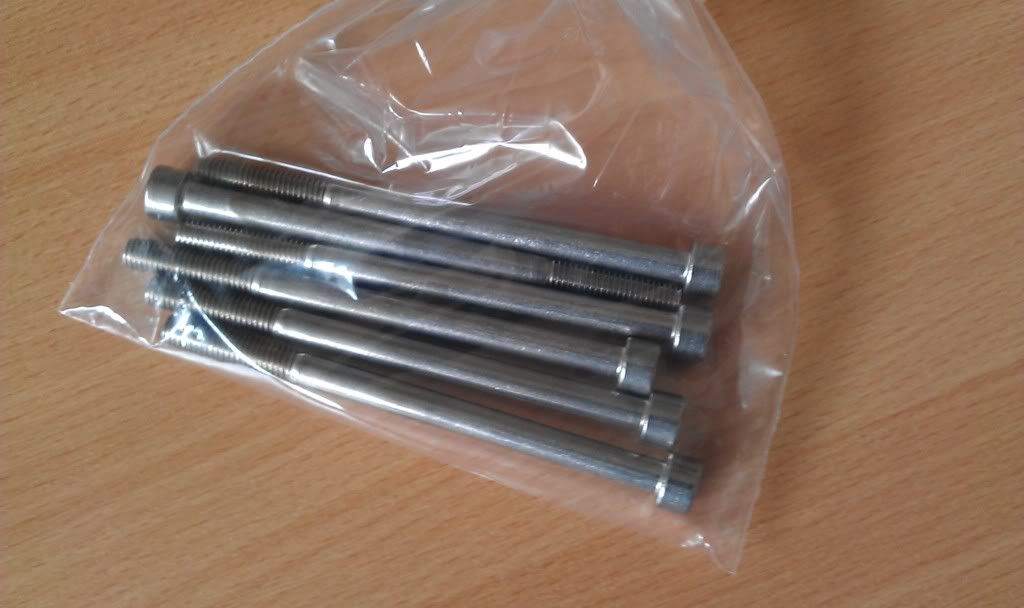
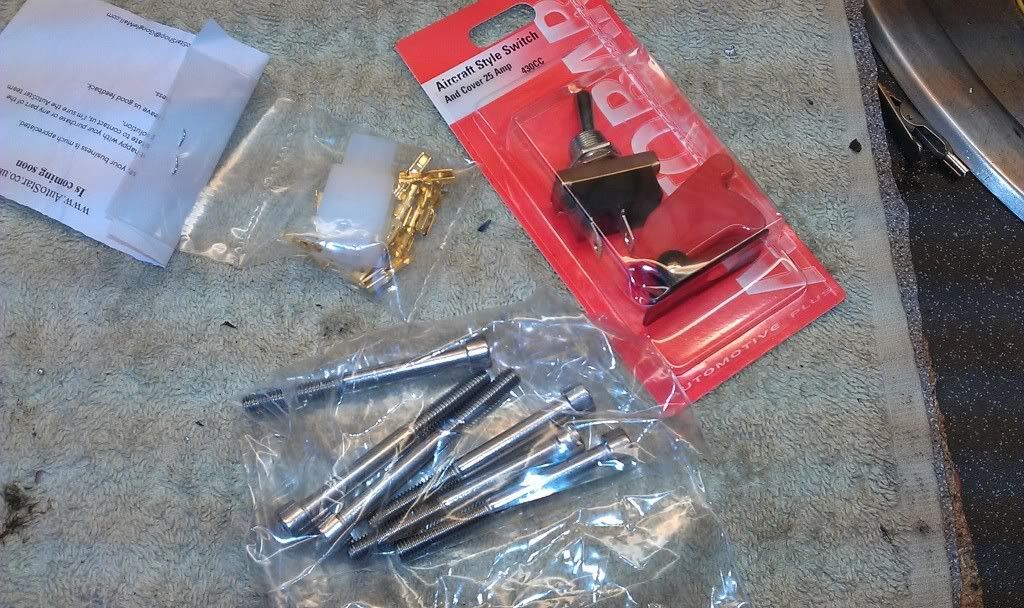
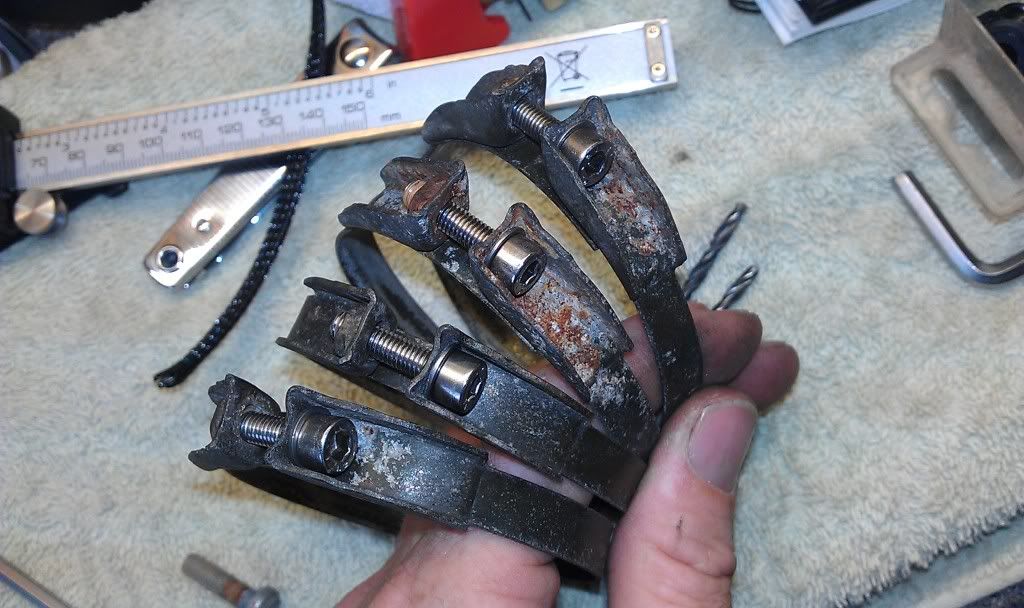
so out with the stainless bolts

Image

And due to the raising of the rear of the tank earlier there is also no issue with the tank fitting over the airbox.

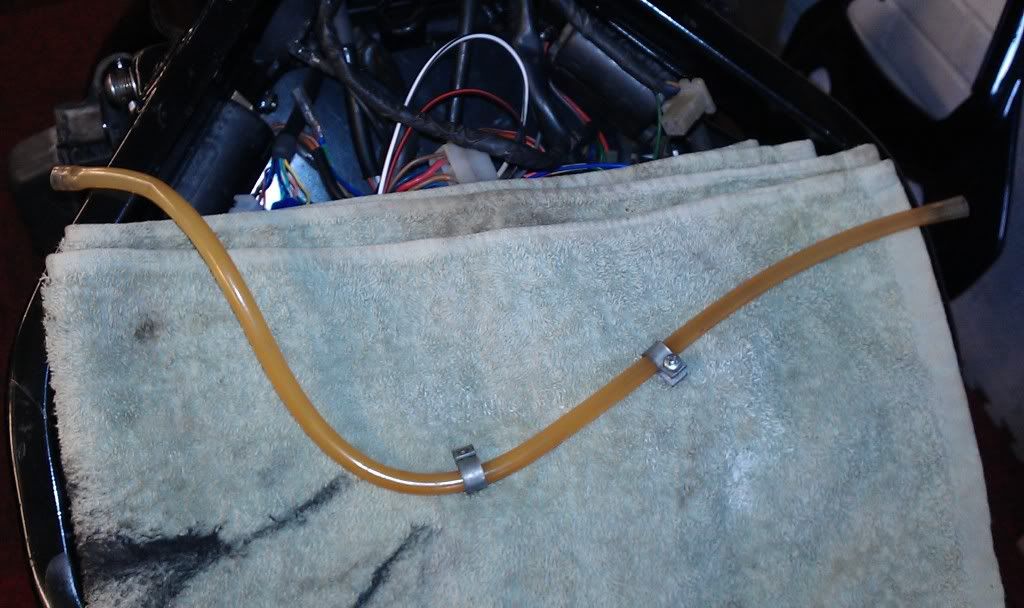
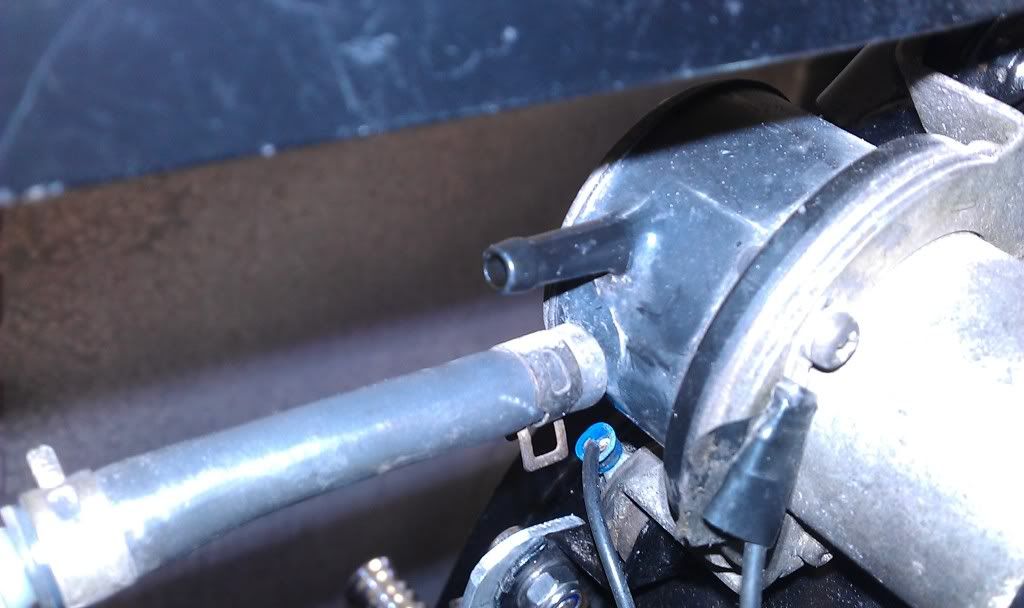
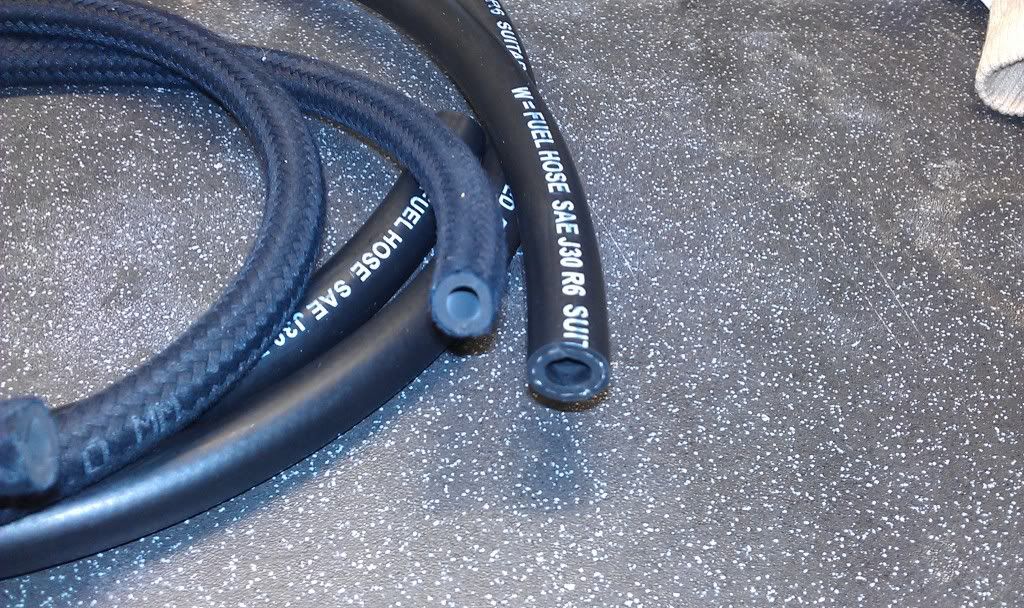
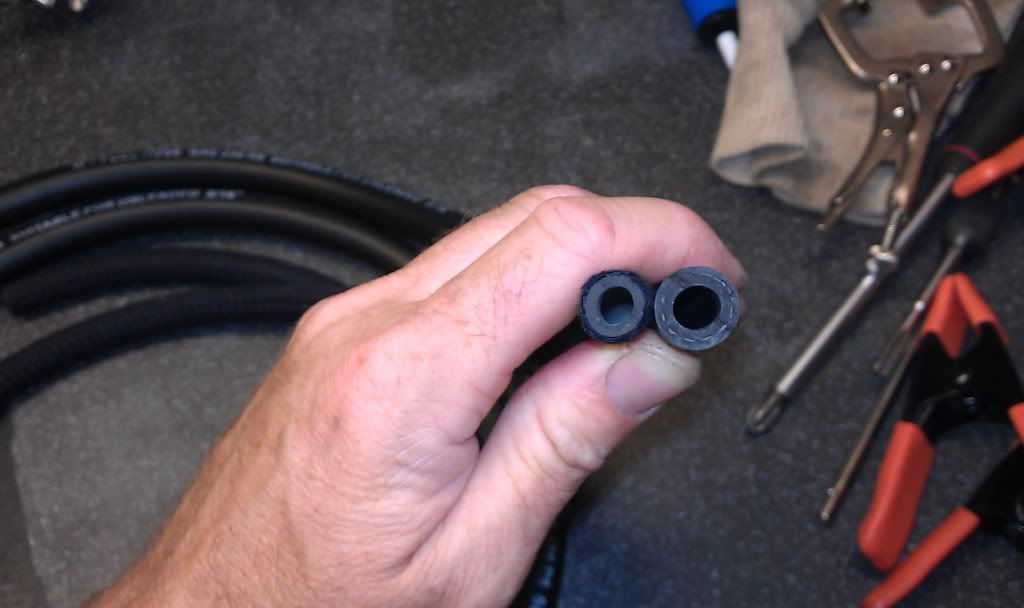
Installed some of the fuel line that I purchased earlier.

Image

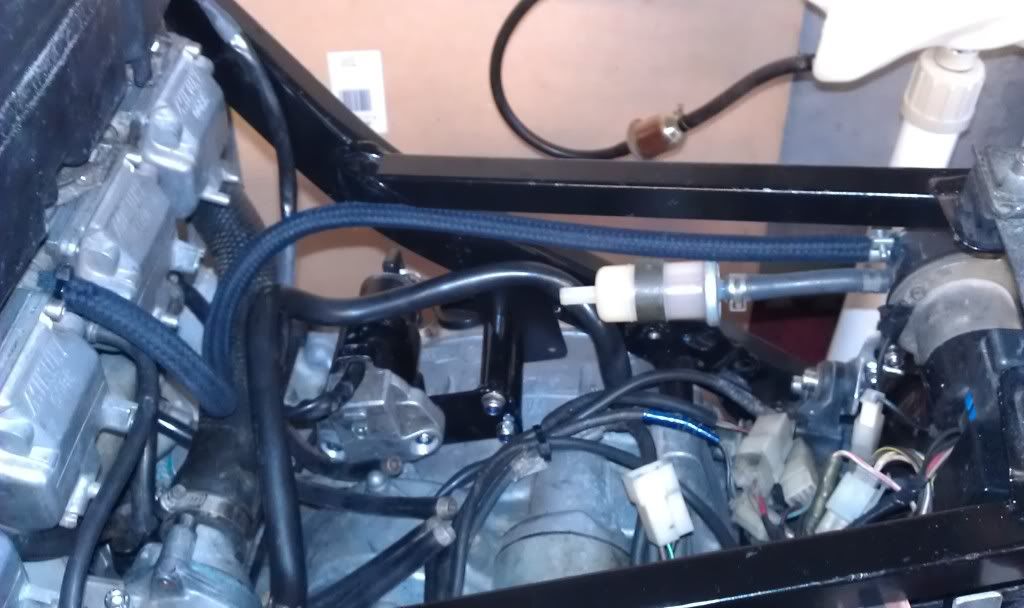
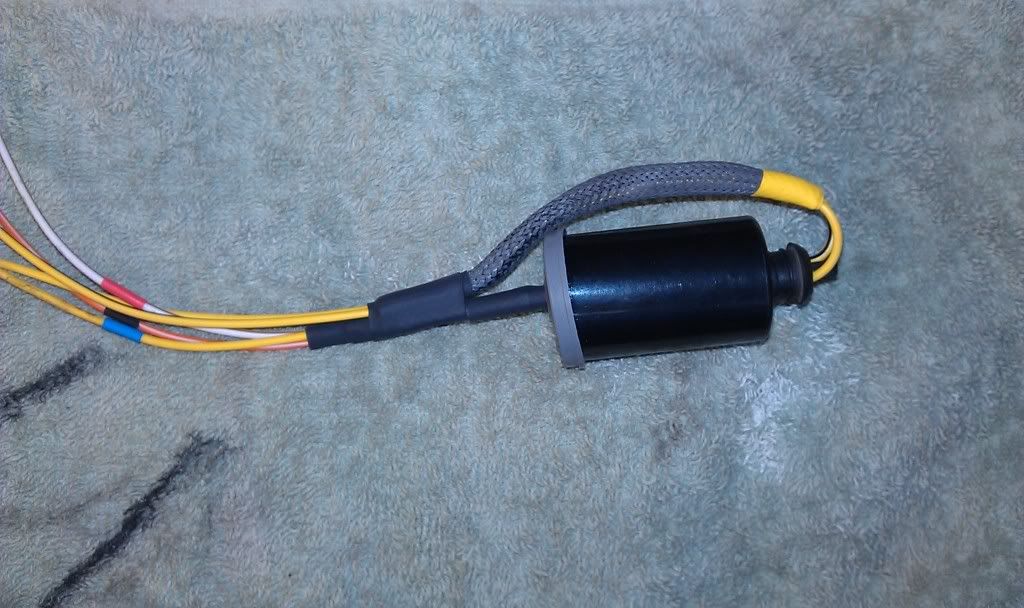
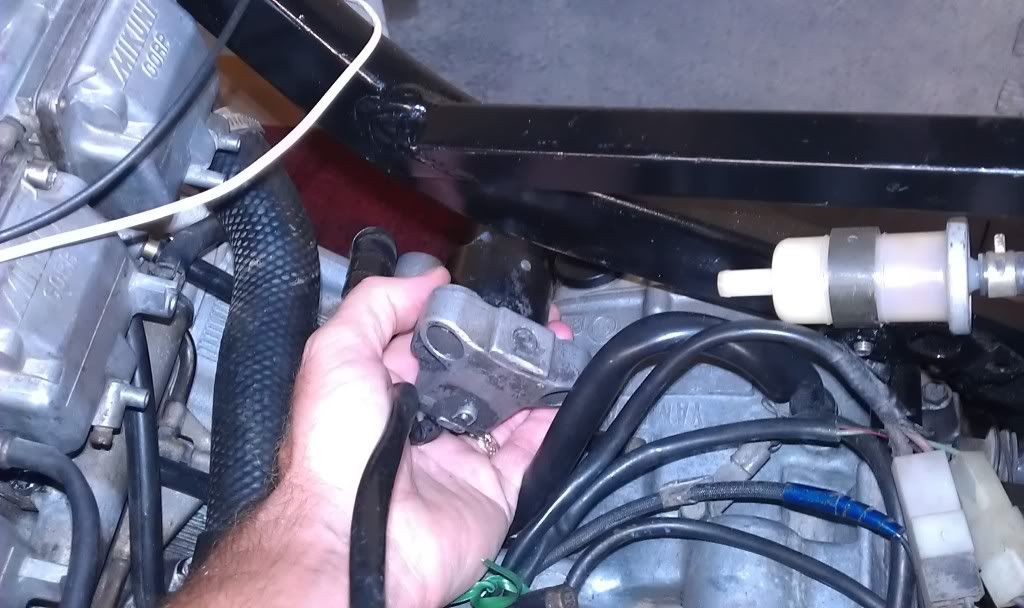
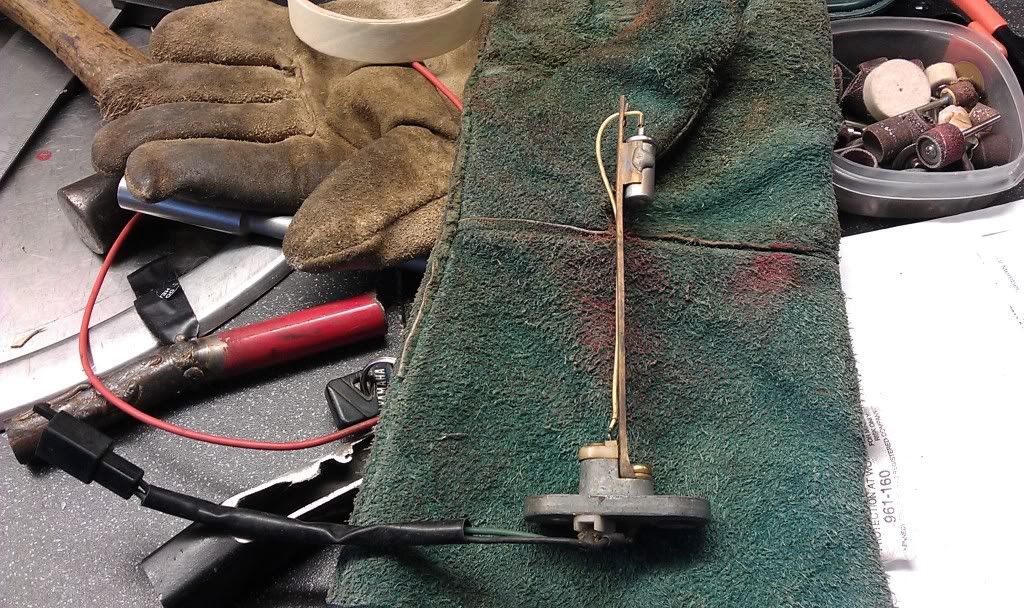
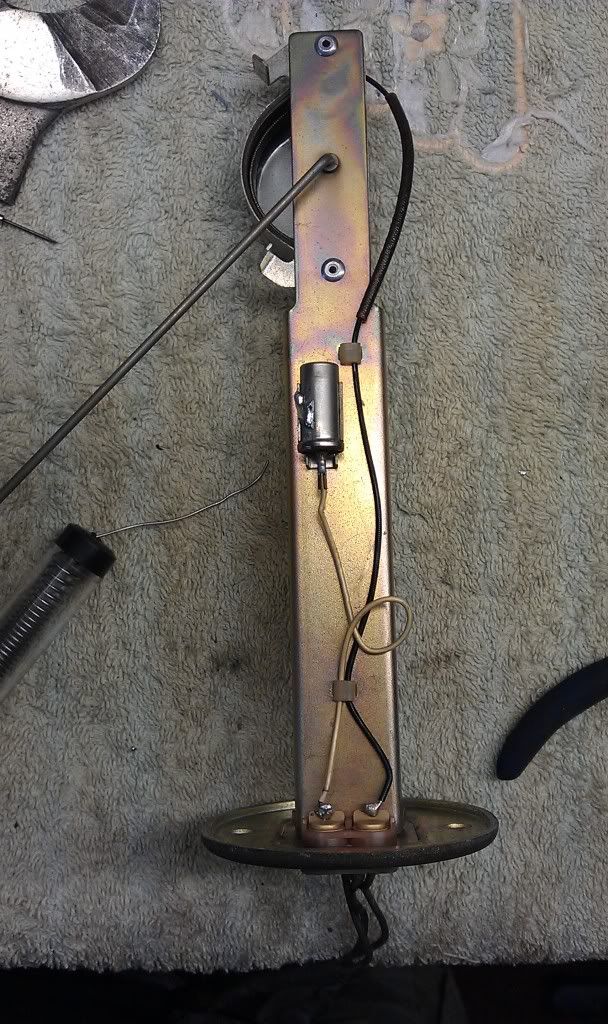
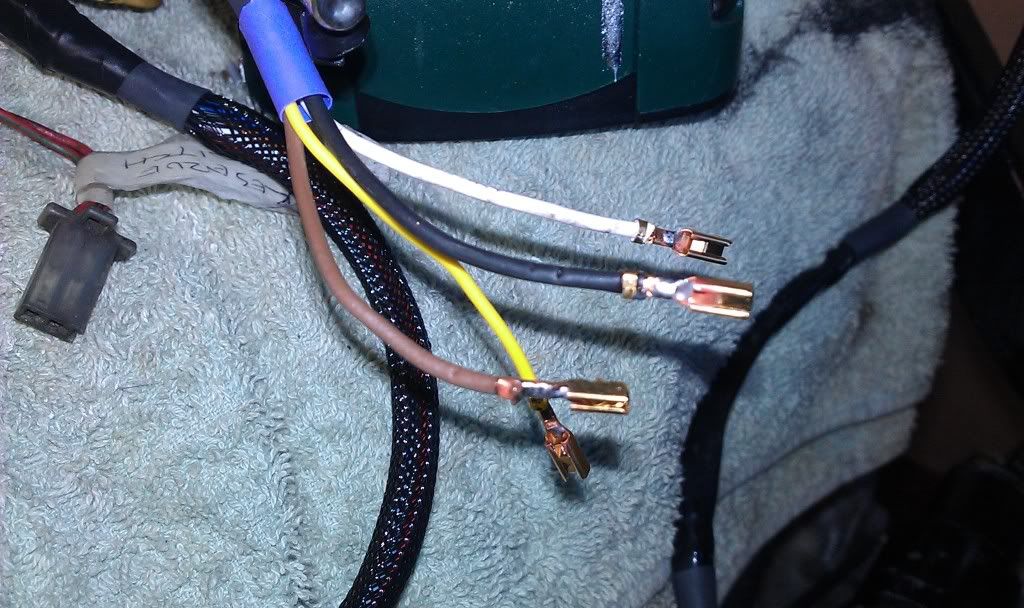
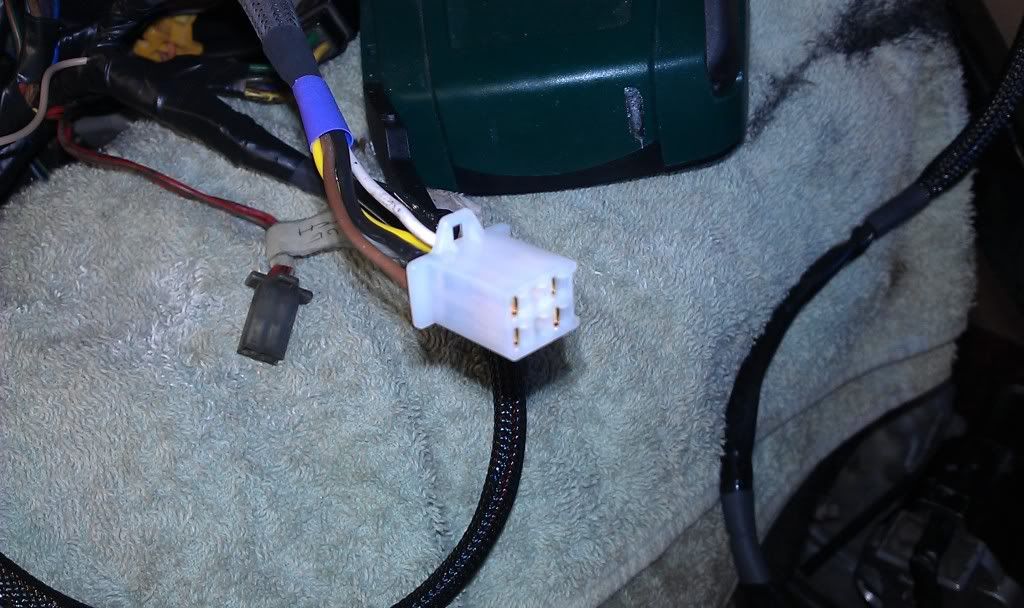
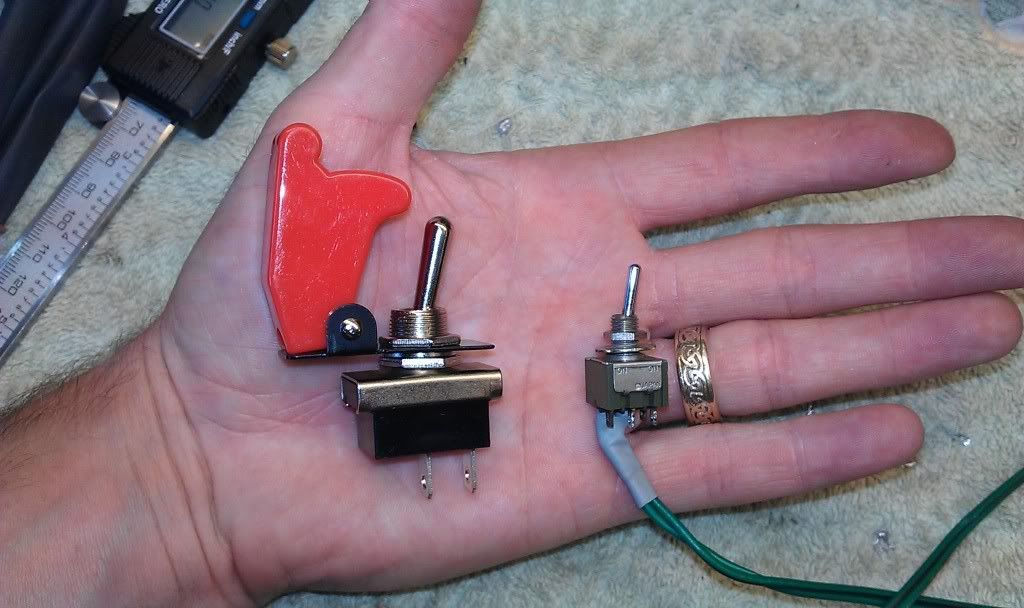
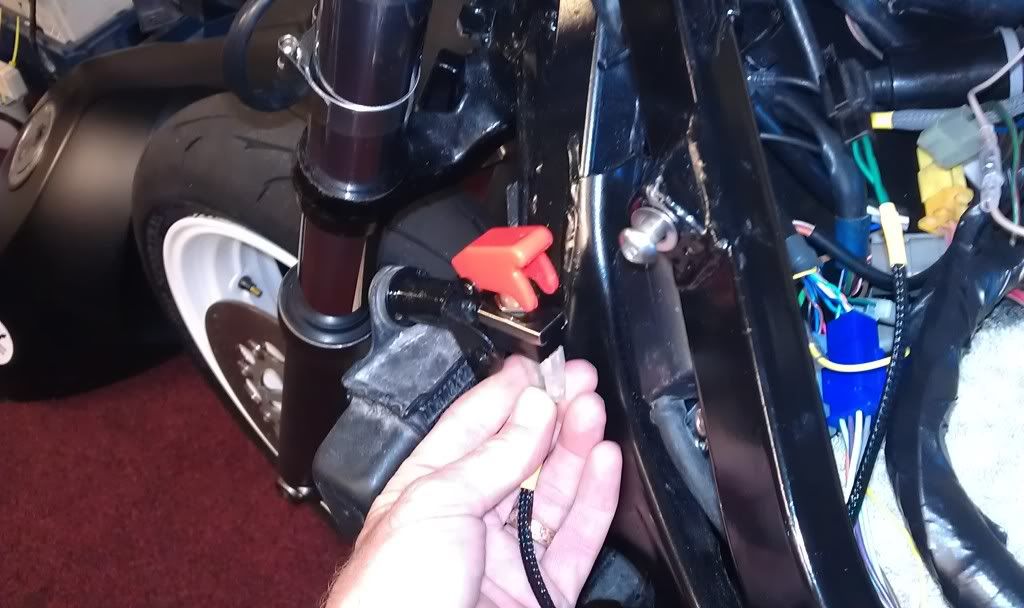
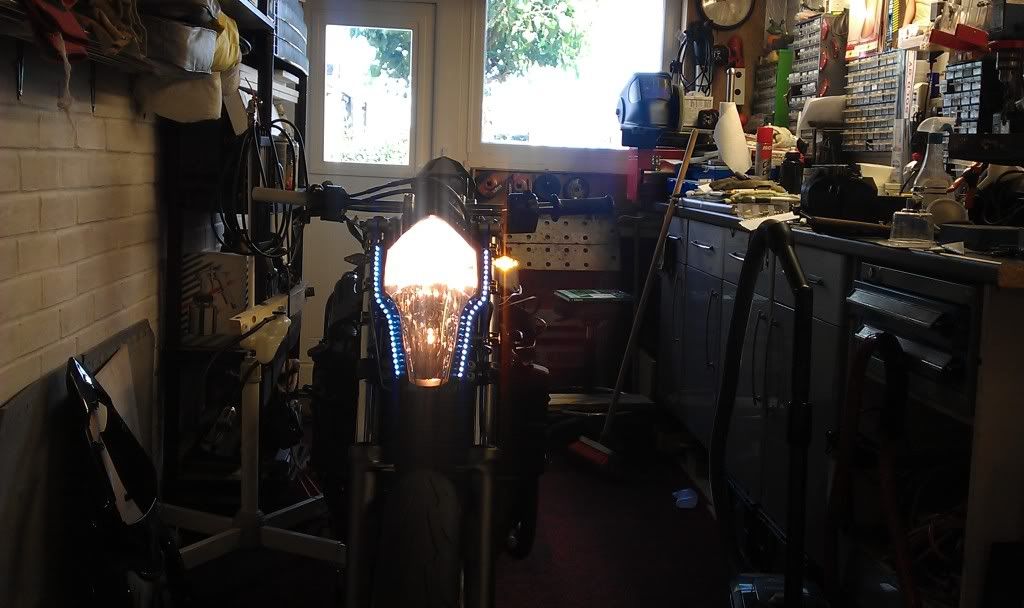
Next thing on the list was to double check my theory on the fuel light/reserve switch situation.

So I rigged up a bulb across the fuel pump so that it lit when the pump was "live"
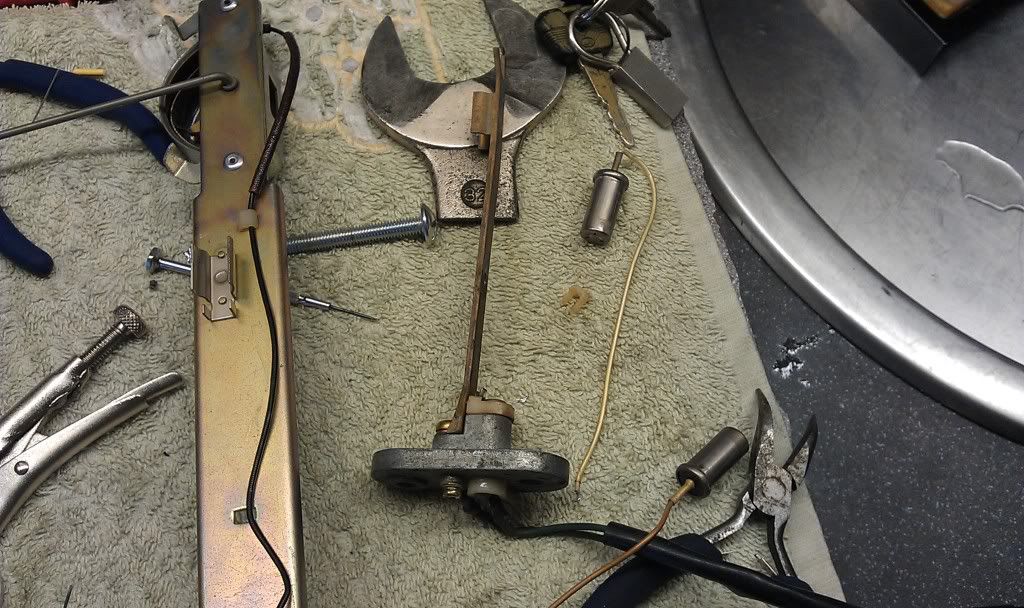
and connected the fuel tank sender, but ran the bike off my carb balance rig, this way I dont have to fill the real tank to the reserve level, but as its connected the bike shoul act as if on reserve.

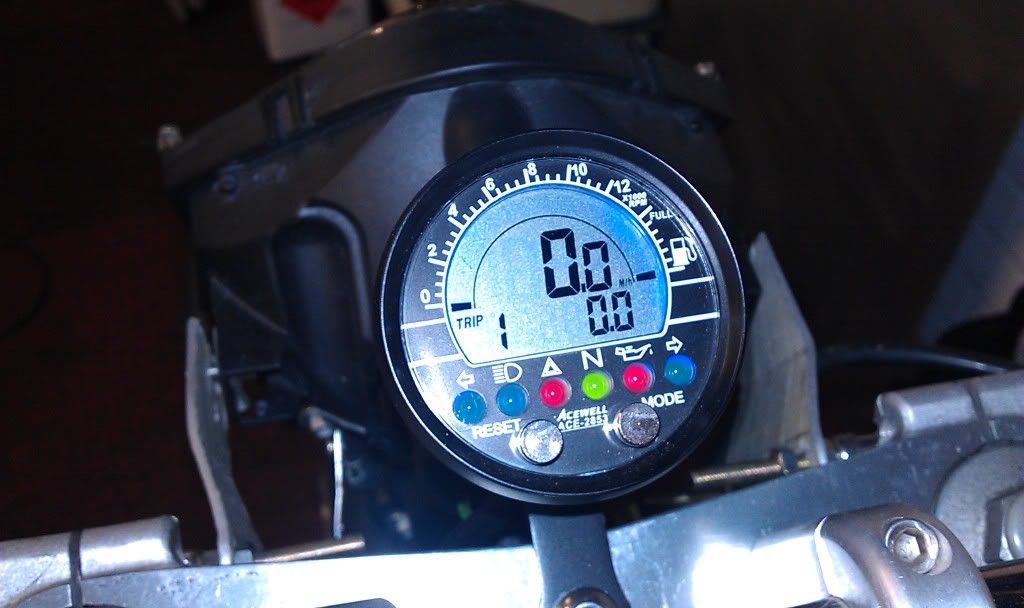
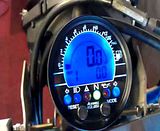
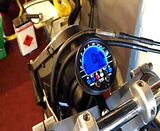
And as an aside it also gave me the chance to test the tacho function on the Acewell, which worked, whoop whoop!!

Tacho Video

Image

Reserve function test.
Basically when started in reserve mode, as is the case, the fuel light should come on, the pump goes off line (telltale light goes out) until the reserve switch is operated.
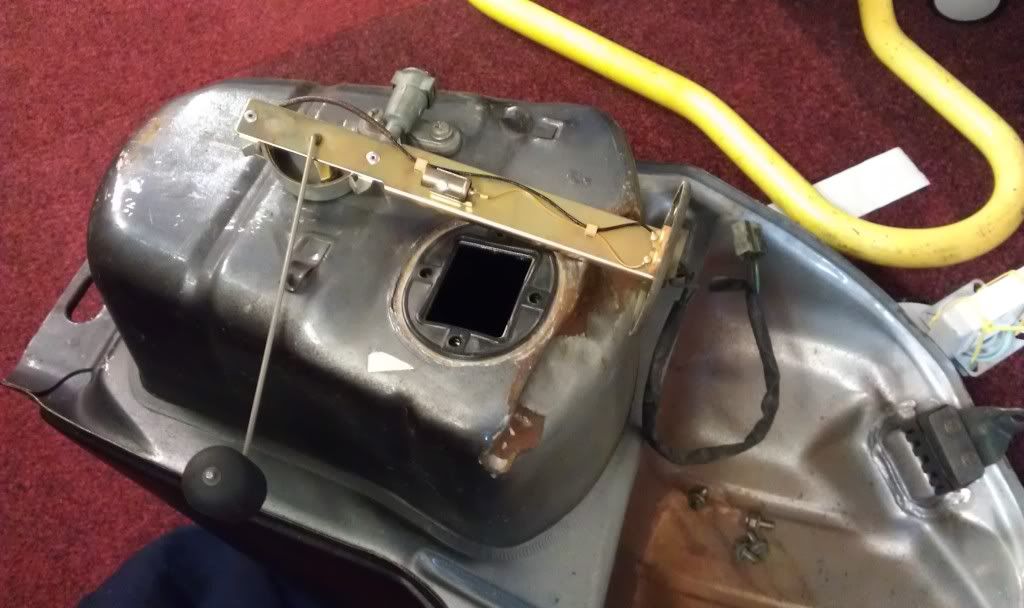
Which is exactly what happend, I am a very happy bunny!!!! Also with the fuel tank resting on the floor against the bike the fuel level arm swung to its upper limit which was replicated by the fuel gauge on the Acewell!

Reserve operation Video. (I hate my voice :puke: )

Image

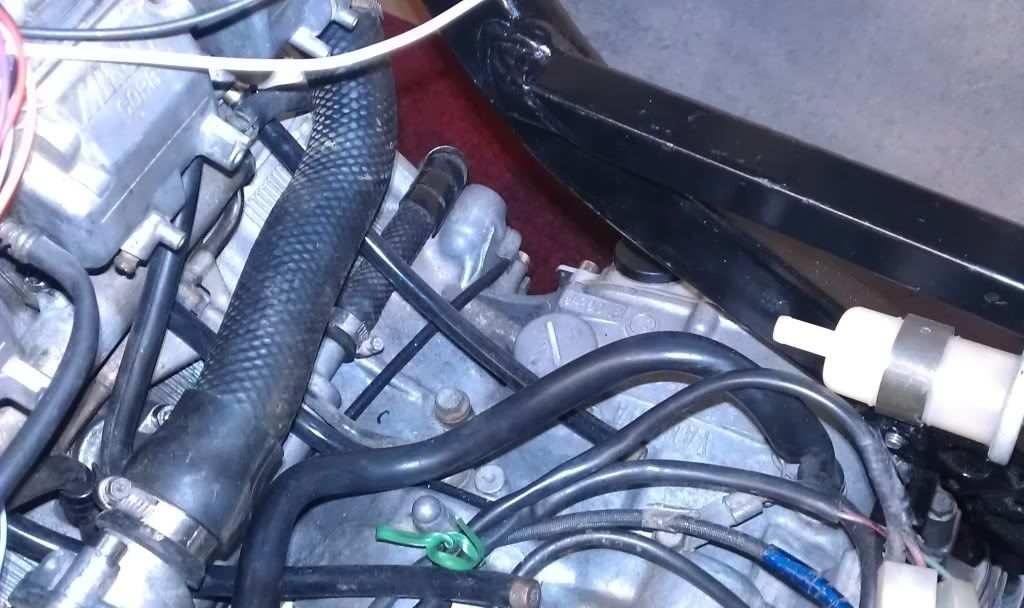
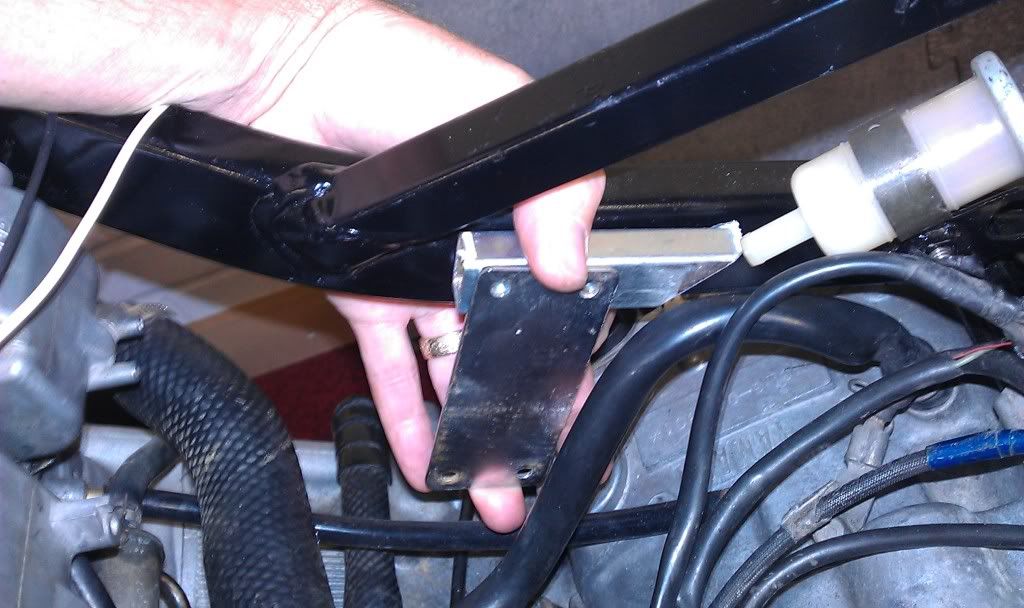
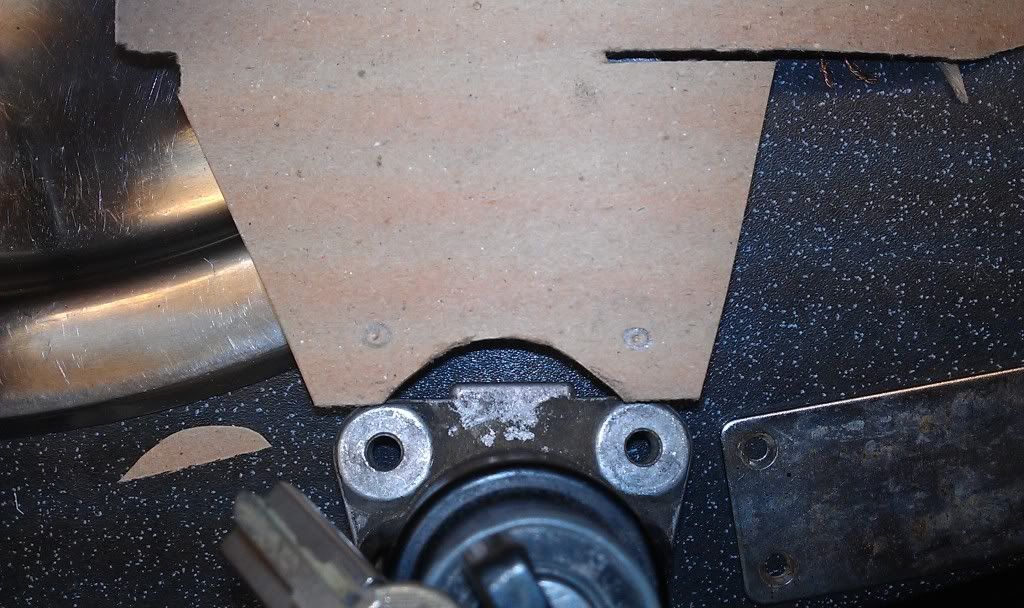
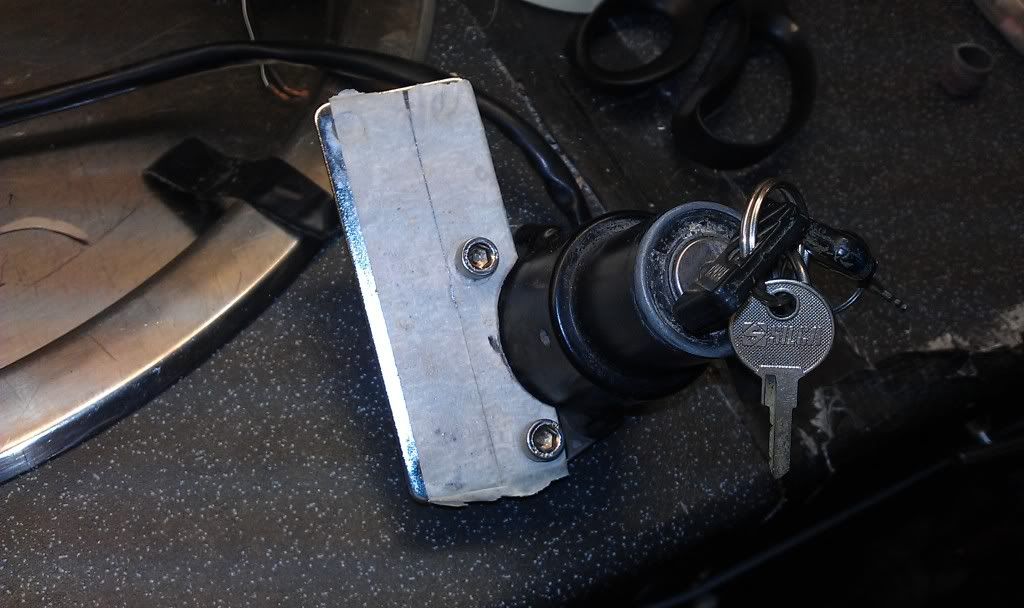
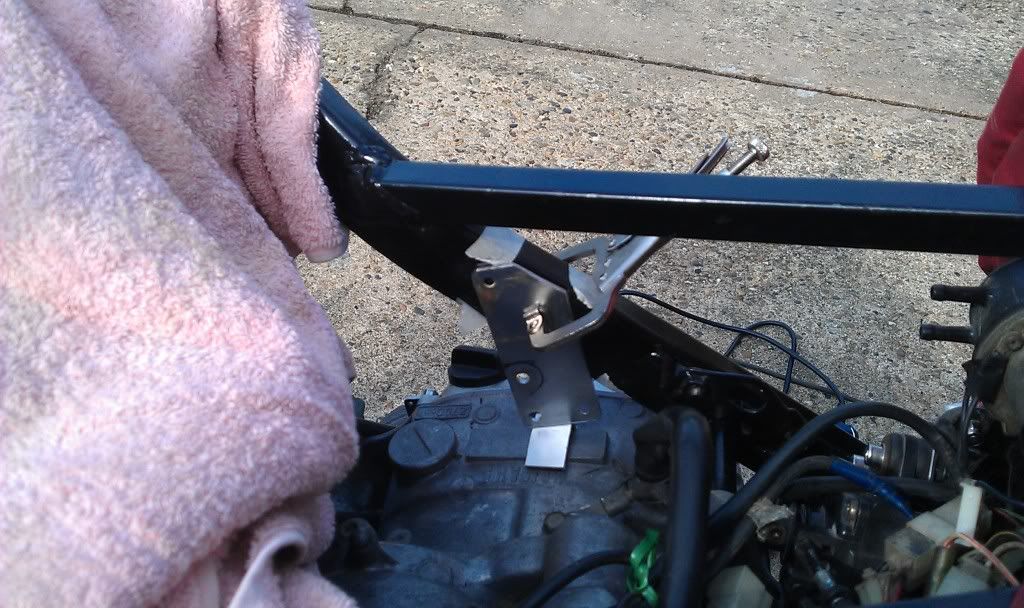
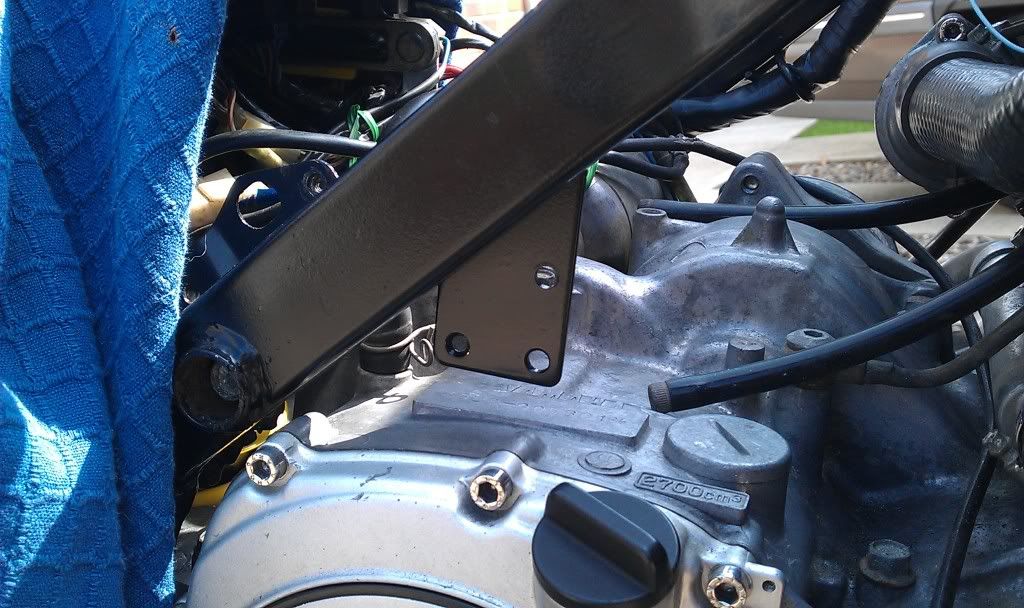
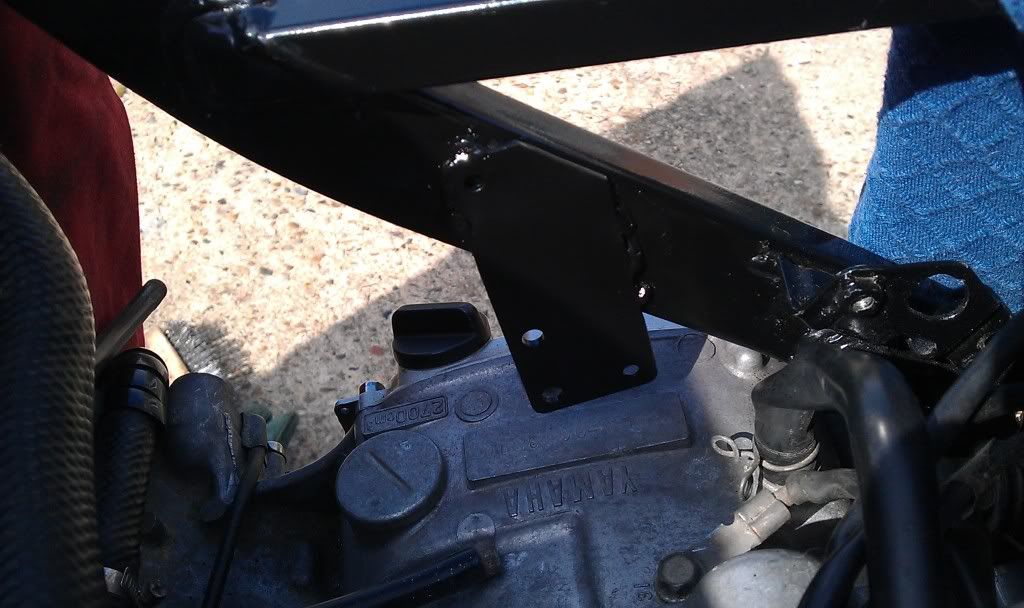
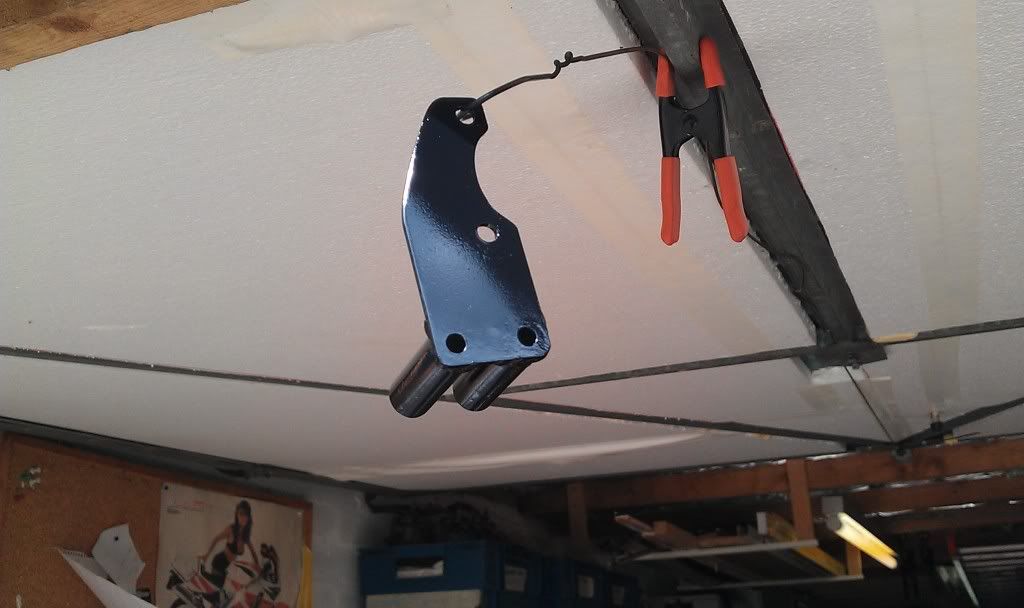
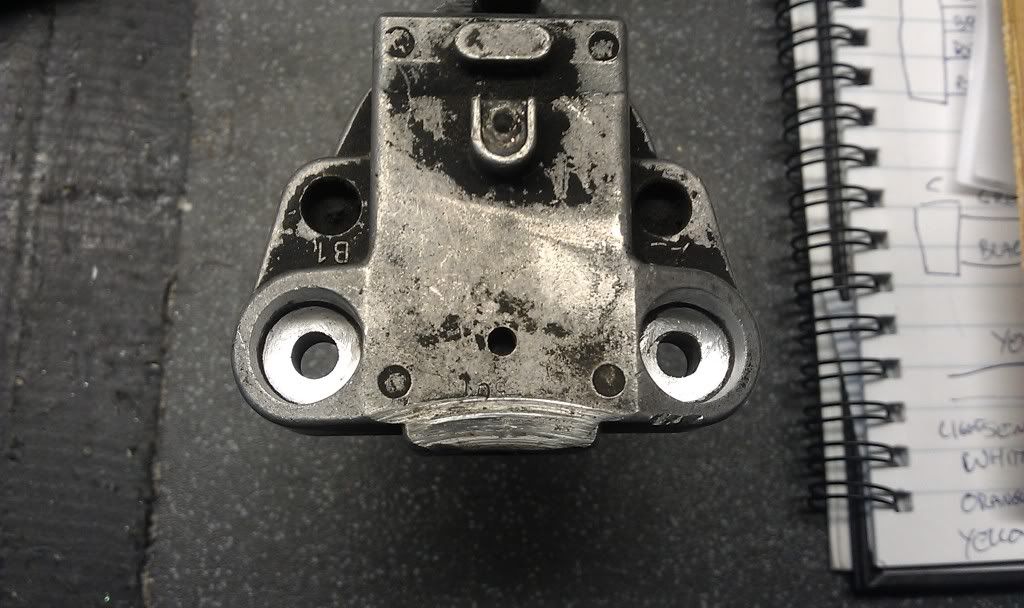
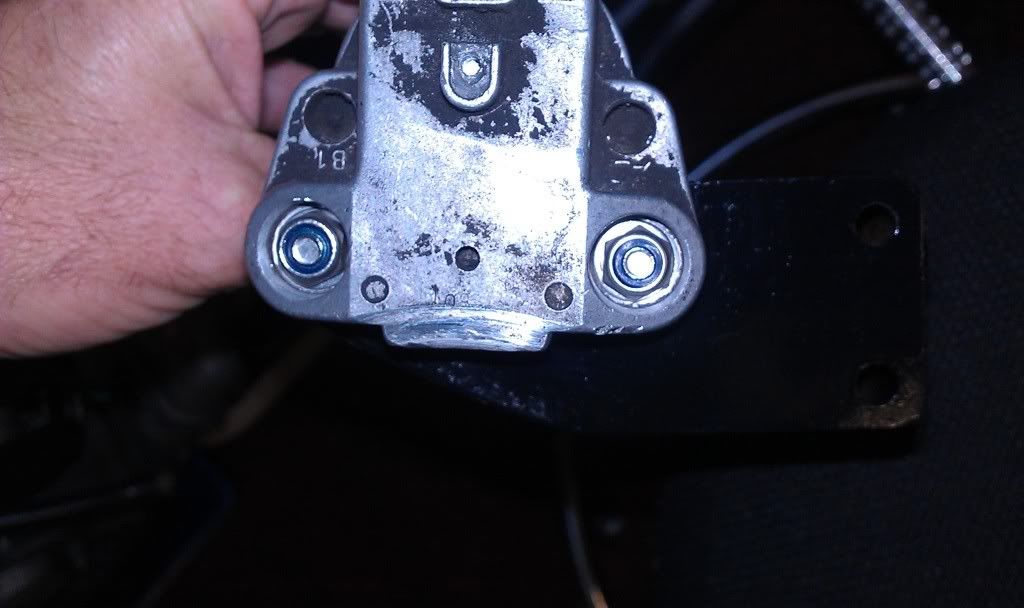
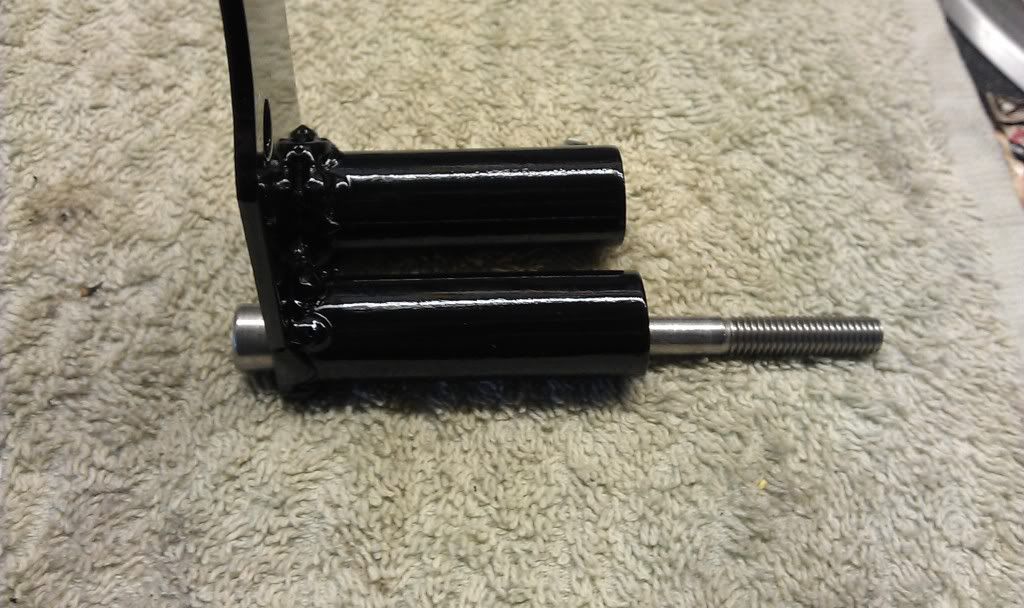
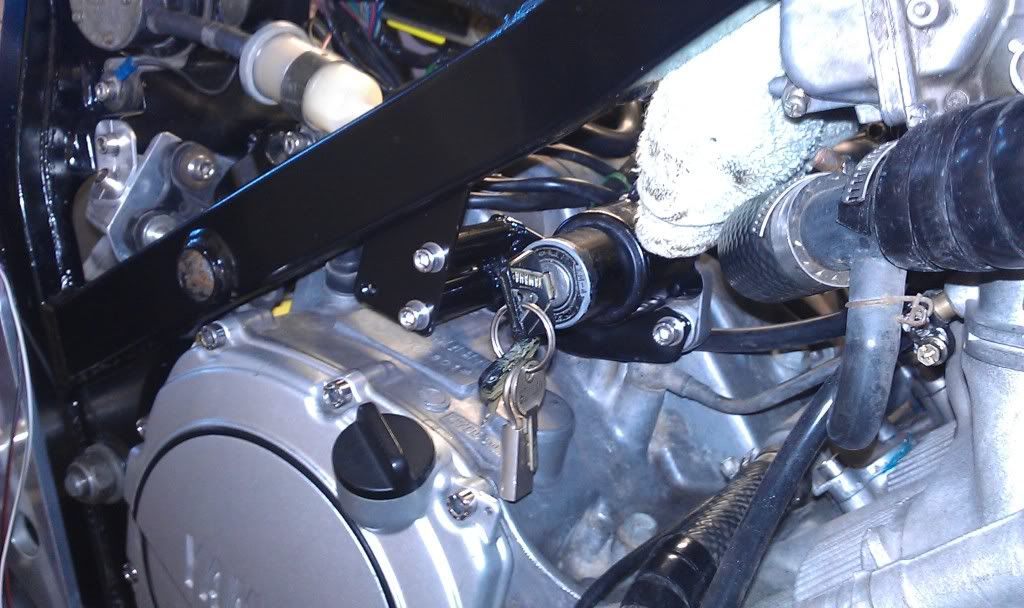
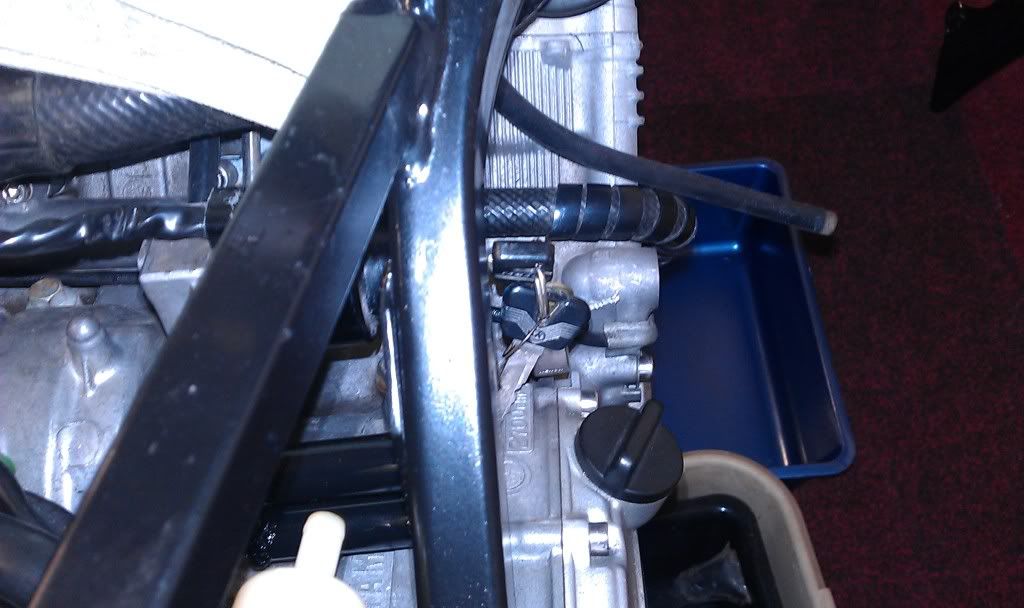
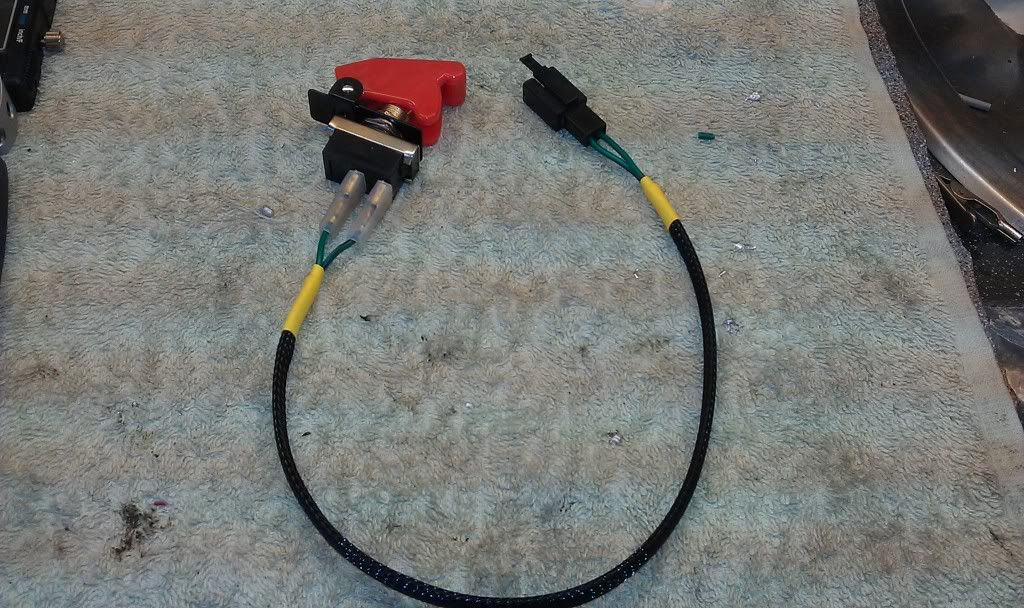
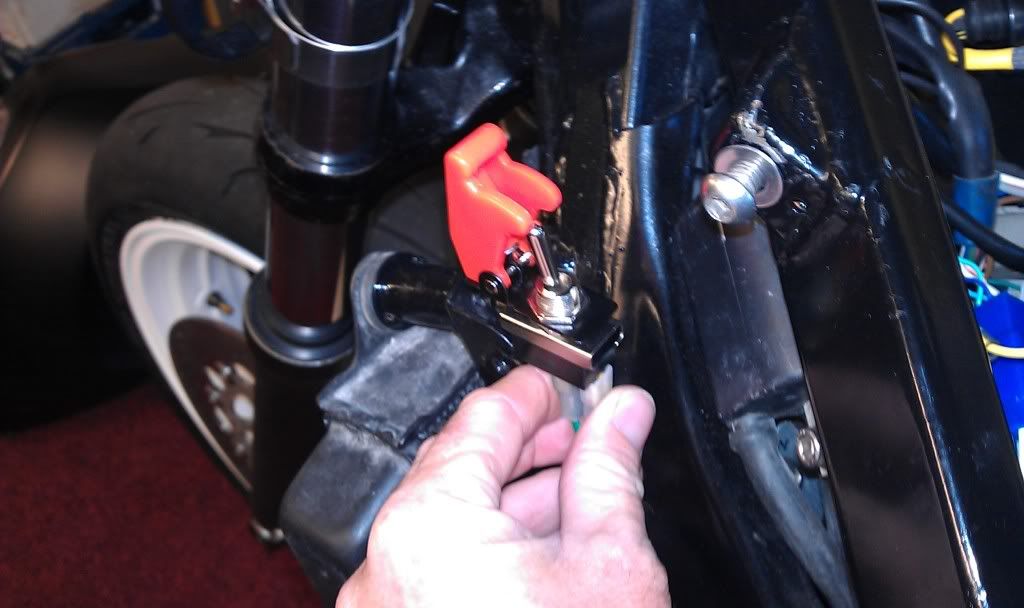
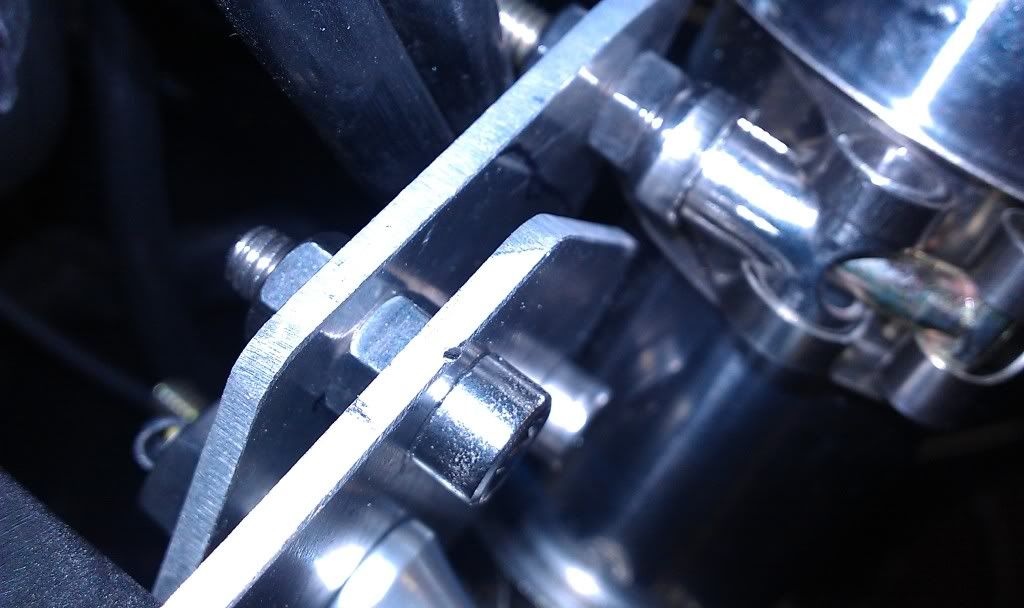
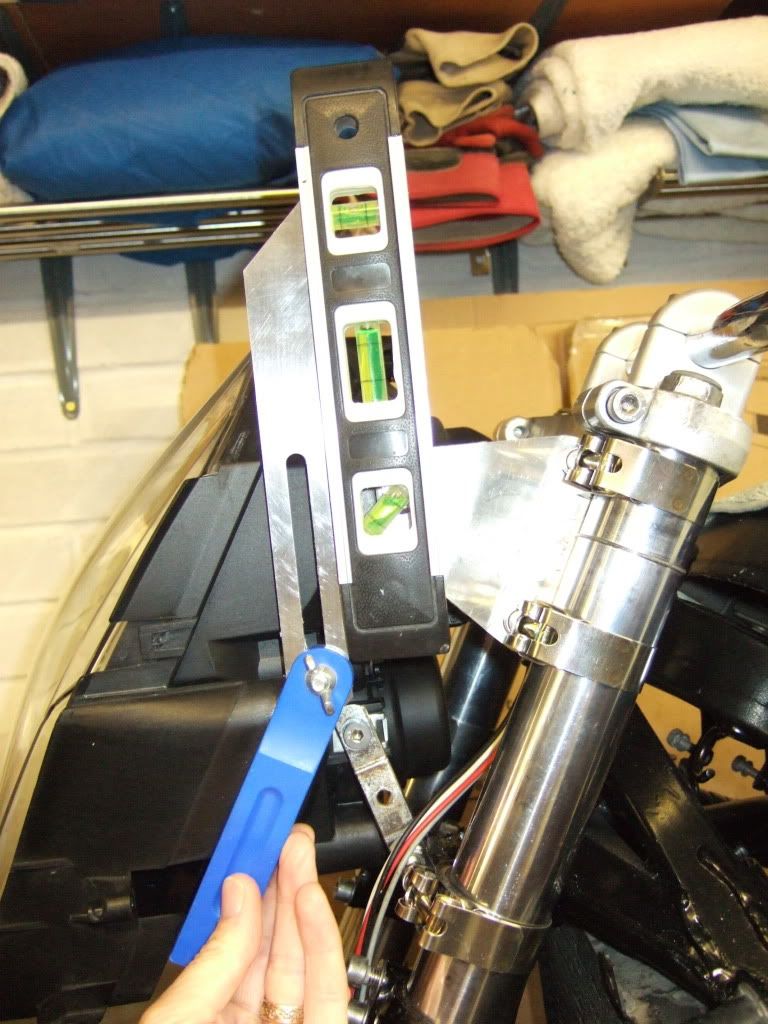
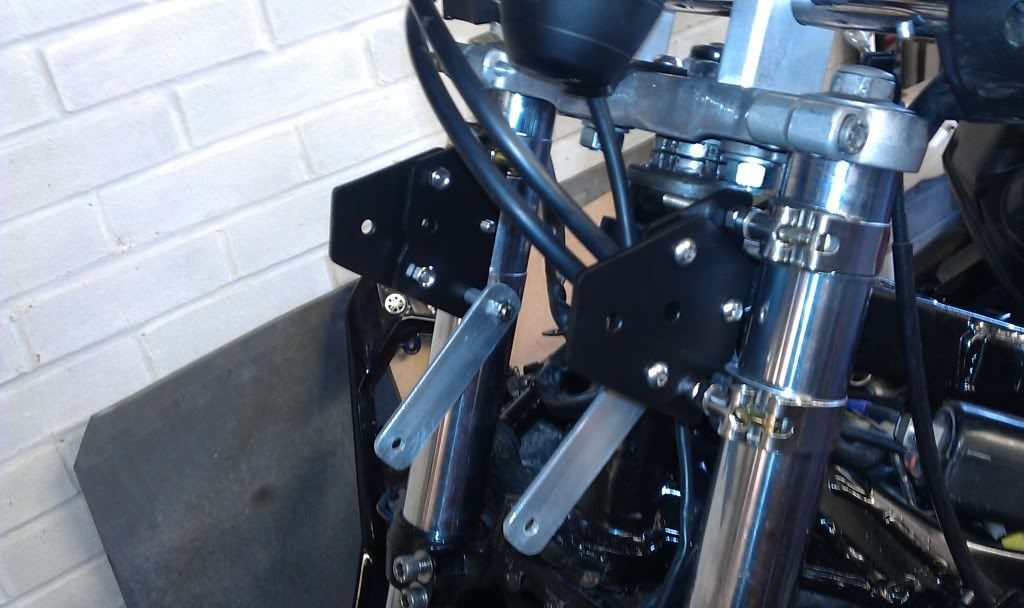
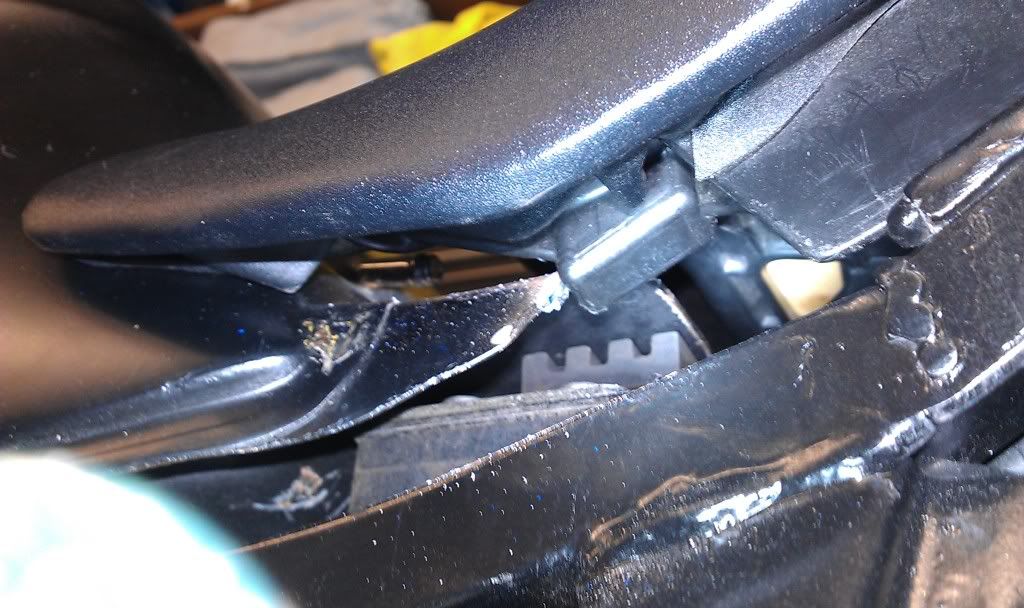
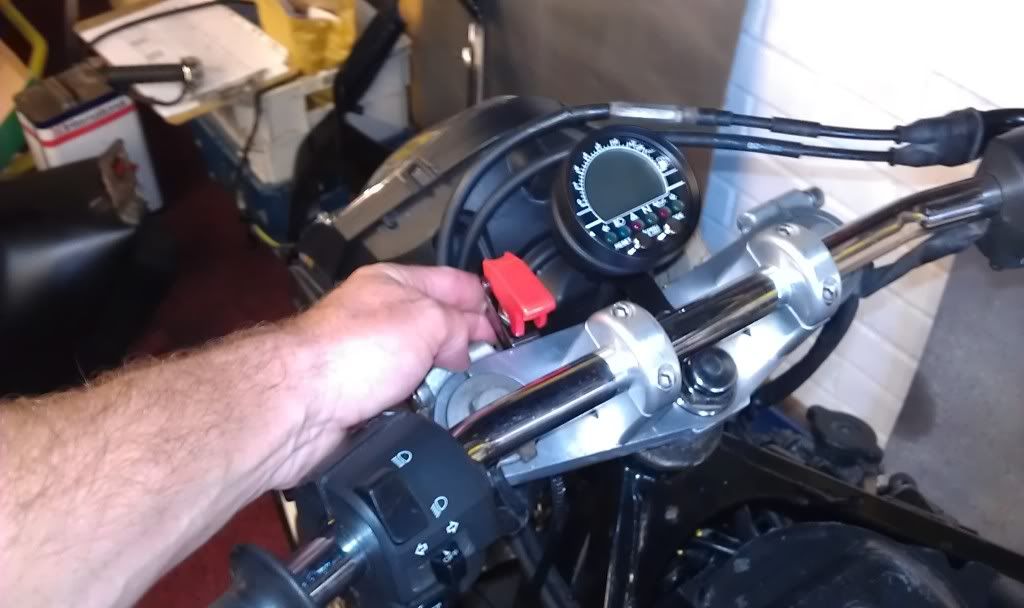
Might just mount the reserve switch here, not sure yet.

Image

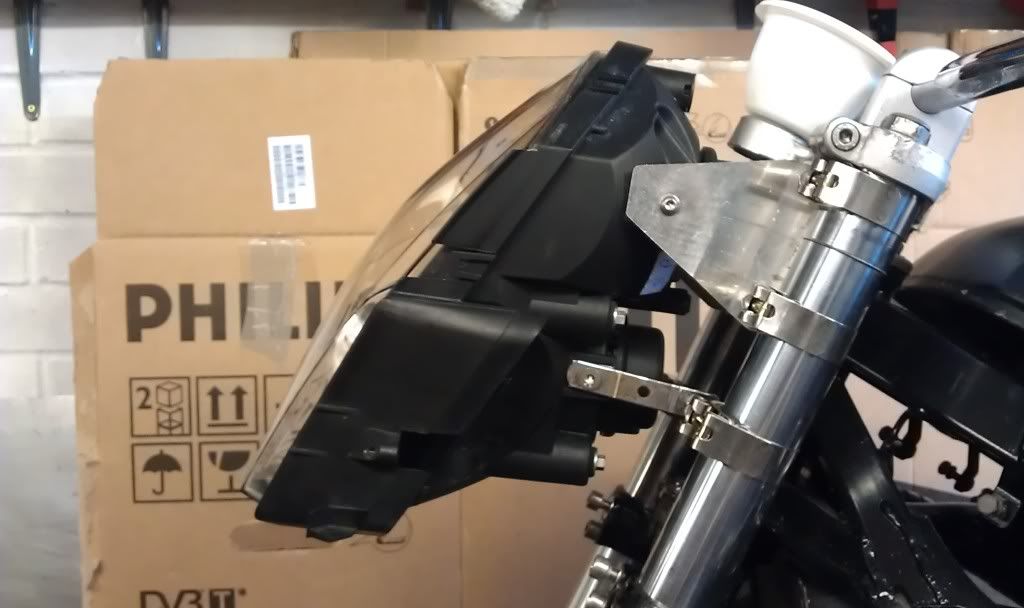
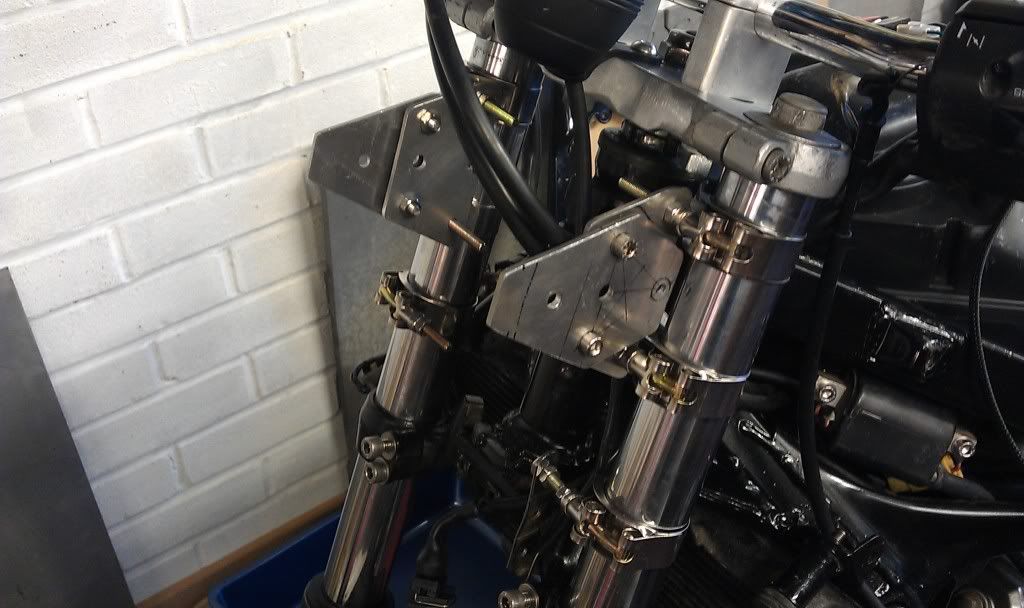
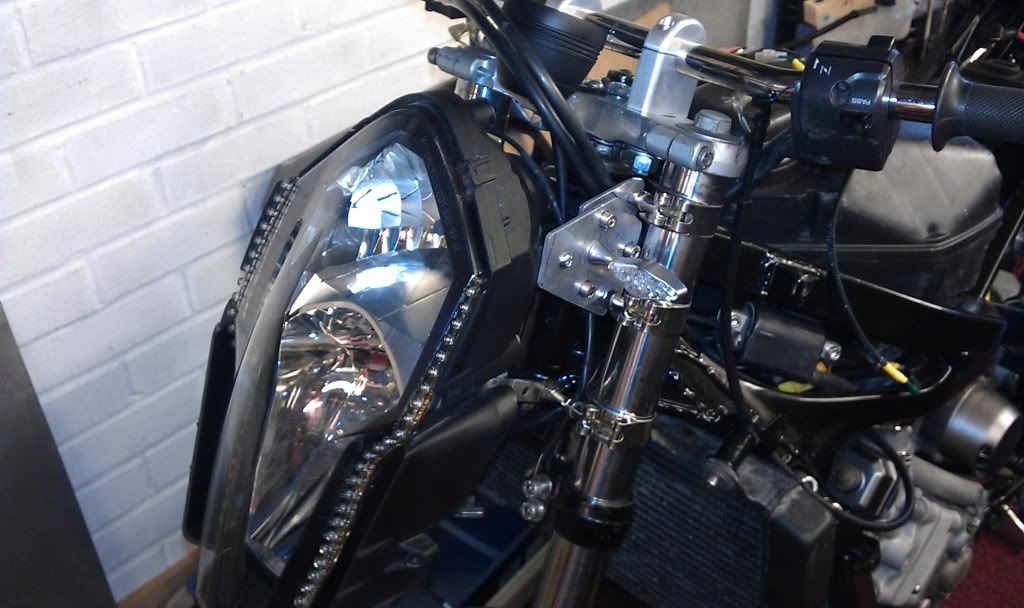
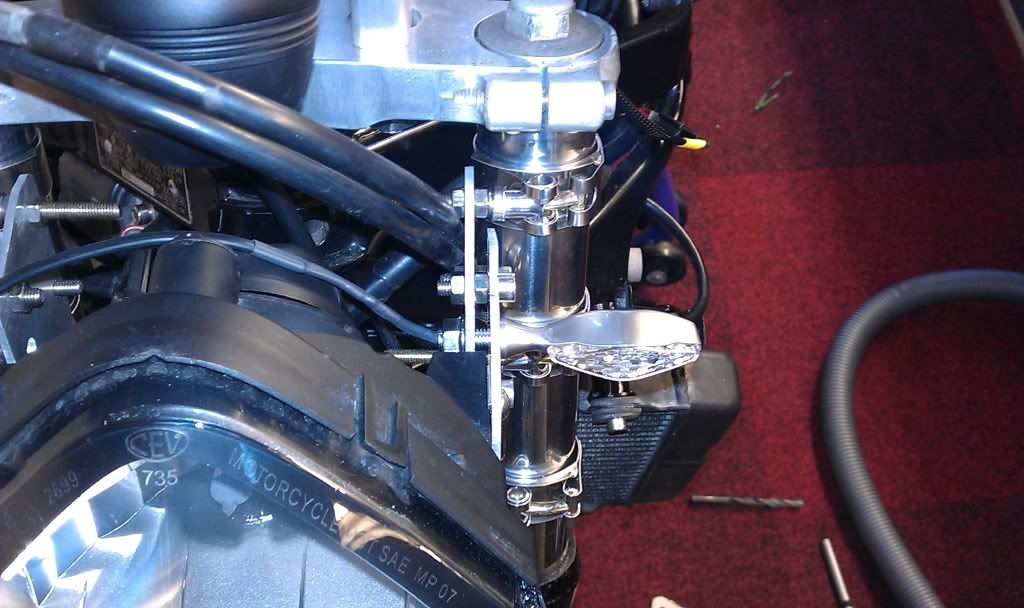
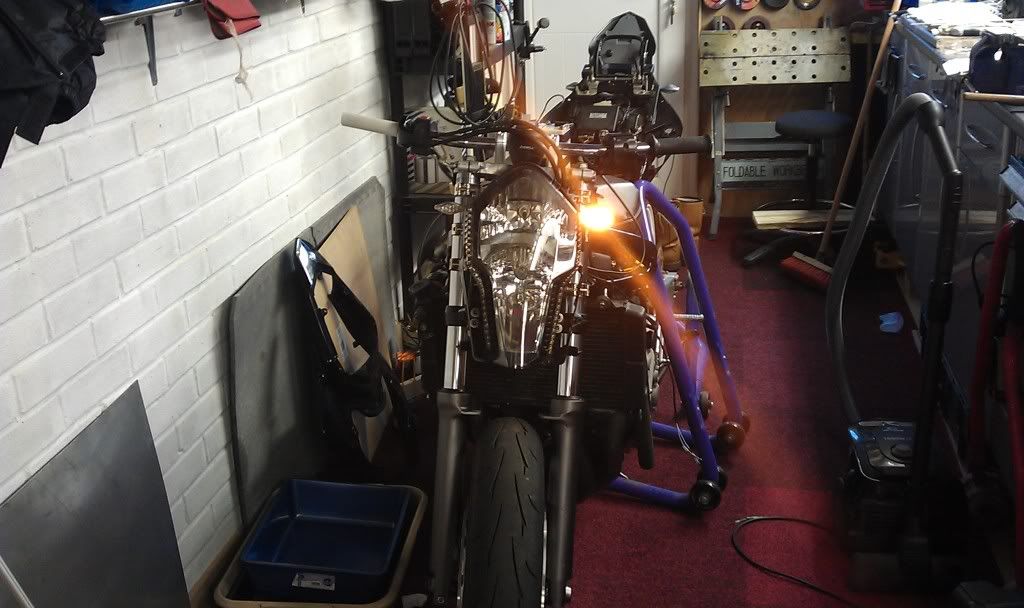
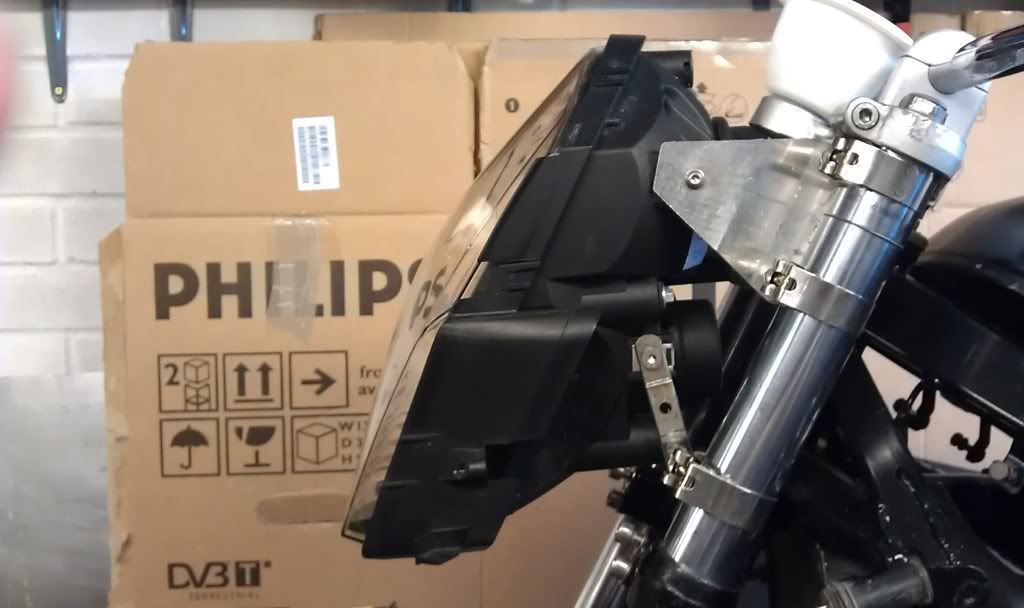
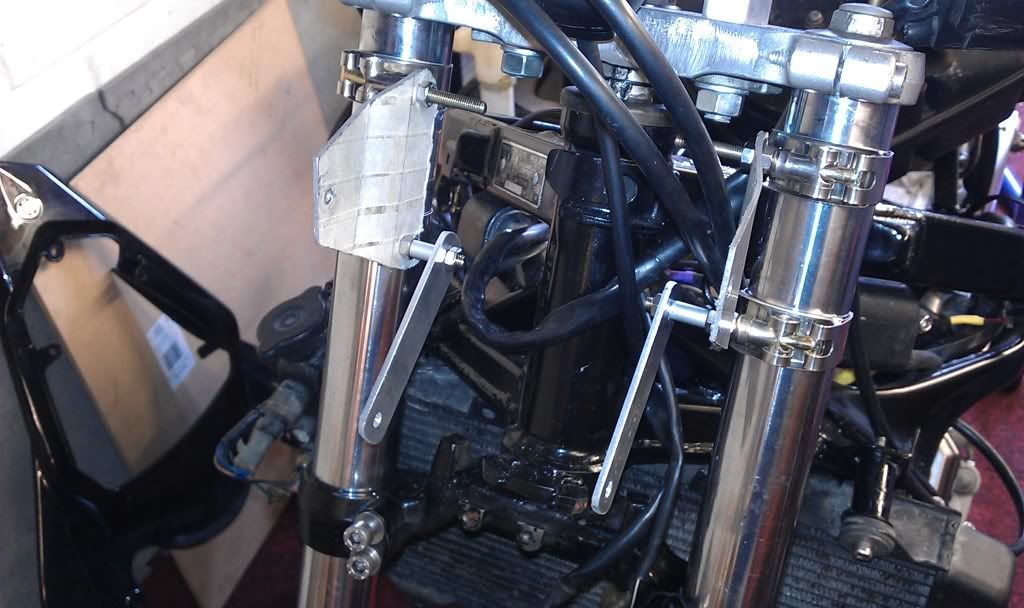
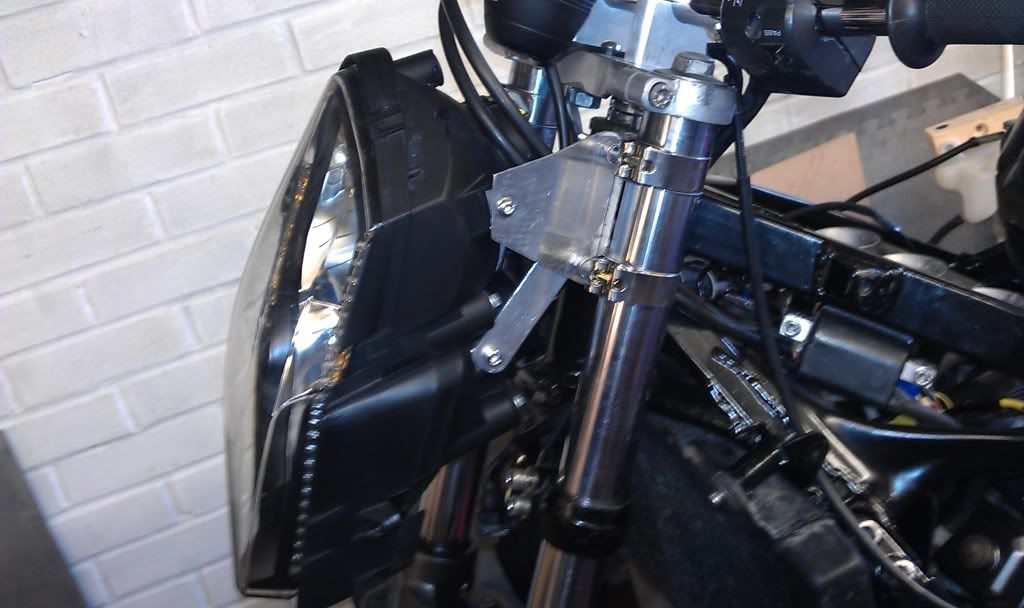
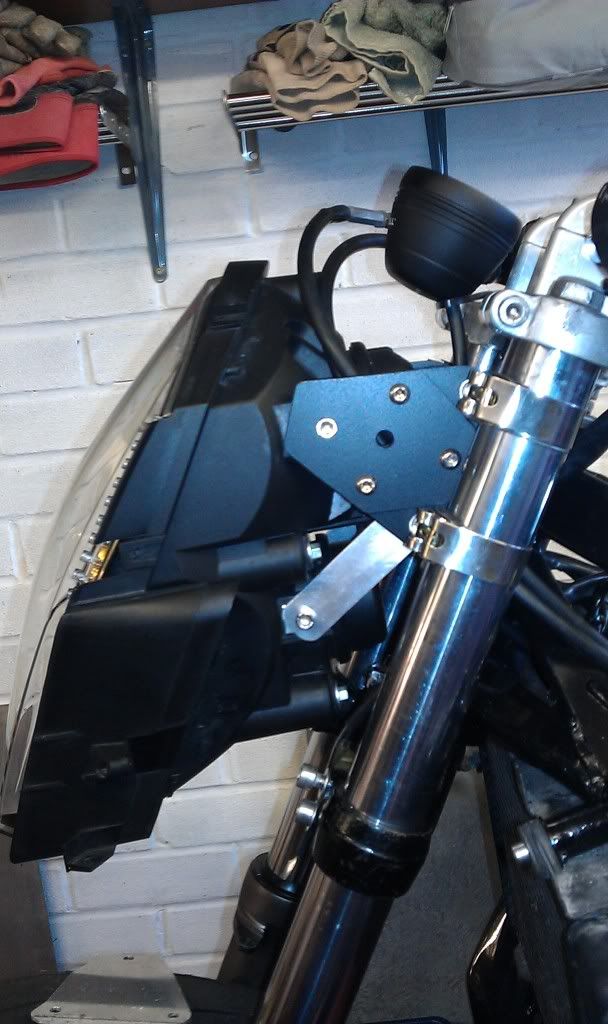
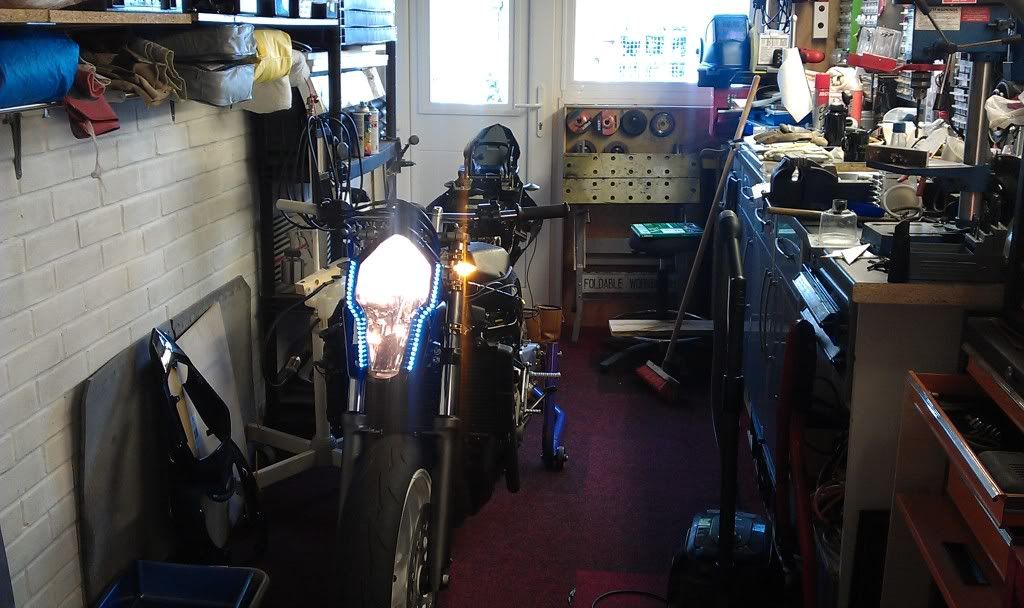
Anyhow thats todays escapades, once I have manufactured some other headlight brackets and mounted the indicators I can put the airbox on once and for all and leave the electrics behind for good :D
Never Ever Bloody Anything Ever!!!
User avatar
fang
Pit-lane Reporter
Pit-lane Reporter
Posts: 741
Joined: Mon Jun 19, 2006 5:38 pm
Location: Bootiful Norfolk

Post by fang »

Right then, so I can mount my front indicators I had to manufacture some new headlight brackets, as the first ones I made were just knocked up so I could sort out the headlight position!

Image

I cut two plates out and made a start by clamping them together so I could gring them with a flap wheel so they were identical

Image
Image

But then had second thoughts about putting a dog leg in them as its hard to get a good finish because of all the marks aquired during bending, plus I wanted something that didn't look "bodged"

Image


So I scribbled a little design and made a start.

Image

Unfortunately this required two more identical plates!!

So another two plates cut out and clamped to the first two then flap wheeled to the same shape.

Image
Image

Marked for drilling (or satanic worship :D )

Image
Image
Image
Image
Image
Image
Image
Image

I had bought some ally tubing to make spacers for between the two plates, but it worked out that a nut provided the right spacing, so I'm undecided wether to leave the nuts in place or go through the hassle of trying to make 6 Identical spacers.

Image
Image
Image

I was a little concerned that the indicators may not be seen.

Image

But not an issue it seems!!

Image

So just need to clean the plates, make a decision on the spacers, and maybe give them a paint or polish, then make some bottom mounts.

Happy days :D
Never Ever Bloody Anything Ever!!!
User avatar
Stig
Site Admin
Site Admin
Posts: 11786
Joined: Wed Sep 28, 2005 7:54 am
Location: Searching for my bike

Post by Stig »

lookin good mate

def go for the polish he sez lookin at me latest toy :D

Image
AKA Bald headed b'stard
User avatar
fang
Pit-lane Reporter
Pit-lane Reporter
Posts: 741
Joined: Mon Jun 19, 2006 5:38 pm
Location: Bootiful Norfolk

Post by fang »

Isn't that the wrong way up for a shoe buffer :lol: :lol:
Never Ever Bloody Anything Ever!!!
faststeve
Technician
Technician
Posts: 190
Joined: Sun Nov 06, 2005 10:02 pm
Location: eastbourne

Post by faststeve »

that is goimg to be a serious bit of kit , thought about putting a 1000 engine in mine but with it being so light now and a bit flighty at high speed i thought better of it , mines geared to 120 or so and very rapid acceleration , another 20 odd hp would be too tempting and prob too much for its capabilities in its current form , bloody thing lifts the front in 3rd now when its thrashed so id spend most of my time in hospital !!!!
User avatar
fang
Pit-lane Reporter
Pit-lane Reporter
Posts: 741
Joined: Mon Jun 19, 2006 5:38 pm
Location: Bootiful Norfolk

Post by fang »

faststeve wrote:that is goimg to be a serious bit of kit , thought about putting a 1000 engine in mine but with it being so light now and a bit flighty at high speed i thought better of it , mines geared to 120 or so and very rapid acceleration , another 20 odd hp would be too tempting and prob too much for its capabilities in its current form , bloody thing lifts the front in 3rd now when its thrashed so id spend most of my time in hospital !!!!
Sounds good, as I can't wheelie to save my life, knee down no problem, wheelie, forget it!! :lol: :lol: :lol:
Never Ever Bloody Anything Ever!!!
User avatar
fang
Pit-lane Reporter
Pit-lane Reporter
Posts: 741
Joined: Mon Jun 19, 2006 5:38 pm
Location: Bootiful Norfolk

Post by fang »

Seeing as I don't have a shoe buffer like Stig's I decided to paint the headlight brackets instead!

Image

that was after evicting an unwanted guest, don't like spiders :crybaby:

Image
Image

Anyway, while the top mounts were drying I set about making some bottom mounts.

you may recall that I was going to use a seperate bracket on the bottom mount to allow me some headlight aim adjustment by sliding the bottom mount up or down the fork leg.

original idea

Image
Image

But I managed to get the headlight roughly aimed and took a measurement for later referance

Image
Image

So with this in mind I thoughtI could mount the headlight without the lower fork bracket for a cleaner look.
with the original bracket back in situ I took a measurement and made a couple of braces.

Image

but as the lower mounts are narrower than the top ones I also needed some spacers, so out came the ally tube, which is a pain in the arse to cut square, but neccesity being the mother of invention, who needs a lathe!
Once cut to as square as I can get it, whack it in the drill and square it off on the file :D

Image
Image
Image
Image

double check fitment with original mount

Image

then assemble new mount and check

Image
Image
Image

All looks good, just got to get some more paint as I ran out, but I may change the colour to graphite (same colour as forks/rocker cover) instead of matt black.
But it looks like the indicators will be seen with the headlight on as well...........bonus.

Image
Image
Never Ever Bloody Anything Ever!!!
faststeve
Technician
Technician
Posts: 190
Joined: Sun Nov 06, 2005 10:02 pm
Location: eastbourne

Post by faststeve »

dont get me wrong , i dont intend to wheelie it !!! it just lifts under full screaming power , its short and light , geared for poke not top speed and can get skitish and tank slap on bumps at high speed great fun !! never quite know whos in charge , me or the bike !!! the r1 brakes with ferodo hh pads are fantastic , million times better than the wood blocks originaly fitted . i put 2 teeth on the back spocket . makes the gearing match the power better , still suprises me how quick it is for a 25 yr old bike ,
faststeve
Technician
Technician
Posts: 190
Joined: Sun Nov 06, 2005 10:02 pm
Location: eastbourne

Post by faststeve »

been looking through the pics , thats going to be a nice machine , lot of people have no perception of how much work goes into the finished bike ,
Post Reply