
I think I still have it lying around and I wont be needing it again.
If you are not in a hurry I could look for it over the weekend and post it to you on Monday.
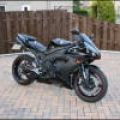
Vivian - Banner's streetfighter experiment.
Turn the engine to the tdc mark by pulling on the timing chain, then fit the cylinder head and then the cams with their marks on tdc, check and adjust after you've fitted the engine to the frame by putting it in gear and turning the rear wheel

1992 RU midnight blue, Wiseco 1070, 6 speed, r1 calipers, ducati discs , 157 bhp crank, Ohlins shock

Ive never had any trouble getting the pistons in from the bottom. The bottom of the barrels have a little chamfer.
GOVERNMENT WARNING!:
If you are having individual free thoughts please switch on your TV immediately and watch x factor, or go shopping, or buy a happy meal, free thought will lead to extremism.
If you are having individual free thoughts please switch on your TV immediately and watch x factor, or go shopping, or buy a happy meal, free thought will lead to extremism.


only had to check the valve clearances 3 times...not too bad, first time the exhausts were fine, but the inlets were all off - some i couldnt get my 0.0015" feeler gauge in...so they were very tight.
replaced all inlets and all exhausts (just to get them in the middle of the clearance range - they were all at the tight end before), 2 inlets were at the loose end (although i think thats more a dodgy feeler gauge of mine), and one was still too tight, so round 3 sorted that
everything is torqued down, assembly-lubed to hell, and cam cover is now on - a happy bunny i am this morning. need a few rubber o-rings that i forgot (the 4 for the metal intake ports, and one for the thermostat water feed), then i can fit them and the remaining water pipes.
ive not fitted the clutch internals yet - thats this weekends job, and i still need to get new clutch plates/frictions/steels im not fitting the old ones back into my clean engine!
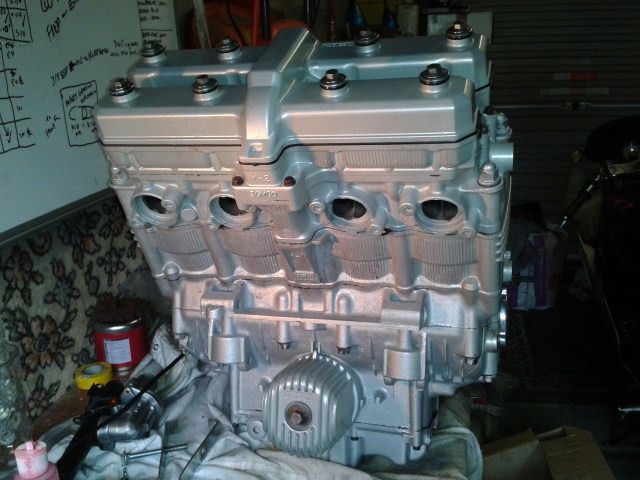
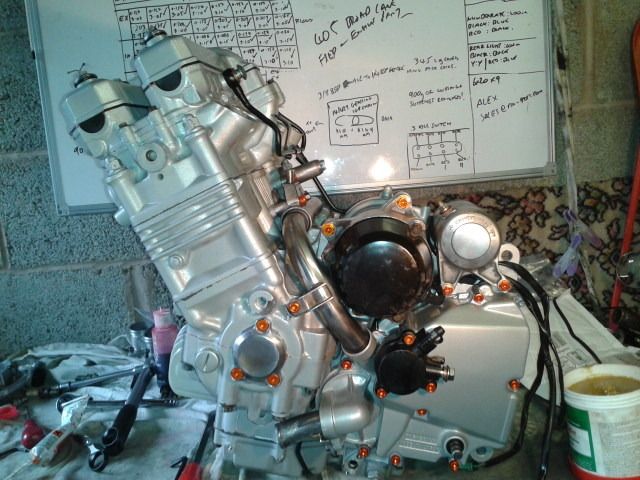
oh yeah! feel the orange-bolt-ness
replaced all inlets and all exhausts (just to get them in the middle of the clearance range - they were all at the tight end before), 2 inlets were at the loose end (although i think thats more a dodgy feeler gauge of mine), and one was still too tight, so round 3 sorted that
everything is torqued down, assembly-lubed to hell, and cam cover is now on - a happy bunny i am this morning. need a few rubber o-rings that i forgot (the 4 for the metal intake ports, and one for the thermostat water feed), then i can fit them and the remaining water pipes.
ive not fitted the clutch internals yet - thats this weekends job, and i still need to get new clutch plates/frictions/steels im not fitting the old ones back into my clean engine!

oh yeah! feel the orange-bolt-ness

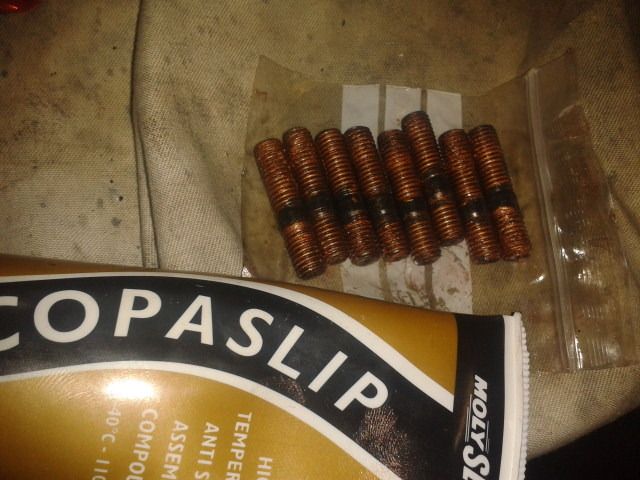
always copaslip your exhaust bolts (new ) if you want to stand a chance of removing them 30,000 miles later...ive got brand new stainless nuts to go on them...the worst looking bit of the bike is gonna be the exhaust downpipes...need to do something about them without going down the exhaust-wrap route...

i think i might have to have a run down to creed's place, or up to stigs grotto to look at getting the bolts that hold the exup valve out first...ive tried it all to get them to free, i think they need drilling and tapping/helicoil, but i dont have access to a pillar drill - the exup valve does now move, and i think its as free as i can get it, but its slightly "notchy" at about 1/2 way round its normal 90degree travel arc, and it could really do with a proper service like everything else on the bike...but i just cant get the bolts out.
the downpipes condition-wise are ok, worse at the collector box end than at the top end - i have some very high temperature matt black exhaust paint - ill stick a few coats of that on, plus it smells heavenly! they are gonna get a light all over skim with filler/jb weld at the collector end, just to make sure it wont start blowing anytime soon
the downpipes condition-wise are ok, worse at the collector box end than at the top end - i have some very high temperature matt black exhaust paint - ill stick a few coats of that on, plus it smells heavenly! they are gonna get a light all over skim with filler/jb weld at the collector end, just to make sure it wont start blowing anytime soon


I've just done a similar thing to my exhaust except I used a thin coating of exhaust repair putty, then sanded and painted it.
As I tend to use the bike in all weathers I find I end up repainting the exhaust once a year and even then it looks like rust has eaten into it.
As good ones are getting thin on the ground it's worth looking after them the best you can!
As I tend to use the bike in all weathers I find I end up repainting the exhaust once a year and even then it looks like rust has eaten into it.
As good ones are getting thin on the ground it's worth looking after them the best you can!
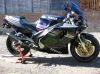
1993 YZF750R
EXUP - Knee Down
EXUP - Knee Down
thats why i need to look at getting the exup valve out and refurbished...Fatdog wrote:As good ones are getting thin on the ground it's worth looking after them the best you can!
in other news by the end of this week ill have an engine in the frame...maybe even turn it over!
my brass inserts are here for the carbs, so i will be able to ballance my carbs without having to swear at them as the normal blanking plugs are very well burried. a bit of locktite and rubber end-caps and its all good

yeah the centers have rounded, ive heated them with my blowtorch and then had my mole grips on them...they just slip...they are really in there good, so im pretty sure it will be a drill and tap.
ill do the "grease nipple mod" at the same time as well, so that i can grease the far end of the exup valve, i think another reason for it being in such bad condition is that its missing the metal cover that usually goes over the exup valve...so its been exposed to road salt for im guessing a lot of years...
ill do the "grease nipple mod" at the same time as well, so that i can grease the far end of the exup valve, i think another reason for it being in such bad condition is that its missing the metal cover that usually goes over the exup valve...so its been exposed to road salt for im guessing a lot of years...
You could try hack sawing a grove half way down the Allen head and then use a impact driver (with screwdriver slotted bit) on it.
You will need to use a vise to hold the downpipes when you do it. I know this has worked for me in the past so it might be worth a try.
If the valve has been exposed for a while, as you say, I think what ever you do it's going to fight you!!
When you do get it off, replace the bolts with stainless items and use copperslip on the threads (you knew that anyway!!).
The grease nipple mod on the exup valve - has that been done before?
I just tend to pull strip it once a year and give it a good clean (not a big job to get at it and do).
Best of luck!
1993 YZF750R
EXUP - Knee Down
EXUP - Knee Down
its in the stg 1 mod document on the forum somewhere, along with a picture. just drill the closed end where the graphite/phosphor bronze bush goes and add a grease gun nipple...ill get a small thread one and see if its feasible when i take it all apart...no big deal if not, and once mine's cleaned up properly i should be able to take it apart ok.
i have a 110psi impact wrench but no slotted ends, im off to a mates tomorrow, ill see if he has a 1/2" socket slotted drive, here's hoping i dont muller something important trying to take the screws out, ill give it a blast with the blowtorch before hand to get it nice and hot, might help to loosen them...if not, drill and tap later on.
i have a 110psi impact wrench but no slotted ends, im off to a mates tomorrow, ill see if he has a 1/2" socket slotted drive, here's hoping i dont muller something important trying to take the screws out, ill give it a blast with the blowtorch before hand to get it nice and hot, might help to loosen them...if not, drill and tap later on.
Who is online
Users browsing this forum: No registered users and 1 guest