Vivian - Banner's streetfighter experiment.

Post your pictures here: your bikes, meets you've attended, modifications you've made, x-rays you've had taken...
Post Reply
banner001
Pit-lane Reporter
Pit-lane Reporter
Posts: 739
Joined: Tue Sep 25, 2012 3:50 pm
Location: Nuneaton, UK

Vivian - Banner's streetfighter experiment.

Post by banner001 »

I always name my bikes starting with the letter V, this is Vivian, i also currently have Victor (my uk-spec 1994 zxr 400), this is combined from another forum... dont think i have done all the following in 1 day :D

i have a new project...1989 Yamaha FZR 1000 EXUP, 46k miles, V5, £400 and 4 cans of beer delivered to my place :D The fairings, tank, carbs etc are all scattered about the place in the loft so its a complete bike, but its getting fully stripped anyways :D

Image

its strange looking down an intake port and seeing 3 valves...
banner001
Pit-lane Reporter
Pit-lane Reporter
Posts: 739
Joined: Tue Sep 25, 2012 3:50 pm
Location: Nuneaton, UK

Post by banner001 »

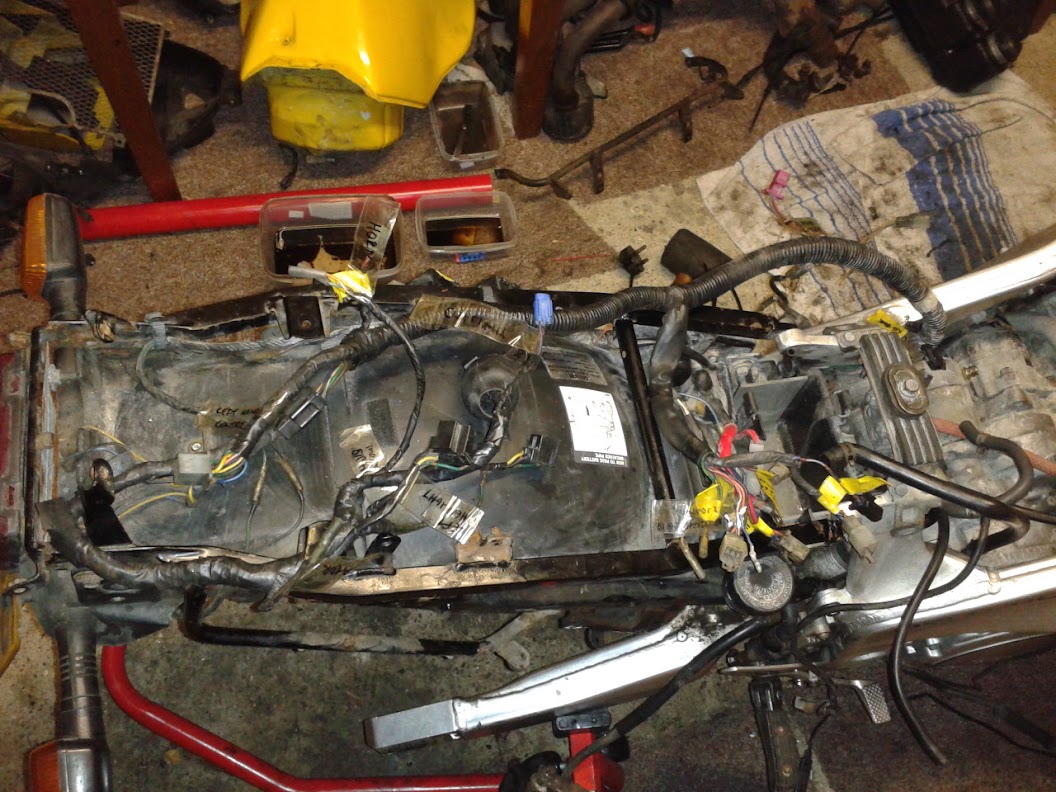
first thing will be to get a spark, it cranks fine, but no spark...i suspect its just a wiring fault/dodgy kill switch etc...once thats done it will get the loom hacked into :D looking at a LiPO4 battery and custom case to centralise the mass, relocate all tail electrical relays etc to this new battery/electrics box. a friend suggested fitting a more modern pump and getting rid of the fuel pump relay - will look into this. Either gonna fit small bulb indicators, or wire in proper LED relays (as opposed to resistors).

am going to wuss out of designing a brand new look and basically copy this (Image
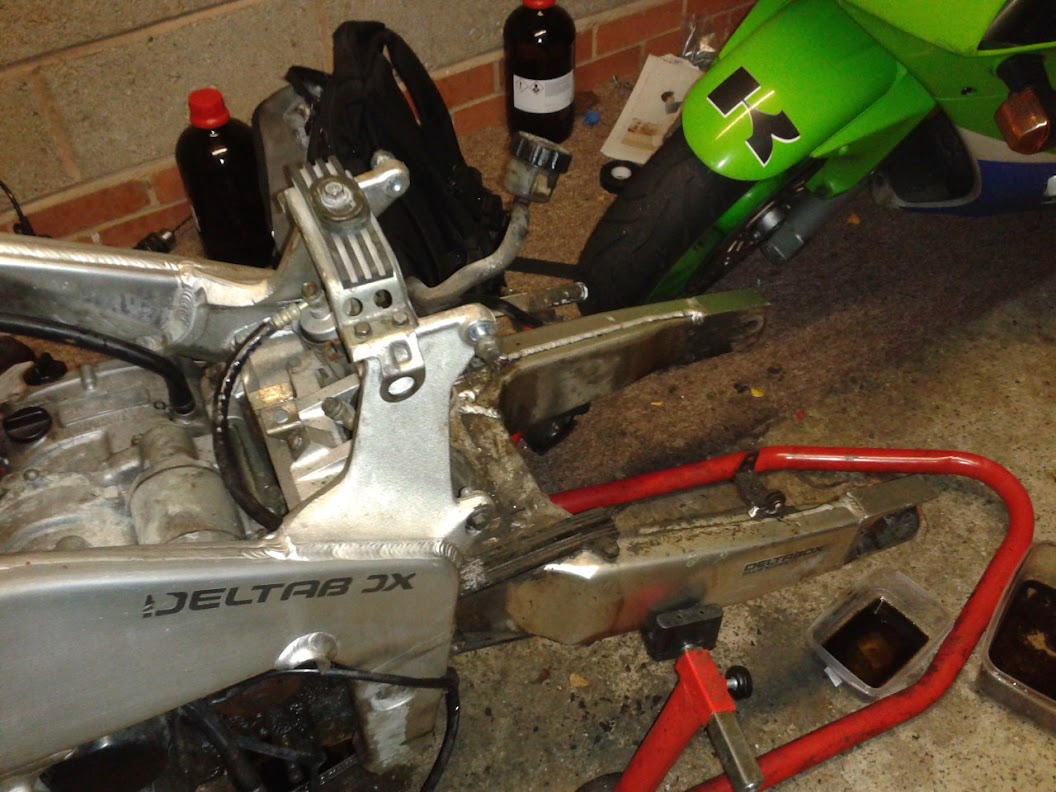
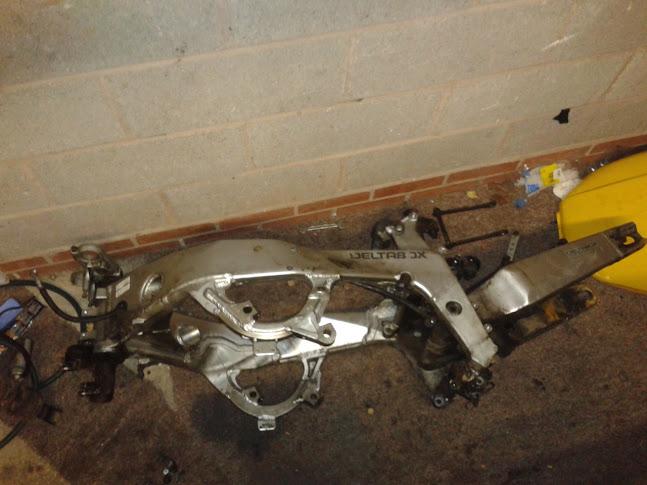
)...with a large matt black stripe running down the centerline of the bike and over the tail, with a matte red pinstripe either side, frame will be powdercoated black, downpipes will either be painted black, or wrapped in heatwrap, or both. mainly to keep them from getting damaged/corroded as they are in OK condition...but not fantastic, and new replacements with the EXUP housing i cant seem to find...only race systems without it...the general consensus seems to be to still stick with the exup valve...we will see.

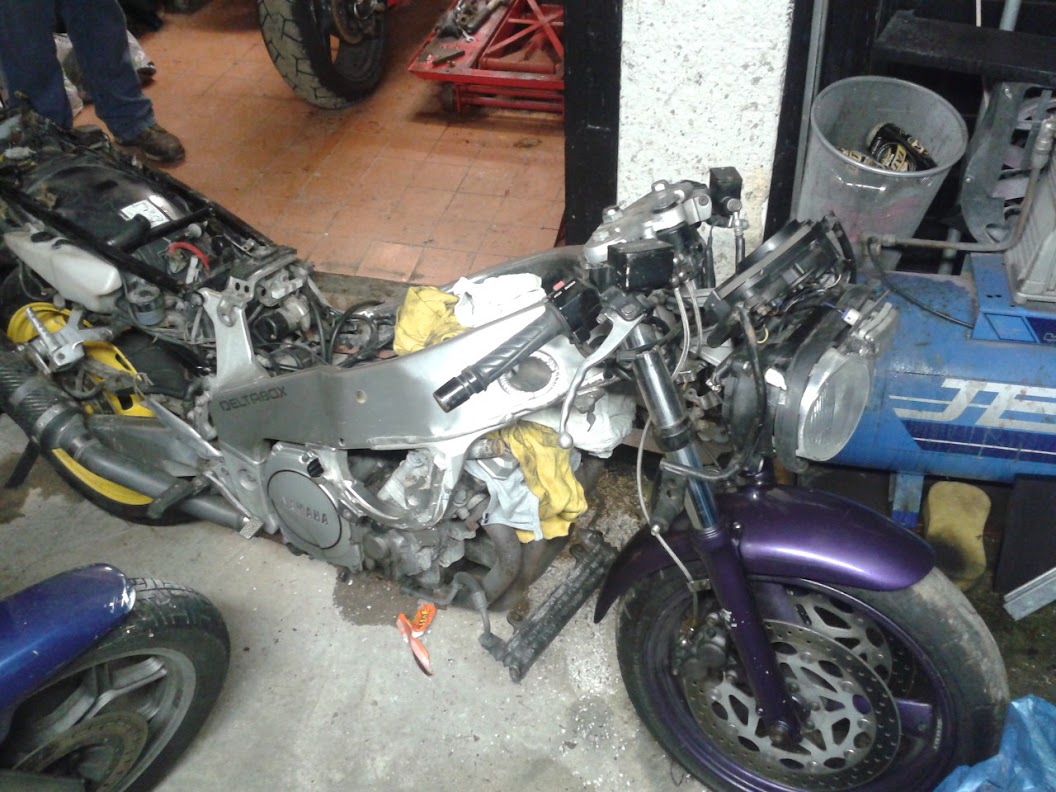
want to get the weight down, its about 236kg fully oiled and fuelled (apparently) and probably about 125bhp (46k miles on the clock, supposed to be 131bhp...), would like to get this towards the 200kg mark and ~140bhp mark. my zxr for comparison is ~180kg and 55bhp.

so thats 0.305bhp/kg for zxr, 0.529bhp/kg (stock fzr), 0.7bhp/kg (lightened fzr)

with me on board in gear +90kg:-
0.203bhp/kg for zxr, 0.383bhp/kg (stock fzr), 0.482bhp/kg (lightened fzr)

...so its got almost twice to power/weight ratio that my current bike has...should be good fun tearing the thing apart :D
banner001
Pit-lane Reporter
Pit-lane Reporter
Posts: 739
Joined: Tue Sep 25, 2012 3:50 pm
Location: Nuneaton, UK

Post by banner001 »

bike is getting delivered next wednesday

in other news, a friend of a friend has a powdercoating business so i will be taking it there to get done, looking at £100 for the wheels and £150 for the frame and swingarm.

new i have access to somethings that he can use, so im gonna get a £250 powdercoating job for £0

will be matte black powdercoating, with a surface laquer on everthing except the wheels. when i get the plastics and tank sprayed i will get the wheels pinstriped in the same orange paint so they all match, then get them laquered to protect them.

i just want it to arrive now
banner001
Pit-lane Reporter
Pit-lane Reporter
Posts: 739
Joined: Tue Sep 25, 2012 3:50 pm
Location: Nuneaton, UK

Post by banner001 »

"quote"matt black will show every scratch/mark i went for satin black on mine [url=http://www.zxrworld.co.uk/zxr400oc/view ... h+my+woman]see here.

the frame will need a good bit of prep before it goes to the powdercoaters, gonna make sure its pristing before it goes...not like im in a rush for it, so i can do a proper job.

there are a few frame mounting points to remove (where the fairings joined), one of the engine mounting allen bolts has been ground flush and has seized slightly so that area will need sanding smooth...all the current frame scratches will be 240/400 grit sanded back, once the engine is out the frame will be a lot lighter so i can then remove the swingarm and start to work on that as well :D

mounting bolt
Image

current state of bike (am removing the electrics for a full re-wire)
Image

thankfully its not a complicated loom
Image

i have made sure to label everything and take photos of it all!
Image
banner001
Pit-lane Reporter
Pit-lane Reporter
Posts: 739
Joined: Tue Sep 25, 2012 3:50 pm
Location: Nuneaton, UK

Post by banner001 »

that engine bolt...damn!

drilled and easy-out...nothing.
pack it with JB weld and ram a screw in there...nothing
JB weld outside and stick a nut on...nothing

in the end a forum member said its fairly common, hacksaw through the bolt just behind the frame and weld a nut on after and do it that way, if not it will be properly drilled and tapped later.

bike has shed more weight
Image

back end is looking pretty bare now, now to decide on tail ends...will be a modern 600 or 1000cc bikes tail end going on, something small sleek and pointy methinks

Image

gonna drop the engine today with the help of my wife and a mate of ours...thinking its gonna be ~110kg?

then i can start the full engine stripdown on one bench, and start attacking the electronics on the other :D
banner001
Pit-lane Reporter
Pit-lane Reporter
Posts: 739
Joined: Tue Sep 25, 2012 3:50 pm
Location: Nuneaton, UK

Post by banner001 »

engine is out! needed to be tipped forwards a fair bit before it eased its way out (was a bit gummed-in at the back), is now on my bench ready to be stripped down
Image

:D
banner001
Pit-lane Reporter
Pit-lane Reporter
Posts: 739
Joined: Tue Sep 25, 2012 3:50 pm
Location: Nuneaton, UK

Post by banner001 »

engine stripdown is commencing :D

my socket has just snapped (literally) so thats gone in the bin, am awaiting a breaker bar delivery, been taking external bits off the engine
Image

sorry for shaky picture...but it was damn cold last night at 1am :D top of the engine, will take the cylinder head off when my breaker bar and 6mm long reach allen socket gets here...
Image

the timing cover was held in by 3 head-stripped screws...manages to get 2 out, the 3rd has snapped...so that will require extracting at some point, have been removing the alternator and reg/reg (one unit), the starter motor, oil pressure switch and the neutral sensor...
Image

more in a few days, might spend tomorrow cleaning up the usable piping for the cooling system, its bad on the outside, worse on the inside :D
banner001
Pit-lane Reporter
Pit-lane Reporter
Posts: 739
Joined: Tue Sep 25, 2012 3:50 pm
Location: Nuneaton, UK

Post by banner001 »

still working on the engine, have put the tank on the frame to check a few distances/sizes etc...

am gonna make a custom mount for the front...current one is all open and well ugly, will make a fiberglass cover and reposition the mounts wider.
Image

might try to drop the tan a few mm to close this gap, if not i will fit rubber mounts so its tight to the frame.
Image
banner001
Pit-lane Reporter
Pit-lane Reporter
Posts: 739
Joined: Tue Sep 25, 2012 3:50 pm
Location: Nuneaton, UK

Post by banner001 »

clutch will need new plates and springs...clutch friction plate minimum thickness = 2.8mm, mine = 2.1mm

spring minimum free length = 54mm, mine = 48mm...will stick new steels on as well, clutch hub seems fine.
banner001
Pit-lane Reporter
Pit-lane Reporter
Posts: 739
Joined: Tue Sep 25, 2012 3:50 pm
Location: Nuneaton, UK

Post by banner001 »

vivian has taken his suspenders off...
Image

am 98% of the way through the main stripdown, just gotta remove the headstock and swingarm pivot bolt...then its all done...just hope i can put the damn thing together again now haha!
Image

have pulled off most of the dirt, shouldnt take too long to get it all cleaned up
Image
banner001
Pit-lane Reporter
Pit-lane Reporter
Posts: 739
Joined: Tue Sep 25, 2012 3:50 pm
Location: Nuneaton, UK

Post by banner001 »

cylinder head, no idea when/if it was ever last taken apart, might have done +46,000 miles and its in pretty good condition considering some ive seen...
Image

cant remember what its called, but these are the pistons in the barrels.
Image

probably the worst bit of the head
Image

and the best
Image

worst piston crown
Image

best crown
Image

5 minutes cleaning to the "worst piston crown" gave me...
Image
...which is encouraging

am borrowing a valve spring compressor on wednesday or friday, will get my mate to bring his impact gun and we can take out 3 slightly-mashed, very seized, pozidrive screws so i can split the crankcases over the next week or so...
banner001
Pit-lane Reporter
Pit-lane Reporter
Posts: 739
Joined: Tue Sep 25, 2012 3:50 pm
Location: Nuneaton, UK

Post by banner001 »

Pistons are removed from the top of the conrods, and i only lost 1 of the metal split ring things! Will replace with new anyways. Everything looking good, no nasty lumps of metal anywhere, some small "ribbon" bits of metal, but it almost looks like bits of the very edge of a gasket, its very small and very thin so no big deal. nothing looks damaged/scored/moves too much etc...so thats looking up.

the only problem so far has been that the exhaust camshaft feels very tight in its housing on the LHS of the engine, part of it slots into a groove (i think its an oil passageway or some kind) and i think thats the bit thats tight, inlet is nice and spun freely, but the exhaust camshaft did feel very tight when i had to remove it, might have to look into that further...might be fitting new cams anyways...we will see, stock will go back on initially.

been hammering the sh1t out of the swingarm, manual shows a guy easily sliding it out of its housing...not mine, the easiest bit was the 130Nm nut! This is what greeted me on half of the swingarm
Image

Completely rusted in place, no wonder it took 30 minutes of braying it with a rubber mallet...the inner cylinder was not much better either, no grease in sight, what was in sight was more rust, yay!
Image

arent needle rollers supposed to roll?...will get them out at a later date
Image

gotta get this cover off of the end of the camshaft, remove the clutch, then i can crack the cases and remove all the rest of the inside, ready for cleaning, sand-blasting, more cleaning, measuring/tolerance checking and reassembly...fun fun fun :D
banner001
Pit-lane Reporter
Pit-lane Reporter
Posts: 739
Joined: Tue Sep 25, 2012 3:50 pm
Location: Nuneaton, UK

Post by banner001 »

been cleaning the frame and the swingarm. a quick taster of the swingarm, still needs at least 1 more clean, but damn its a lot better than before!!
Image

im gonna go for this tail unit, unsure as to whether to go for a tank pad (as in picture), or get a seat made for me, the latter would be comfier, but the former is the easier option...
Image
banner001
Pit-lane Reporter
Pit-lane Reporter
Posts: 739
Joined: Tue Sep 25, 2012 3:50 pm
Location: Nuneaton, UK

Post by banner001 »

TIME TO SPLIT THE CASES!

Image

Image

Image

gave the frame a bit of a clean as well as the swingarm:-
Image

never been this clean before...used to be covered in 5mm of thick, used, dirt-soaked chain wax...
Image
banner001
Pit-lane Reporter
Pit-lane Reporter
Posts: 739
Joined: Tue Sep 25, 2012 3:50 pm
Location: Nuneaton, UK

Post by banner001 »

ooohhh...

Image

Image

now to see if i can put it back together again :excited
Post Reply