Fangs "new" toy!!

Post your pictures here: your bikes, meets you've attended, modifications you've made, x-rays you've had taken...
Post Reply
User avatar
fang
Pit-lane Reporter
Pit-lane Reporter
Posts: 741
Joined: Mon Jun 19, 2006 5:38 pm
Location: Bootiful Norfolk

Post by fang »

Image

Image

Not the best pics, but you get the idea :D
Never Ever Bloody Anything Ever!!!
User avatar
nuggitt
Moderator
Moderator
Posts: 5967
Joined: Fri May 22, 2009 9:45 pm
Location: North Yorkshire

Post by nuggitt »

Looking good fang as always :nod:

It won't be long now eh! Another week and it'll be all over bar the shouting. :lol: :lol: :lol:
Bit of advice. Buy a good bed and a good pair of shoes, because if you aren't in one you'll be in the other.
User avatar
Metalface
More Rabbit Than Sainsbury's
Posts: 3567
Joined: Fri Dec 29, 2006 4:28 pm
Location: Bolton, the land of fortune and opportunity.

Post by Metalface »

Where did you get your air shifter keyring from?
If I have to understand, don't bother to explain.

Yoda wrote:Well mental bikes though, suits you sir.
User avatar
dieffe
Lap Record Holder
Lap Record Holder
Posts: 481
Joined: Tue Sep 14, 2010 7:48 pm
Location: Eastham Wirral about a mile from the Tap

Post by dieffe »

Are you saying the red HT leads are no good or just that they are too stiff? The reason I ask is that I have just fitted a set to mine and am now wondering whether I too need to go down the softer silicon route.

Looks like you are nearly there, nice one. :thumbsup:
User avatar
fang
Pit-lane Reporter
Pit-lane Reporter
Posts: 741
Joined: Mon Jun 19, 2006 5:38 pm
Location: Bootiful Norfolk

Post by fang »

Metalface wrote:Where did you get your air shifter keyring from?
The great market place that is EBay of course. :D
Thought a "remove before flight" tag was rather humorous :lol:
Never Ever Bloody Anything Ever!!!
User avatar
fang
Pit-lane Reporter
Pit-lane Reporter
Posts: 741
Joined: Mon Jun 19, 2006 5:38 pm
Location: Bootiful Norfolk

Post by fang »

dieffe wrote:Are you saying the red HT leads are no good or just that they are too stiff? The reason I ask is that I have just fitted a set to mine and am now wondering whether I too need to go down the softer silicon route.

Looks like you are nearly there, nice one. :thumbsup:
No no, they work fine, it's just that they were a cheap option at the time.

If you look back through the thread I got them as a DIY set that had been in someone's garage for a while as the fitment guide didn't list any cars later than 1978ish :eek:

Plus, now I am fitting some blue radiator hoses the red clashes. :lol:

They are also a bit on the stiff side as well....fnarr fnarr! :eek:
Never Ever Bloody Anything Ever!!!
User avatar
Metalface
More Rabbit Than Sainsbury's
Posts: 3567
Joined: Fri Dec 29, 2006 4:28 pm
Location: Bolton, the land of fortune and opportunity.

Post by Metalface »

fang wrote:
Metalface wrote:Where did you get your air shifter keyring from?
The great market place that is EBay of course. :D
Thought a "remove before flight" tag was rather humorous :lol:
But if you remove it the keys come with it and there won't be any flight. :lol: :lol:

I have one on my drag bike, it hangs from the R-clip that prevents the airshifter button being pressed at the wrong time, thus remove before flight. It came like that from MRE the airshifter people. I suppose remove before pressing the button doesn't have the same ring to it. :D

Cool idea though. :nod:
If I have to understand, don't bother to explain.

Yoda wrote:Well mental bikes though, suits you sir.
User avatar
fang
Pit-lane Reporter
Pit-lane Reporter
Posts: 741
Joined: Mon Jun 19, 2006 5:38 pm
Location: Bootiful Norfolk

Post by fang »

:lol: :lol:

I couldn't find one that said "insert before flight" :D
So went with this one instead :lol:
Never Ever Bloody Anything Ever!!!
User avatar
Metalface
More Rabbit Than Sainsbury's
Posts: 3567
Joined: Fri Dec 29, 2006 4:28 pm
Location: Bolton, the land of fortune and opportunity.

Post by Metalface »

Good choice. :cool:
If I have to understand, don't bother to explain.

Yoda wrote:Well mental bikes though, suits you sir.
User avatar
fang
Pit-lane Reporter
Pit-lane Reporter
Posts: 741
Joined: Mon Jun 19, 2006 5:38 pm
Location: Bootiful Norfolk

Post by fang »

So, my job lot of Ebay hoses arrived

Image


I was hoping that I could use a single run for the lower hose, but it is slightly too tight a radius and the hose collapses.

Image

Image

Not a problem, I think, I'll use two pieces and one of the elbows...

Image

Unfortunately the elbows are 28mm and not 25mm so wont work (well they will, but it'll look pants as the OD is different)

Image

Pissed of a little I thought I'd investigate the top hose layout and see what I can come up with.

Image

This turns out to be an even bigger arse ache as the thermostat housing has an O/D of 28mm, the tee piece is a diy bit that the previous owner put in with an O/D of 22mm and the rad inlet is 25mm!!

Image

The 25mm hose will squeeze over the thermostat housing OK, but wont compress to fit the tee piece.

Image

I could run it something like this ( obviously with the hoses cut to length) with the use of some correct elbows and connectors

Image

Image

And overcome the tee piece problem with these, hose adaptor and 1/8npt to 8mm stub

Image

Image

So, onto Ebay I go and purchased 1 metre of wire reinforced flexible silicon hose,

Image

which will be enough to do the lower run, and hopefully should leave enough over to do the top hose, providing it'll squeeze over the thermostat housing (what with it being wire reinforced an all)

I will hold fire on purchasing the adaptor until I know if the hose has the required "give" in it. Time will tell.

Bloody impulse Ebay purchasing!!!!!!!!! :crybaby:

Any way, to cheer myself up I manufactured a bracket to neatly mount my two horns instead.

Paper template

Image

Image

Transferred to ally

Image

Image

Image

Image

Nice and neatly tucked away.

Image

Image

Image

Then extended the wiring to operate them.

Image

Image

(I know its childish, but they do look like boobies!!! :D )

Image
Never Ever Bloody Anything Ever!!!
dan83590
Earbasher
Earbasher
Posts: 1430
Joined: Sun Mar 13, 2011 6:40 pm

Post by dan83590 »

I mounted two horns in parallel on my bike and it kept blowing the main fuse. Also when riding if the horn was pressed the engine would die! :angry: I'm gonna relay one side now.

Test yours before you ride out. :nod:
User avatar
fang
Pit-lane Reporter
Pit-lane Reporter
Posts: 741
Joined: Mon Jun 19, 2006 5:38 pm
Location: Bootiful Norfolk

Post by fang »

Cheers for the heads up Dan, but I have two horns on my Exup without issue

Image

Although I will indeed check before riding. :D

If yours is blowing the main fuse it sounds like a short to earth somewhere?
Never Ever Bloody Anything Ever!!!
User avatar
fang
Pit-lane Reporter
Pit-lane Reporter
Posts: 741
Joined: Mon Jun 19, 2006 5:38 pm
Location: Bootiful Norfolk

Post by fang »

Small update from the last few days.

Made some brackets to hold my radiator guard in place utilising the original mounting holes.

Image

Image

Image

Then my HT leads arrived, but they had sent me red ones, not blue as ordered!!

Image

So instead of installing them I decided to spray up all the bits and bobs that I could.

Image

Image

Did a little bit of wiring extension to the radiator fan and also took the oportunity to extend the rear brake light wiring as the existing connector is in the firing line for crap from the rear wheel!

(apologies for the below pic, but Photobucket have changed their edit function and I can't see a draw function to add an indication line to the connector I mean, so focus blurred instead)

Image

Image

Image

And whilst the foot mount was off I removed the hose stop on the rear master cylinder as you can guarantee it will be in the way of the hose when I get around to mounting it!

Image

Image

Anyhow the postman arrived with the flexihose so with the rad back in place temporarily I cut the bottom hose to length. ( it looks very blue in the pics, but is less so in real life)

Image

Image

Fits nicely and without kinks, but its too stiff to do the top hose, so I have just ordered a couple of elbows to sort that out along with a hose adaptor and joiner.

more when they arrive :D
Never Ever Bloody Anything Ever!!!
User avatar
yzfpaul
Commentary Team
Commentary Team
Posts: 937
Joined: Tue Feb 21, 2006 12:56 am
Location: paisley scotland

Post by yzfpaul »

lookin good as always Ian,

i used that ap autostore for quite a few bits n bobs including my fake
hoover pipes, they were great on the phone too when i was describing
what i needed.

they suggested that flexi silicone in blk but i went with the ribbed rubber
hose instead :D
User avatar
fang
Pit-lane Reporter
Pit-lane Reporter
Posts: 741
Joined: Mon Jun 19, 2006 5:38 pm
Location: Bootiful Norfolk

Post by fang »

I agree Paul, had a problem with the wrong type of clamps being sent to me, but there customer services seem very good, we'll see if the clamps get here correctly this time :lol:

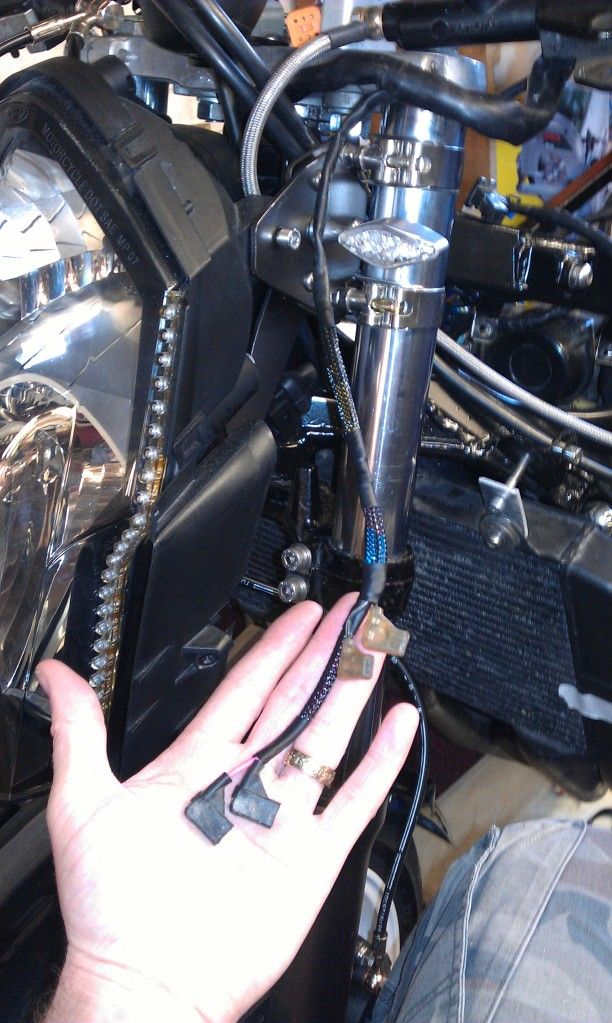
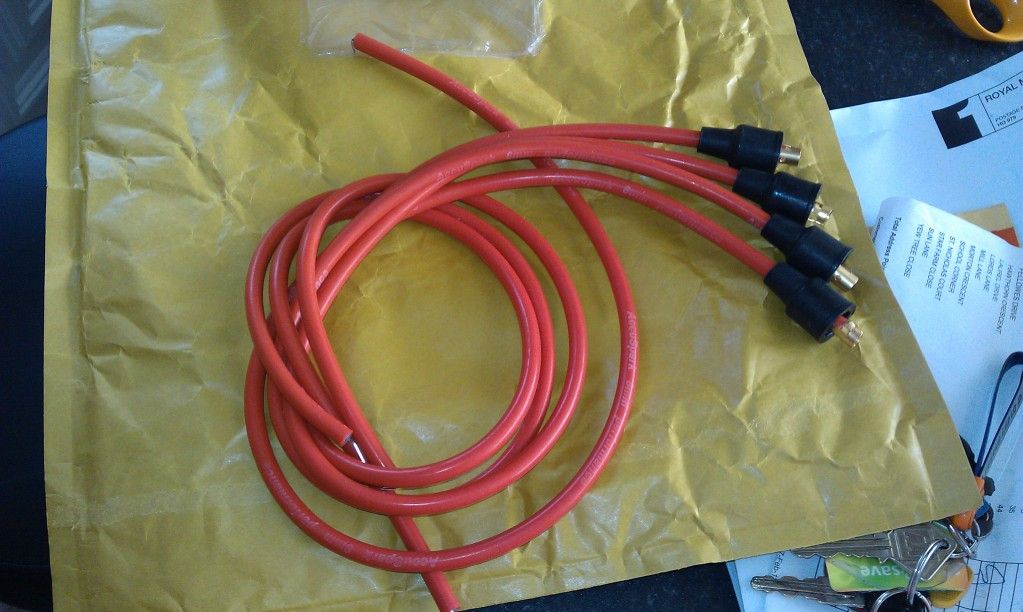
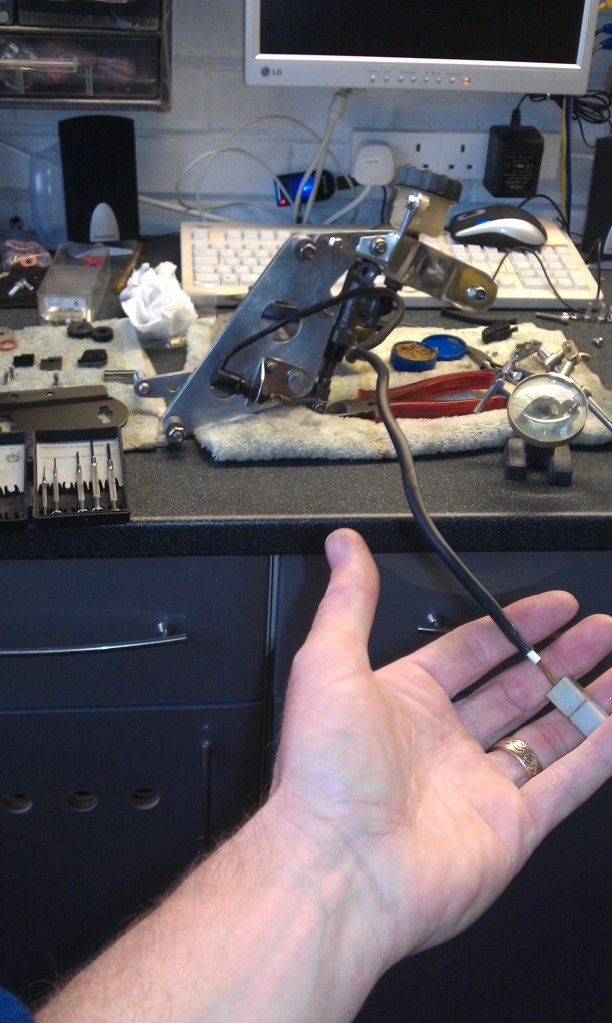
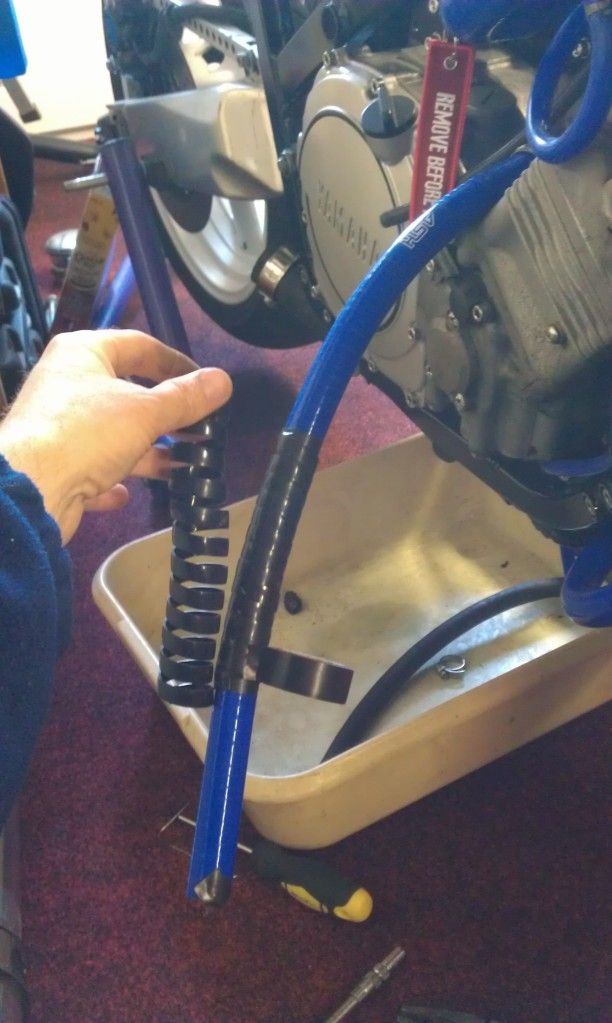
Anyway, the replacement blue HT leads arrived

Image

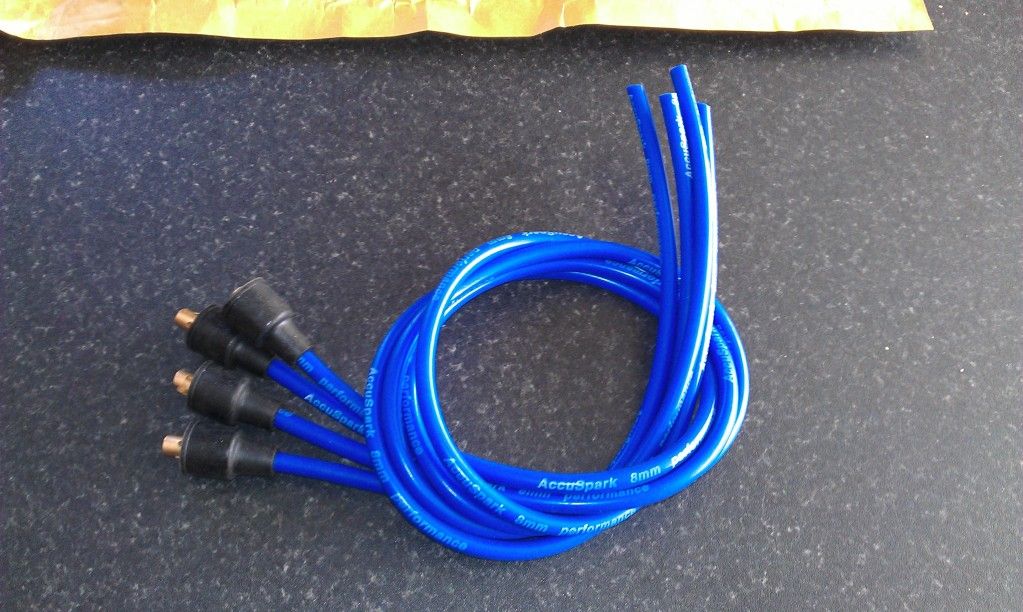
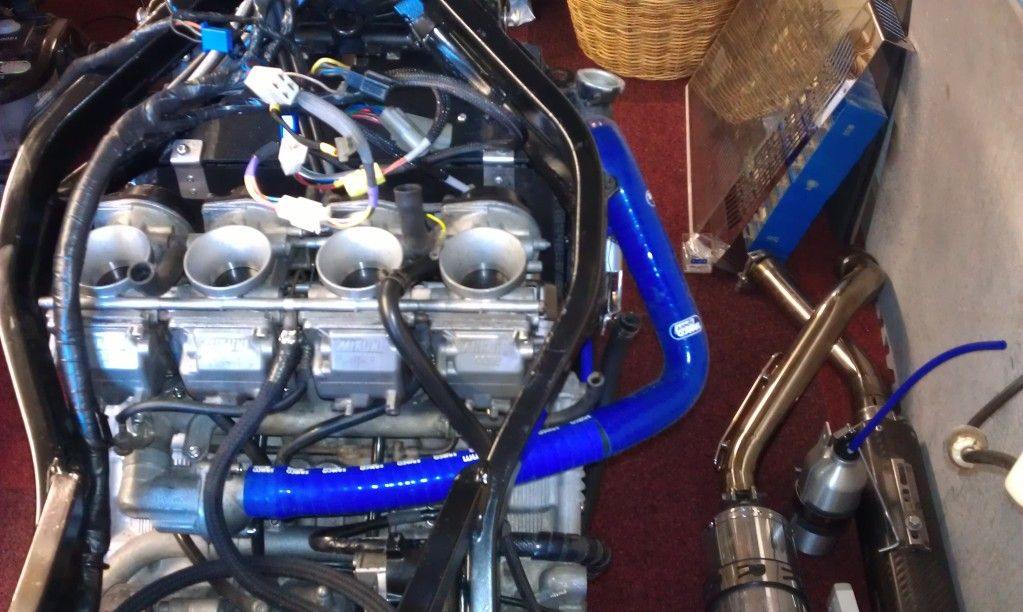
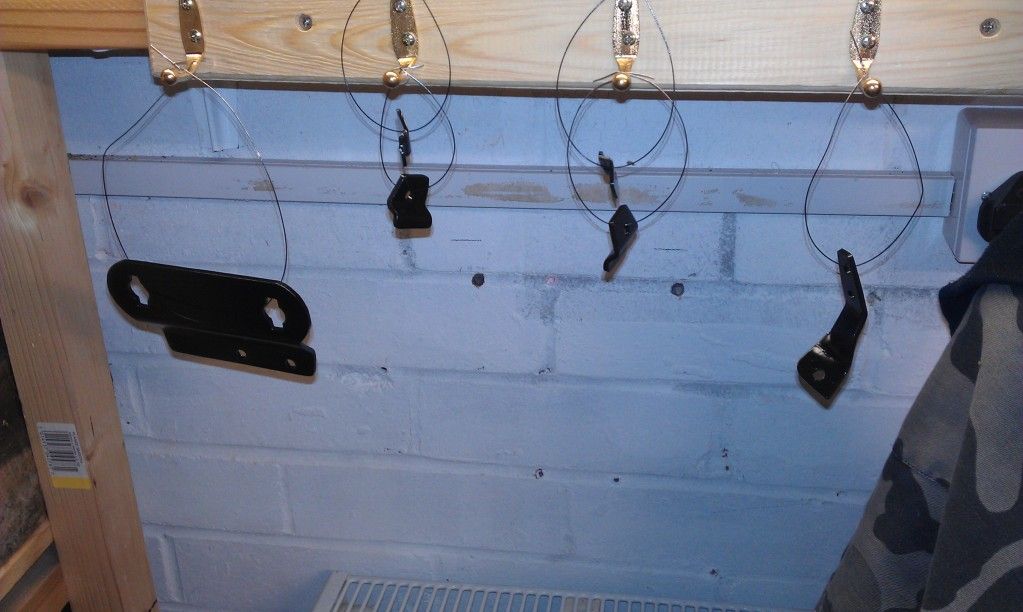
So I set about replacing the stiffer copper cored ones, its not obvious but the red ones on the left are "resting" in their installed orientation, where as, in comparison, the blue silicone ones are infinately more flexible.

Image

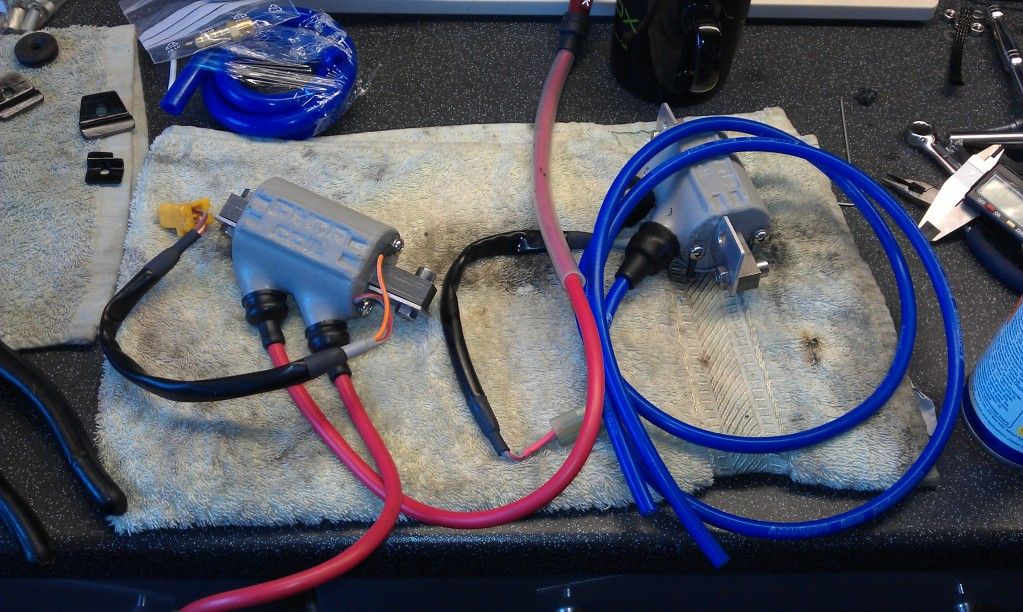
This in itself made installation a breeze, just needed to smear the outside of the lead with WD40 otherwise it "grabbed" the inside of the spark cap as it was screwed onto the internal post.

Image

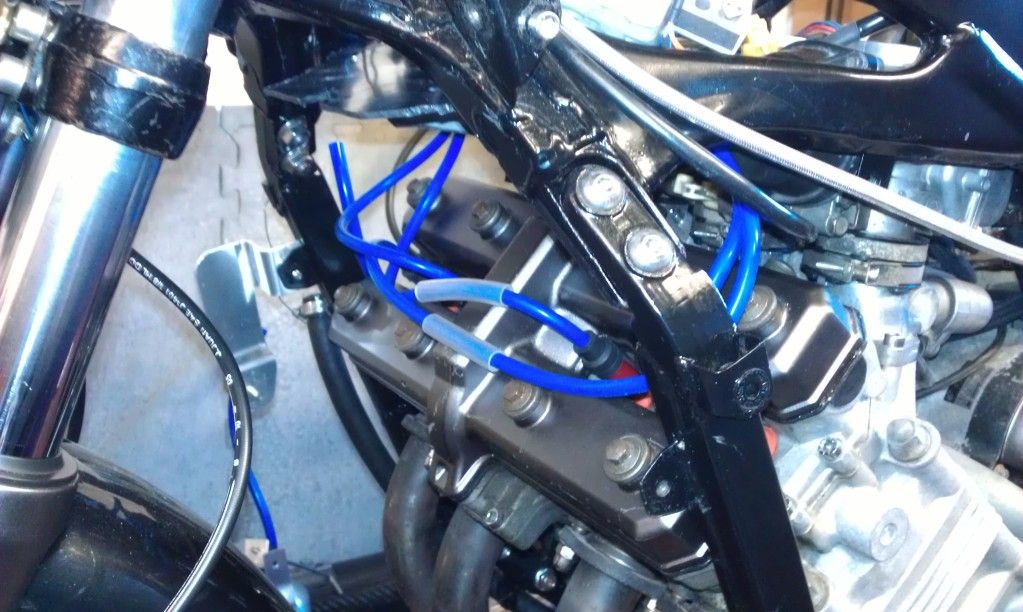
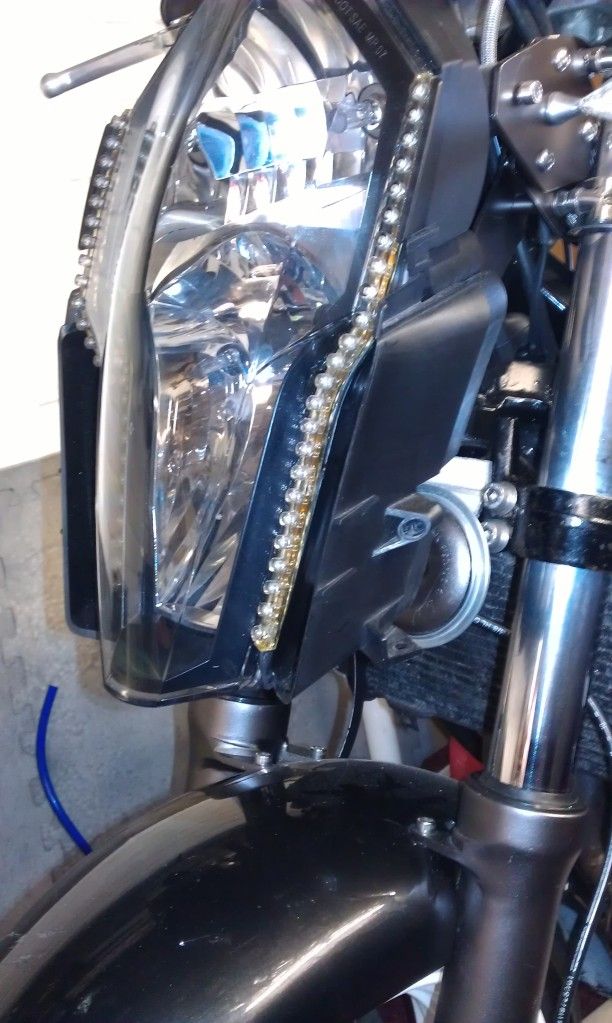
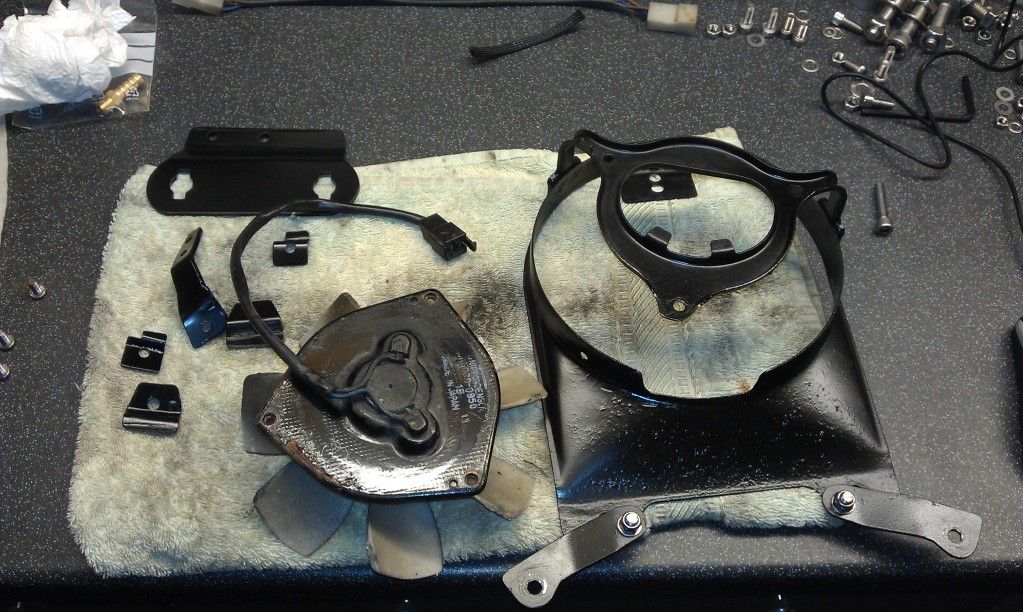
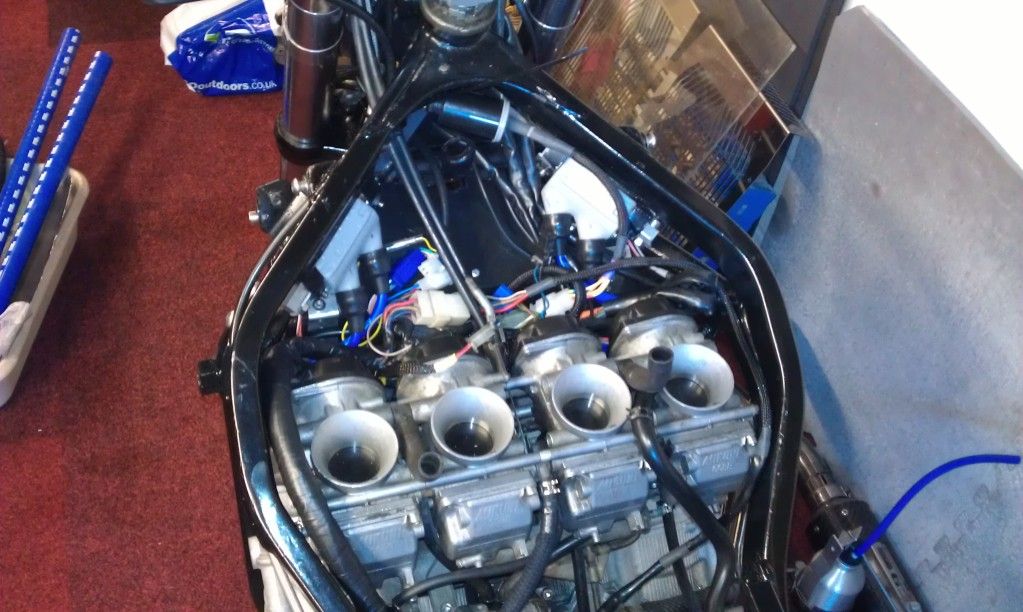
It doesn't look it but the revised splash guard and trimmed wiring has helped immensely with the re-installation of the connections.

Image

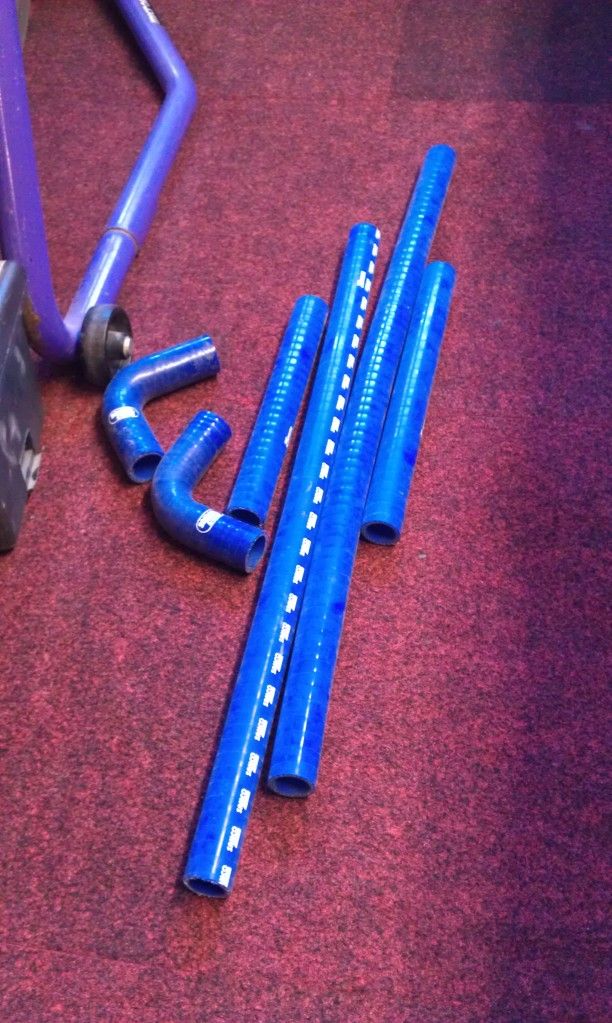
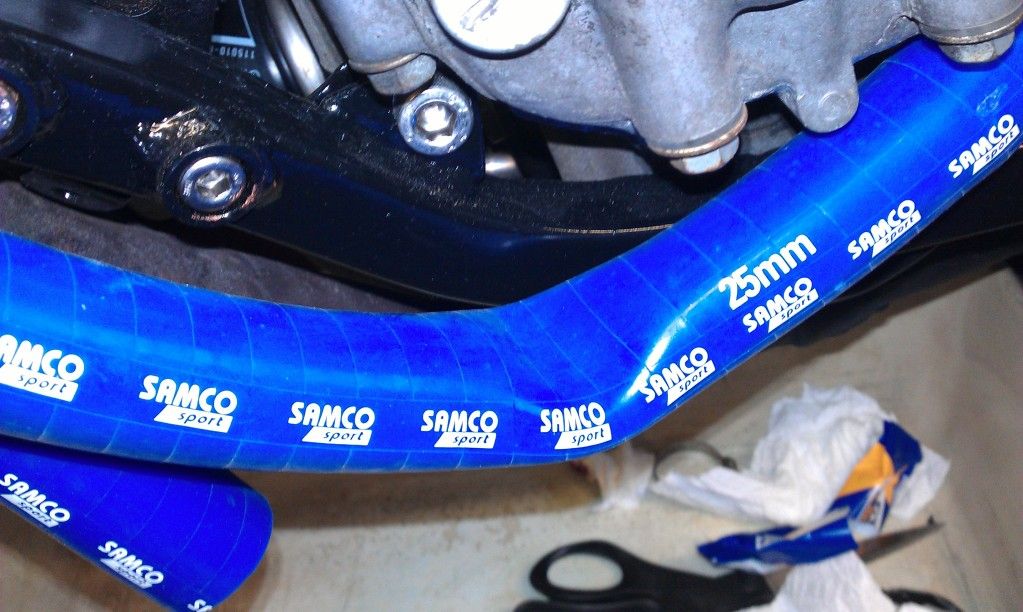
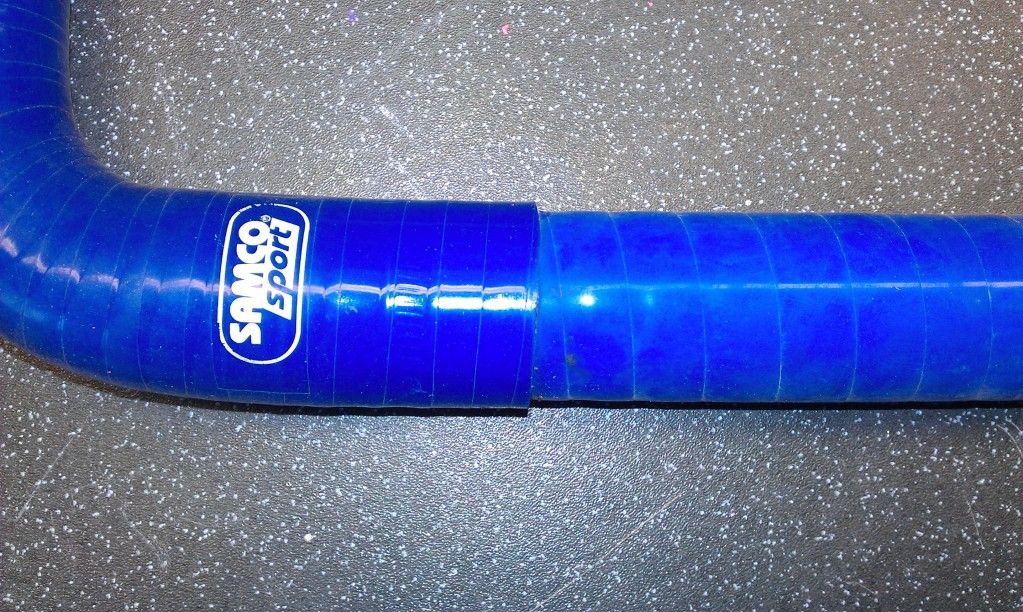
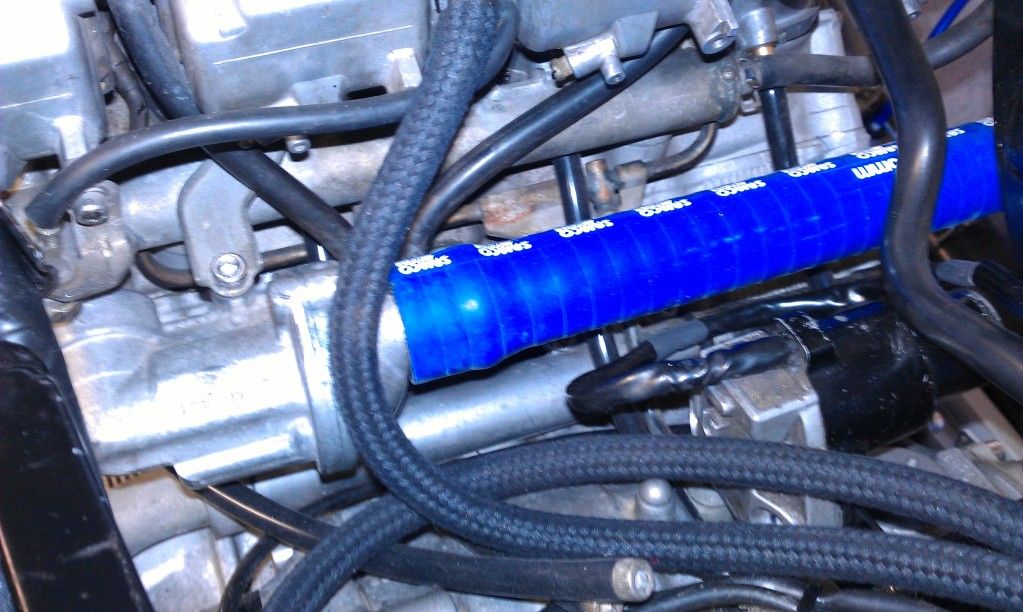
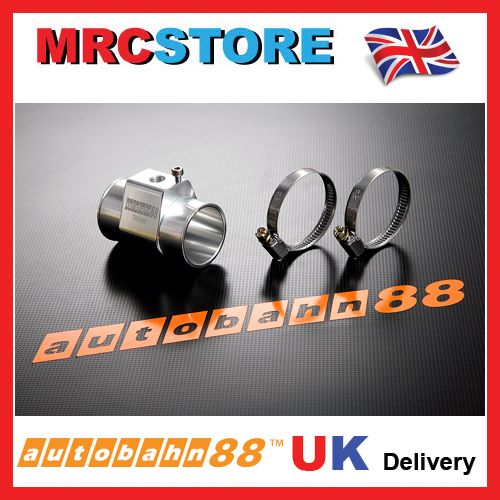
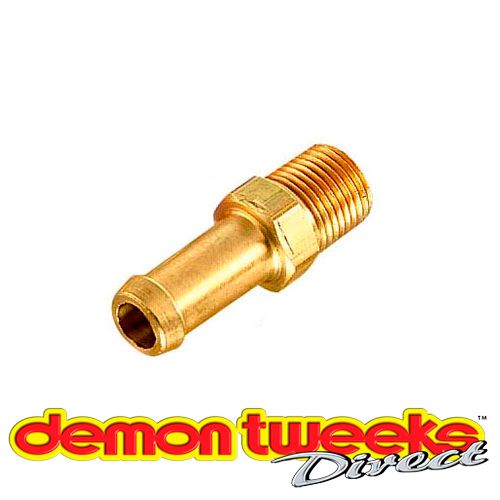
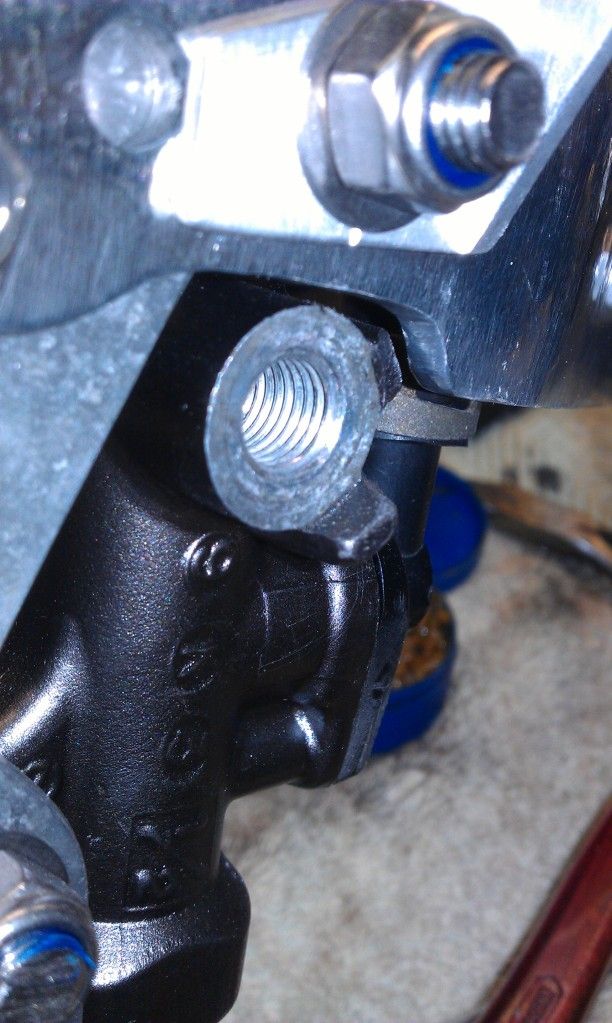
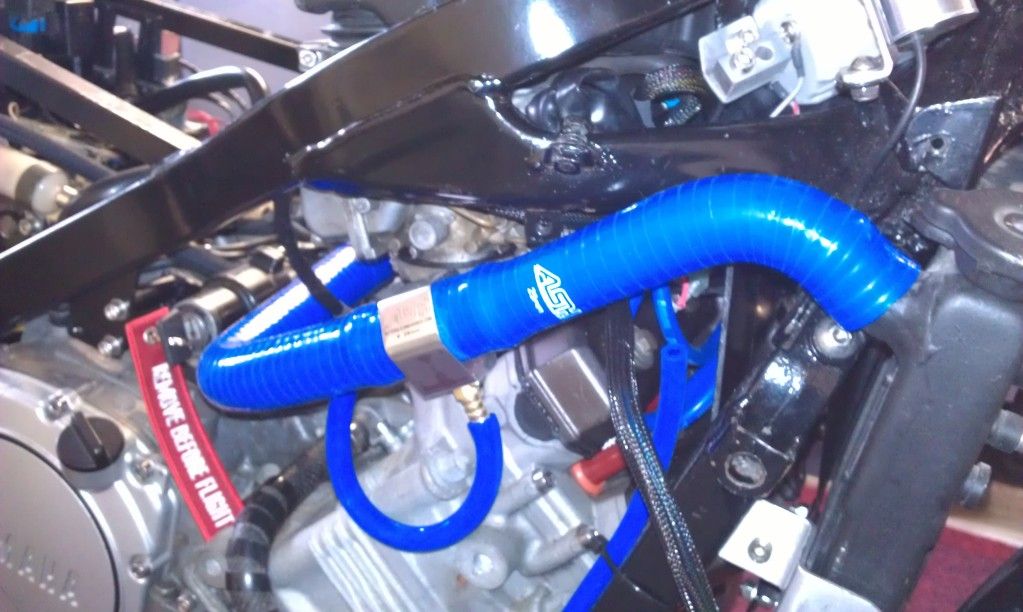
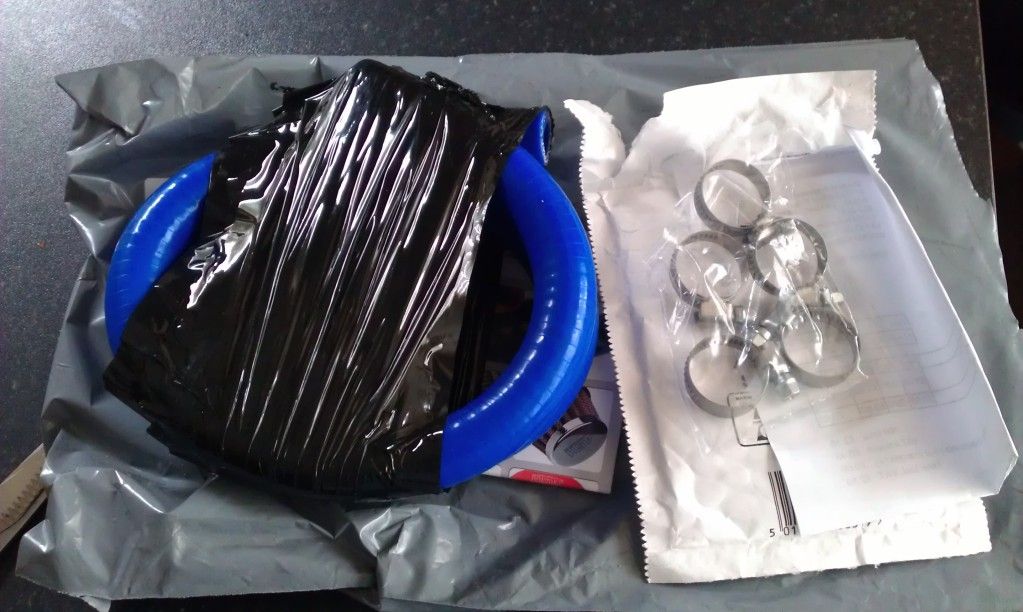
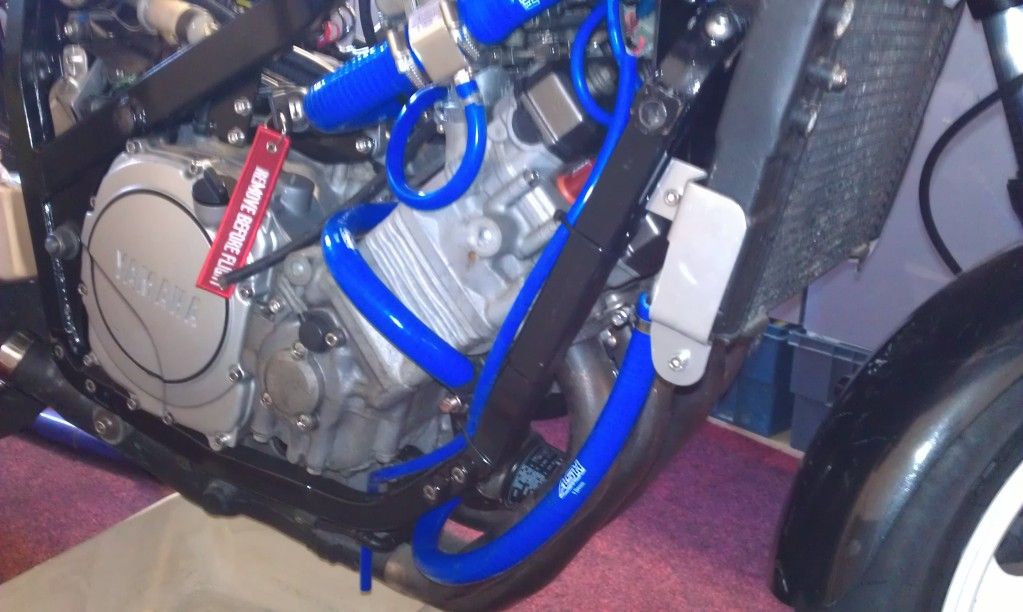
then my elbows and hose adapters arrived so I could replace the top hose.

Image

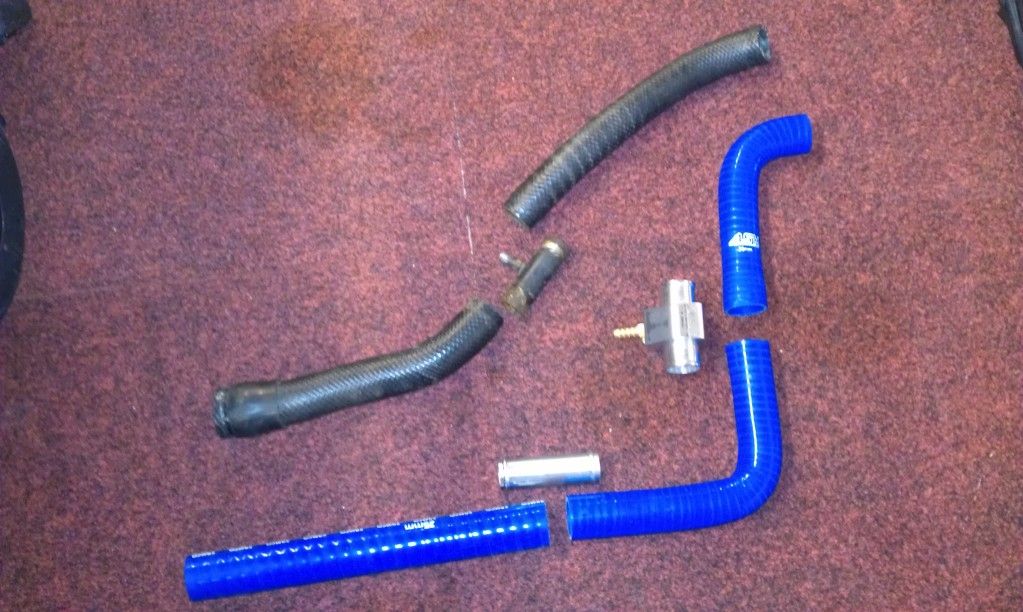
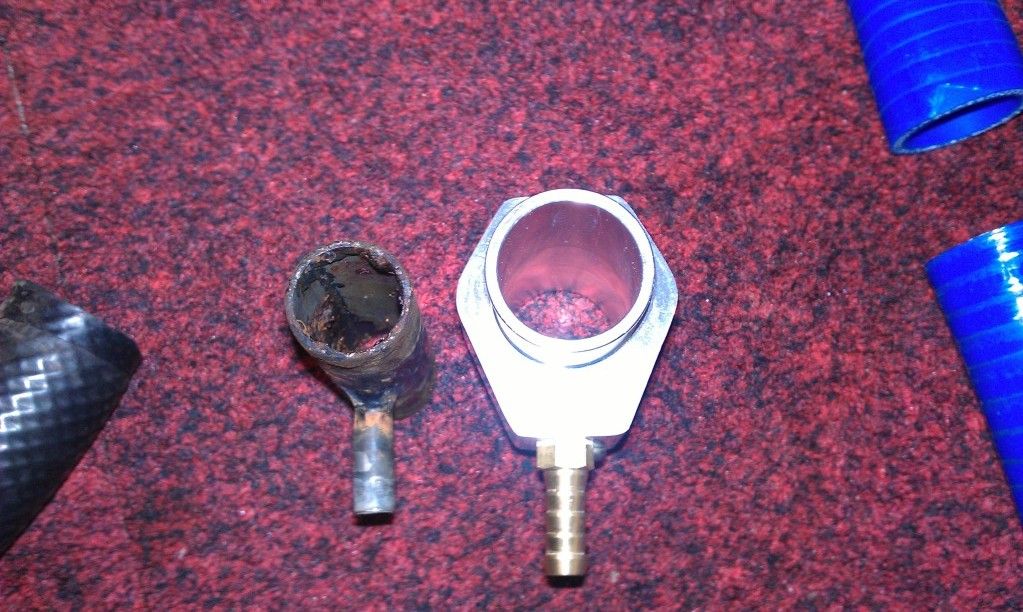
I reckon the hose adapter will go a long way in helping the flow when comparing the bore to the original DIY effort.

Image

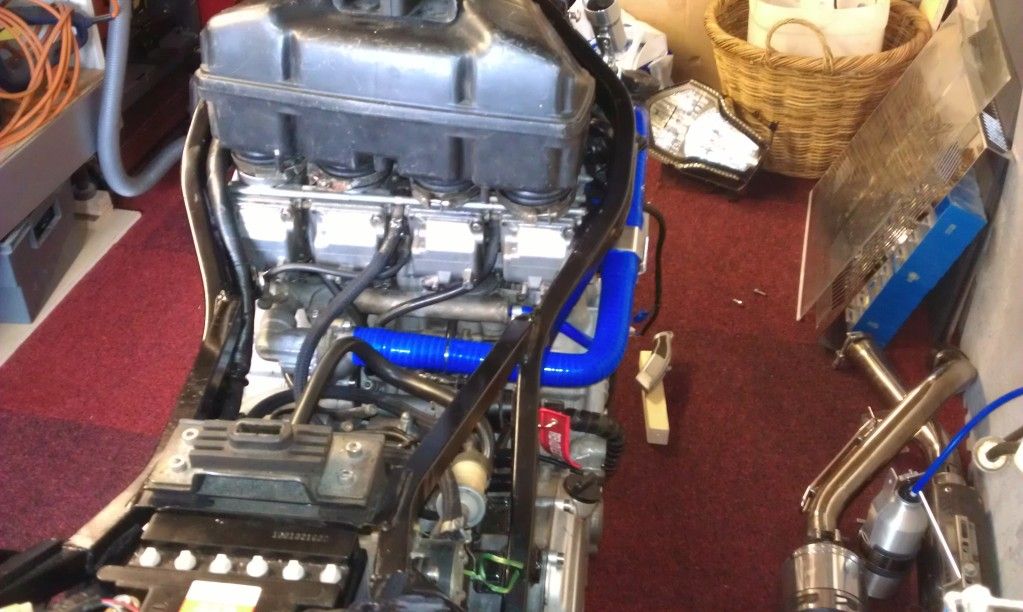
Got it all mocked up

Image

Image

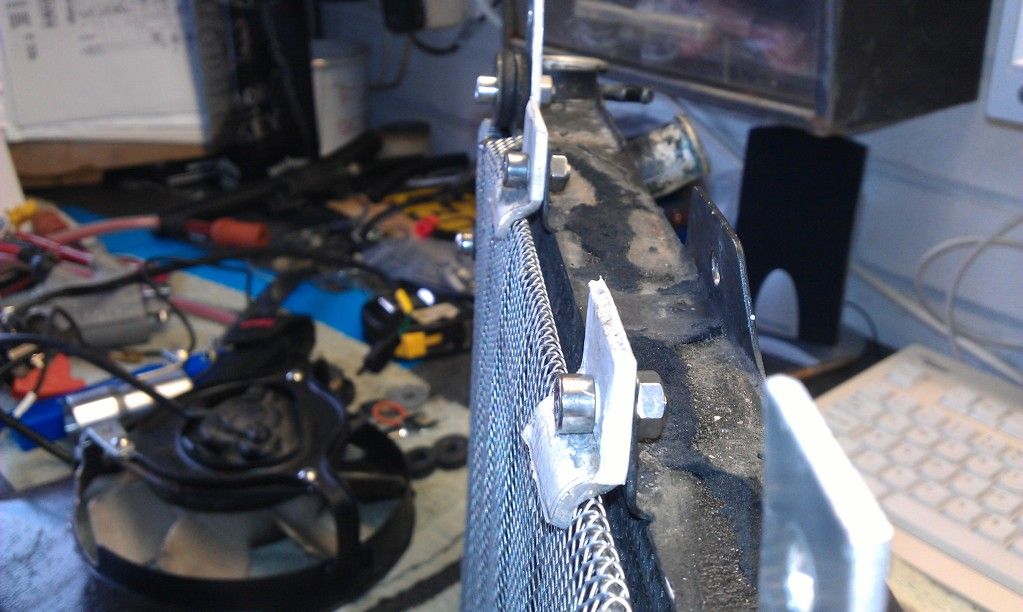
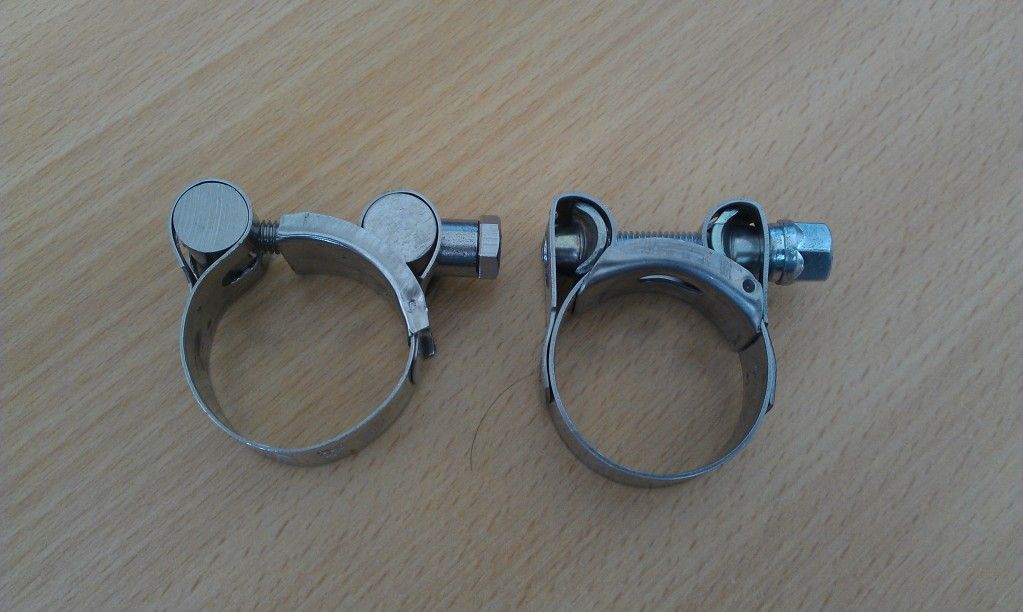
then ordered the relevant clamps required, but unfortunately I was sent a mix of two types, I ordered the style on the left, but only got sent one of these and all the rest were the type on the right, so I am currently waiting for the replacements to arrive. Not been having much luck in the online ordering department lately.

Image

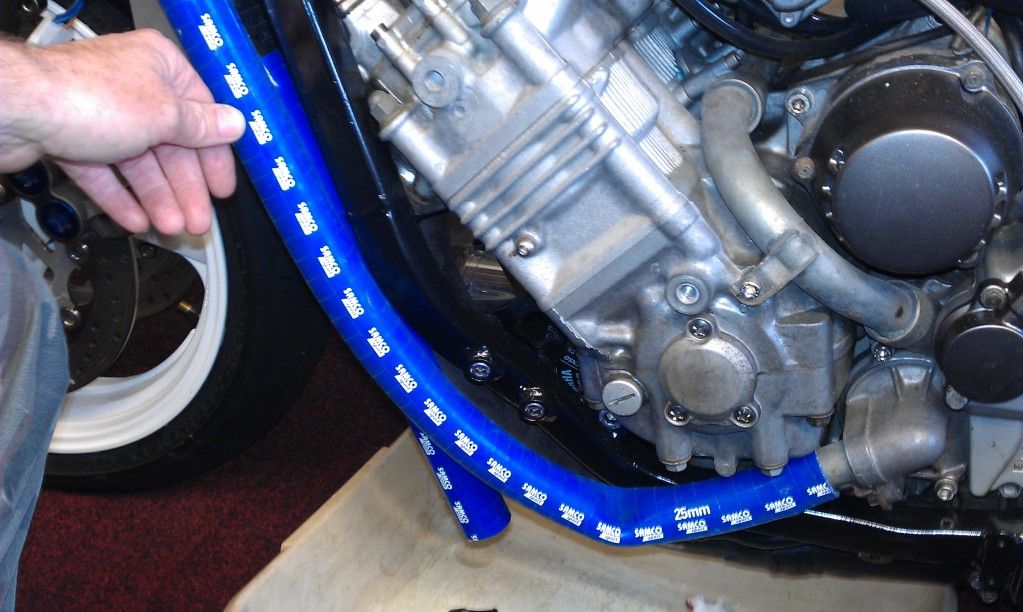
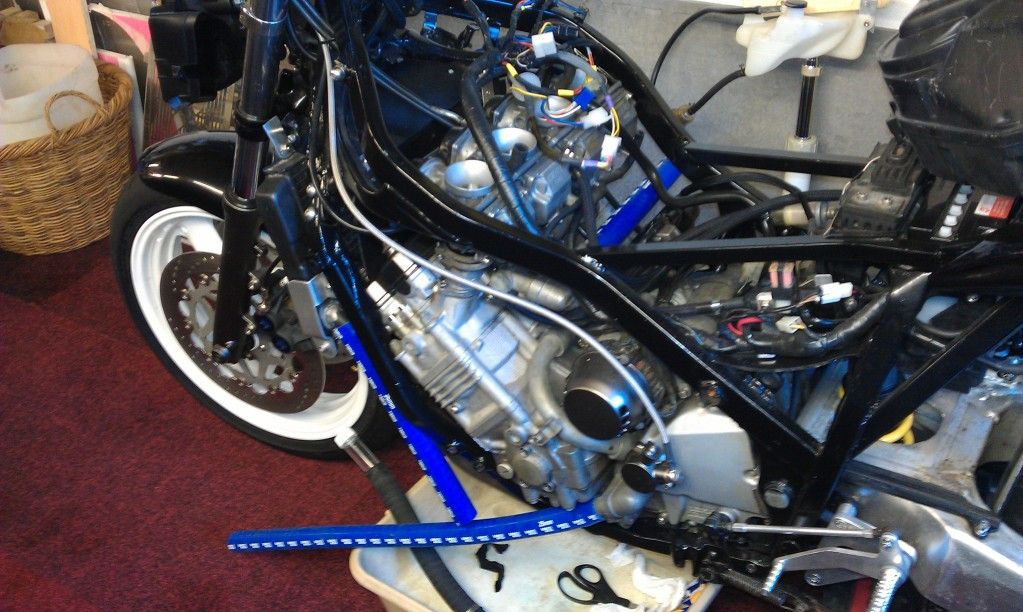
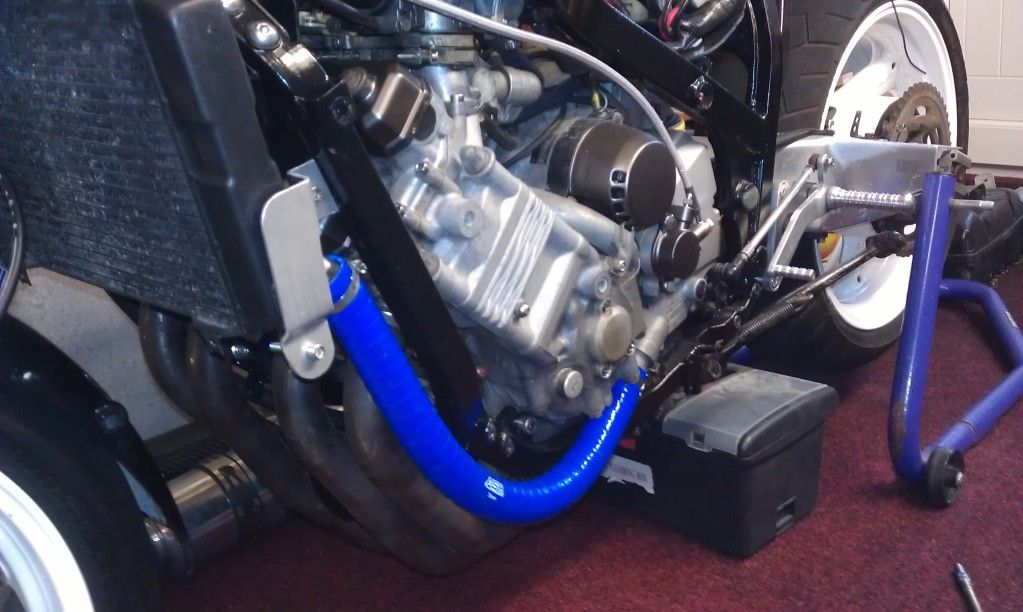
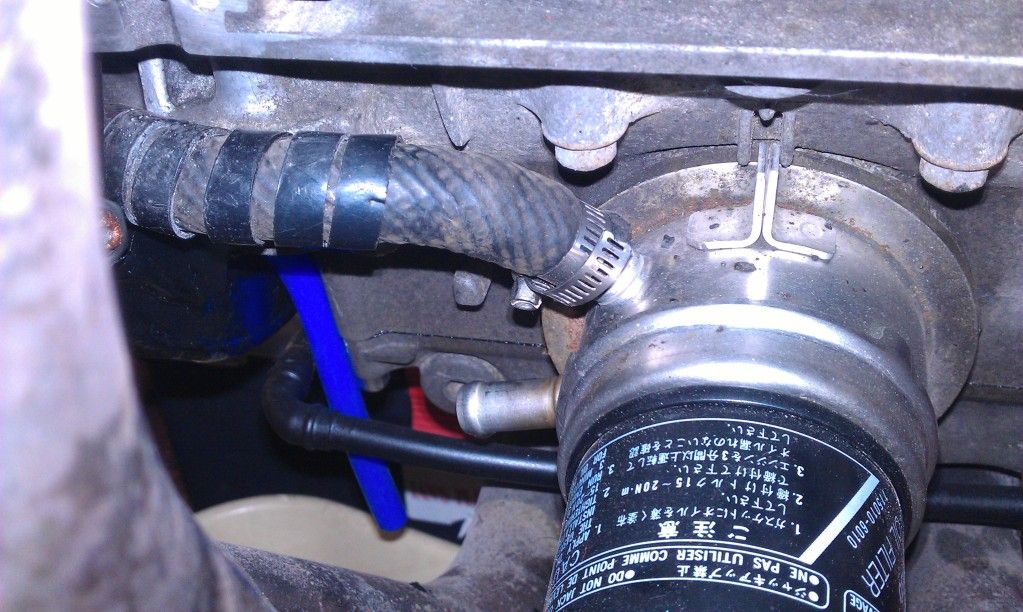
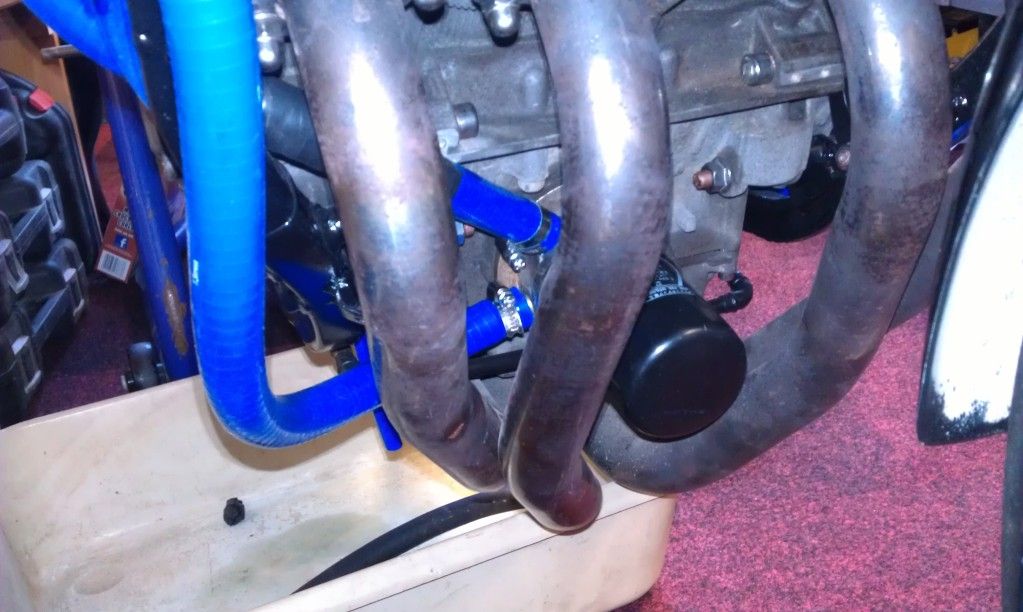
Any way, in the meantime I decided not to "ruin the ship for a ha'peth of tar" and investigated replacing the adapted water cooled oil filter hoses.
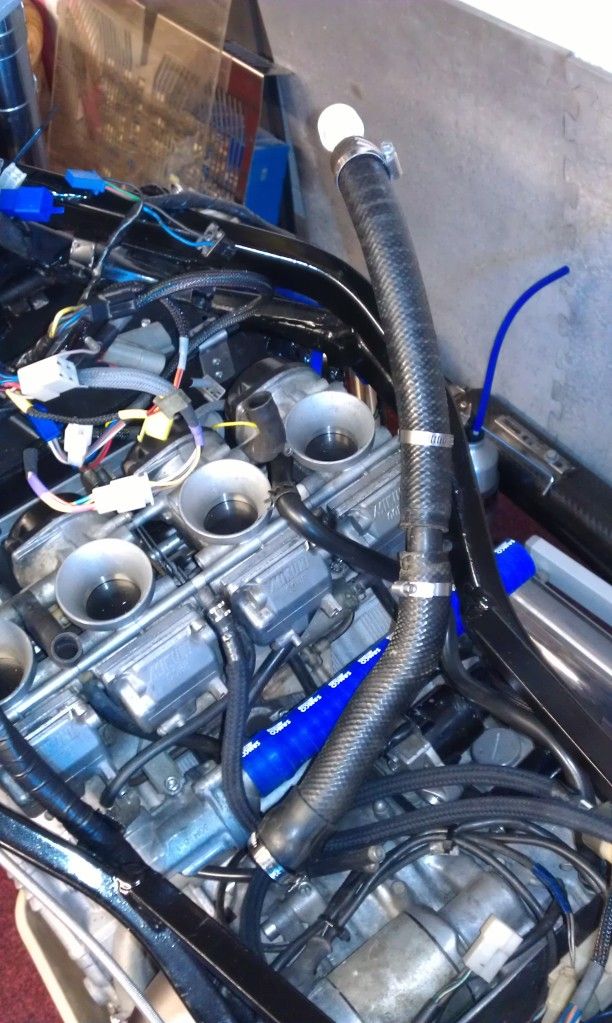
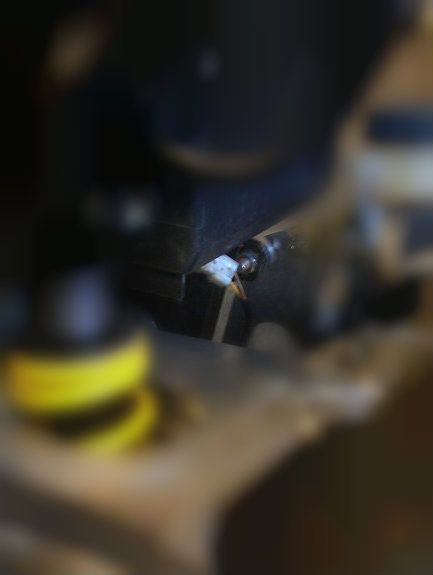
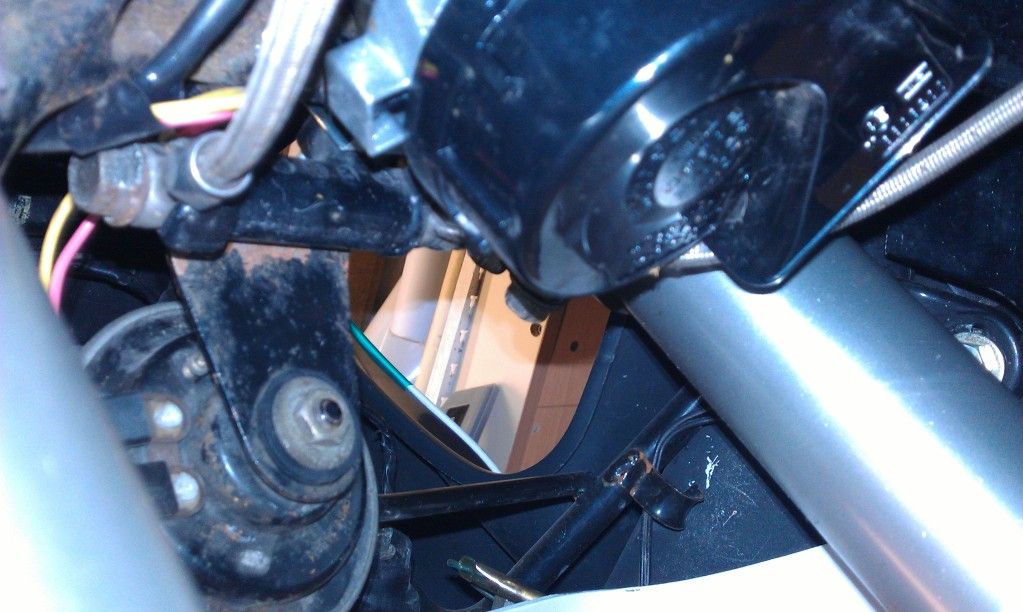
one of them is a straight run, but the other takes a rather tight route round the block and between the casing and front lower engine mount!

Image

Image

Image

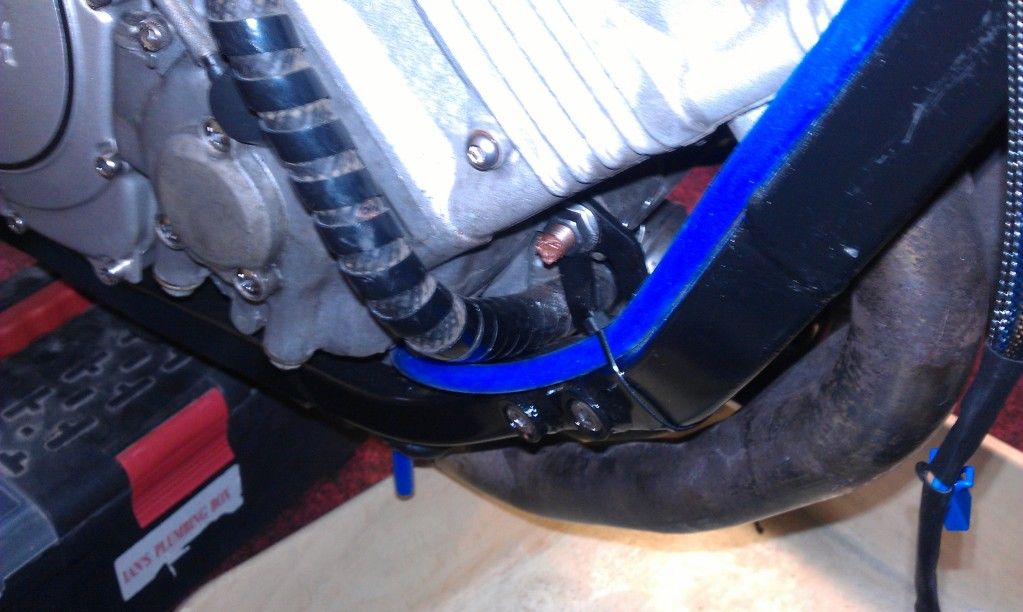
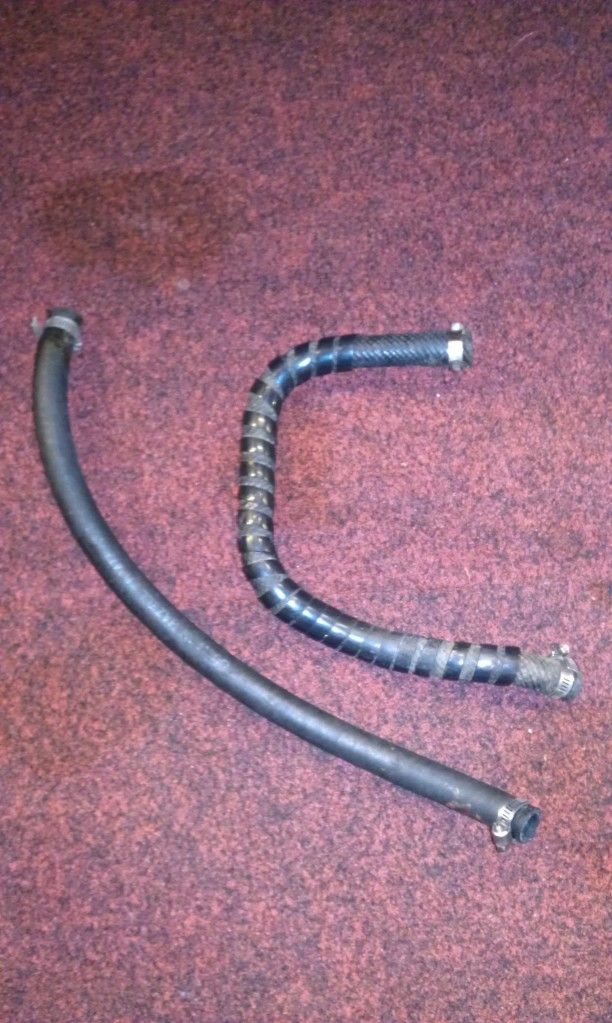
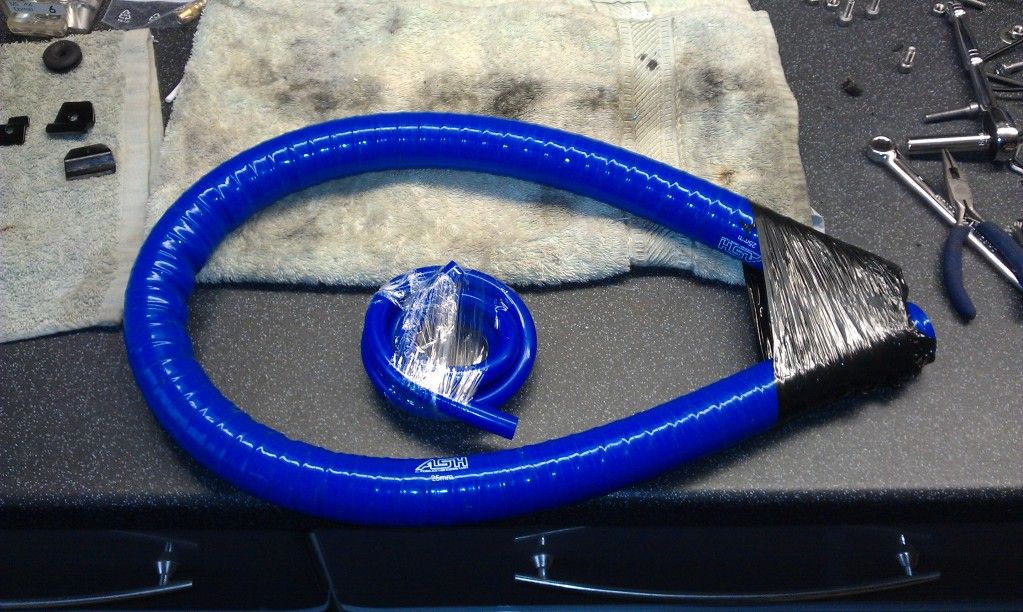
So I ordered a 1m length of 13mm flexihose that would hopefully be long enough to do both lines along with some stainless jubilee clips.

Image

Luckily it was flexible enough, more so than the 25mm hose, to make the curves required and long enough to replace both hoses from the one length.

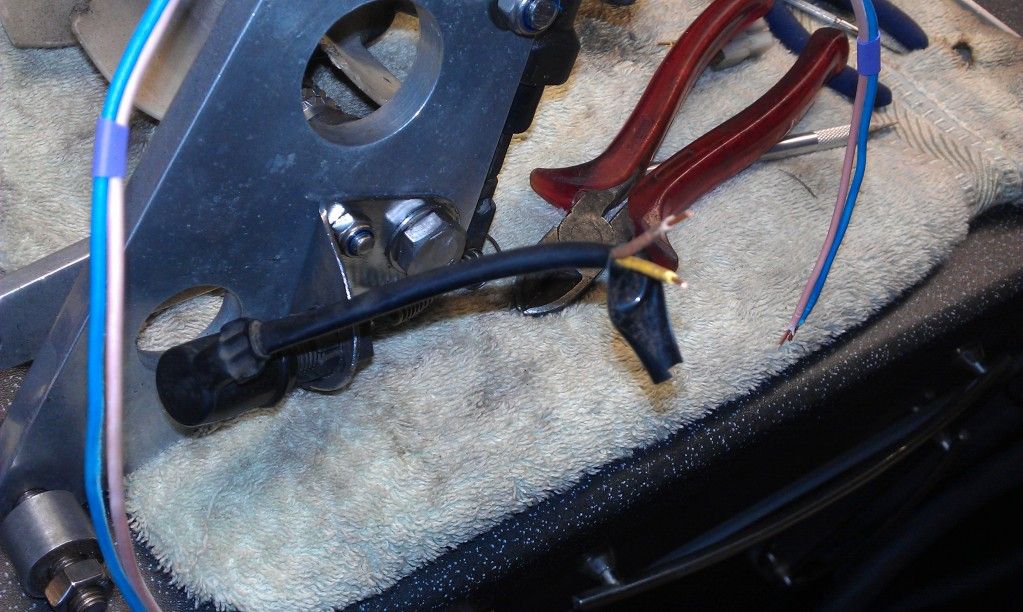
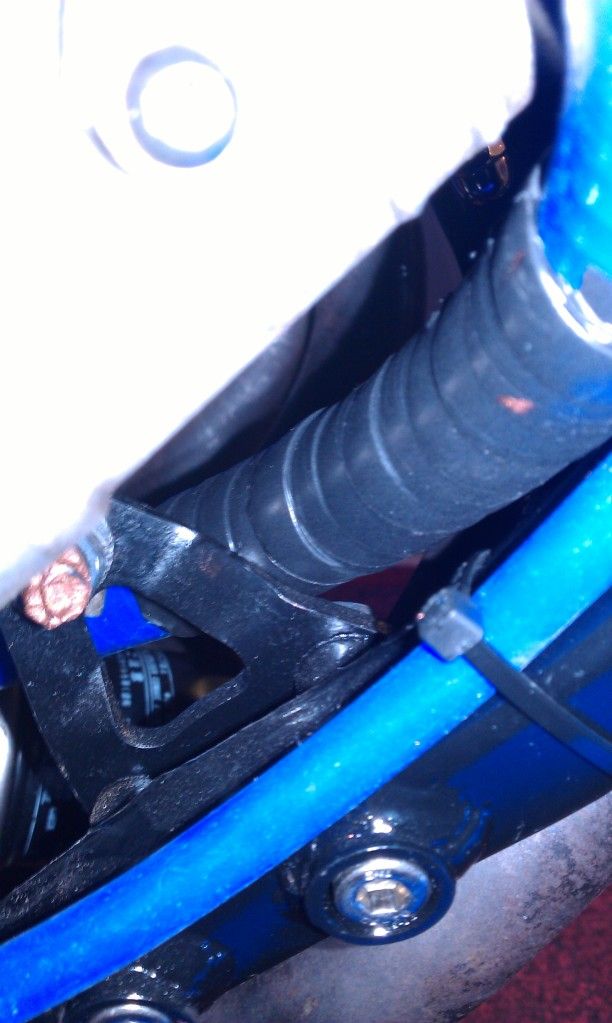
to give the hose a bit of extra abrasion protection where it passes the front engine mount I reused the plastic spiral wrap and held it in place with tape.

Image

Image

Image

Image

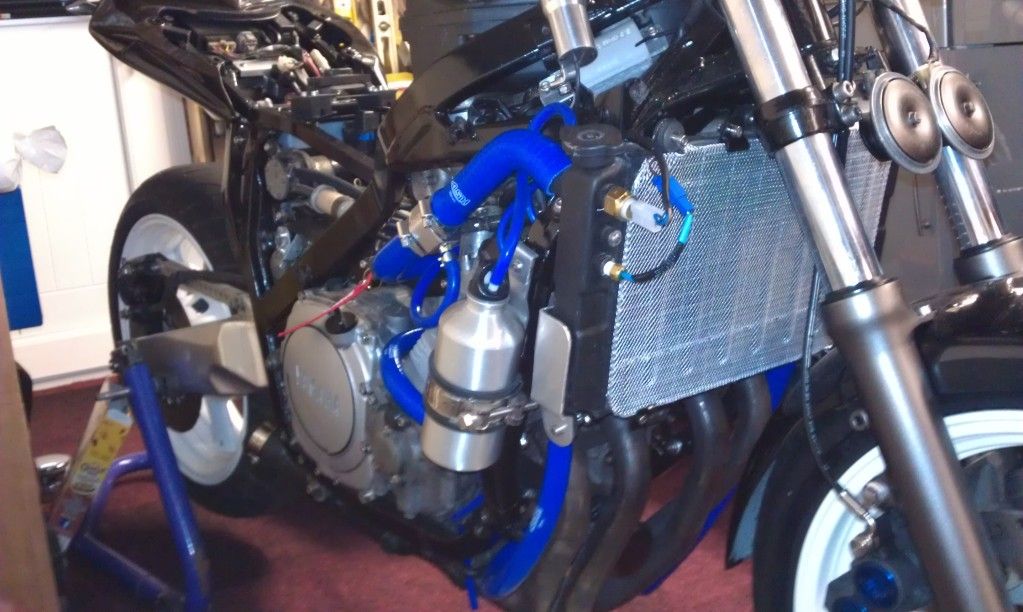
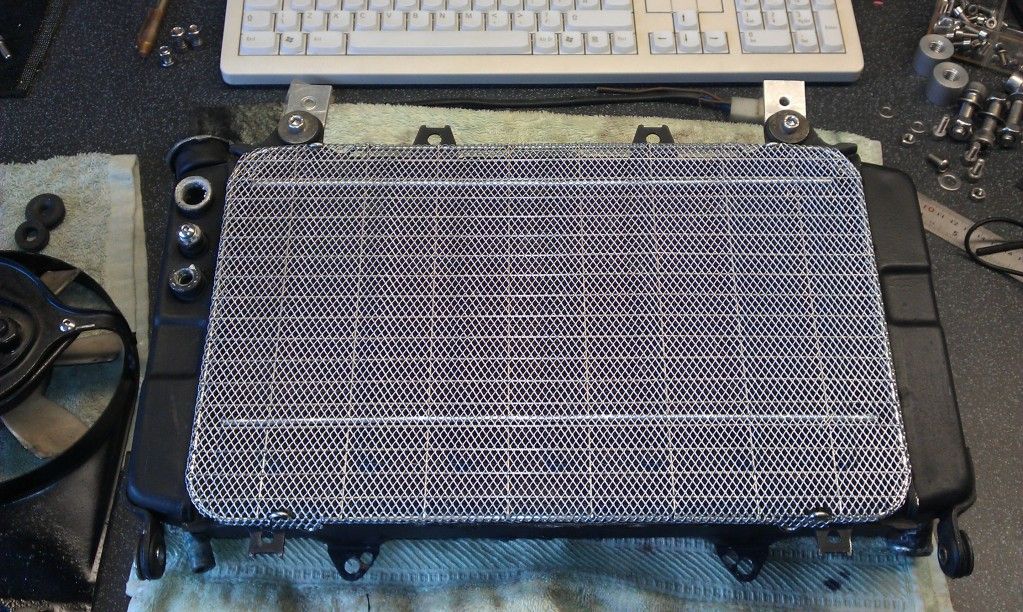
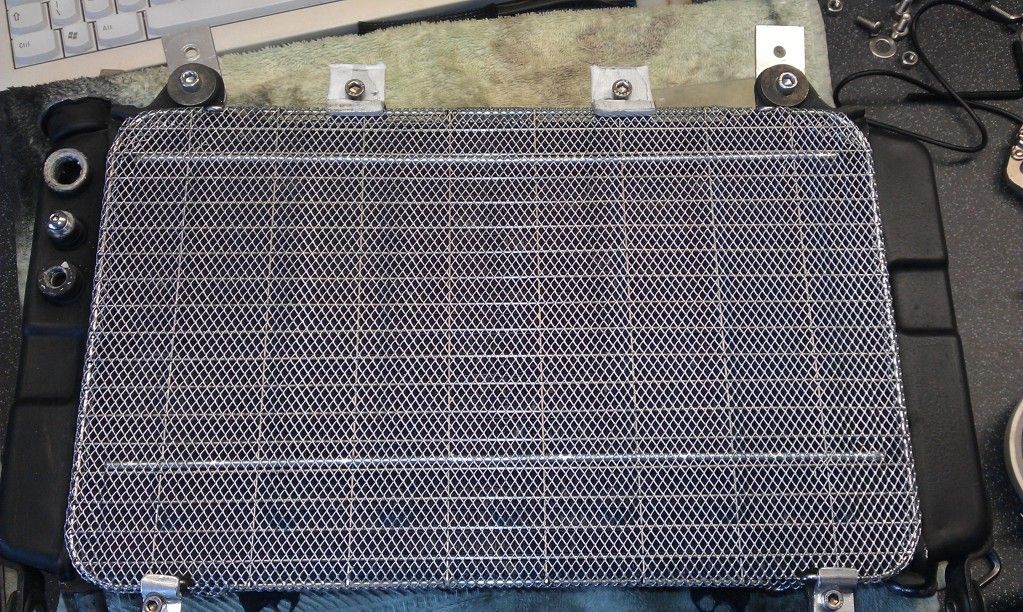
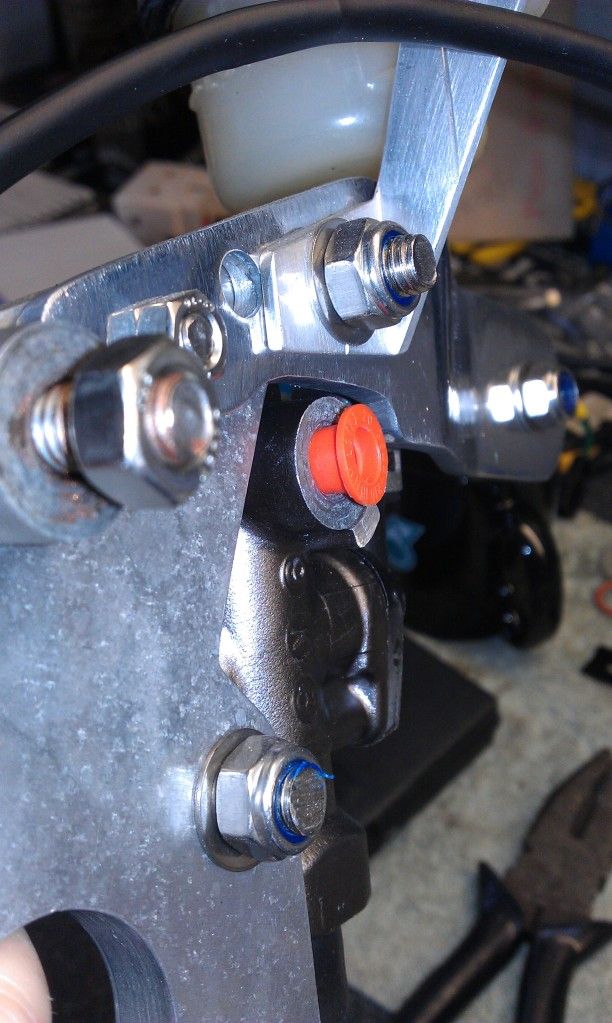
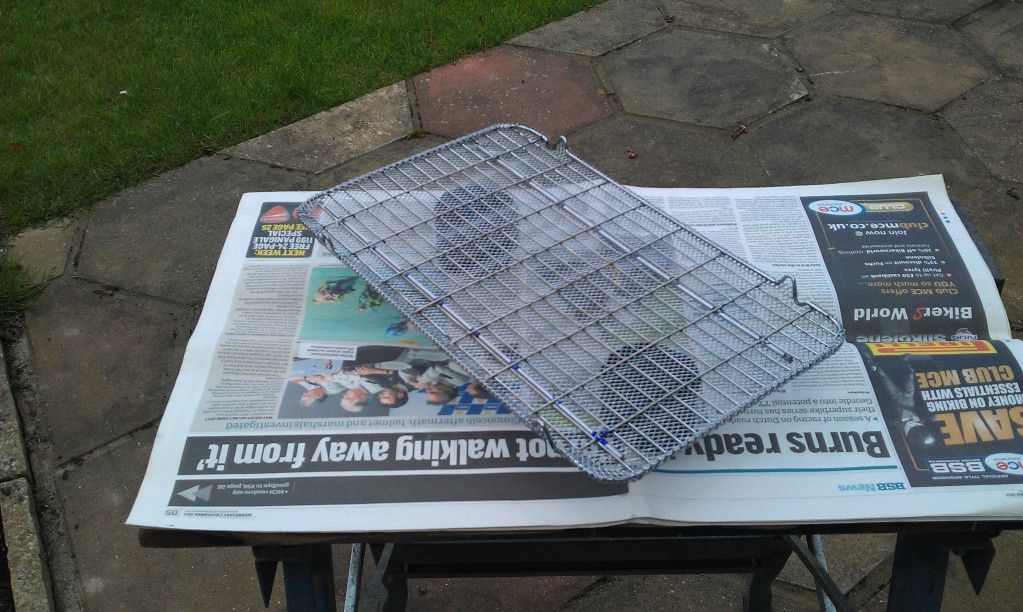
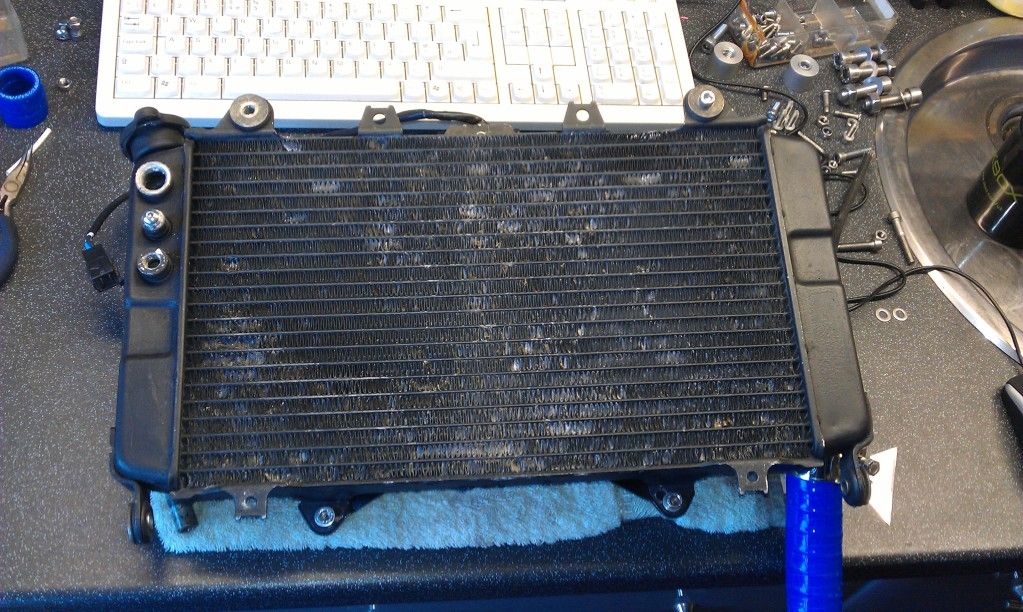
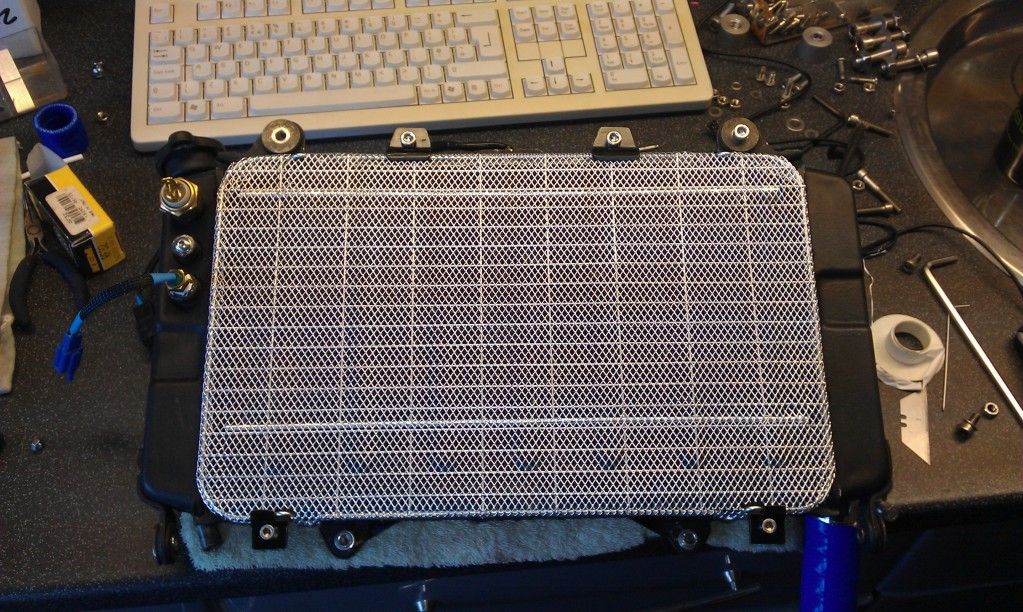
All looks good so I took my rad guard outside and gave it a coat of paint

Image

And installed it on the rad along with the new fan switch and temp gauge sensor ready for refitting.

Image

Image

Refitted the expansion bottle and rad, just need to wait for the clamps to arrive so I can fill her up and test for leaks. :D

Image
Never Ever Bloody Anything Ever!!!
Post Reply