

and painted if you dont mindyzfpaul wrote:that is the best thing about this forumdieffe wrote:You strike me as a person who likes to make things. Excellent
its not just the '' look what i bought from harris and bolted on ''
its look what i made
Fangs "new" toy!!
nasty`s the name helmet paintins, the game
if not pink don`t lick it!
if not pink don`t lick it!


evening all, another small update,
getting itchy feet now seeing as it was 18c here today, springs a coming!!
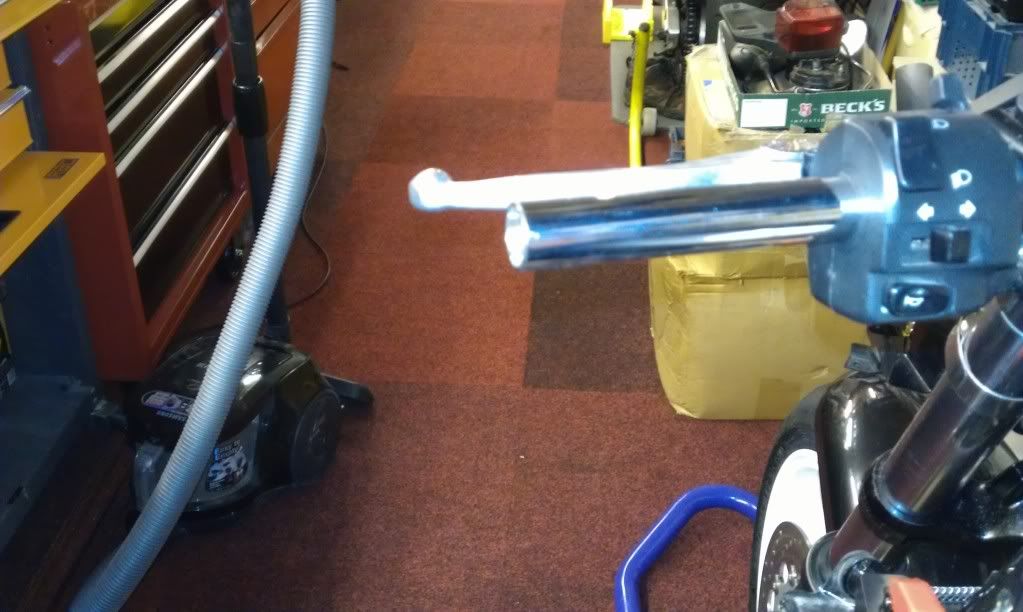
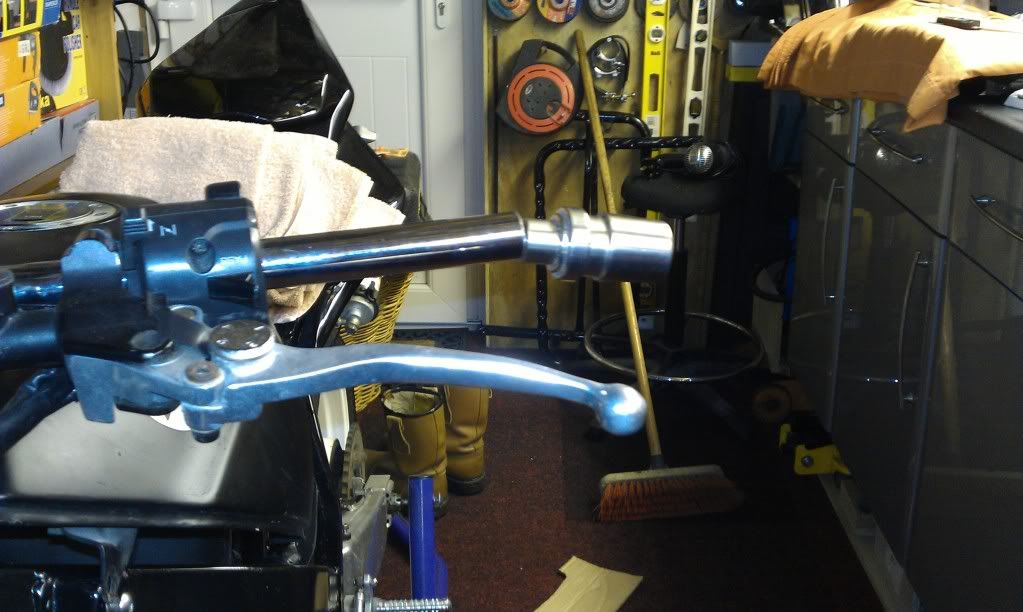
Anyway, I want to install, on the FZ, the Stainless bar end weights that I've had kicking about for a while. ( bought originally when it had standard clipons before I went all Streetfighter on it ass!! )
)

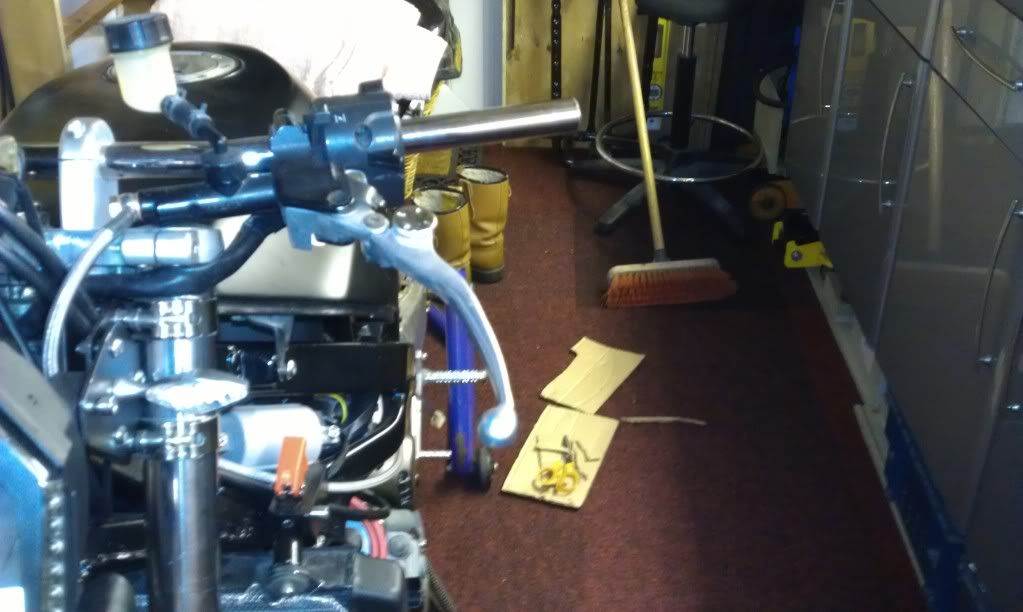
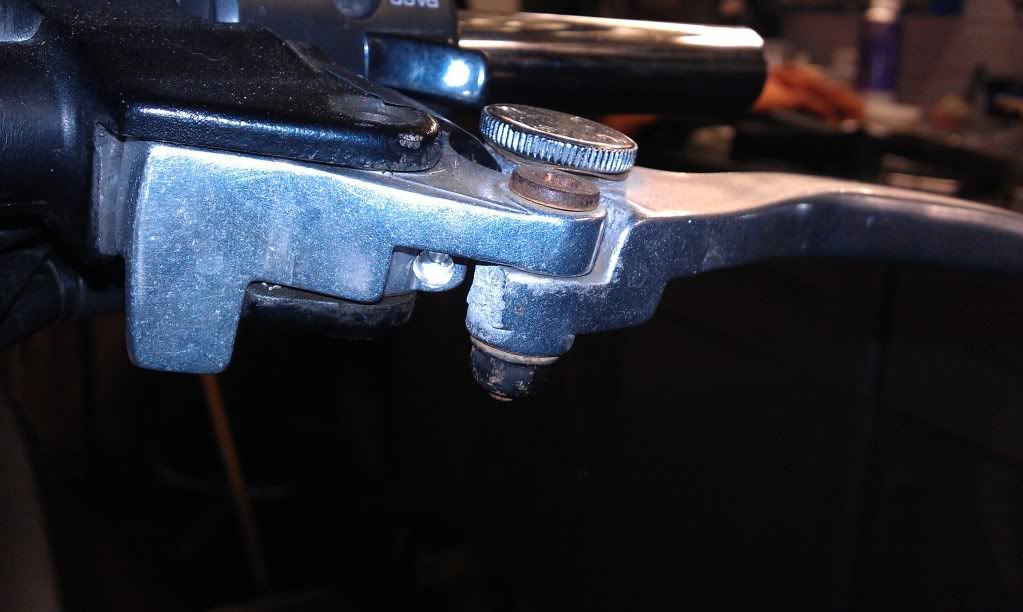
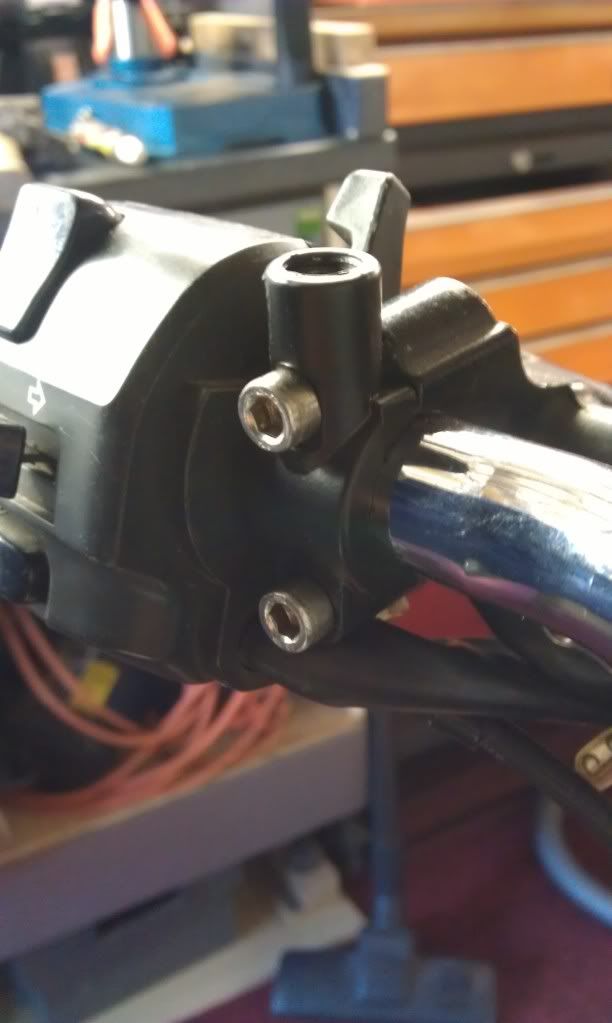
The problem being that the handlebars don't have a threaded insert in them
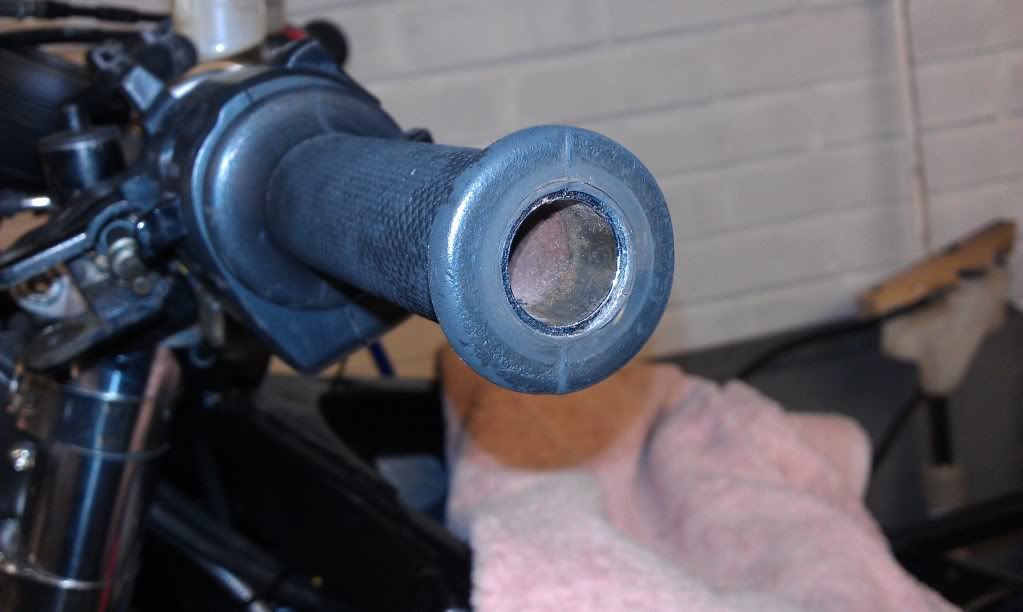
Which the clipons do

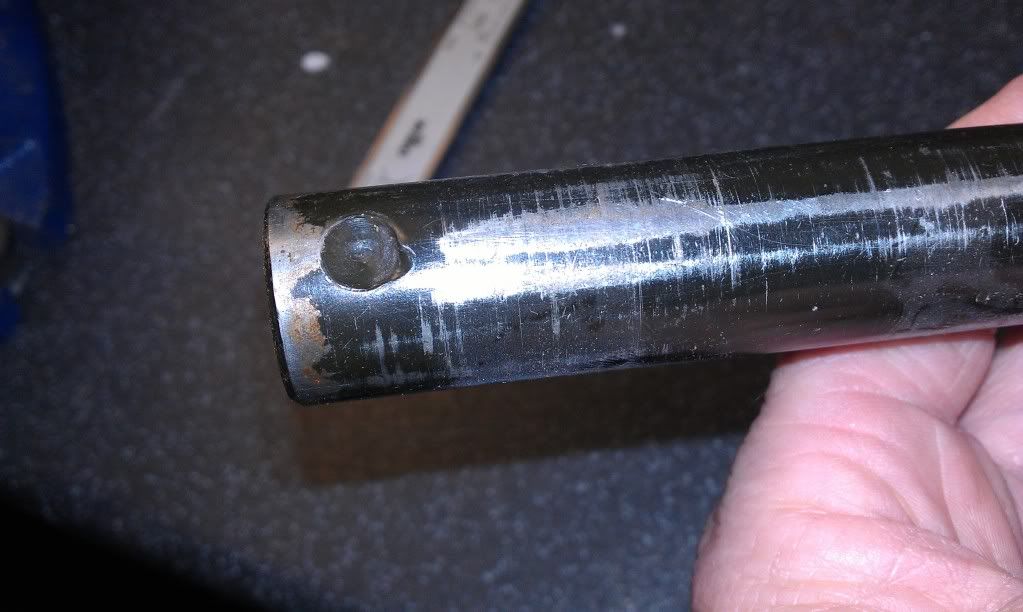
Now on closer inspection it seems that the threaded bit is indeed just an insert , and that the clipon has had a hole drilled in it and the insert welded in place through this hole.
I know I could just attack the spare clipons that I have,to get the inserts, but I don't want to muller a set of clipons that may be handy in the future

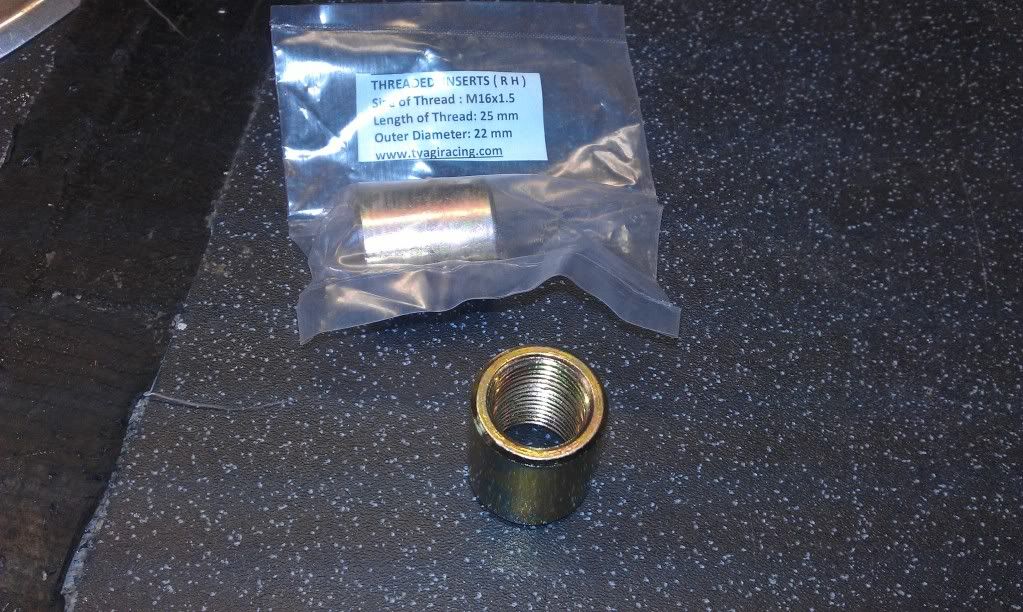
So with a little research I discovered I can get hold of threaded inserts online.

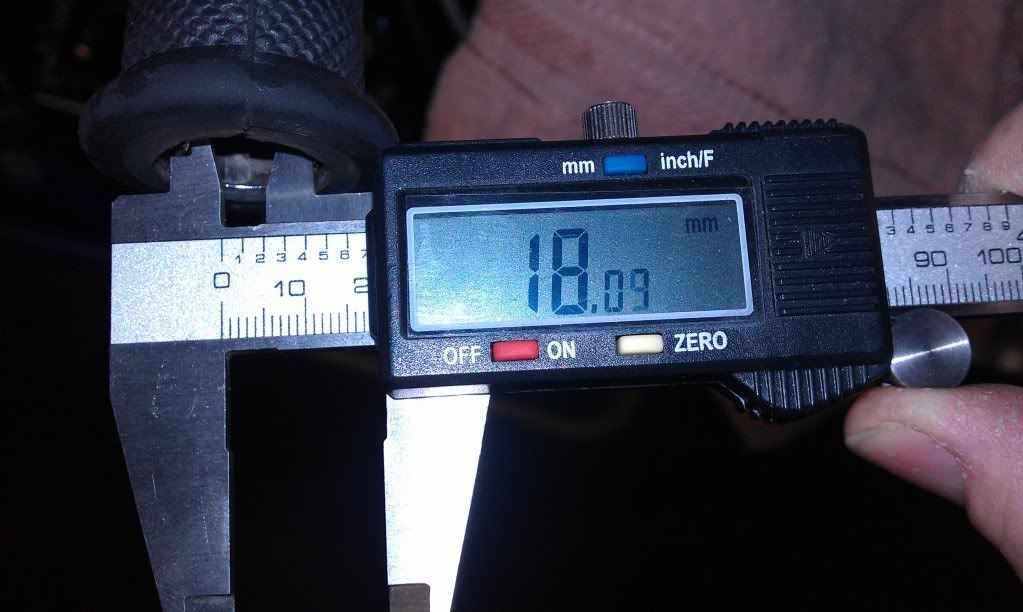
BUT the inserts have an outer diameter of 22mm and my bars have an inner diameter of just over 18mm
But I know someone with a lathe that can turn them down for me
so ordered a pair of inserts,
Which duly arrived
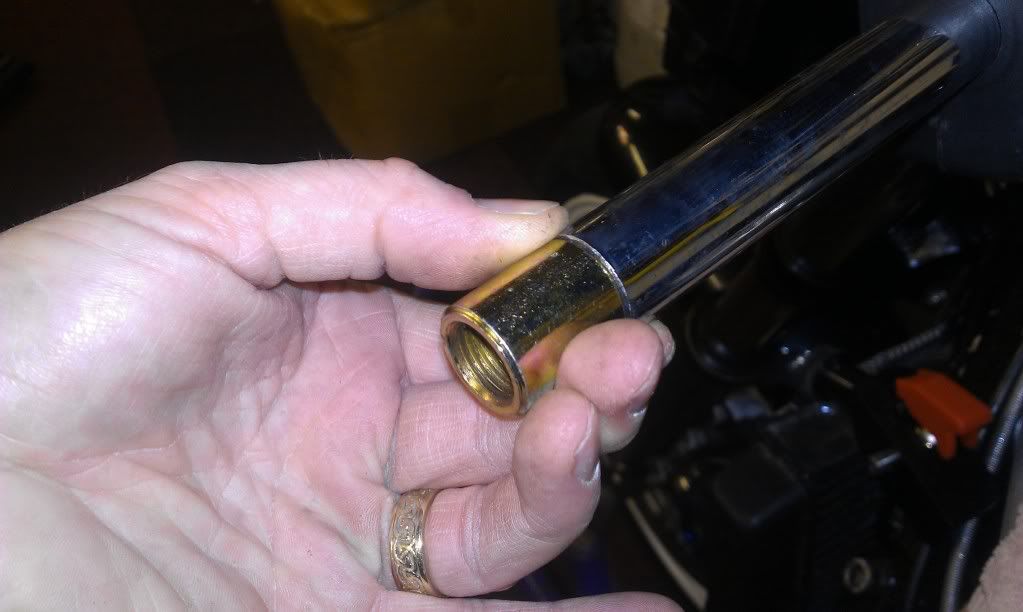
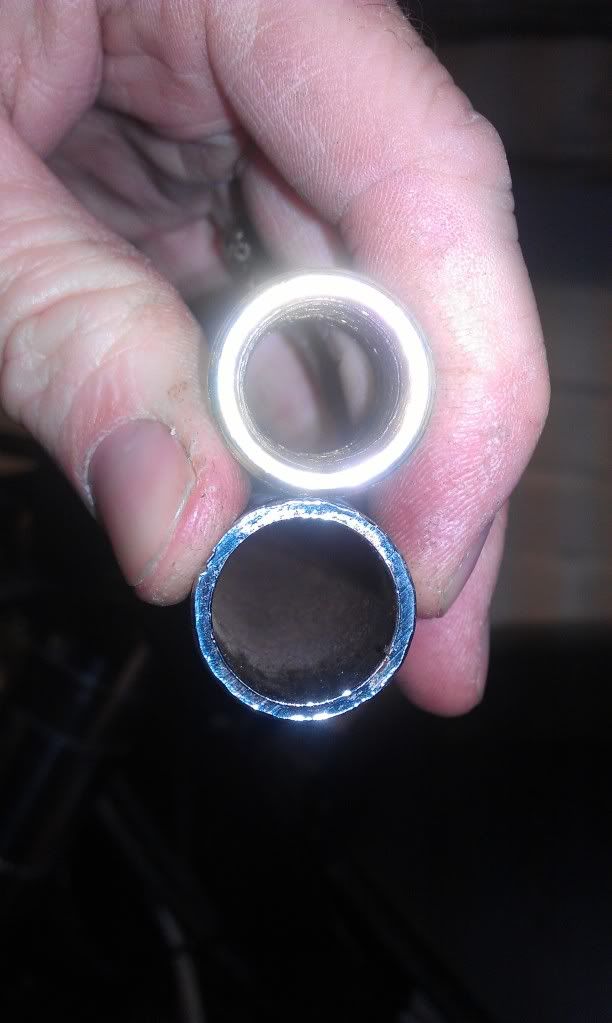
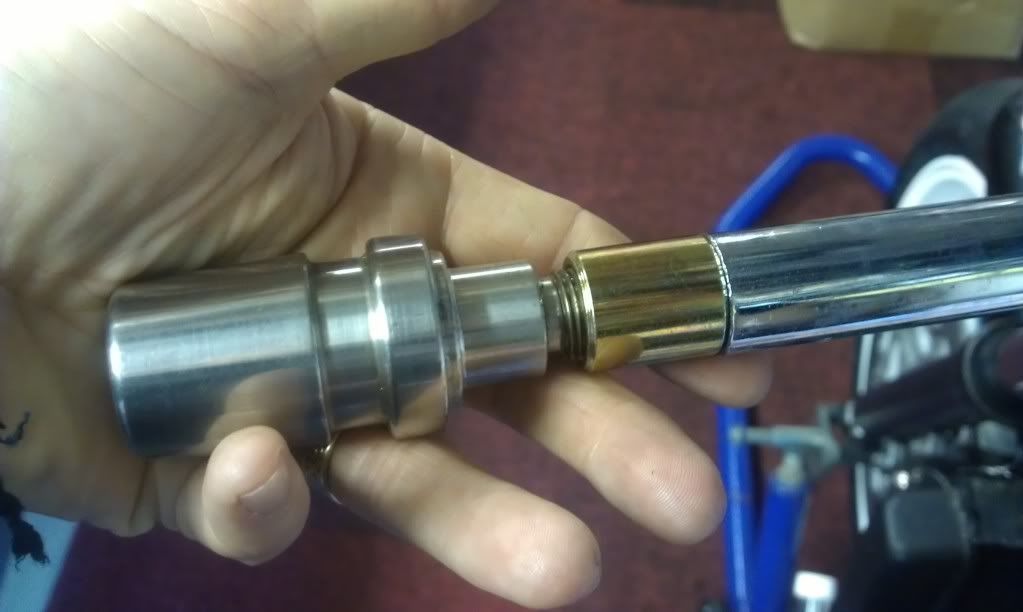
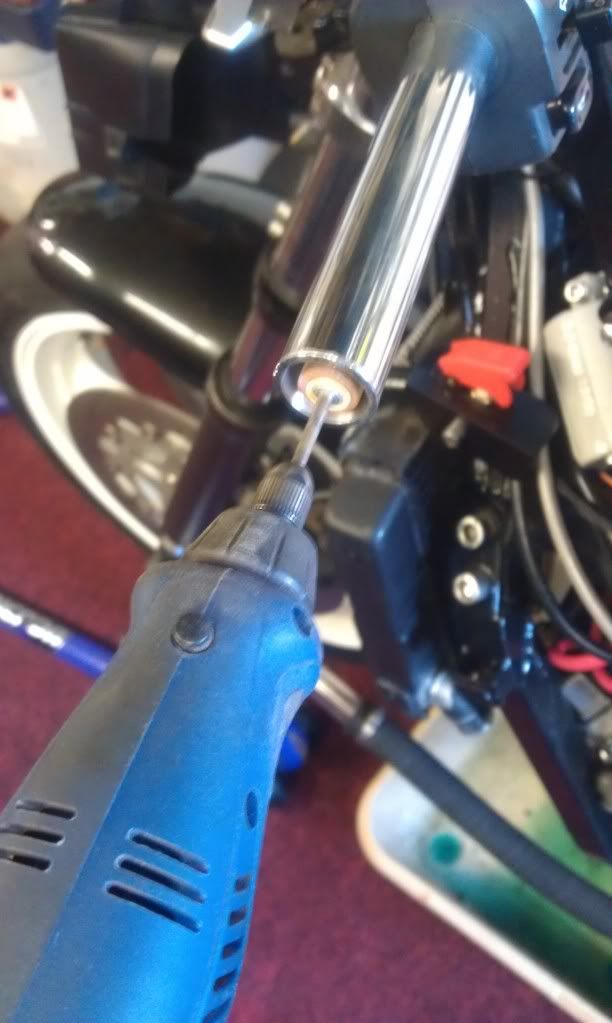
Just have to tease the inner of the bars out a bit so the inserts dont need reducing by so much and we'll see how that goes.
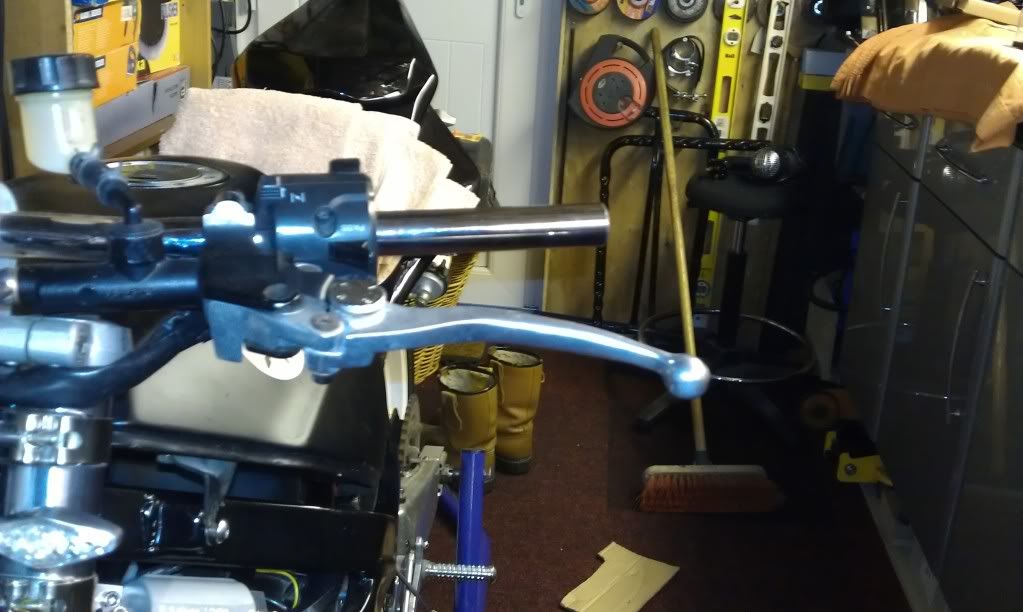
Another reason for doing this, apart from using the end weights, is that the lever ends stick out beyond the bar ends, and I have had to replace a clutch lever already as i keep snagging it when walking past, End weights will prevent me from continually doing this!!
getting itchy feet now seeing as it was 18c here today, springs a coming!!
Anyway, I want to install, on the FZ, the Stainless bar end weights that I've had kicking about for a while. ( bought originally when it had standard clipons before I went all Streetfighter on it ass!!
The problem being that the handlebars don't have a threaded insert in them
Which the clipons do
Now on closer inspection it seems that the threaded bit is indeed just an insert , and that the clipon has had a hole drilled in it and the insert welded in place through this hole.
I know I could just attack the spare clipons that I have,to get the inserts, but I don't want to muller a set of clipons that may be handy in the future
So with a little research I discovered I can get hold of threaded inserts online.
BUT the inserts have an outer diameter of 22mm and my bars have an inner diameter of just over 18mm
But I know someone with a lathe that can turn them down for me
so ordered a pair of inserts,
Which duly arrived
Just have to tease the inner of the bars out a bit so the inserts dont need reducing by so much and we'll see how that goes.
Another reason for doing this, apart from using the end weights, is that the lever ends stick out beyond the bar ends, and I have had to replace a clutch lever already as i keep snagging it when walking past, End weights will prevent me from continually doing this!!
Never Ever Bloody Anything Ever!!!
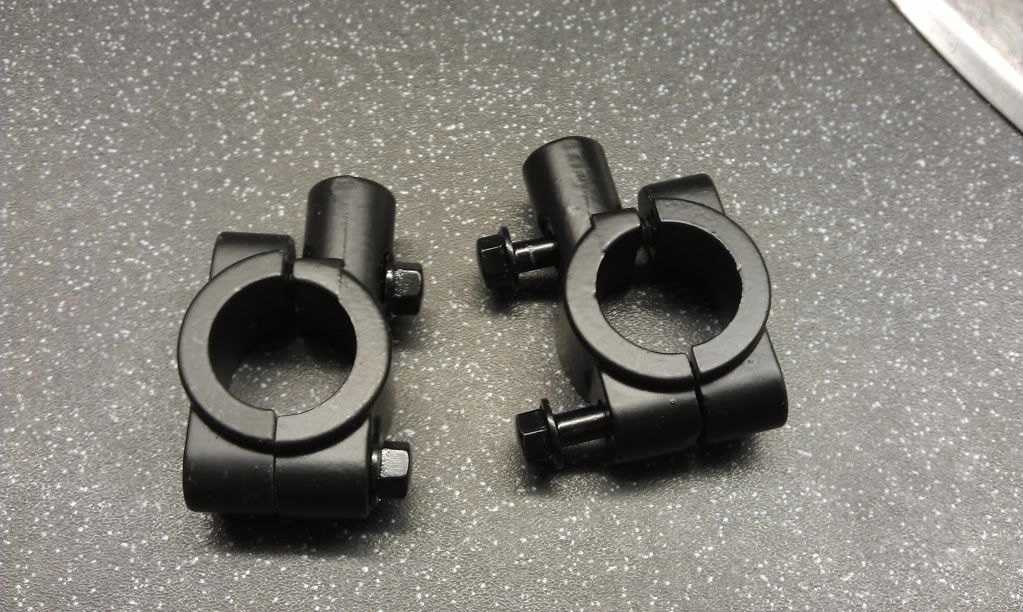
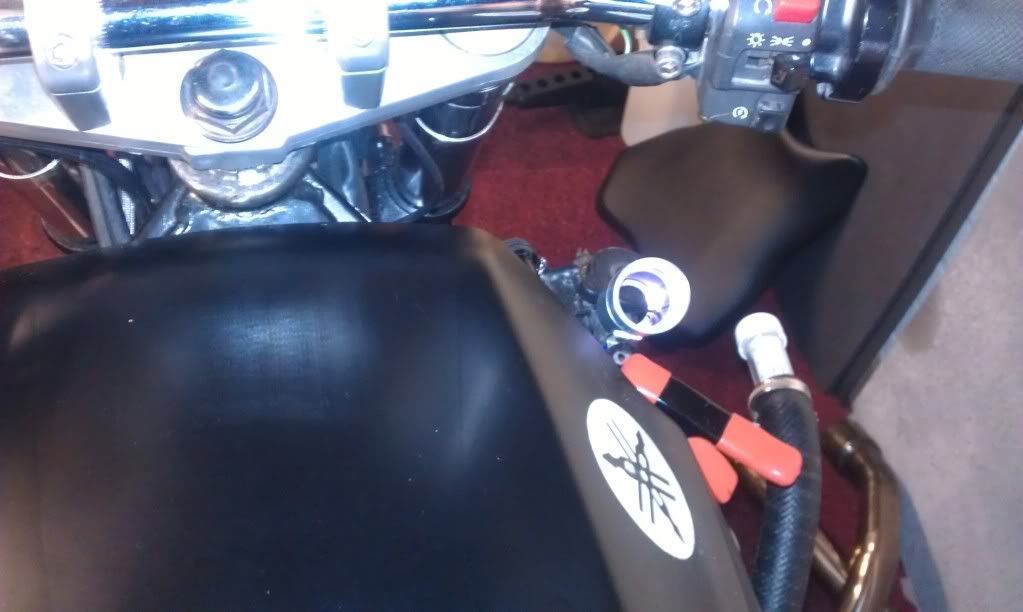
So, the fitment of the end weights solves another dilemma for me, that of bar end mirrors or normal mirrors.
So onto Ebay and purchase a set of these mirror clamps
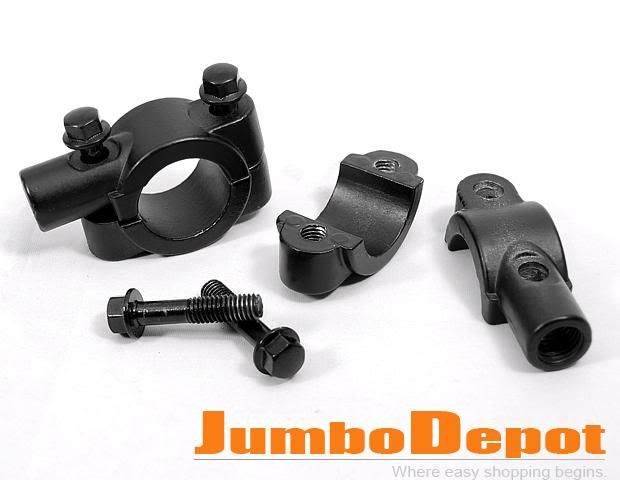
If things work out as I hope i can replace the master cylinder clamp halves with the mirror mount clamp halves, as long as the aluminium is of sufficient quality.
If not I'll just use the clamps as they are, but I'd rather reduce the clutter on the bars if I can.
as the clamps are coming from Hong Kong it gave me time to source some suitable mirrors, went for a set of DPM mirrors, Quality Mirrors here (though this isn't what I paid for them)
which arrived the other day.

I will get some better pics once the clamps arrive.
so whilst I'm waiting for assorted items to arrive I had to find something else to occupy my mind.
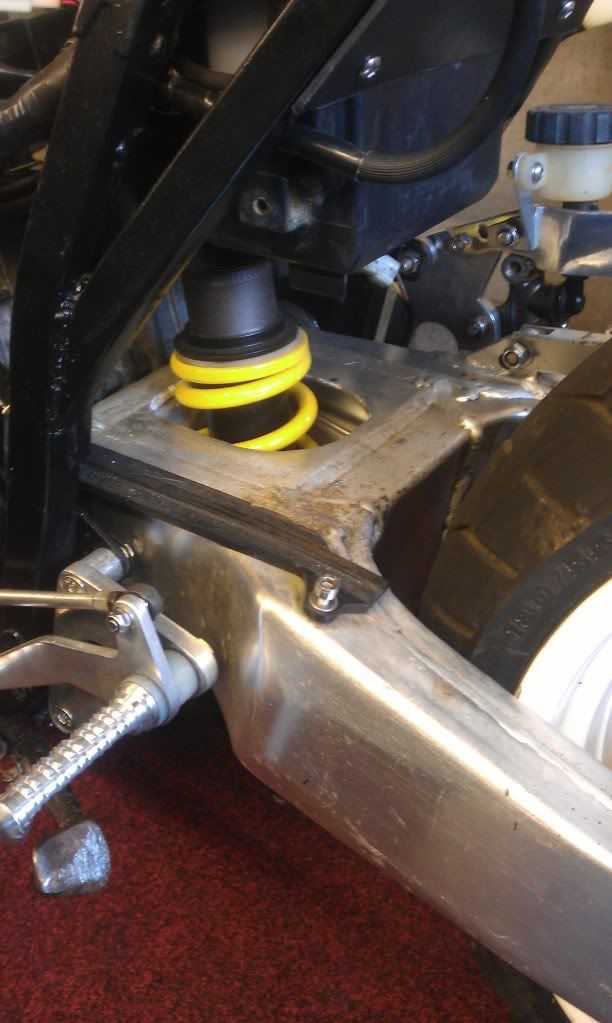
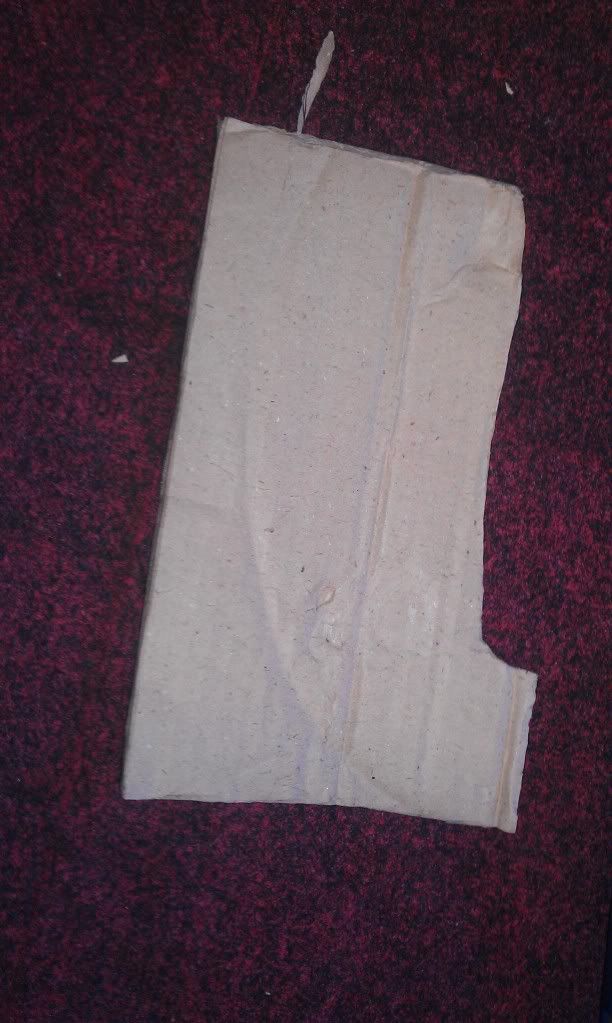
with this in mind I started toying with the idea of making some sort of hugger to protect the rear shock from road crud.
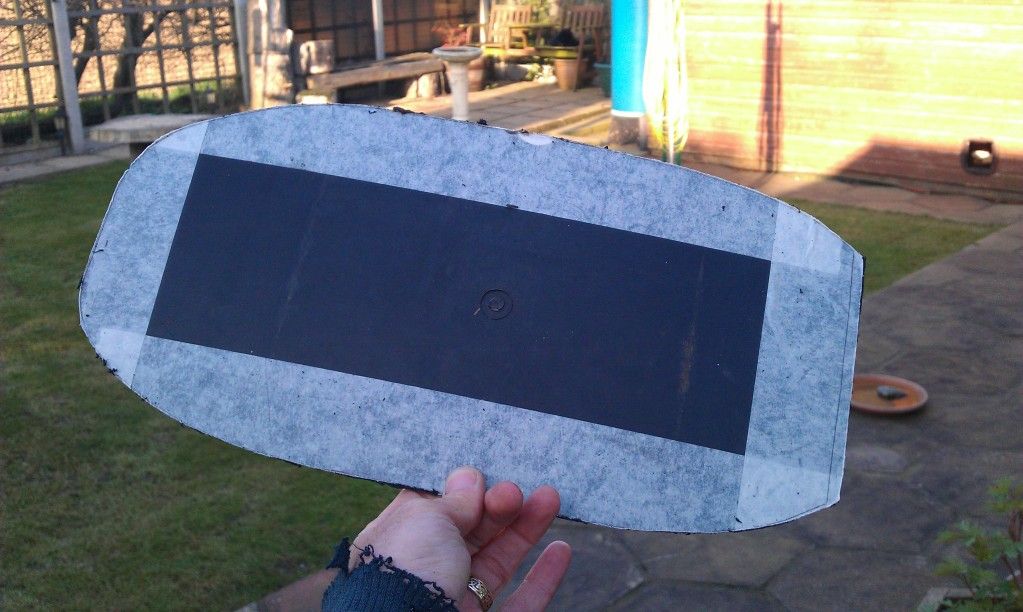
mocked up a cardboard template
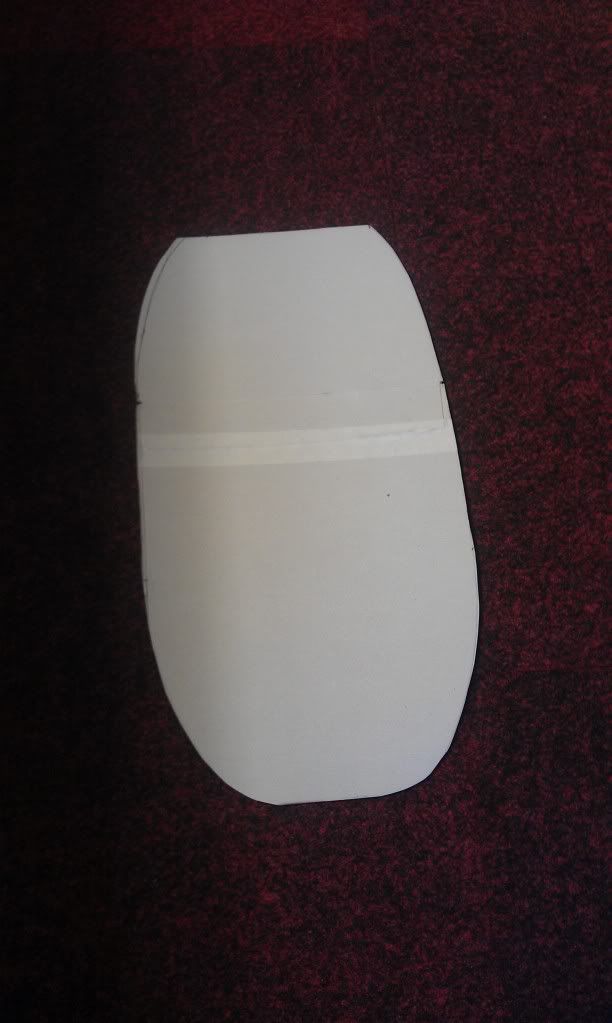
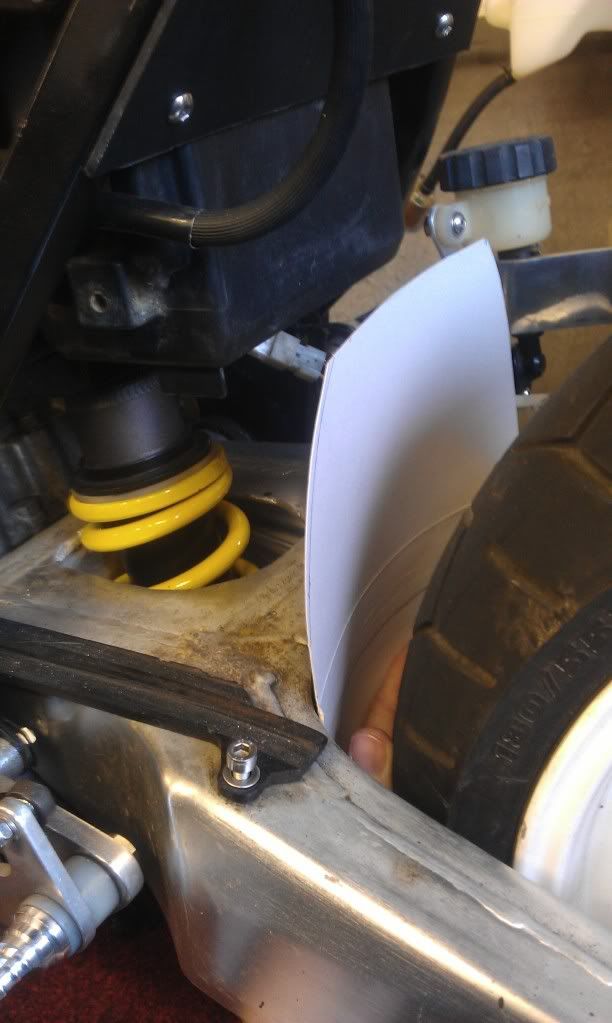
the idea being it extends above and below the swingarm to protect the shock and linkage.
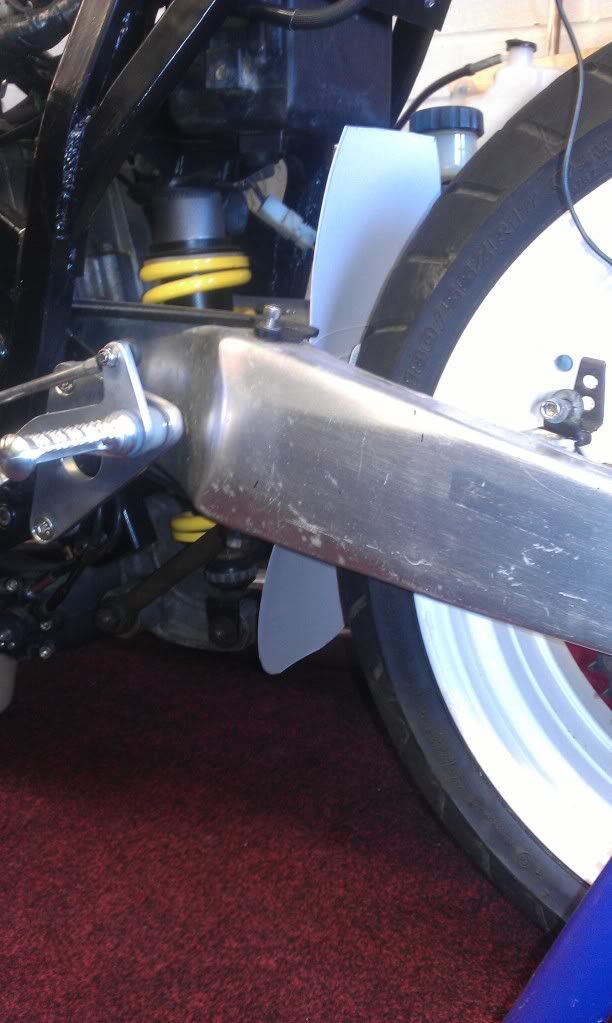
Not too sure on this yet, will ponder some more.
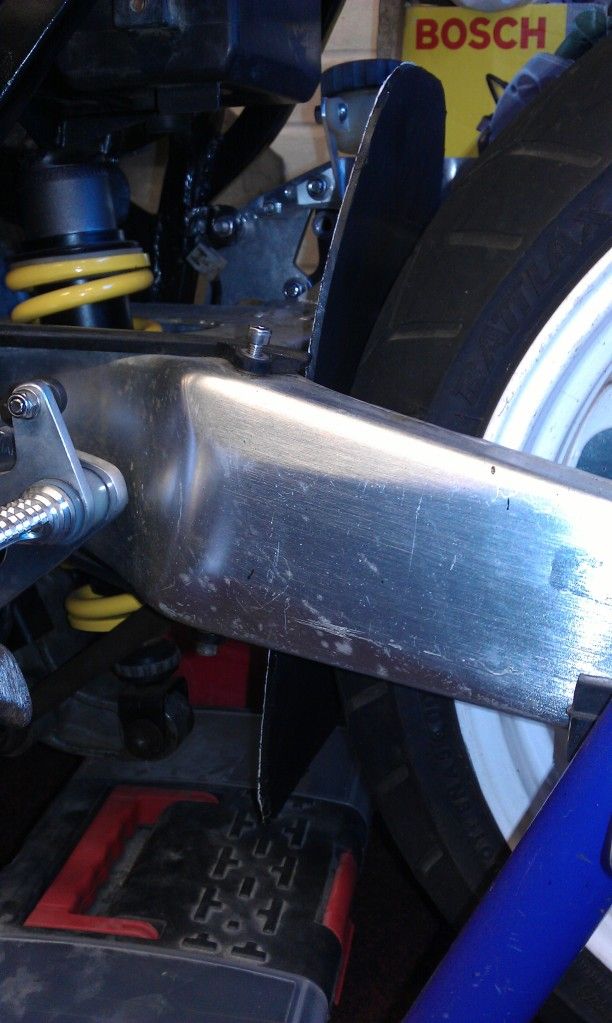
BUT, whilst considering the hugger I did decide to make some kind of splash guard to protect the engine connections from the same rear wheel crud.
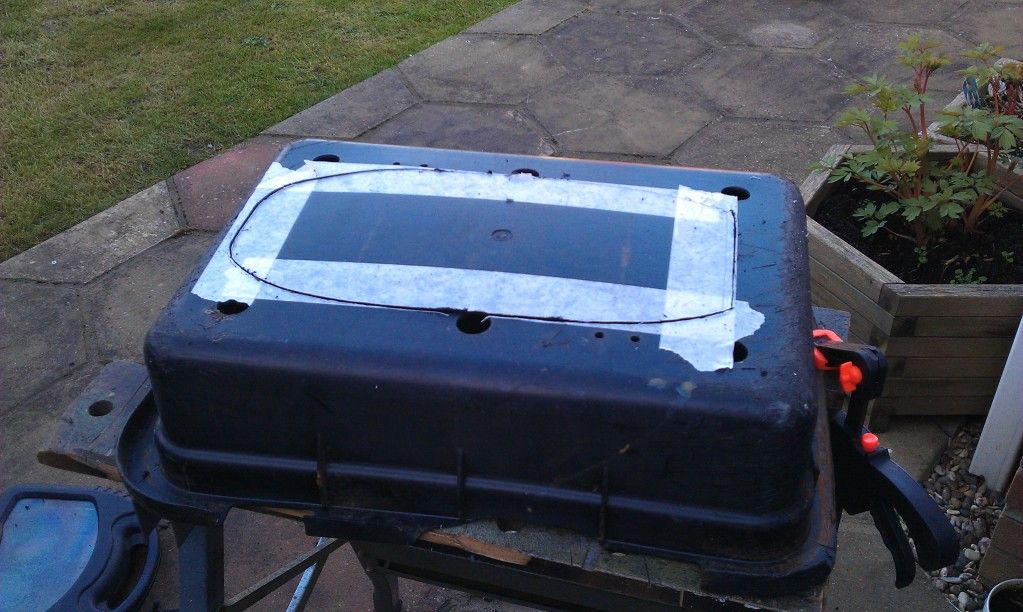
So once again out with the cardboard.
Transfer the template to the trusty old Royal Mail Cycle Tray
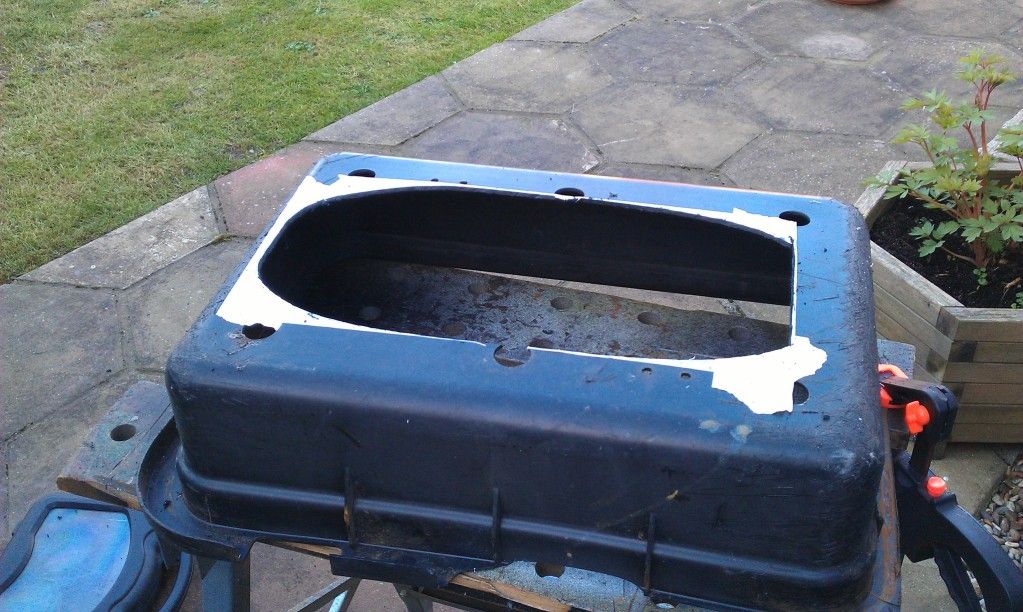
And away we go!
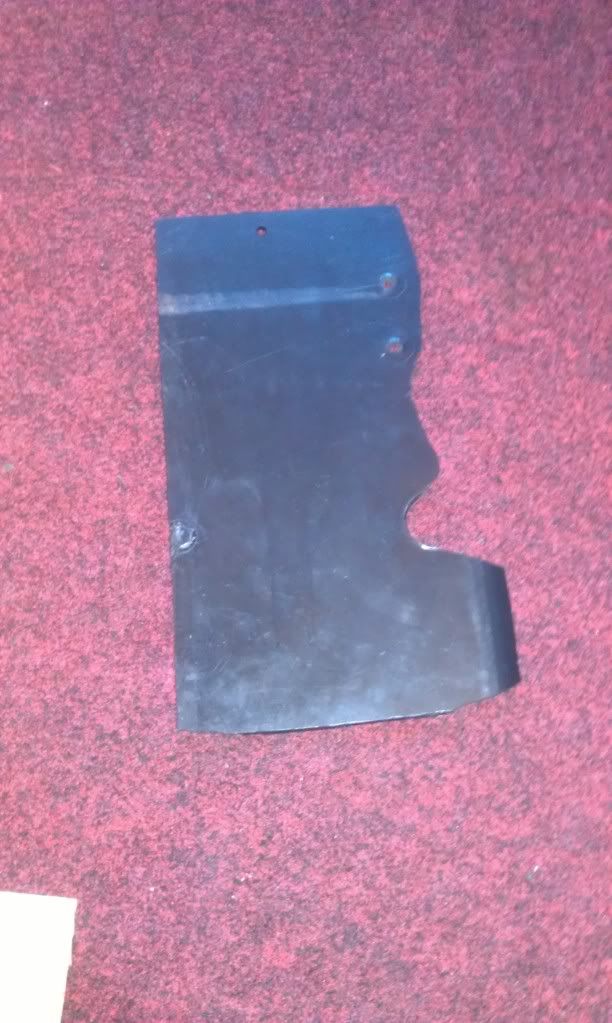
Jobs a good un
So thats it for now.
But just to keep me occupied whilst I'm waiting for bits to arrive my PS3 got the dreaded YLOD, so I have something else to repair in the meantime

So onto Ebay and purchase a set of these mirror clamps
If things work out as I hope i can replace the master cylinder clamp halves with the mirror mount clamp halves, as long as the aluminium is of sufficient quality.
If not I'll just use the clamps as they are, but I'd rather reduce the clutter on the bars if I can.
as the clamps are coming from Hong Kong it gave me time to source some suitable mirrors, went for a set of DPM mirrors, Quality Mirrors here (though this isn't what I paid for them)
which arrived the other day.
I will get some better pics once the clamps arrive.
so whilst I'm waiting for assorted items to arrive I had to find something else to occupy my mind.
with this in mind I started toying with the idea of making some sort of hugger to protect the rear shock from road crud.
mocked up a cardboard template
the idea being it extends above and below the swingarm to protect the shock and linkage.
Not too sure on this yet, will ponder some more.
BUT, whilst considering the hugger I did decide to make some kind of splash guard to protect the engine connections from the same rear wheel crud.
So once again out with the cardboard.
Transfer the template to the trusty old Royal Mail Cycle Tray
And away we go!
Jobs a good un
So thats it for now.
But just to keep me occupied whilst I'm waiting for bits to arrive my PS3 got the dreaded YLOD, so I have something else to repair in the meantime
Never Ever Bloody Anything Ever!!!
I could butitsnotagenesis wrote:Could you not cut a section of the bars off and weld the threaded insert onto the end of the bars?
A. My welding skills aren't good enough to ensure it would be welded on square, or that it would be strong enough once the weld was ground back ( so the throttle tube fitted over the join)
And
B. it would mean mullering a set of Standard clipons that "may become useful" at a later date
Never Ever Bloody Anything Ever!!!
Right, I know its been a while but parts are slowly arriving and so this is where I am now.
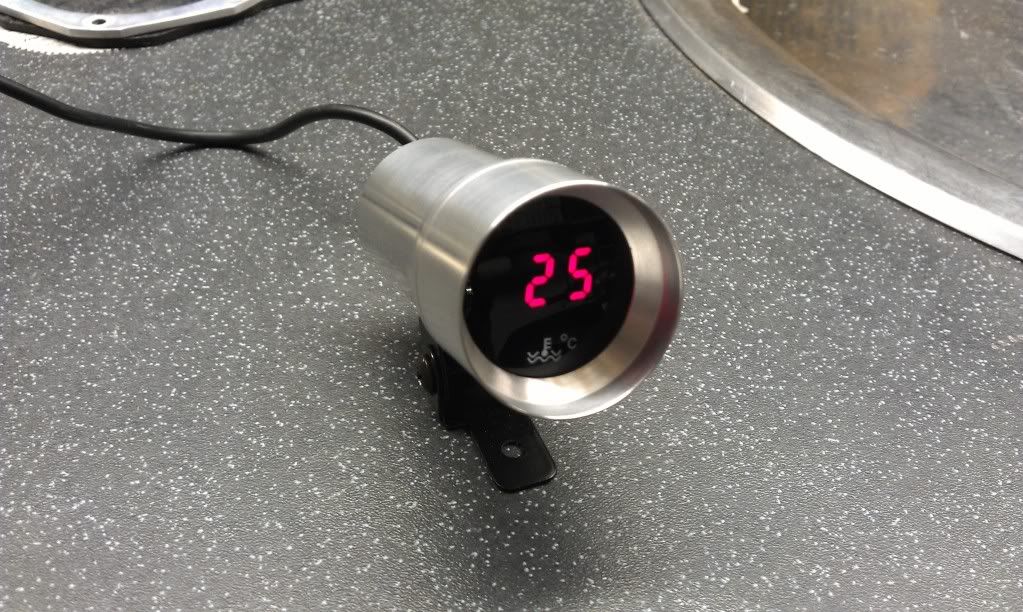
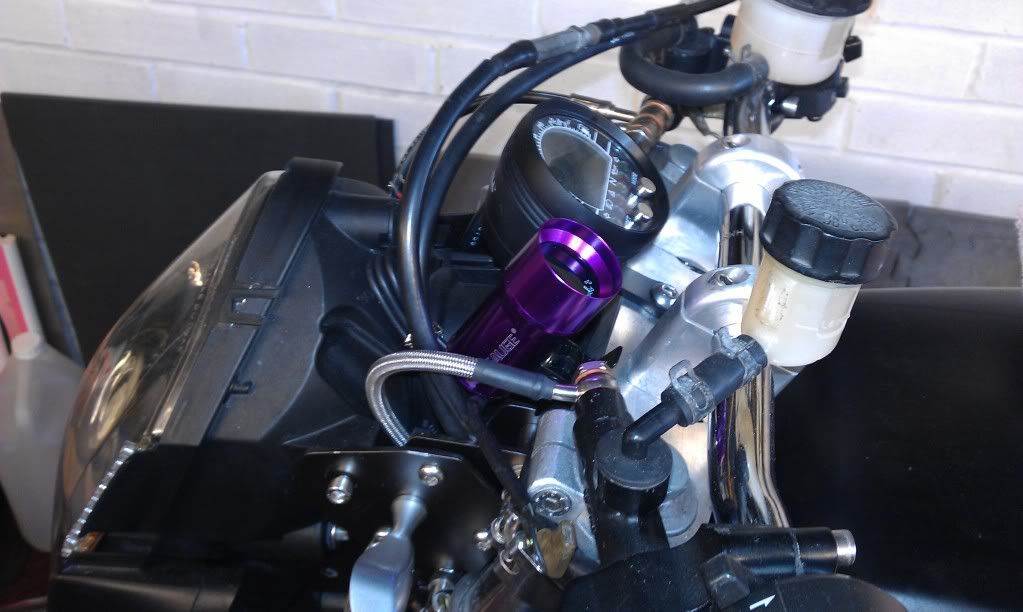
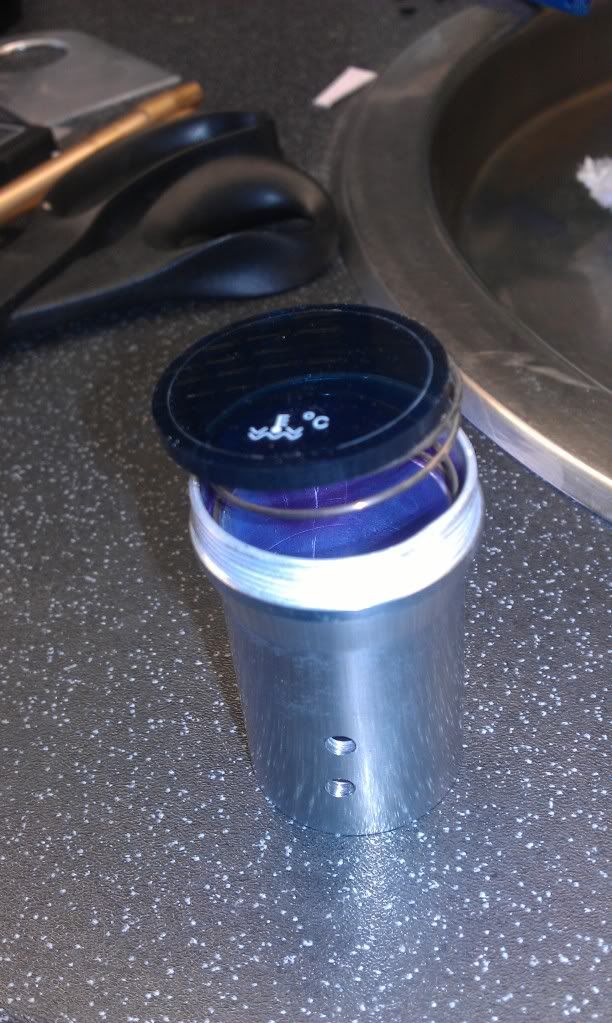
Ordered myself a temperature gauge from Fleabay
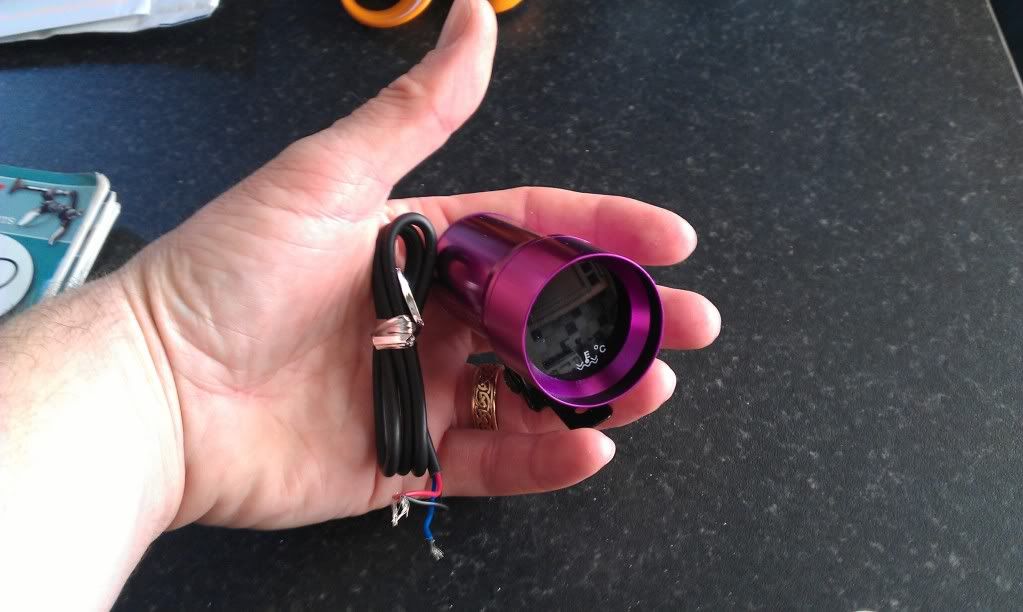
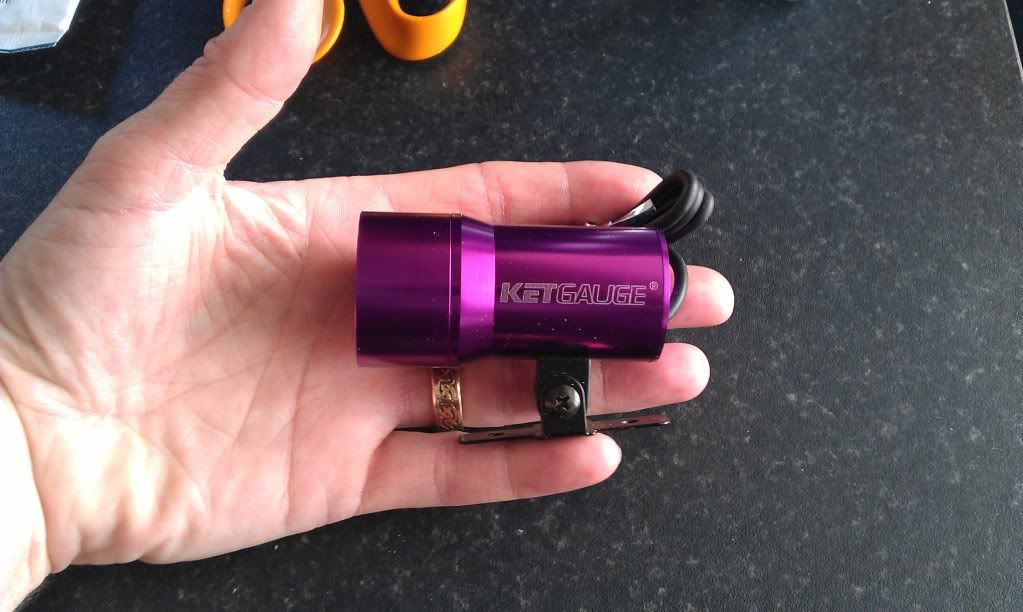
Comes with various adaptors
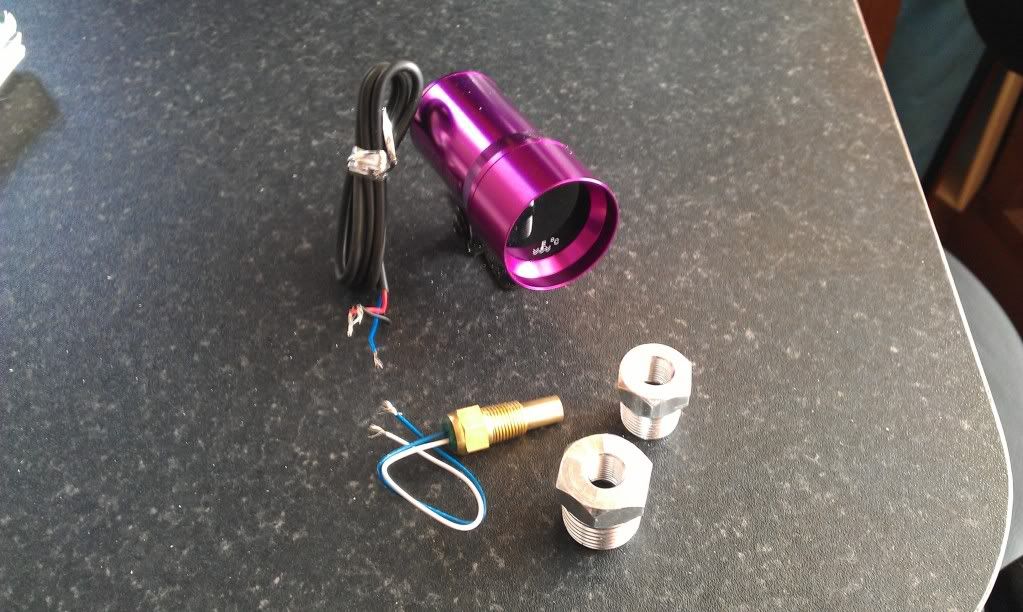
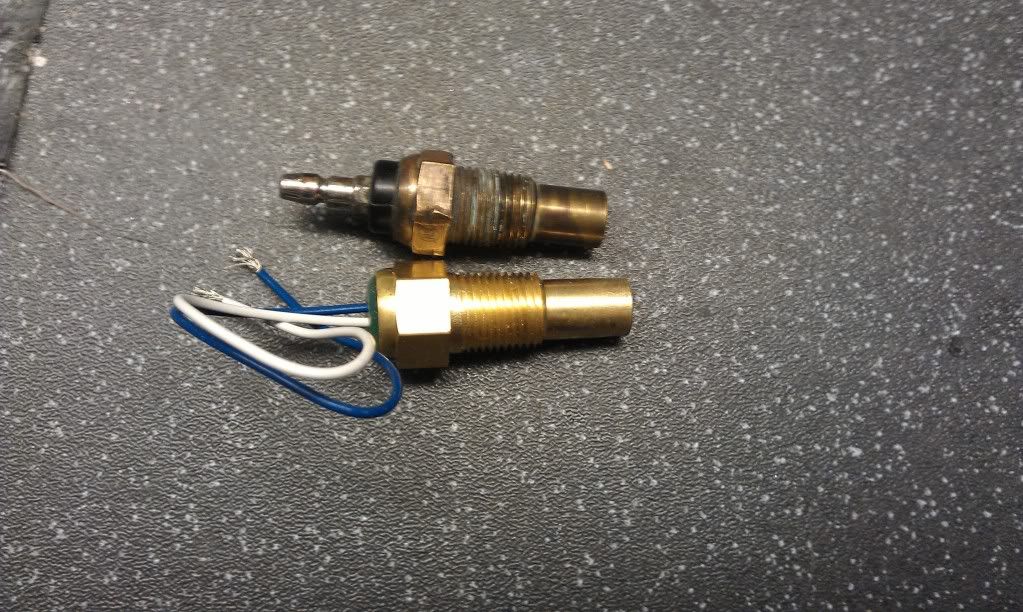
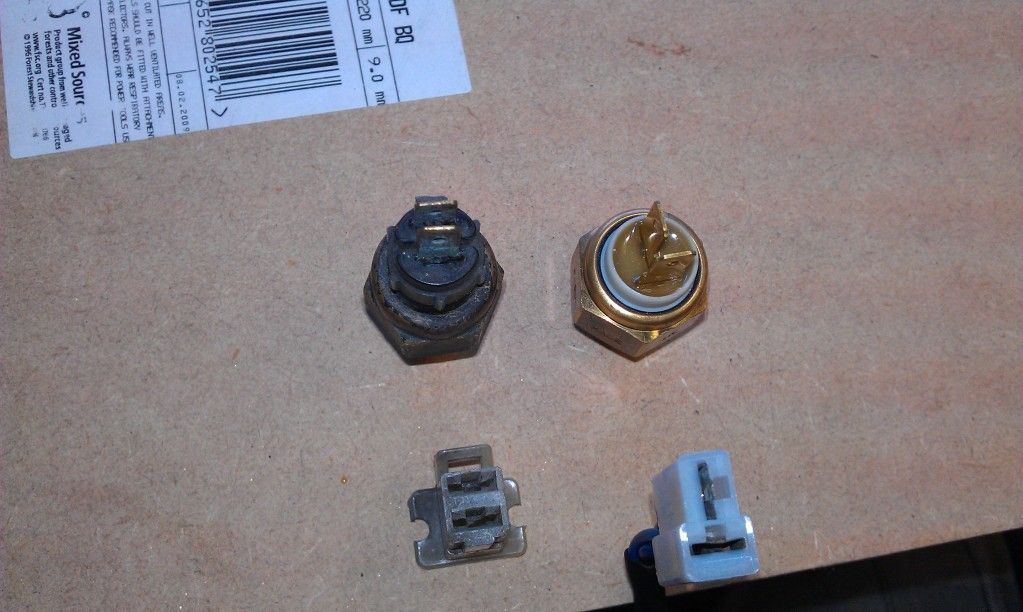
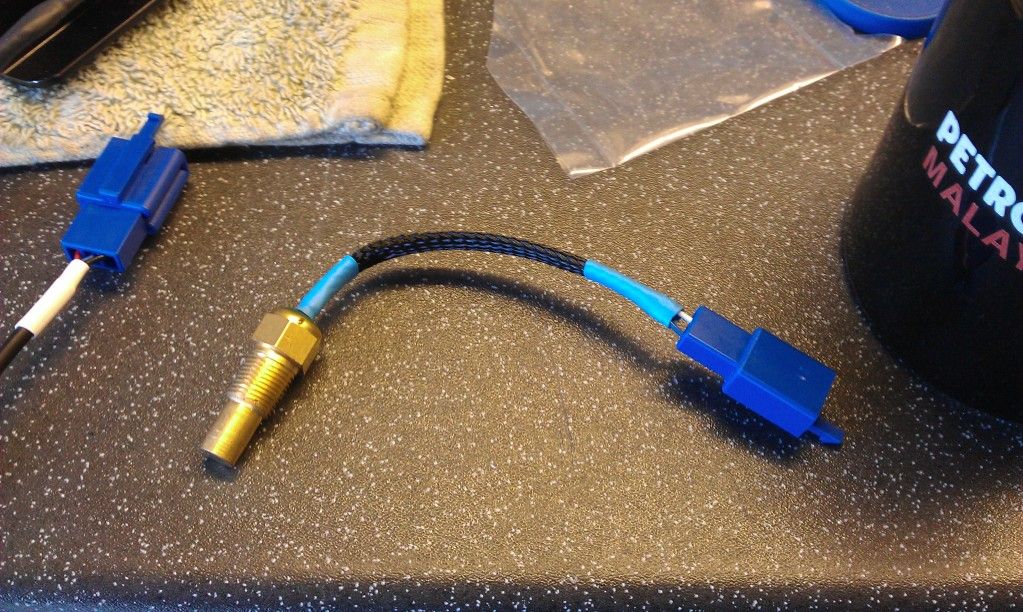
But luckily the supplied sensor doesn't need an adaptor as its a direct swap for the Yamaha sensor
The only issue being that its purple!!
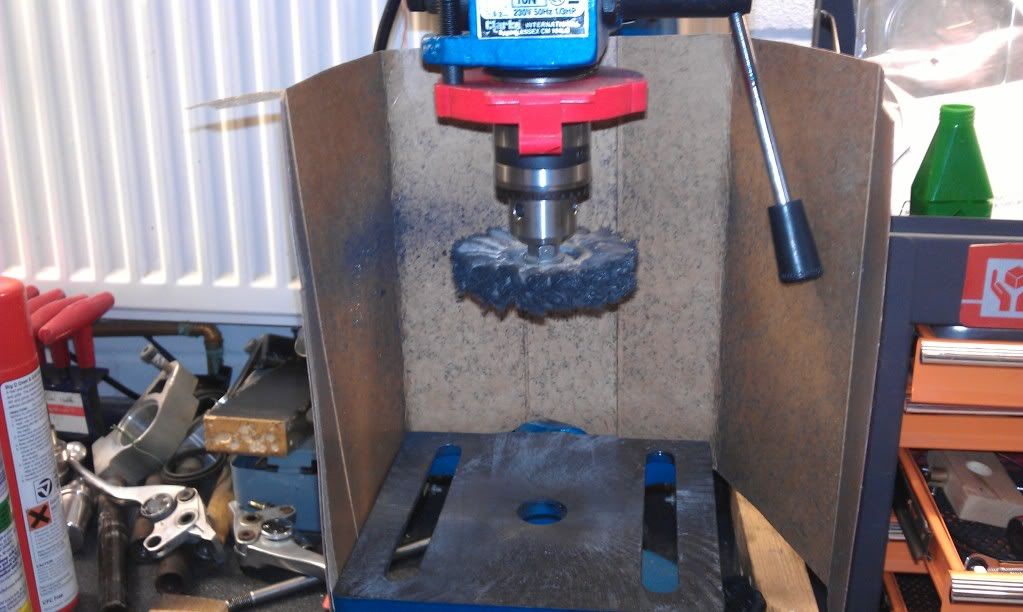
HOWEVER after a little research on T'internet I came across a way to remove the anodizing using oven cleaner.
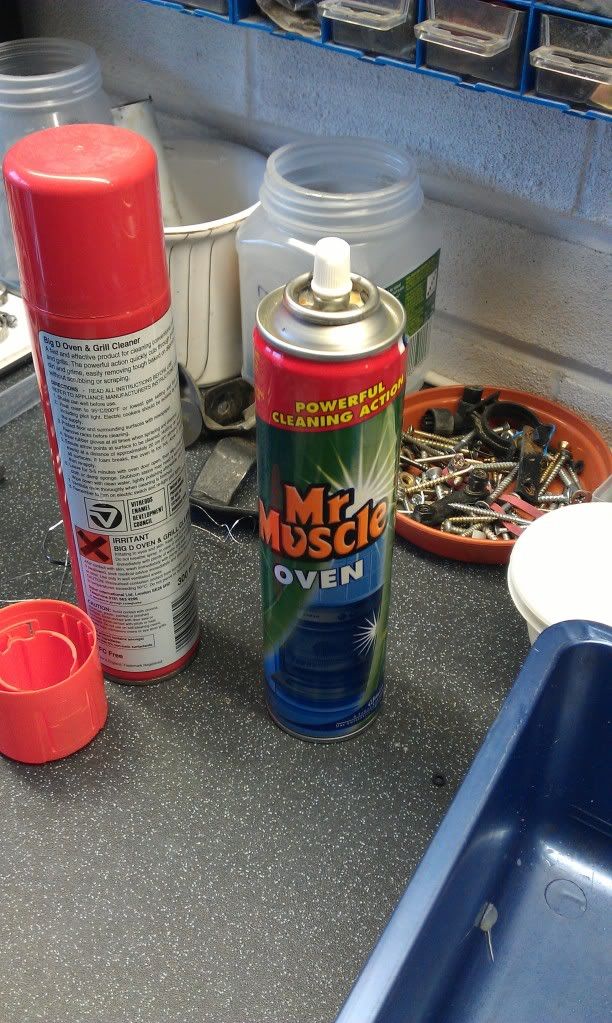
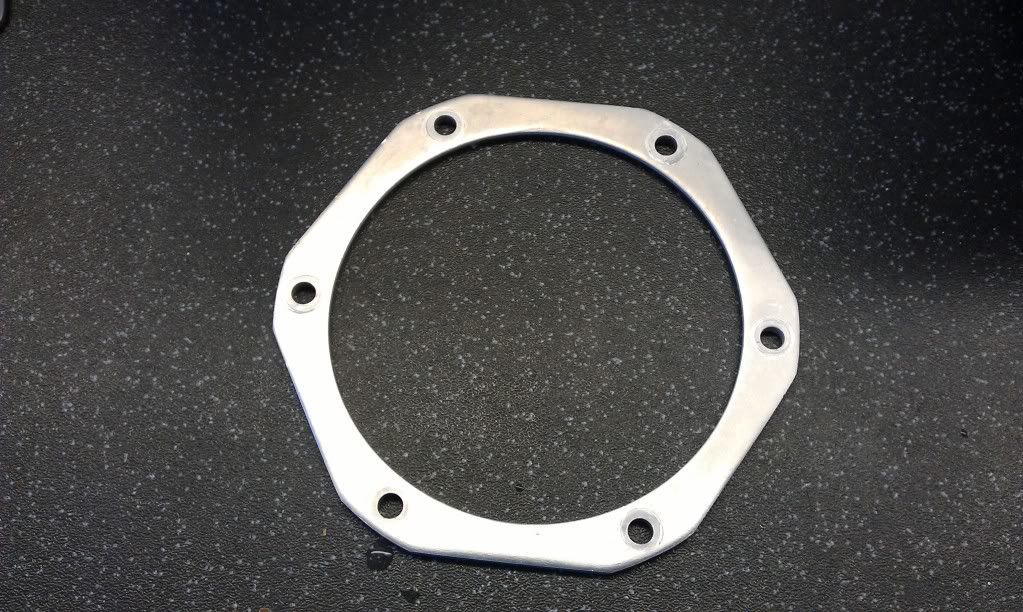
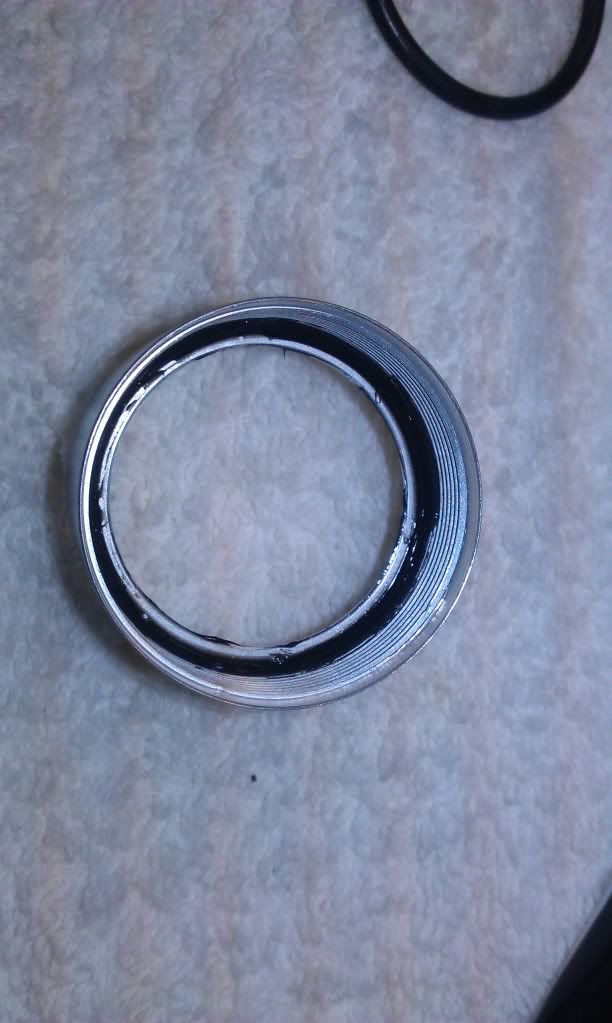
So, before I attempted this technique on the gauge I thought I would practice on something first, after rooting through a few boxes I came across an old Carbon/alloy tax disc holder
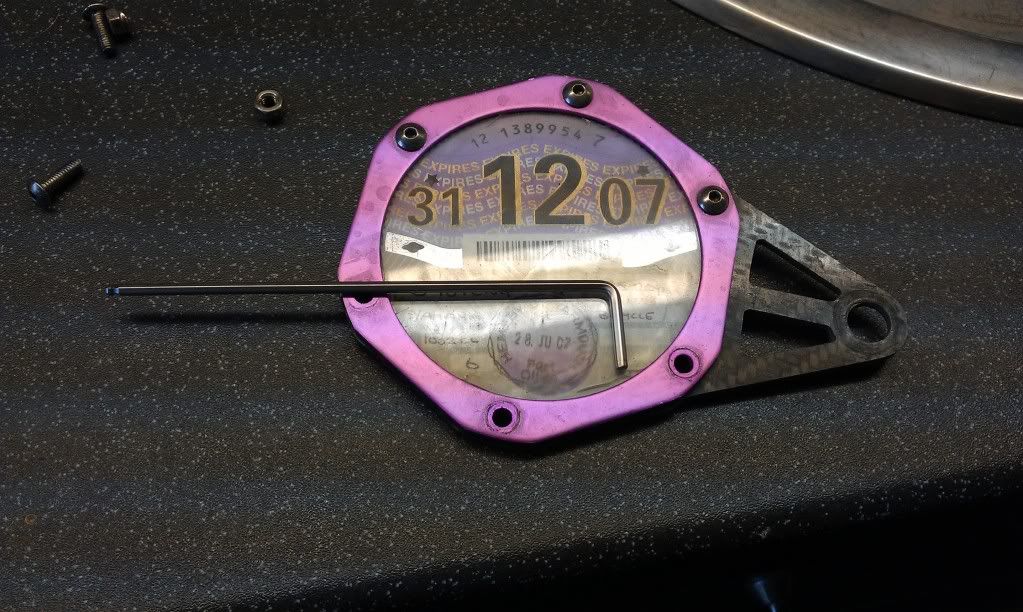
So I removed the ring and gave it a coat of oven cleaner (with the back door open,and goggles and gloves on, cant be too careful)
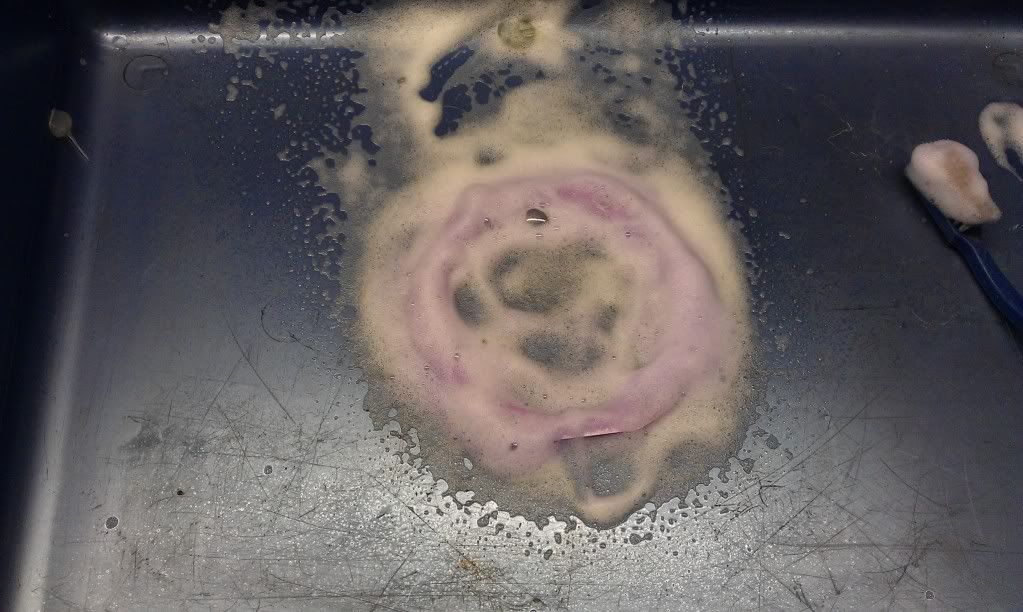
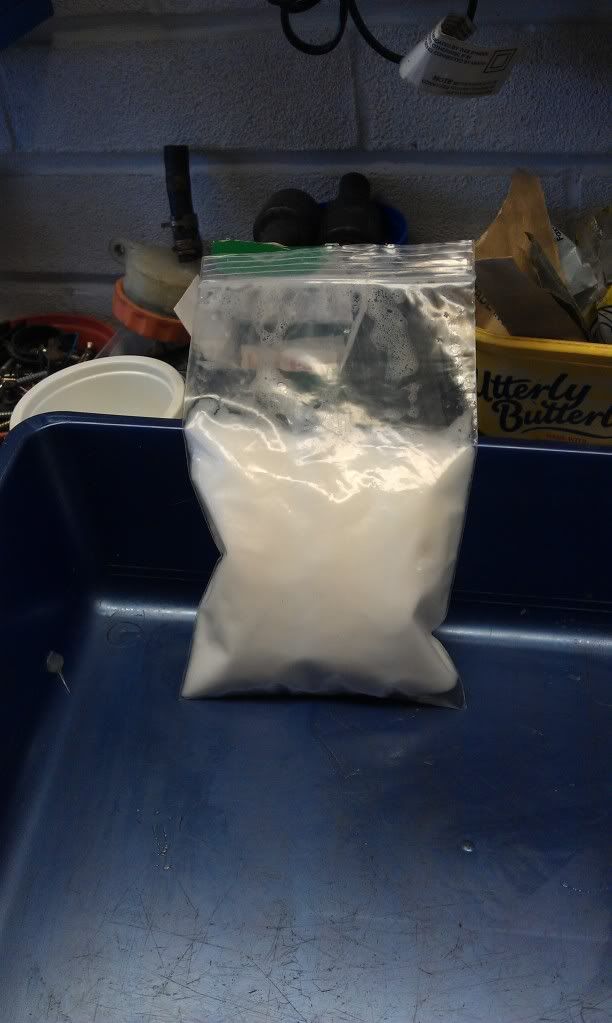
after about 10 mins the foam had started to dry out, so to try and prolong the foam I put the piece in a seal-able bag and sprayed some cleaner in.
After another 10mins the anodizing had gone, with a little agitation with a tooth brush during the process.
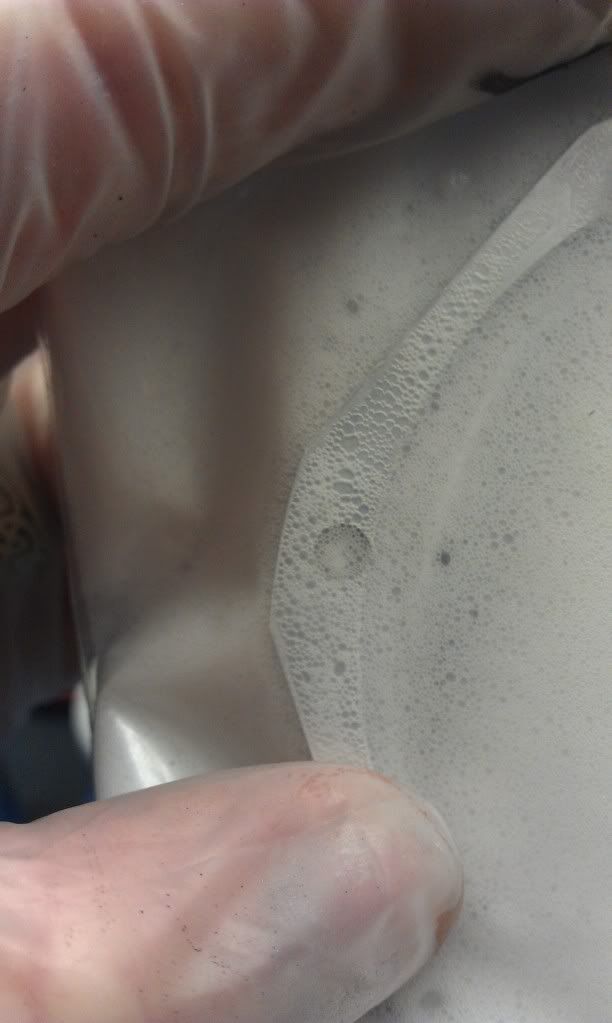
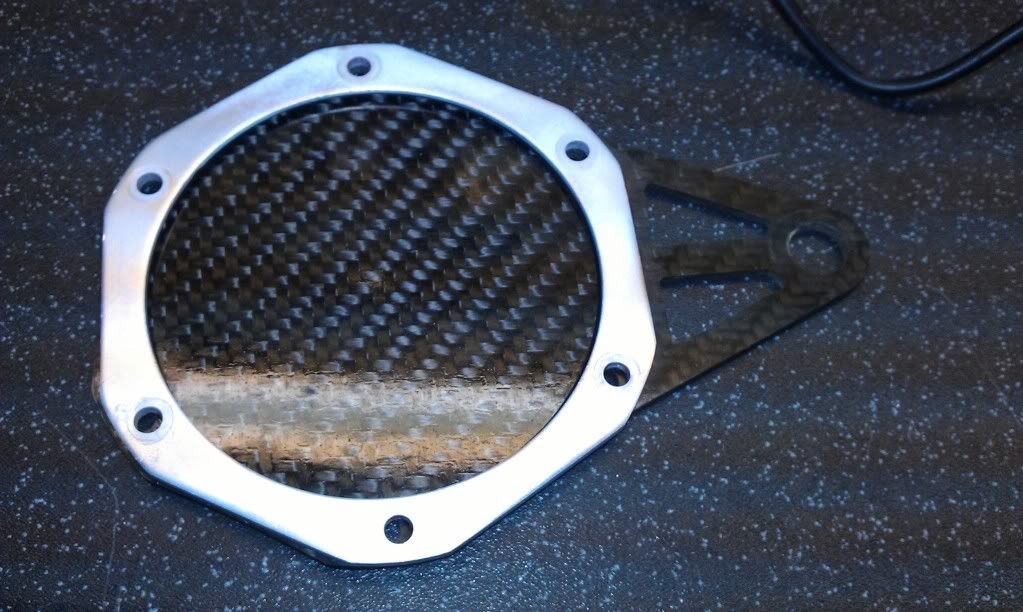
A quick rinse in water and presto, no more purple.
And as a bonus I now have a tax disc holder (once its been painted)
so confident I'm not going to melt my temperature gauge I set about dismantling it.
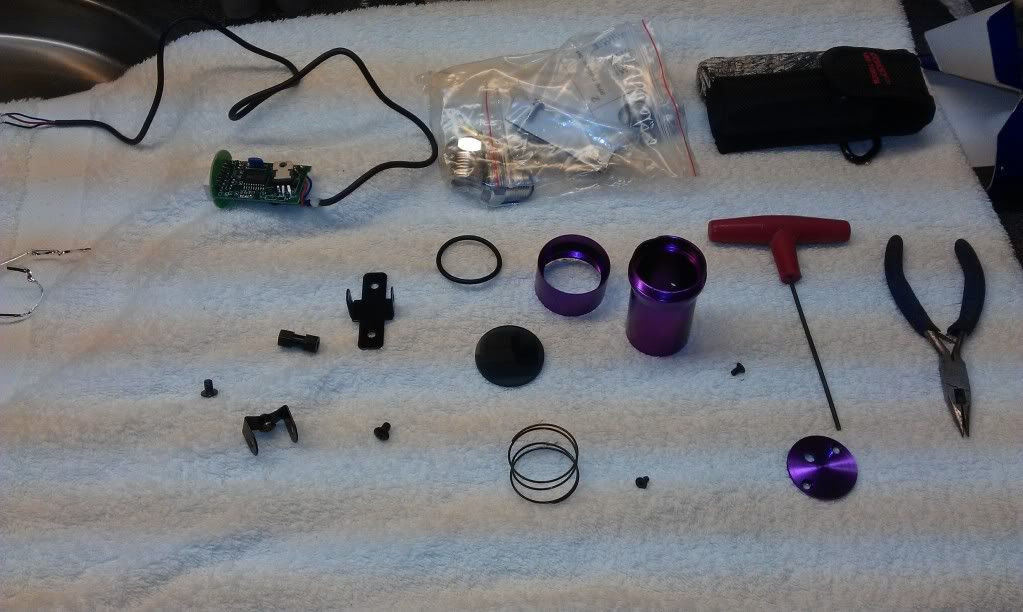
Into the bags, one piece per bag.

And the finished result, didnt need to remove all the traces of purple, just the bits that can be seen on t'outside.
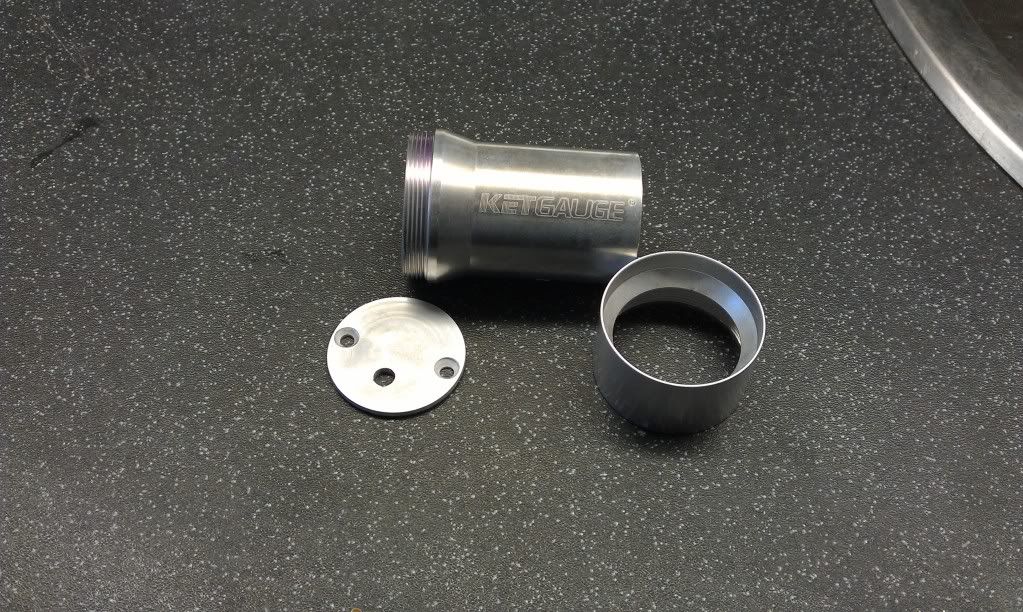
Gave the outside a quick rub over with fine wire wool.
Looks better in silver me thinks.
Also my mirror clamps arrived from Hong Kong so the next update should be more subtantial
Ordered myself a temperature gauge from Fleabay
Comes with various adaptors
But luckily the supplied sensor doesn't need an adaptor as its a direct swap for the Yamaha sensor
The only issue being that its purple!!
HOWEVER after a little research on T'internet I came across a way to remove the anodizing using oven cleaner.
So, before I attempted this technique on the gauge I thought I would practice on something first, after rooting through a few boxes I came across an old Carbon/alloy tax disc holder
So I removed the ring and gave it a coat of oven cleaner (with the back door open,and goggles and gloves on, cant be too careful)
after about 10 mins the foam had started to dry out, so to try and prolong the foam I put the piece in a seal-able bag and sprayed some cleaner in.
After another 10mins the anodizing had gone, with a little agitation with a tooth brush during the process.
A quick rinse in water and presto, no more purple.
And as a bonus I now have a tax disc holder (once its been painted
so confident I'm not going to melt my temperature gauge I set about dismantling it.
Into the bags, one piece per bag.
And the finished result, didnt need to remove all the traces of purple, just the bits that can be seen on t'outside.
Gave the outside a quick rub over with fine wire wool.
Looks better in silver me thinks.
Also my mirror clamps arrived from Hong Kong so the next update should be more subtantial
Never Ever Bloody Anything Ever!!!
spent a little more time out in the garage today.
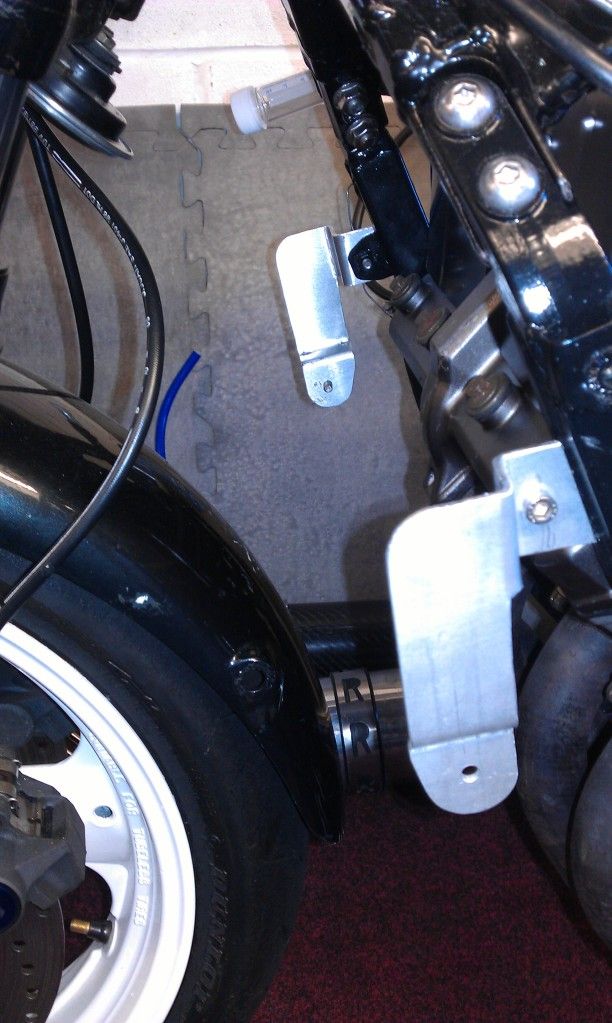
have decided to mount the temp gauge just above the radiator on the right hand side, as fitting it to the top yoke would be too cluttered.
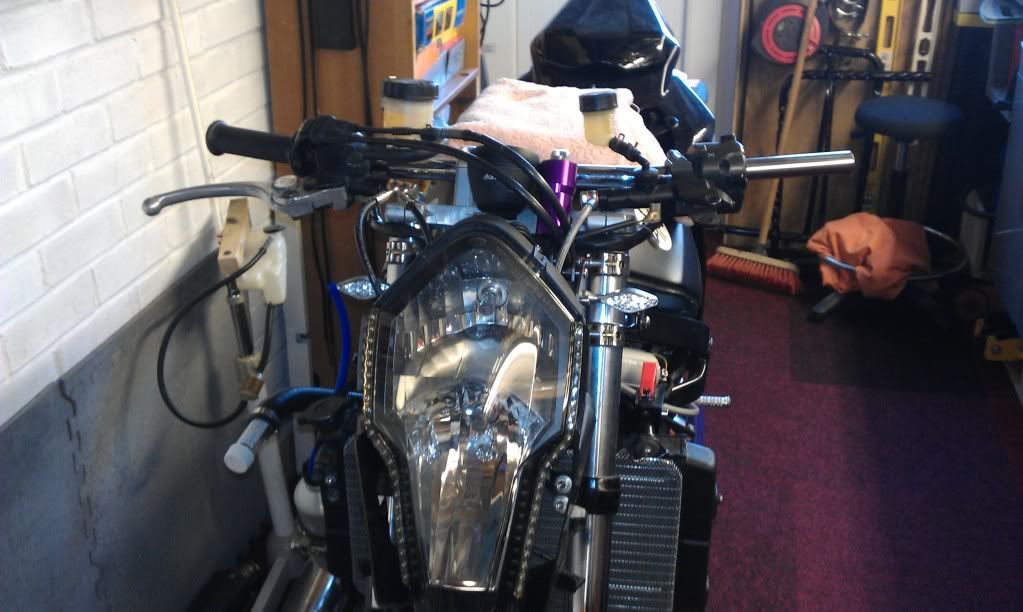

So set about making a bracket for it and test fitting to make sure its visable from the riding position.
Once I was happy with the bracket and the position, I gave it all the once over with my makeshift polishing mop (once the splatter gaurd was installed)
And seeing as the lens is only held in by spring pressure
I thought it prudent to seal it into position as it WILL collect water and I don't want to short the internal gubbins out, so out with the sealant!
Temporarily mounted and wired to check alls OK
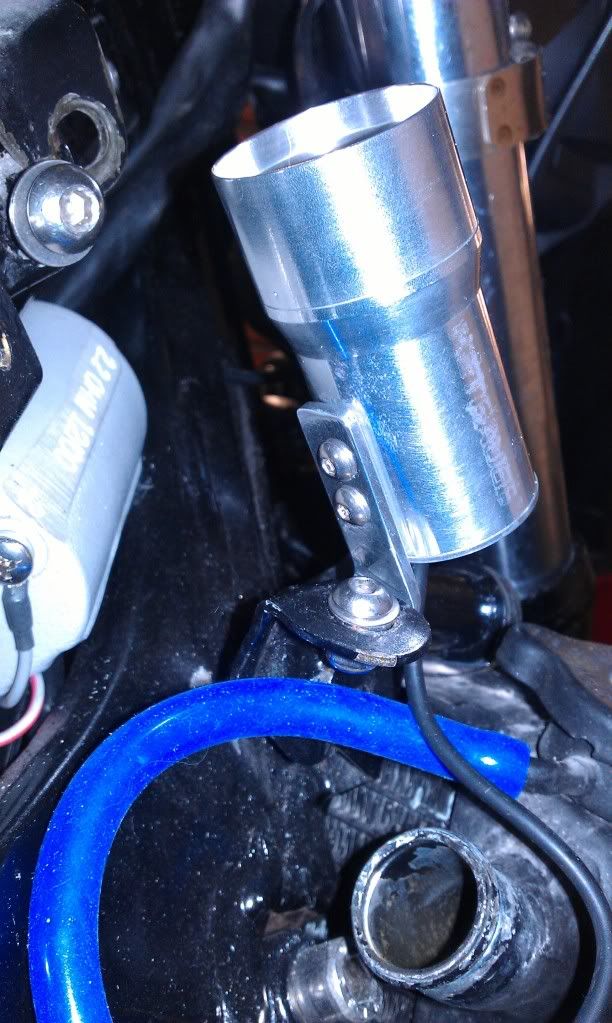
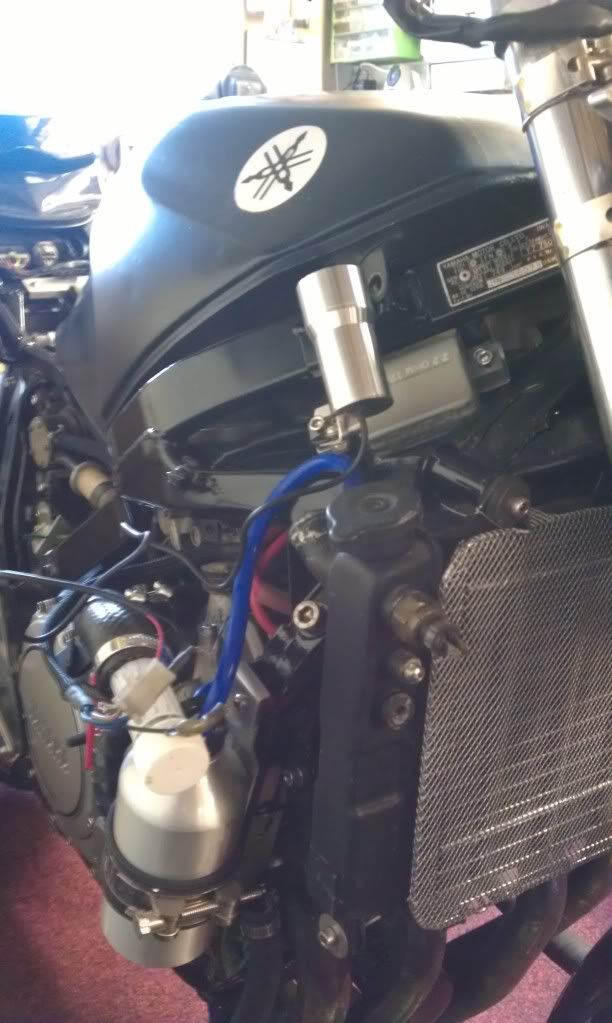

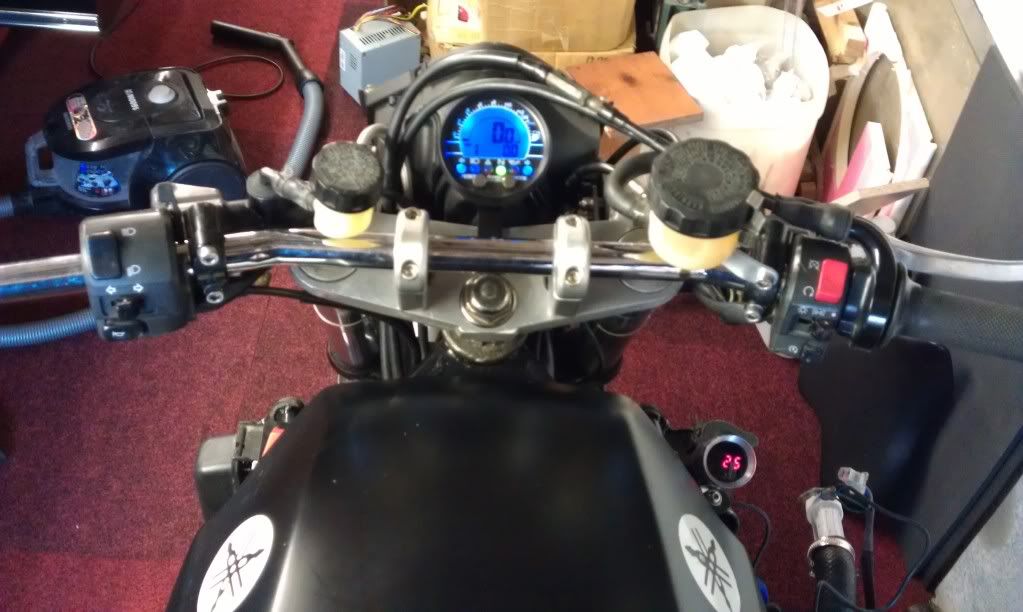
Not too bad, but I'll leave enough slack in the cable just incaser I change my mind and move it to the top yoke :nuts:
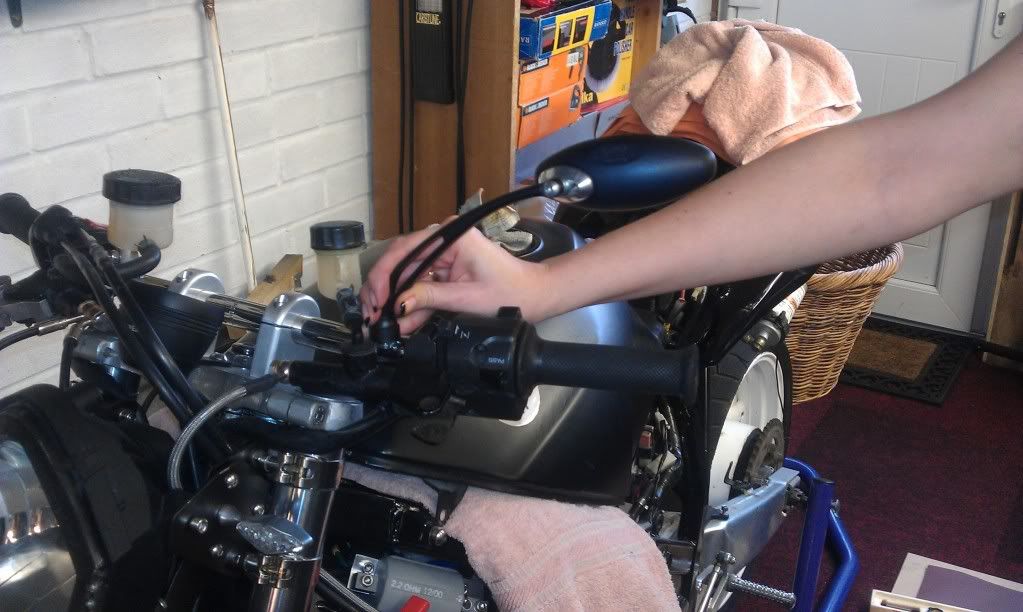
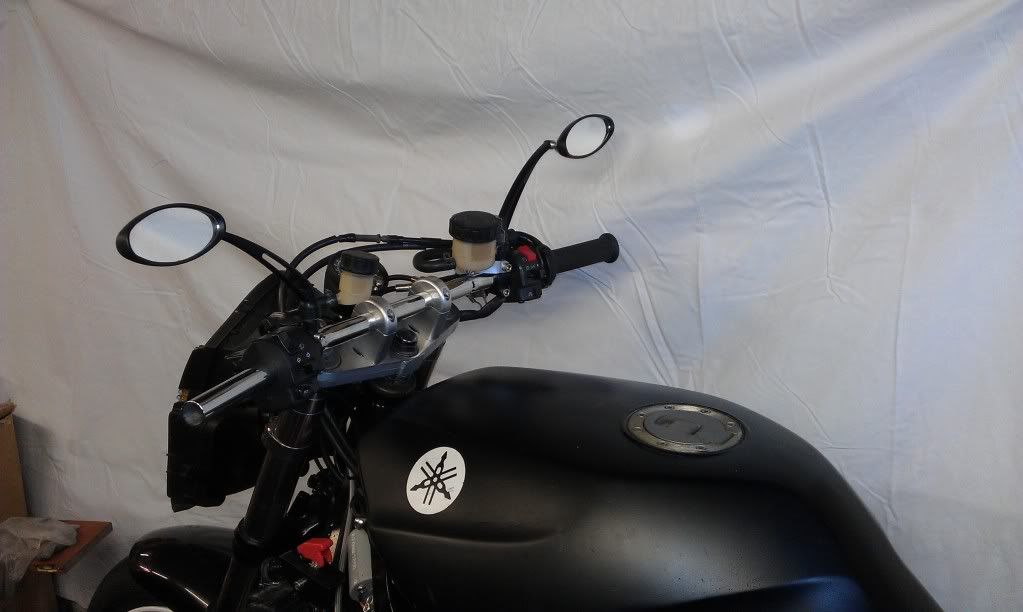
next I had a play with the mirror brackets, and luckily the hole spacing is the same as the ones on the master cylinders.
So I popped the mirrors on for a butchers.
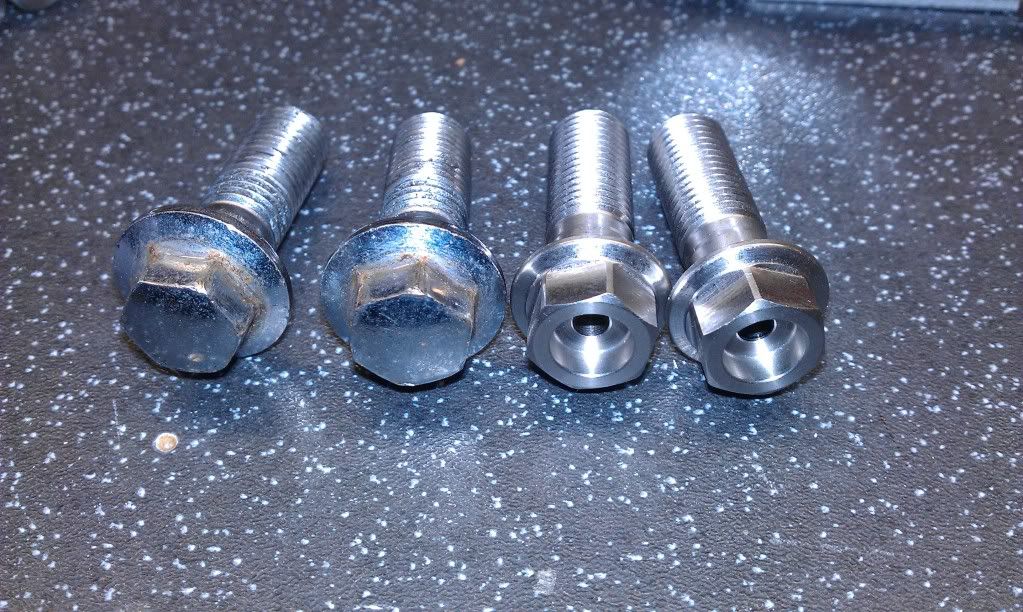
Then the post arrived with these little beauties
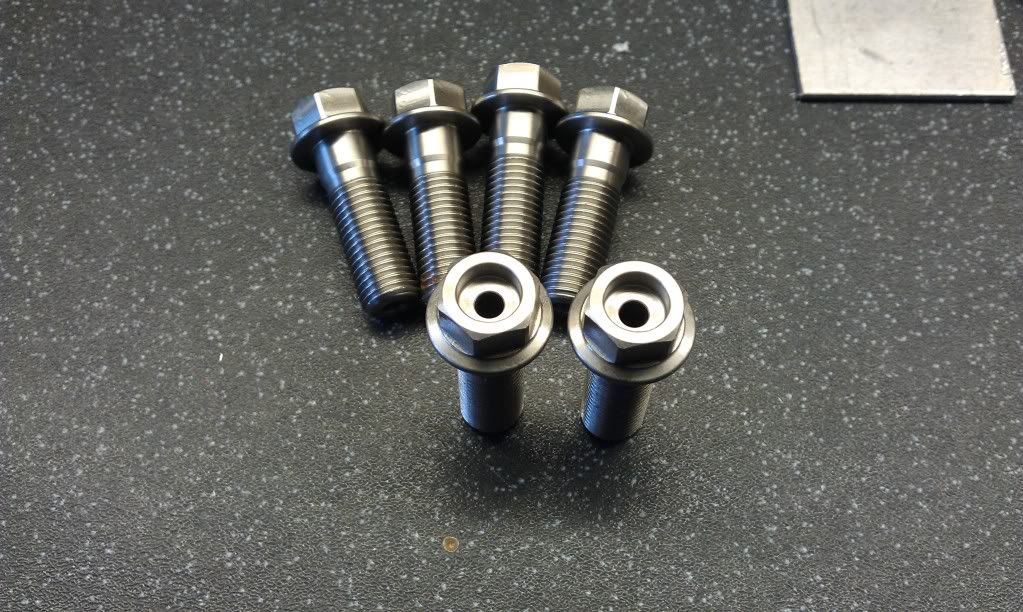
Replacement stainless steel caliper bolts

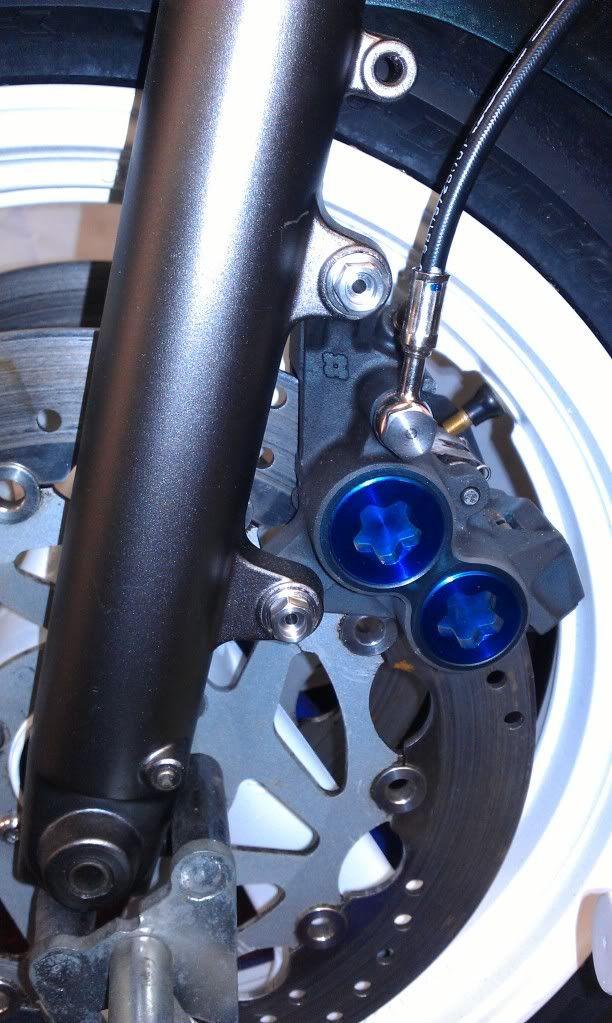
Much better than the standard ones i think.
So thats where we are now, still more to do, its just the small details that seem to occupy more time than it seems they should.
have decided to mount the temp gauge just above the radiator on the right hand side, as fitting it to the top yoke would be too cluttered.
So set about making a bracket for it and test fitting to make sure its visable from the riding position.
Once I was happy with the bracket and the position, I gave it all the once over with my makeshift polishing mop (once the splatter gaurd was installed)
And seeing as the lens is only held in by spring pressure
I thought it prudent to seal it into position as it WILL collect water and I don't want to short the internal gubbins out, so out with the sealant!
Temporarily mounted and wired to check alls OK
Not too bad, but I'll leave enough slack in the cable just incaser I change my mind and move it to the top yoke :nuts:
next I had a play with the mirror brackets, and luckily the hole spacing is the same as the ones on the master cylinders.
So I popped the mirrors on for a butchers.
Then the post arrived with these little beauties
Replacement stainless steel caliper bolts
Much better than the standard ones i think.
So thats where we are now, still more to do, its just the small details that seem to occupy more time than it seems they should.
Never Ever Bloody Anything Ever!!!
Well, I have spent the last couple of days faffing about in the garage, managed to do quite a bit, but haven't really progressed any further, here's why.
Managed to win some Blue Samco hosing on Ebay to replace my top and bottom hoses, which is great, just waiting for them to arrive.
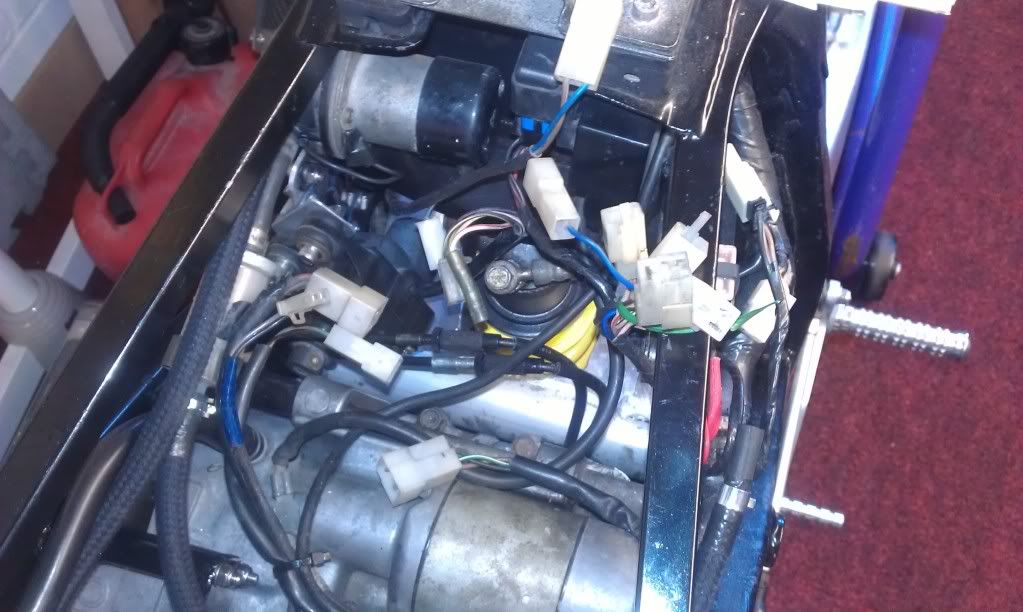
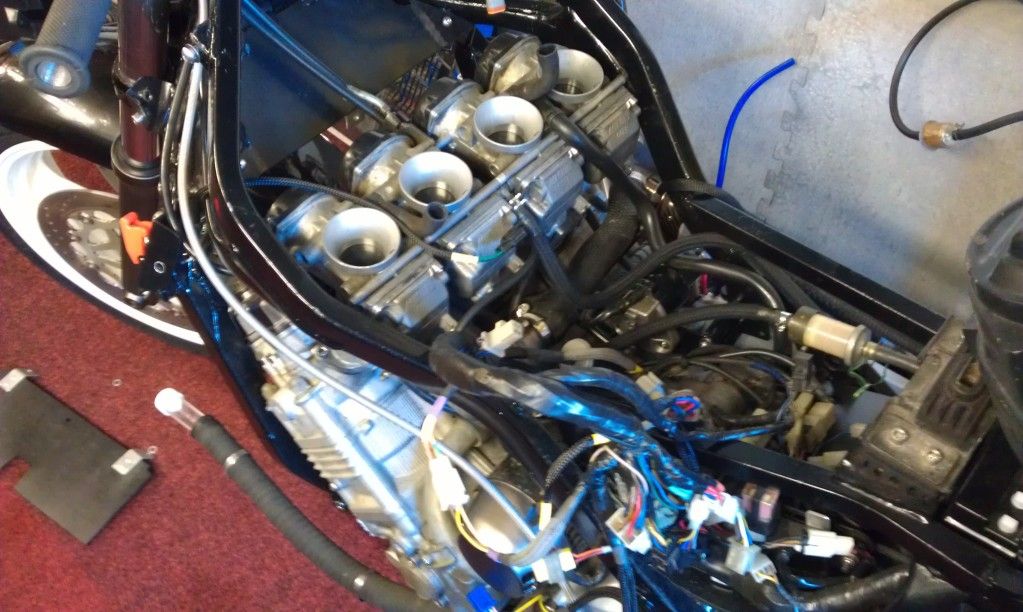
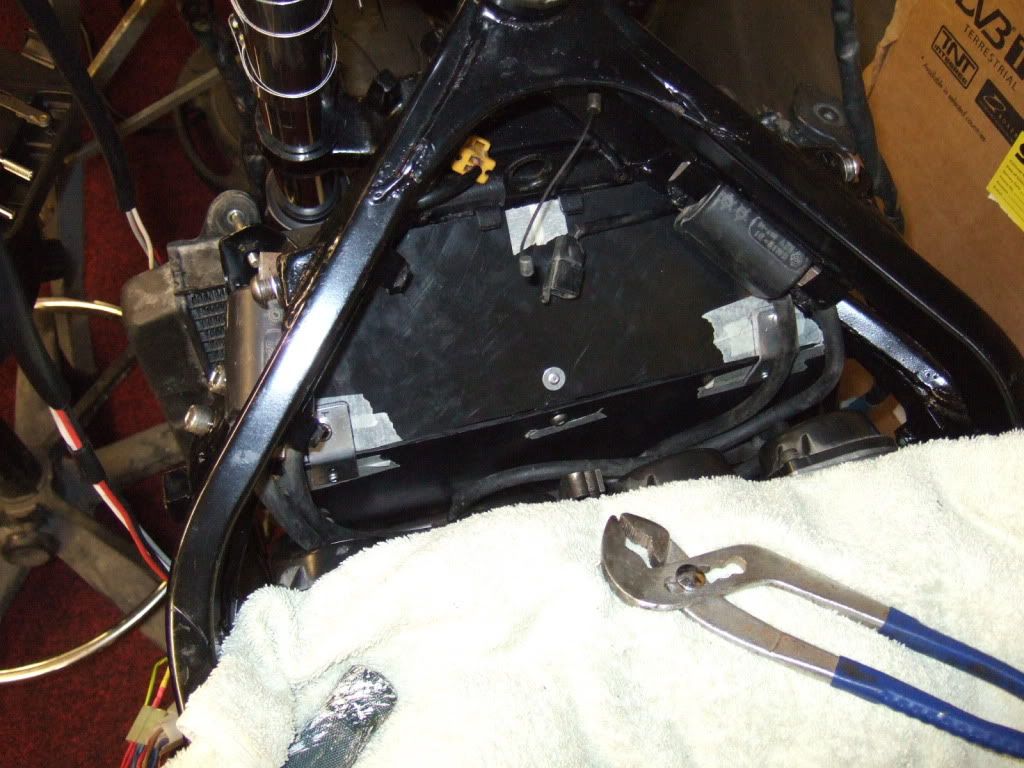
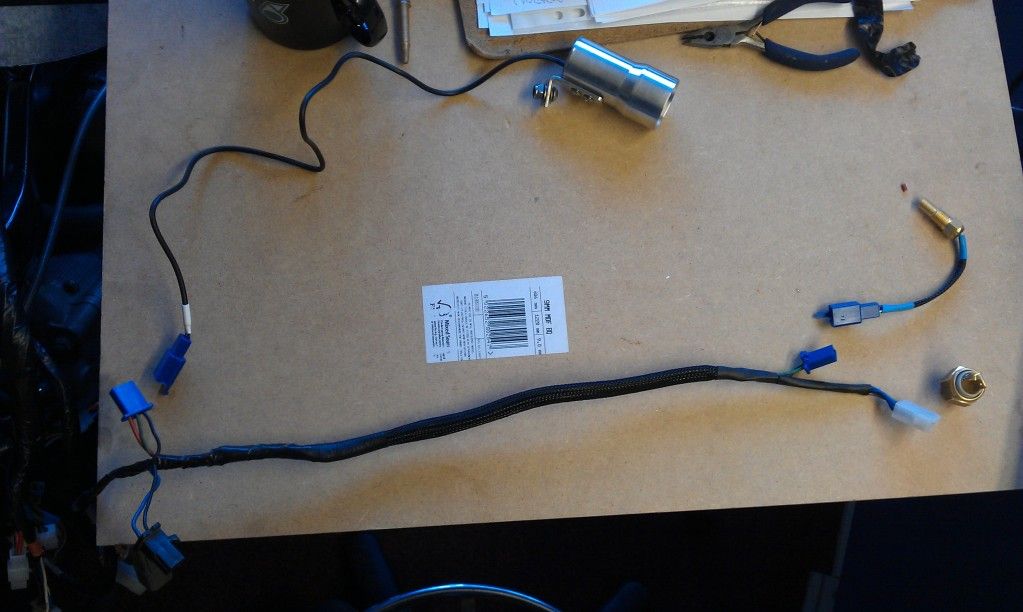
But that then forced me to confront an issue that I have been having for a while.......That of the red HT leads. At the time I got them as a stop gap, but should have just got blue ones to start with, To change these means removing all the wiring, which in itself is a bit squeezed in, so thought I would tackle the splash guard/ trough thing while I was there....AND wire in the new temp gauge.
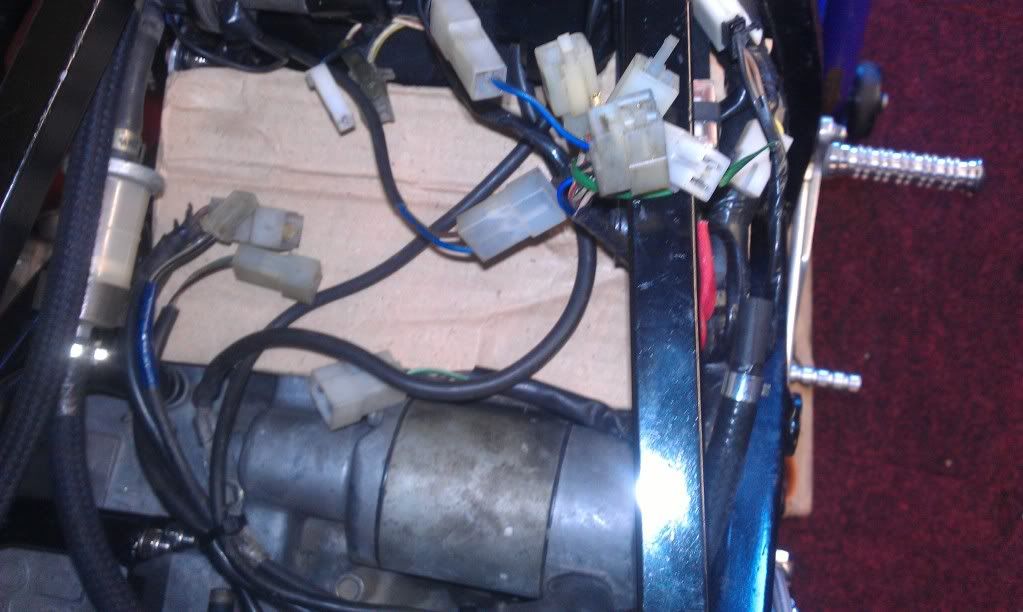
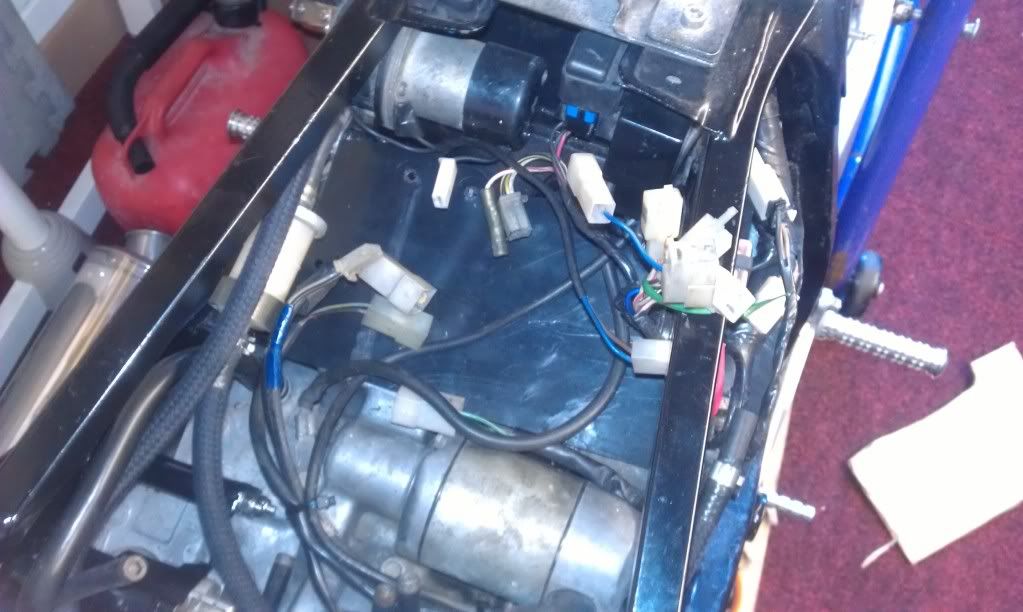
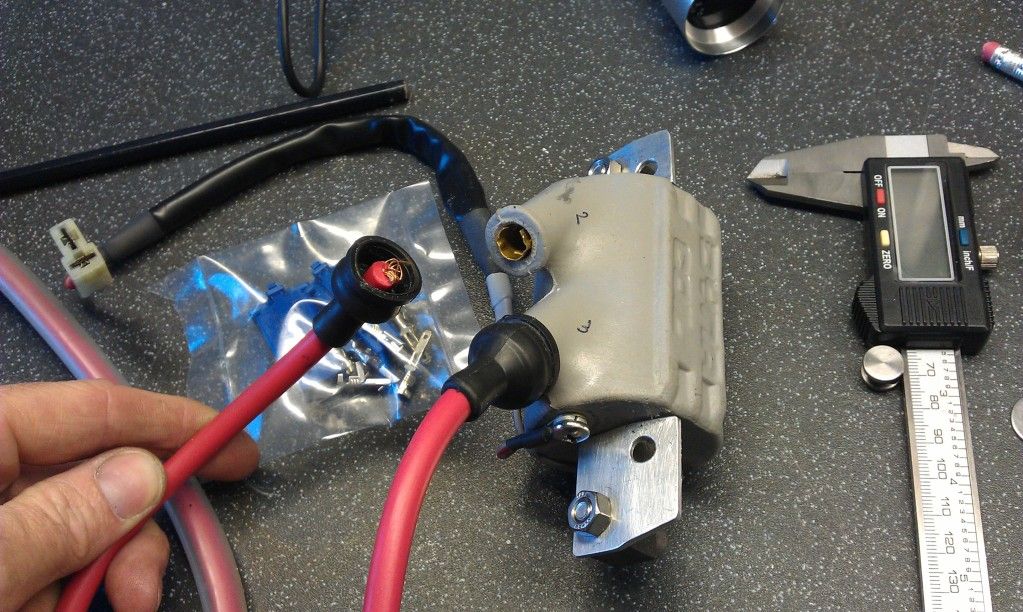
So first things first, remove the wiring and coils.
Glad I did as one of the HT leads had become detached, got some silicon ones coming as these ones are too stiff...OOER
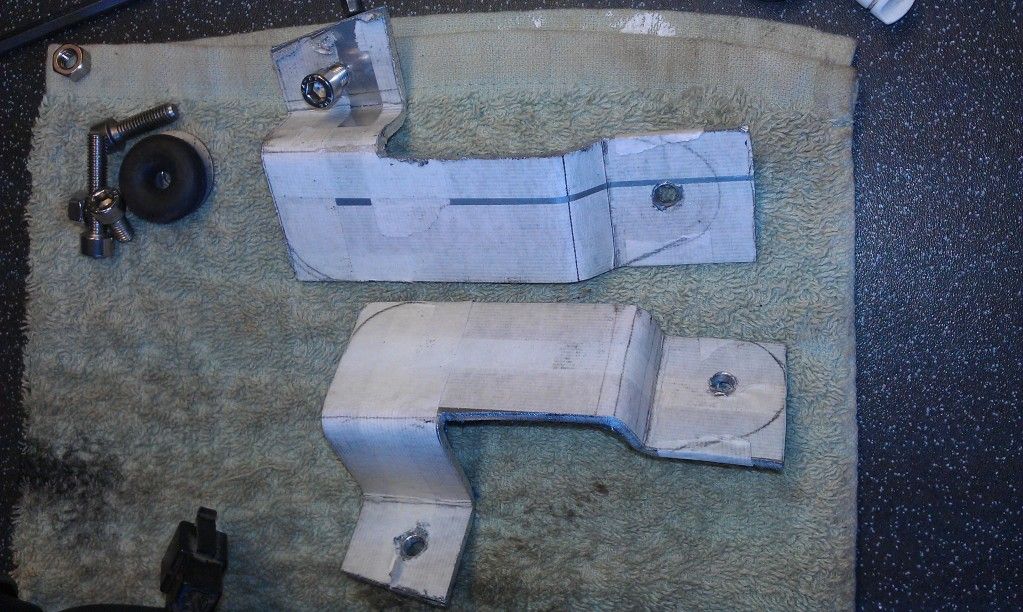
Then spent a day re-jigging the splash tray/trough to try and get more room.
Original guard thingy
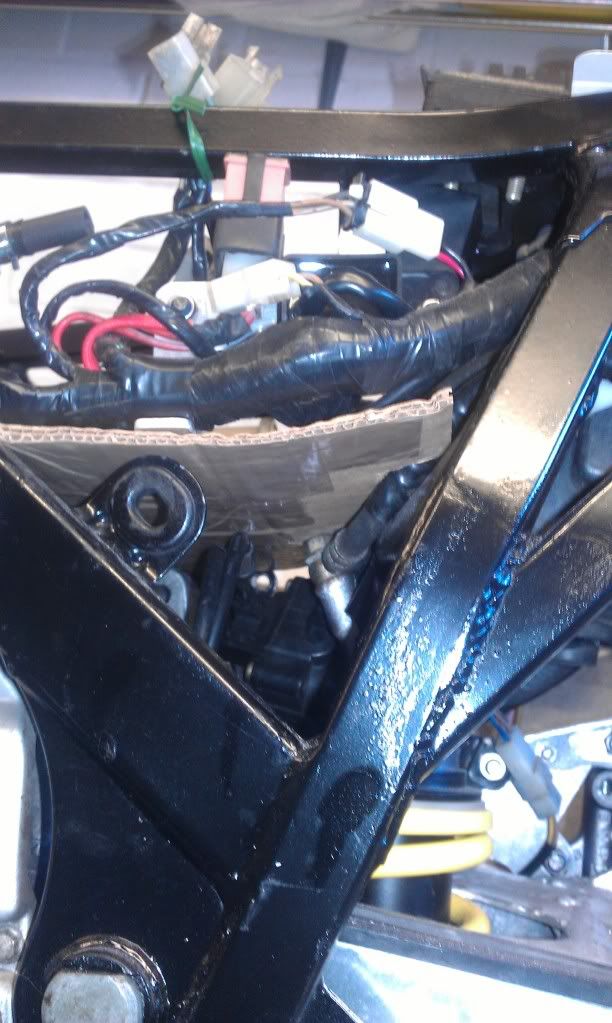
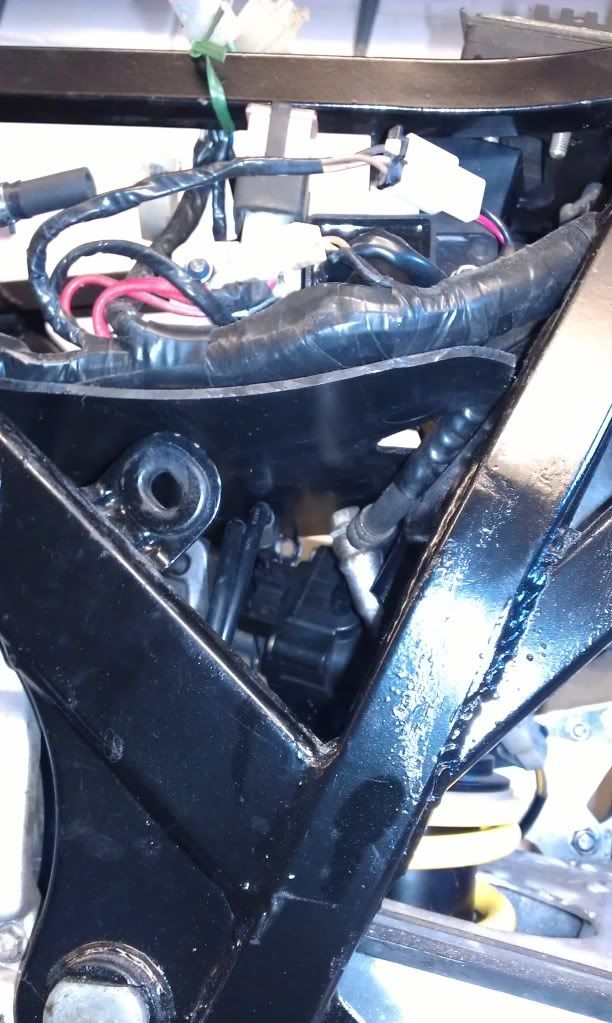
Re jigged guard
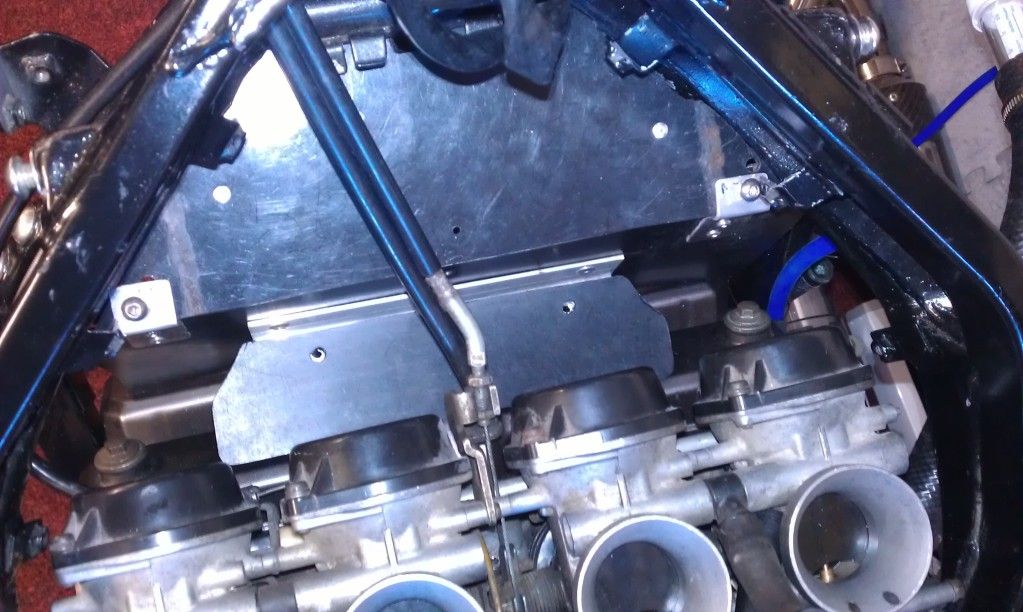
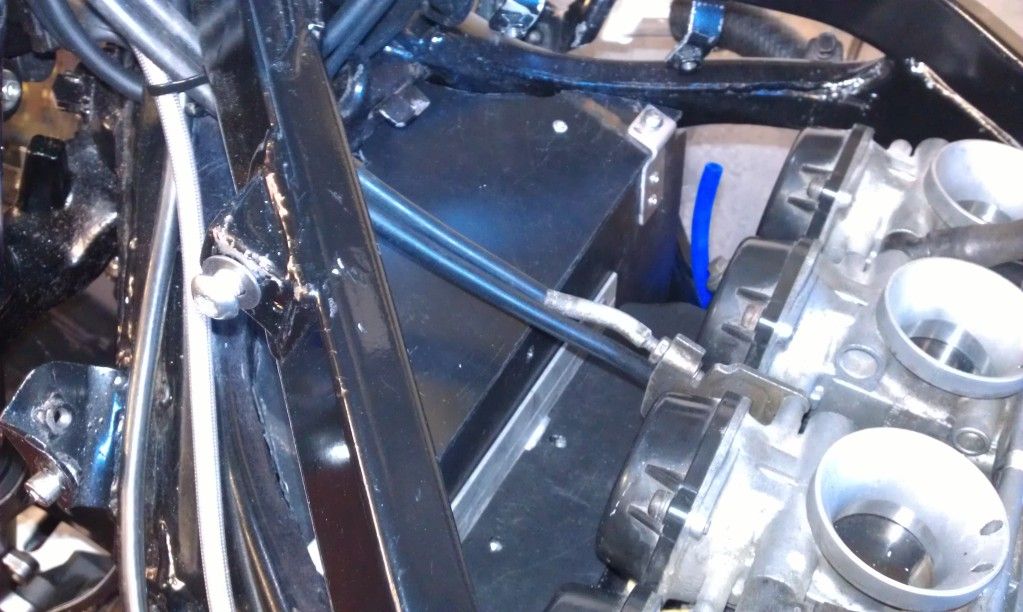
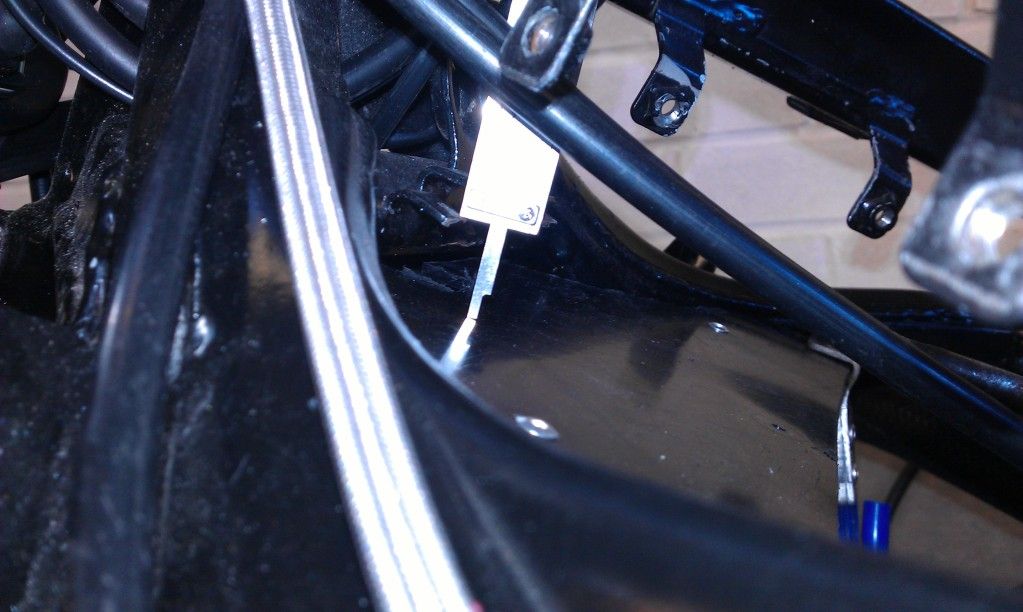
Managed to increase the width (front to back) of the trough and also drop the top plate down by 20mm (due to relocation of the rad) so hopefully things will be less of a squeeze now.
To aid with the squeeze issue, I also removed any unneeded or superfluous connectors
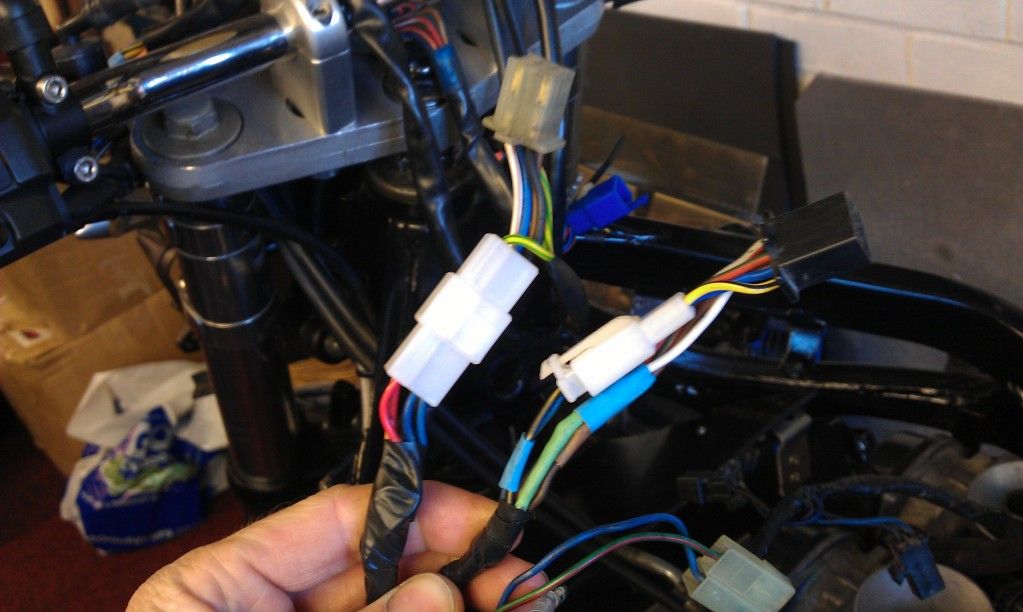

So with a bit more space and a little less to squeeze in I should be on a winner!
Whilst the wiring was off I wired in the new temp gauge, and changed the connectors for the temp switch and sensor.
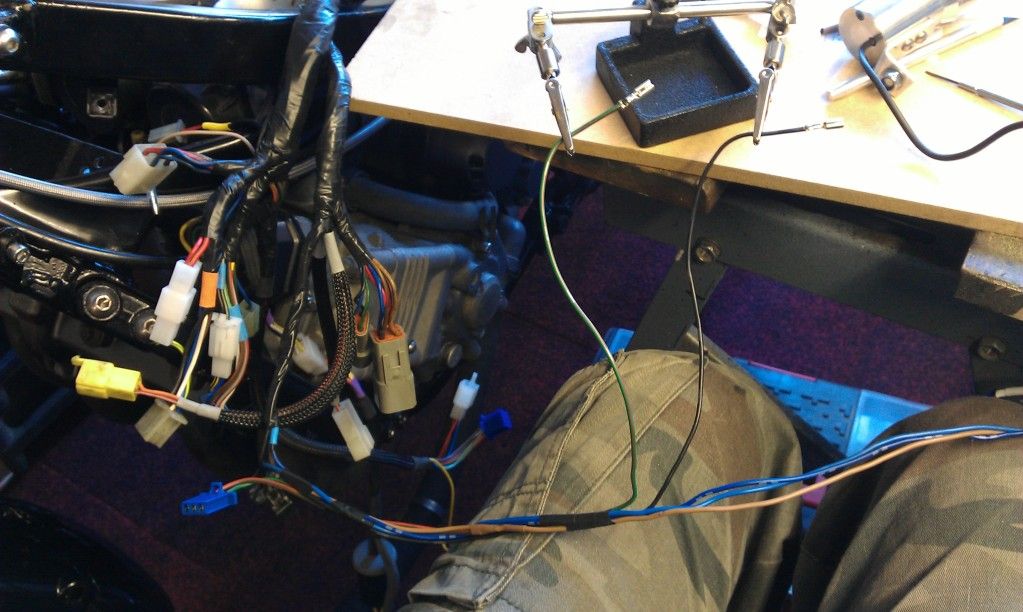
This is as far as I can go until the HT leads arrive as they have to go in first, then the rest can be put back in place.
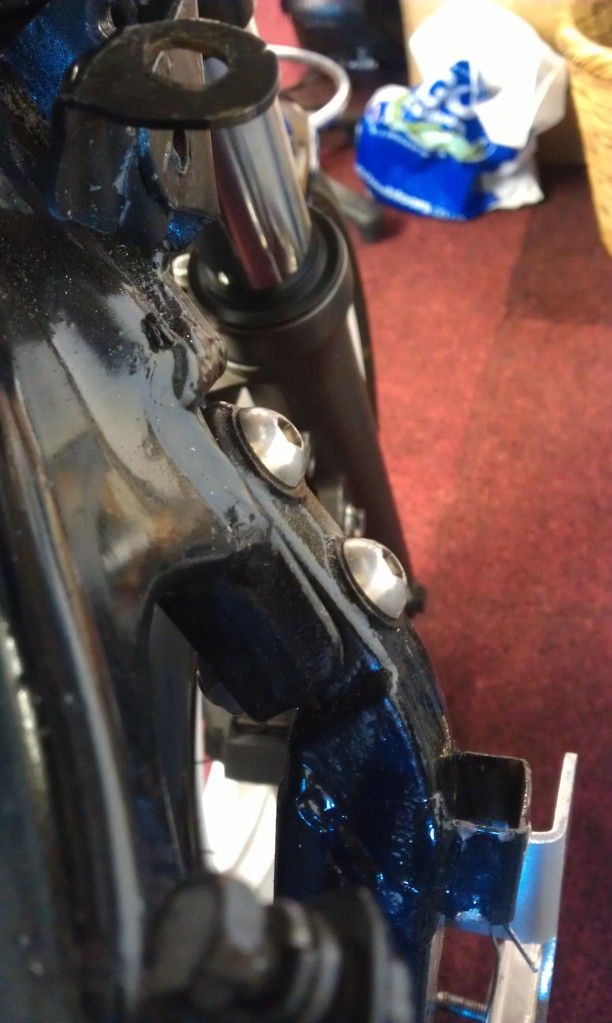
So I reshaped my radiator lower brackets, don't look too bad if i do say so myself
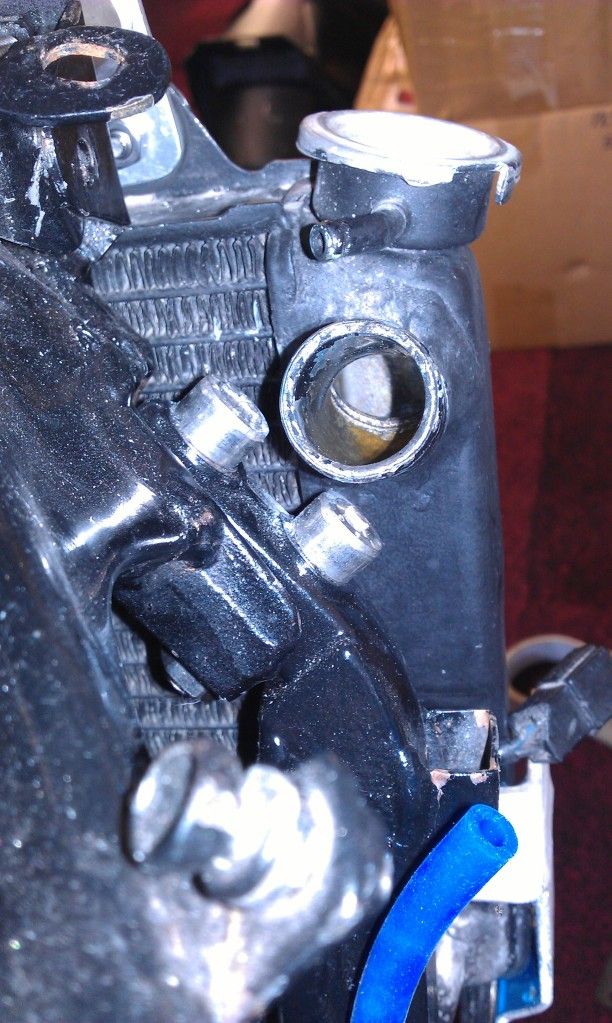
Swapped the cap head bolts for dome ones to allow more clearance hor the top hose.
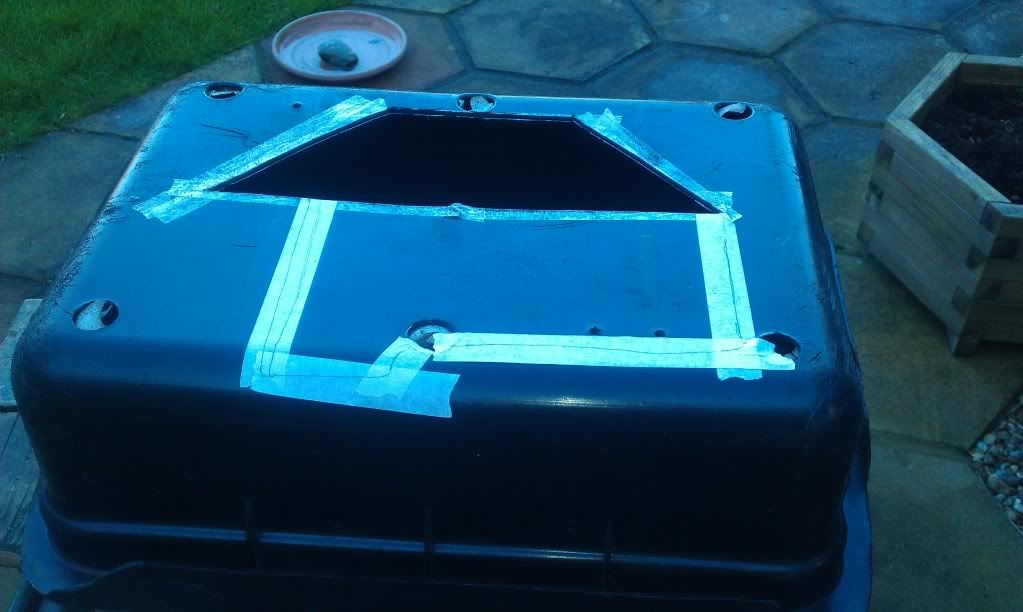
Cut my shock guard out, ready for moulding using the heat gun!!

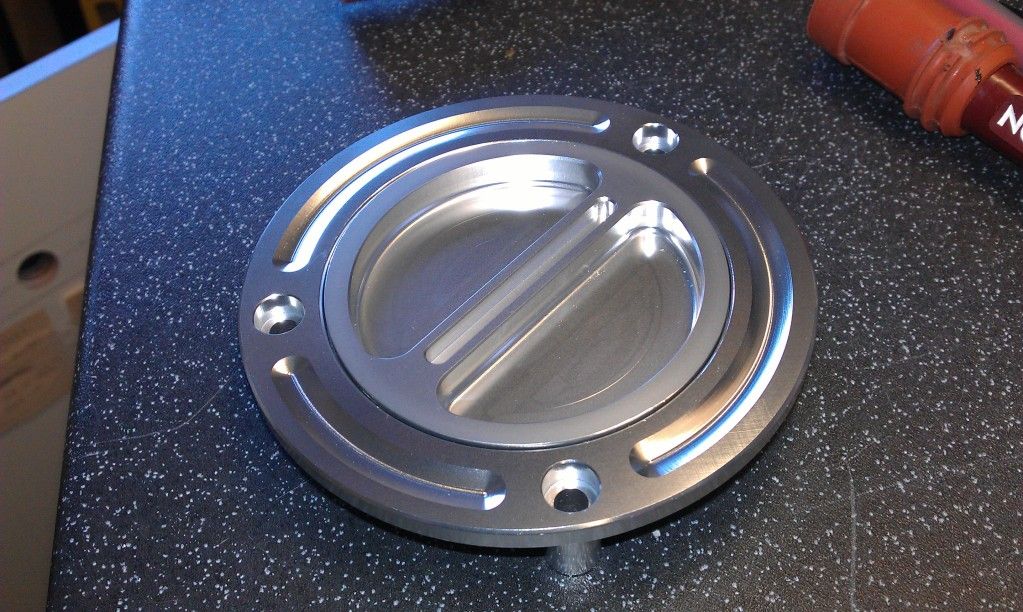
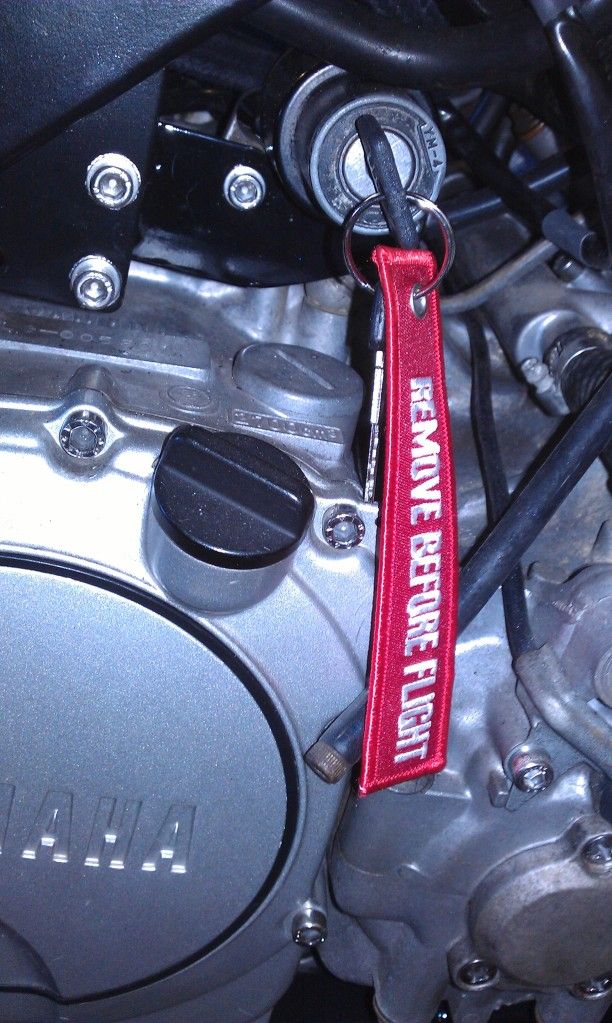
Then had my petrol cap arrive from the US so I won't get pissed off with the petrol cap key rattling on the engine case.
So things are going on, its just that I'm awaiting bits and bobs that will allow me to finish whats been started.
Managed to win some Blue Samco hosing on Ebay to replace my top and bottom hoses, which is great, just waiting for them to arrive.
But that then forced me to confront an issue that I have been having for a while.......That of the red HT leads. At the time I got them as a stop gap, but should have just got blue ones to start with, To change these means removing all the wiring, which in itself is a bit squeezed in, so thought I would tackle the splash guard/ trough thing while I was there....AND wire in the new temp gauge.
So first things first, remove the wiring and coils.
Glad I did as one of the HT leads had become detached, got some silicon ones coming as these ones are too stiff...OOER
Then spent a day re-jigging the splash tray/trough to try and get more room.
Original guard thingy
Re jigged guard
Managed to increase the width (front to back) of the trough and also drop the top plate down by 20mm (due to relocation of the rad) so hopefully things will be less of a squeeze now.
To aid with the squeeze issue, I also removed any unneeded or superfluous connectors
So with a bit more space and a little less to squeeze in I should be on a winner!
Whilst the wiring was off I wired in the new temp gauge, and changed the connectors for the temp switch and sensor.
This is as far as I can go until the HT leads arrive as they have to go in first, then the rest can be put back in place.
So I reshaped my radiator lower brackets, don't look too bad if i do say so myself
Swapped the cap head bolts for dome ones to allow more clearance hor the top hose.
Cut my shock guard out, ready for moulding using the heat gun!!
Then had my petrol cap arrive from the US so I won't get pissed off with the petrol cap key rattling on the engine case.
So things are going on, its just that I'm awaiting bits and bobs that will allow me to finish whats been started.
Never Ever Bloody Anything Ever!!!
Who is online
Users browsing this forum: Ahrefs [Bot], Majestic-12 [Bot] and 6 guests