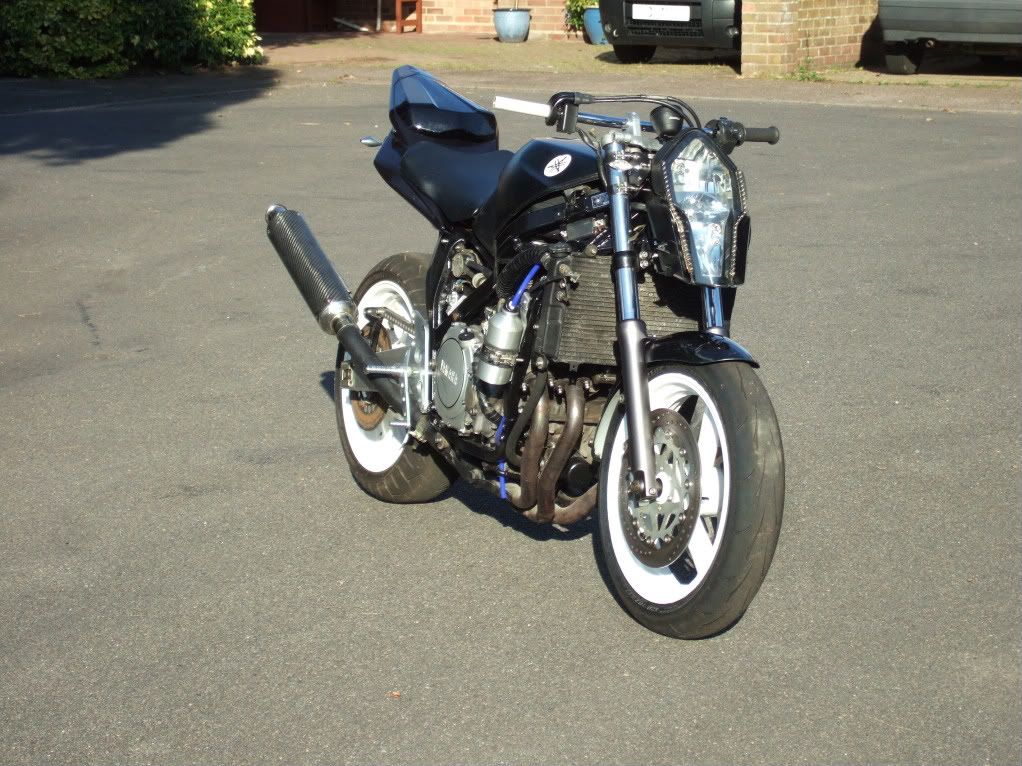
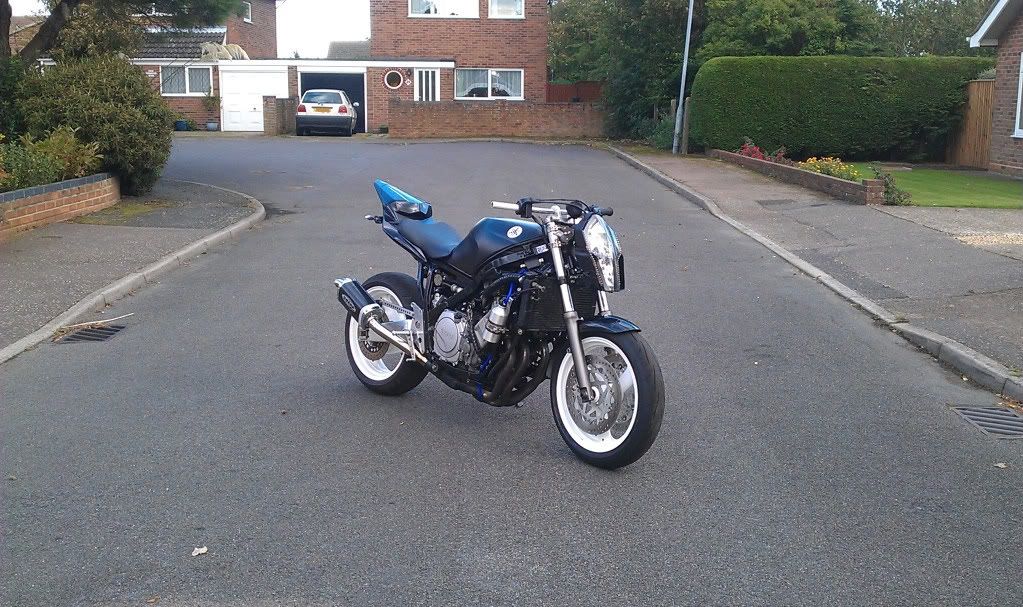
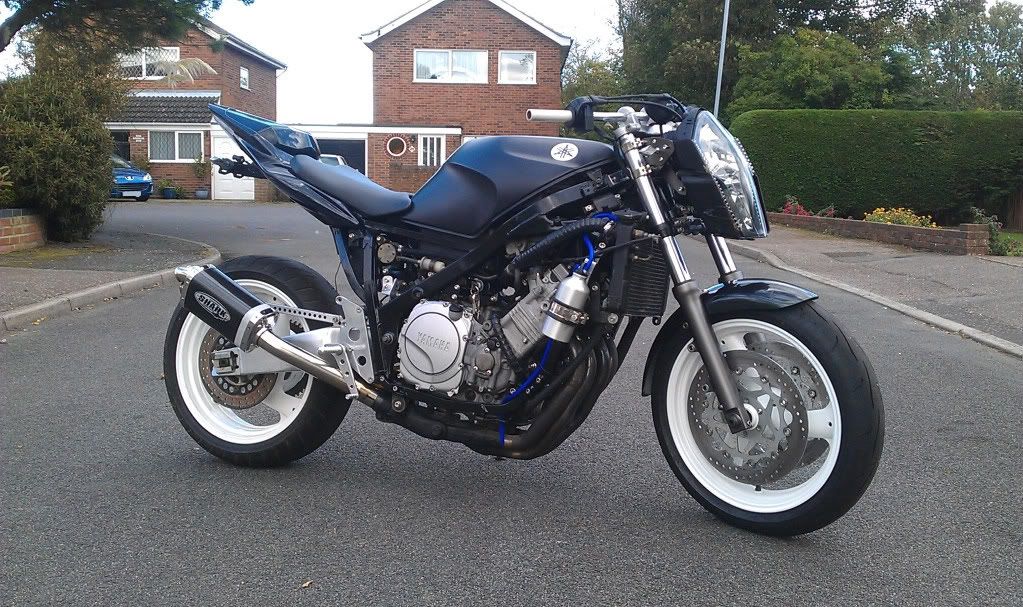
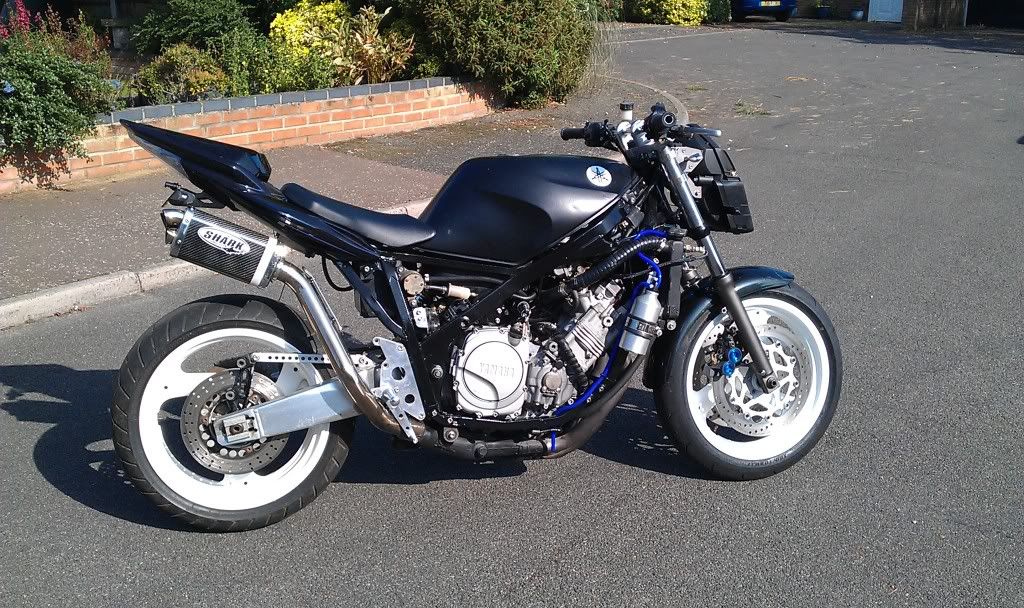
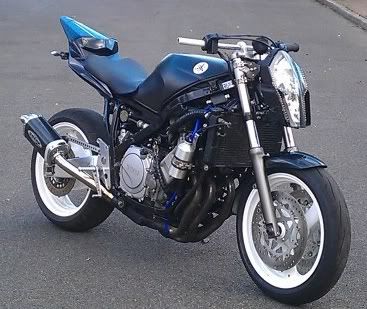
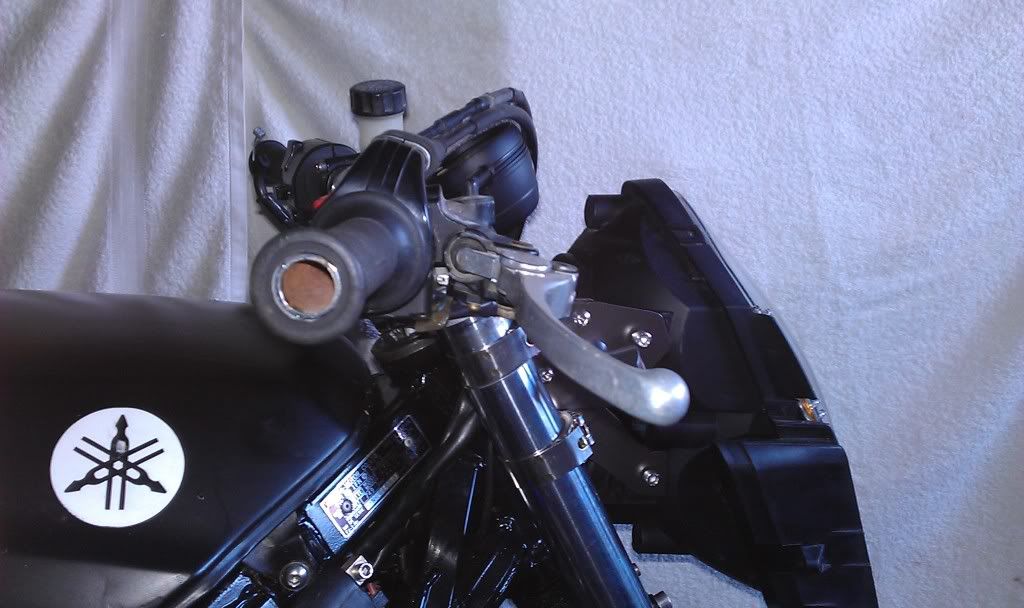
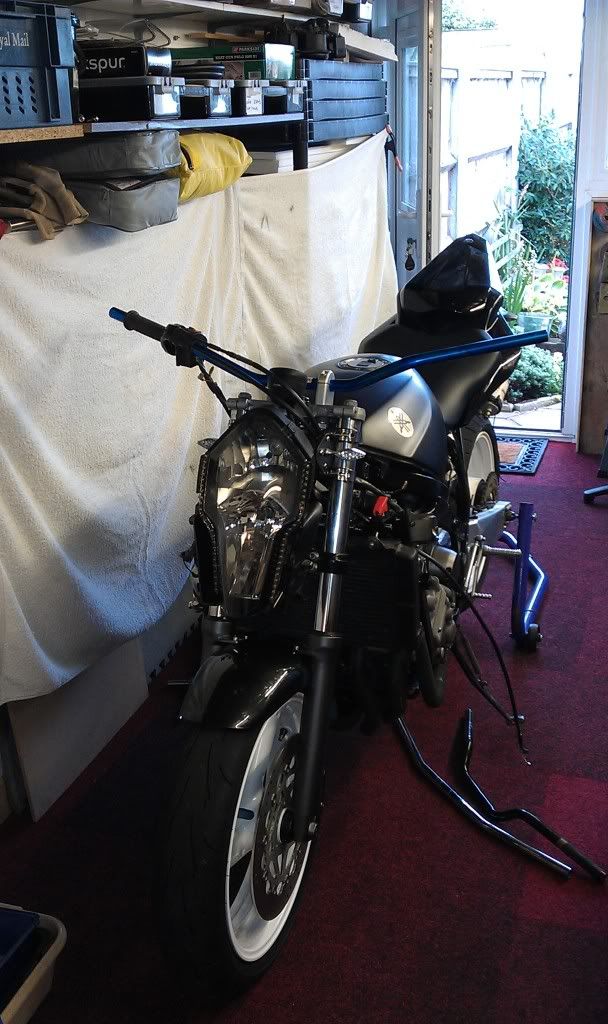
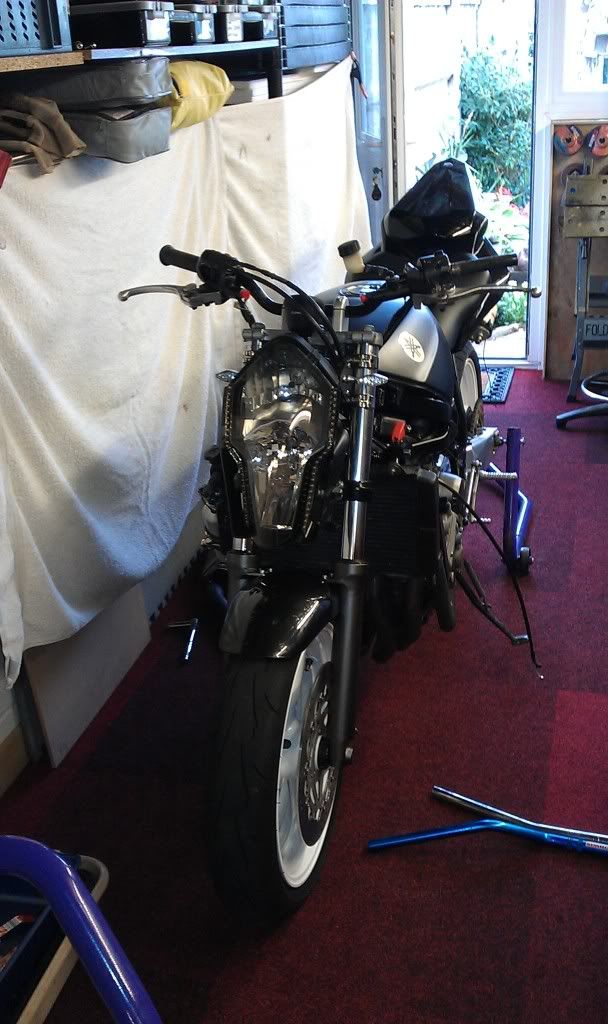
Got fed up looking at the bare throttle tube in the pics, so rooted out a matching grip and put it on.
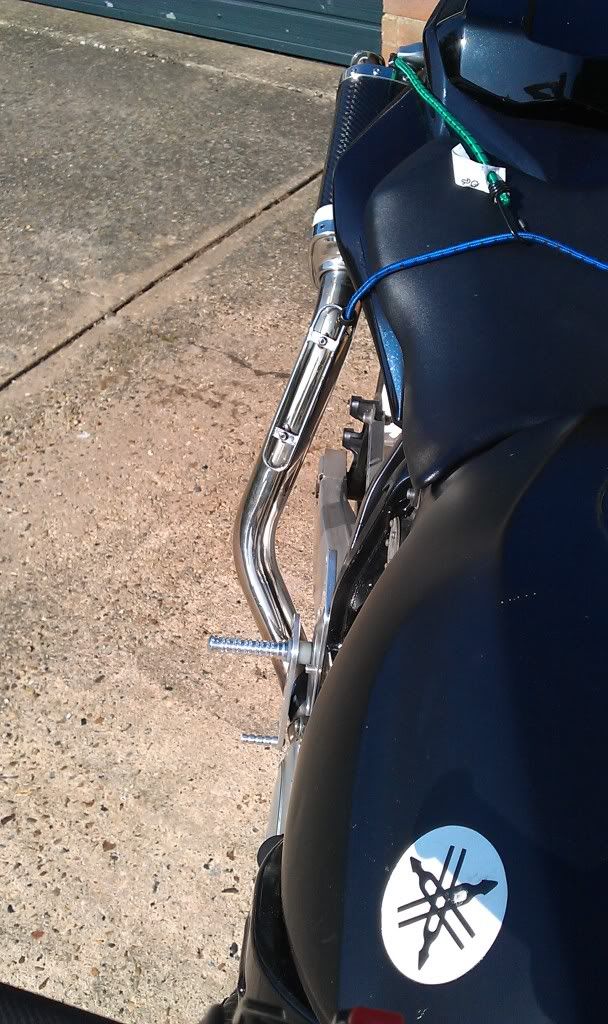
Then had to re route the switchgear wiring as it was getting nipped between the tank and the forks, and this gave me the incentive to install the master cylinders.
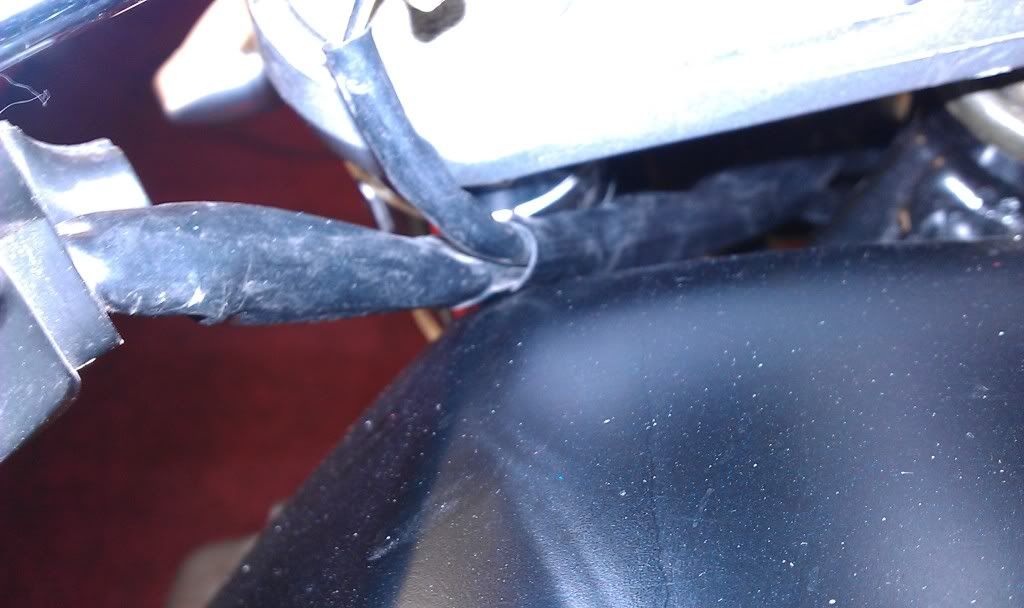
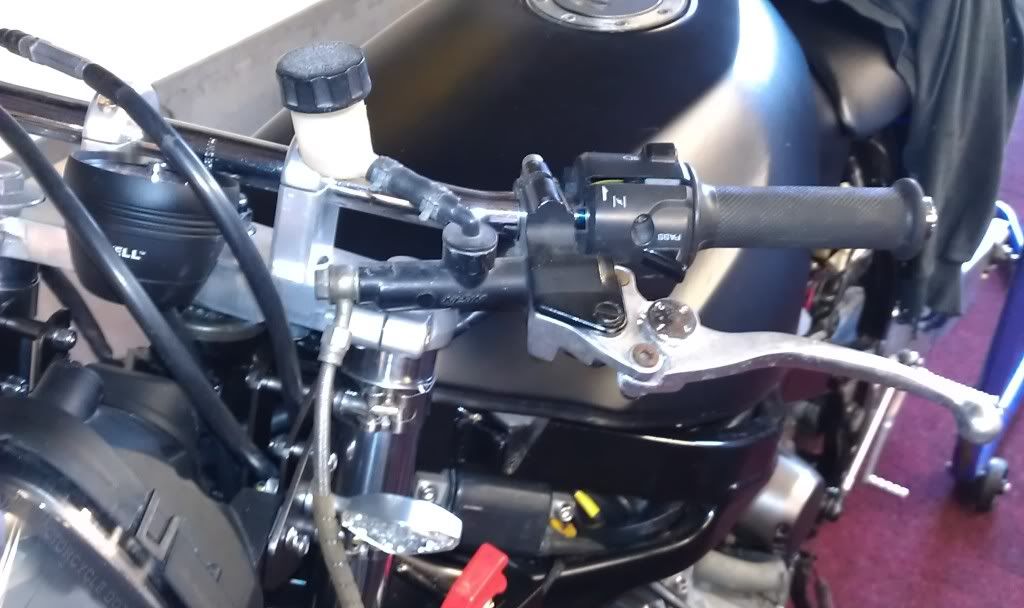
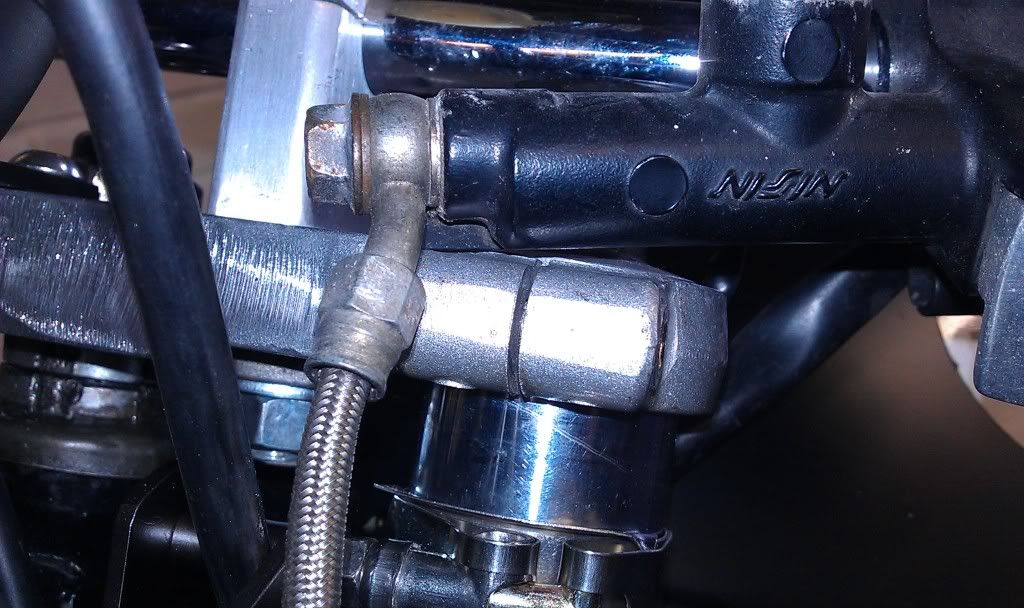
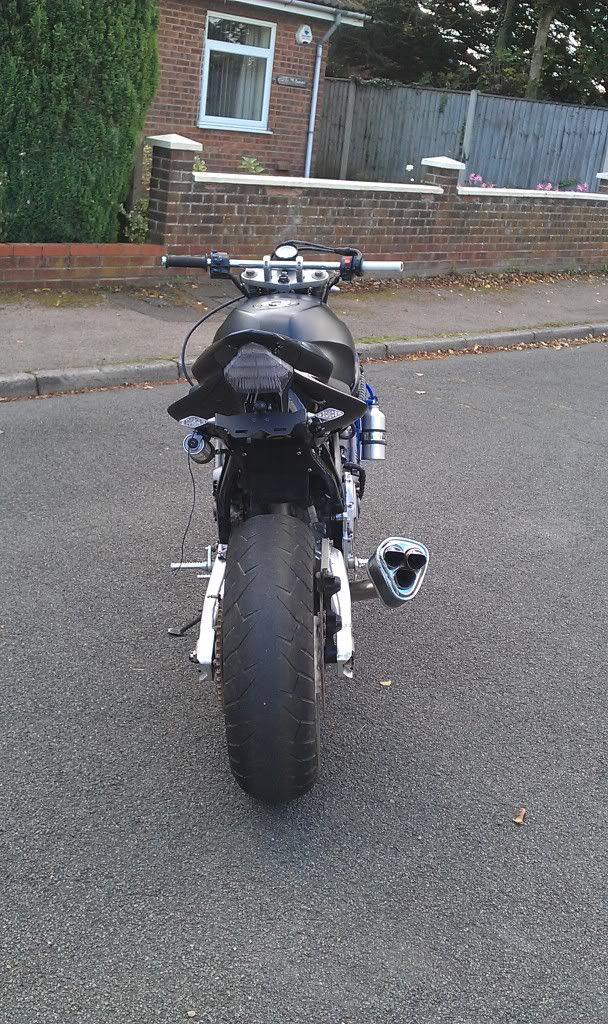
However, because of the flat nature of the drag bars the end of the clutch M/C touches the top yoke, not really a problem but it limits the angle between bar and lever which at the position where its comfortable to ride, it makes fitting the fluid line akward.
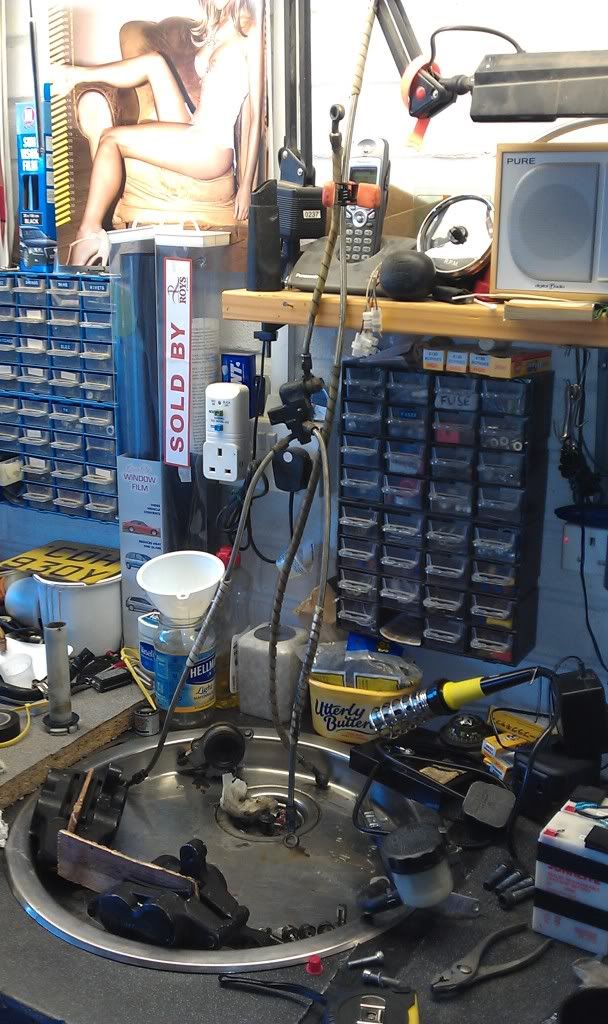
(white towels hung so you can see the outline of the bike as it was blending into the black racking behind

)
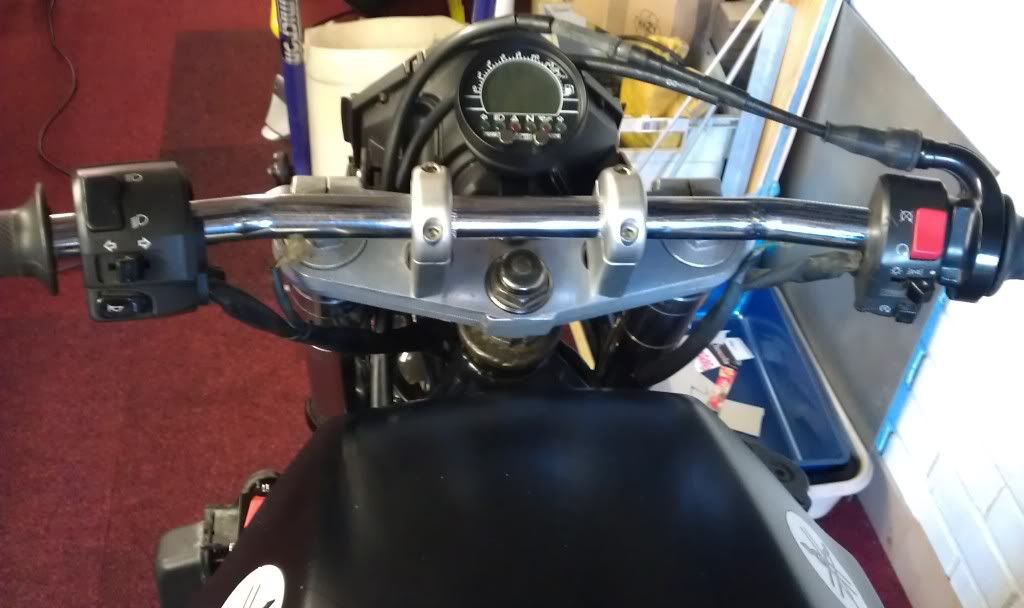
so after removing the lines and draining the fluid (for easier installation) I tried a few sets of other bars I have lying about.
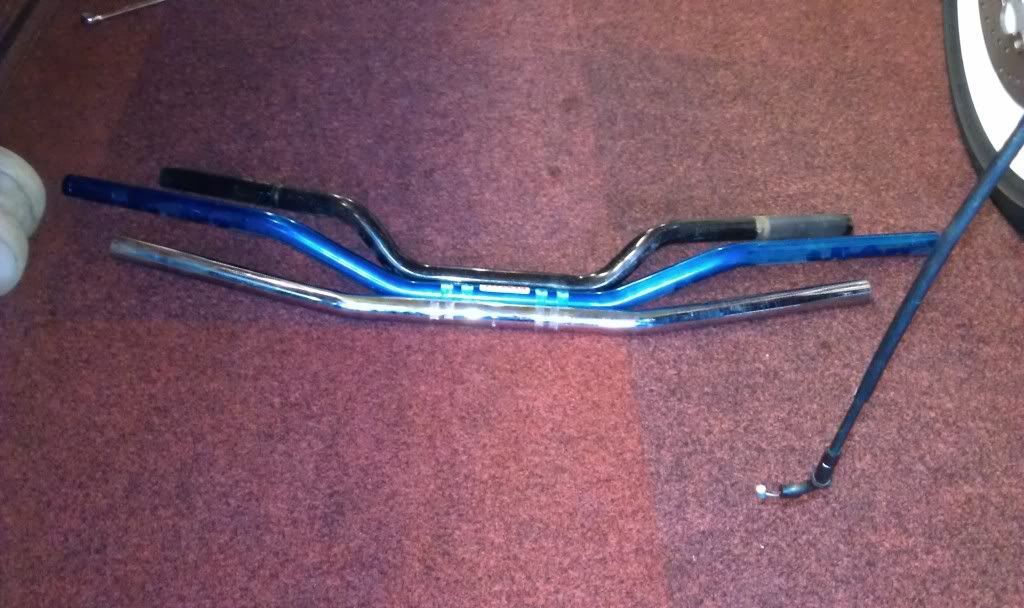
Drag bars

Blue "Renthal wannabes", too much like cowhorns!!
Black high bars, too high and narrow
So I will perservere with the drag bars for now, as I like the look and feel when sat on the bike, although I do have another set of low rise bars coming.
The other option is to increase the height of my risers by 20mm, but I'll see how these other bars work out first.
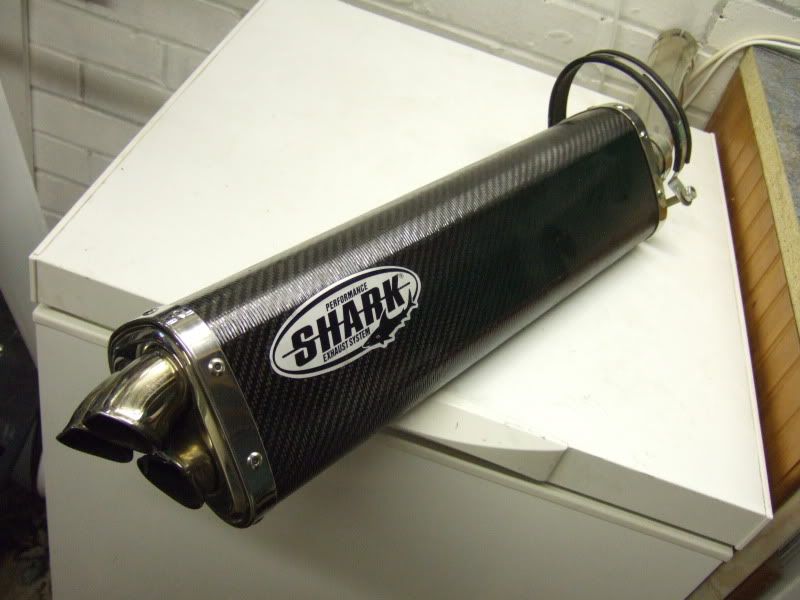
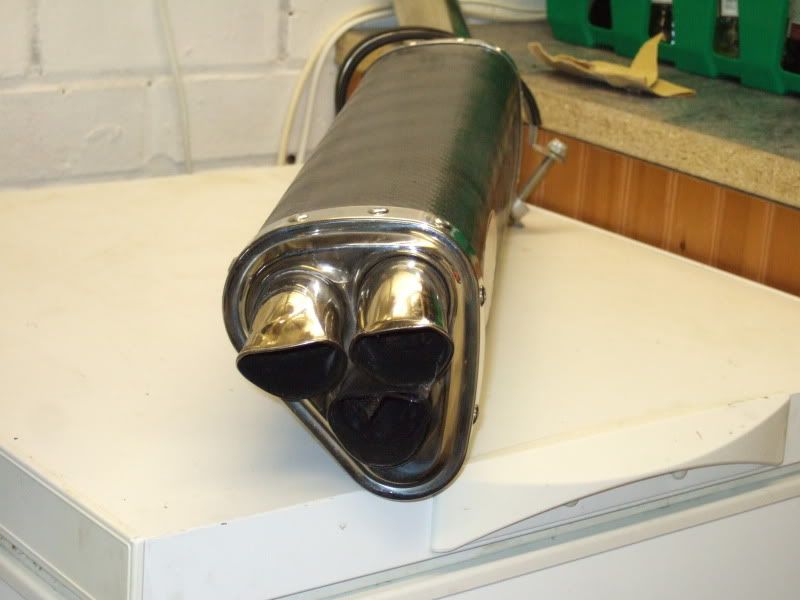
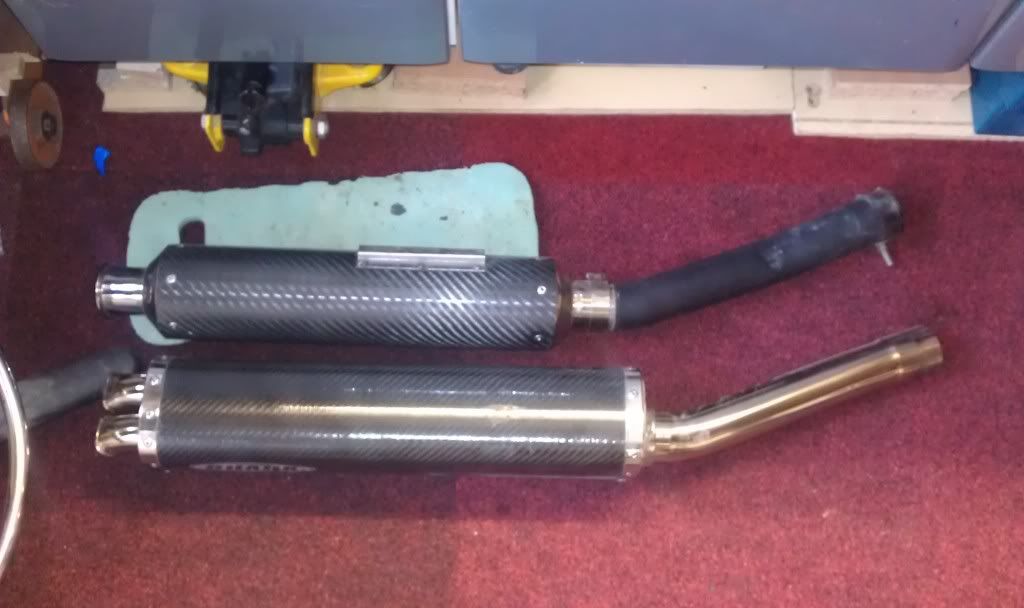
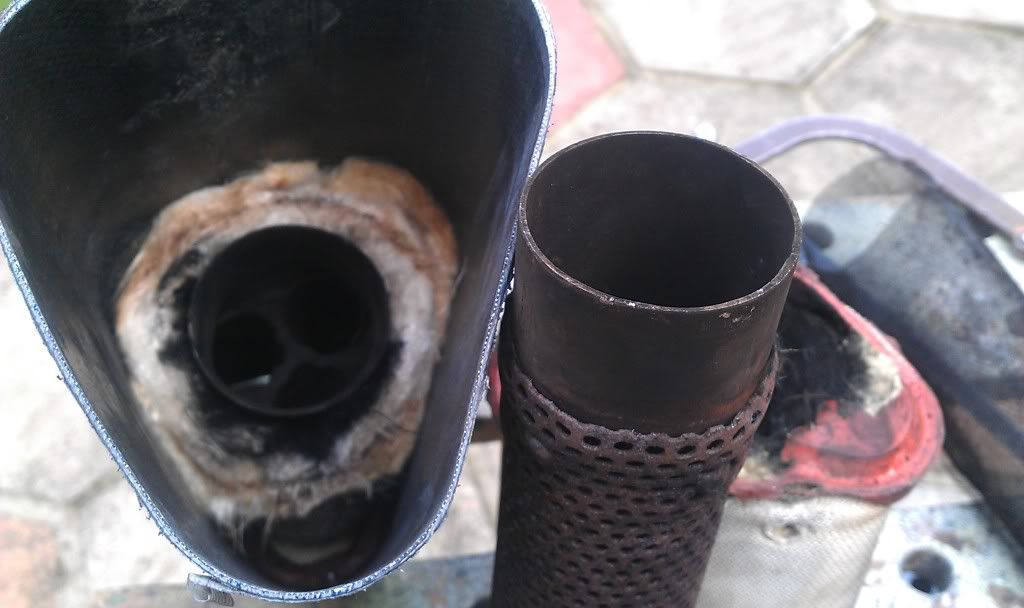
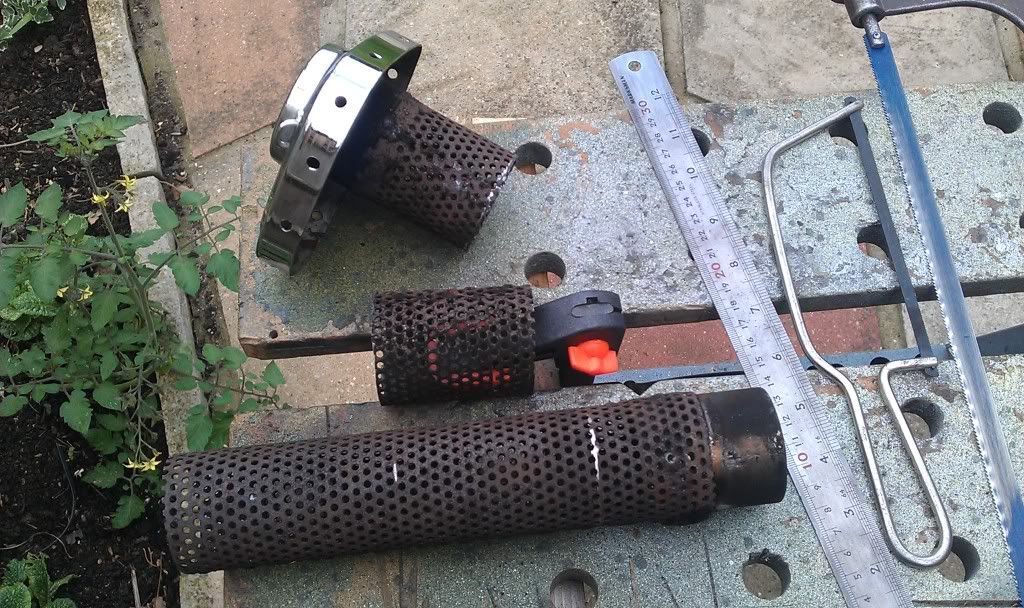
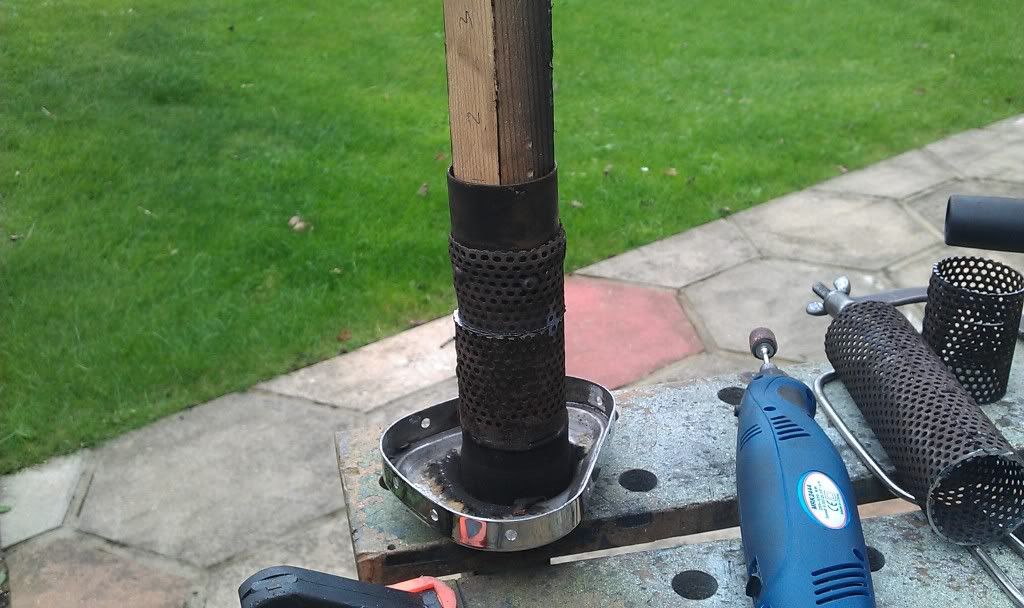
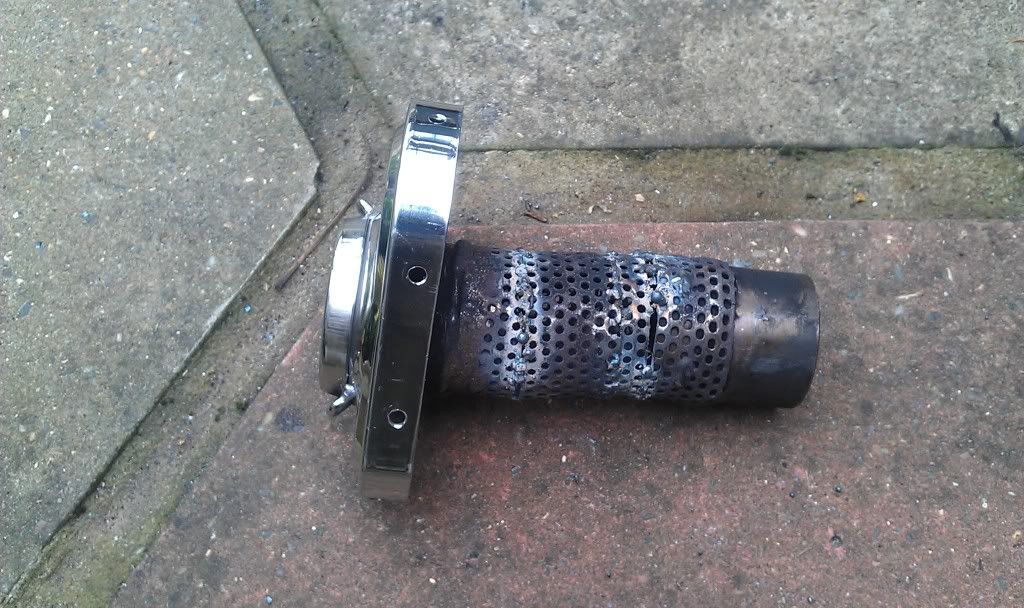
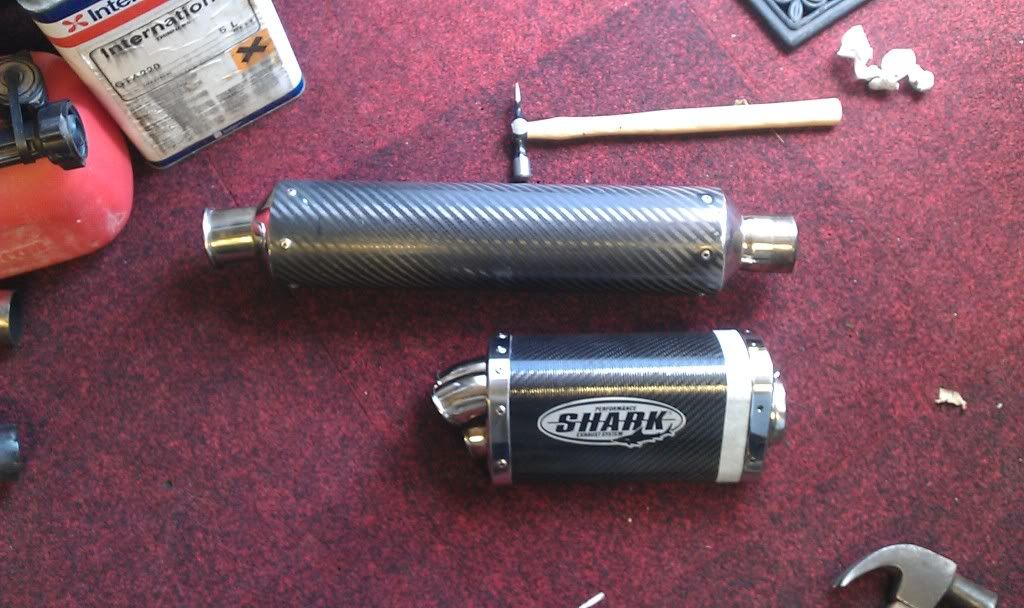
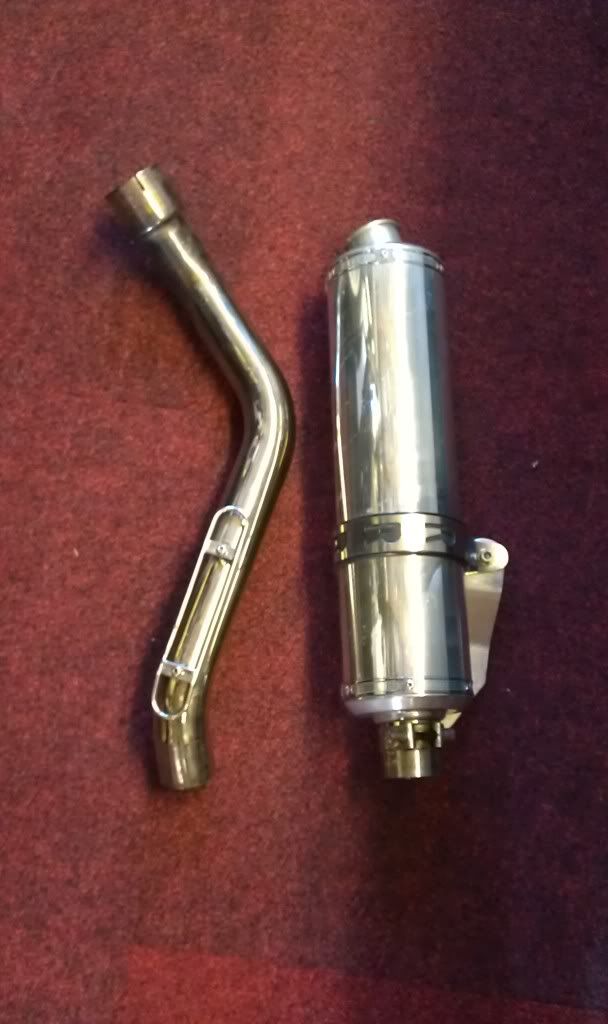
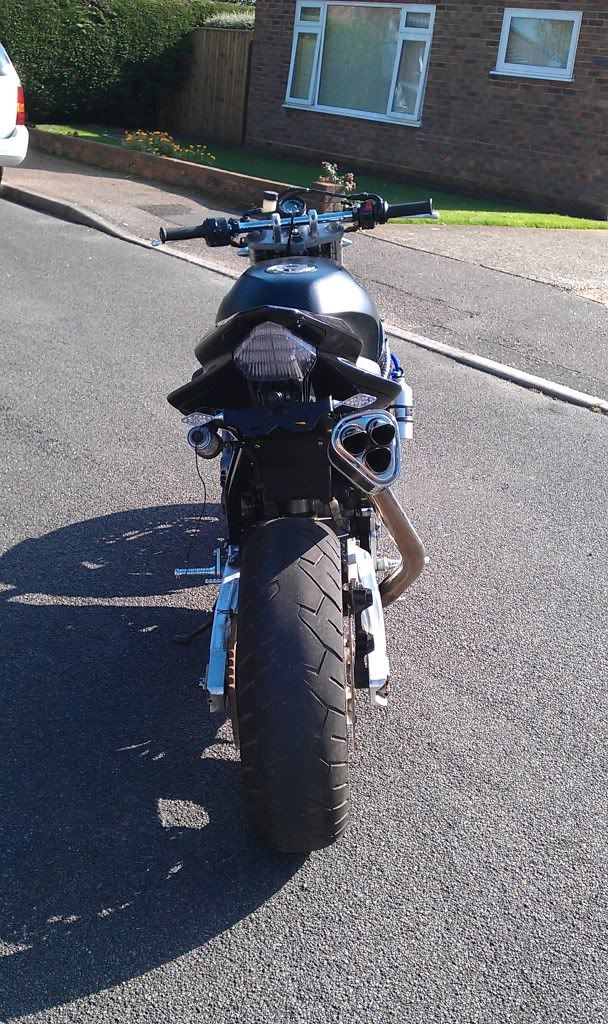
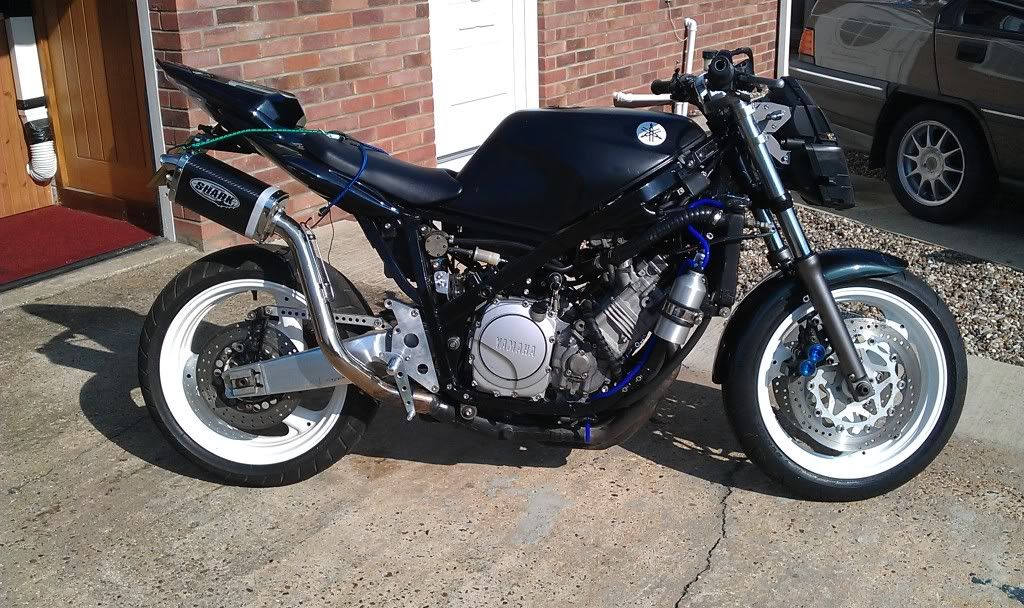
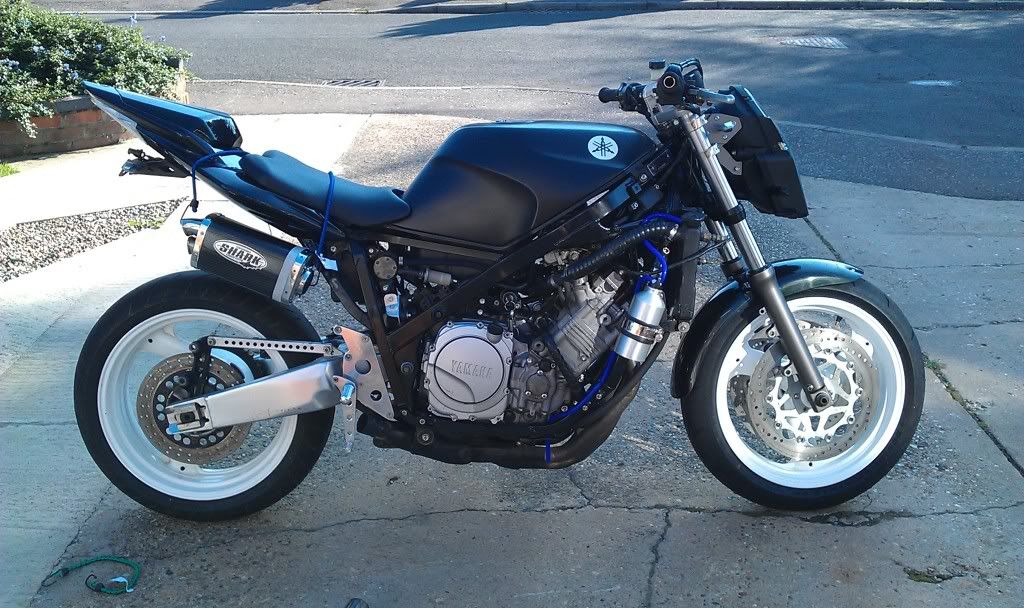
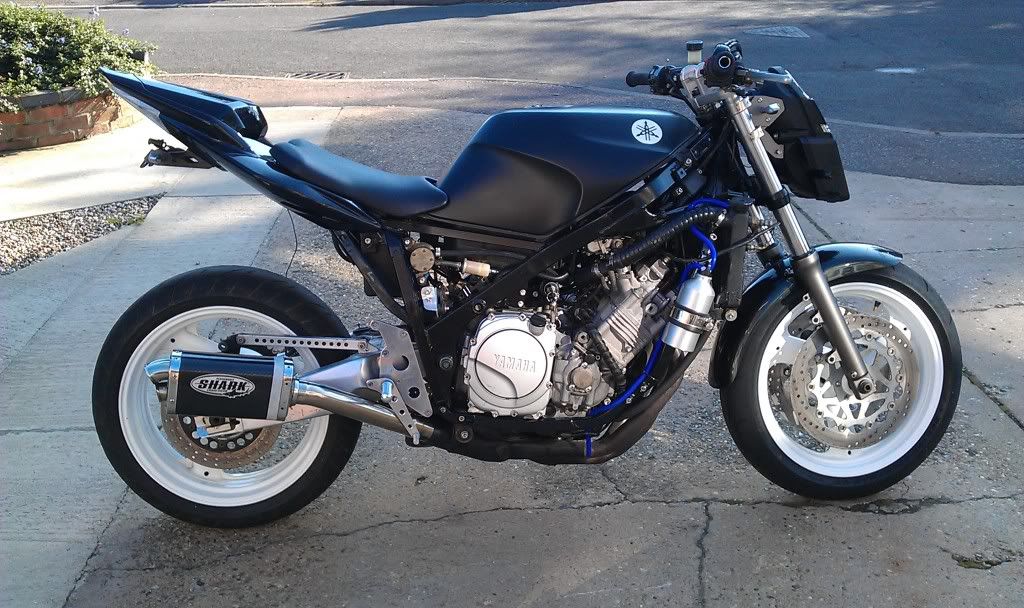
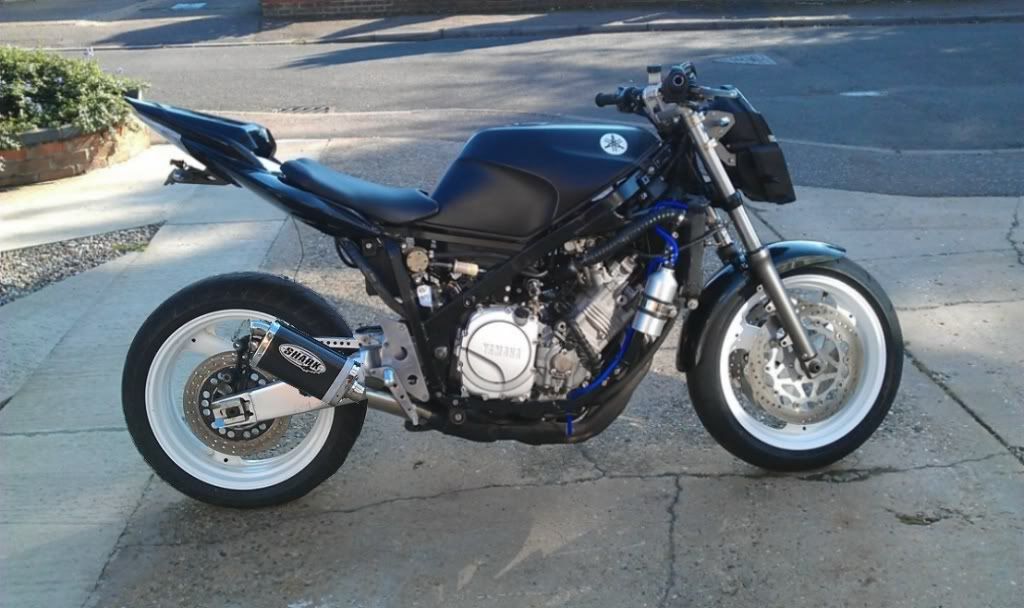
Any way, after this I wheeled her outside to mull over exhaust mounting options!!
I mentioned earlier that it would be nice to mount the can up high, so out with the bungee cords to look at the options.
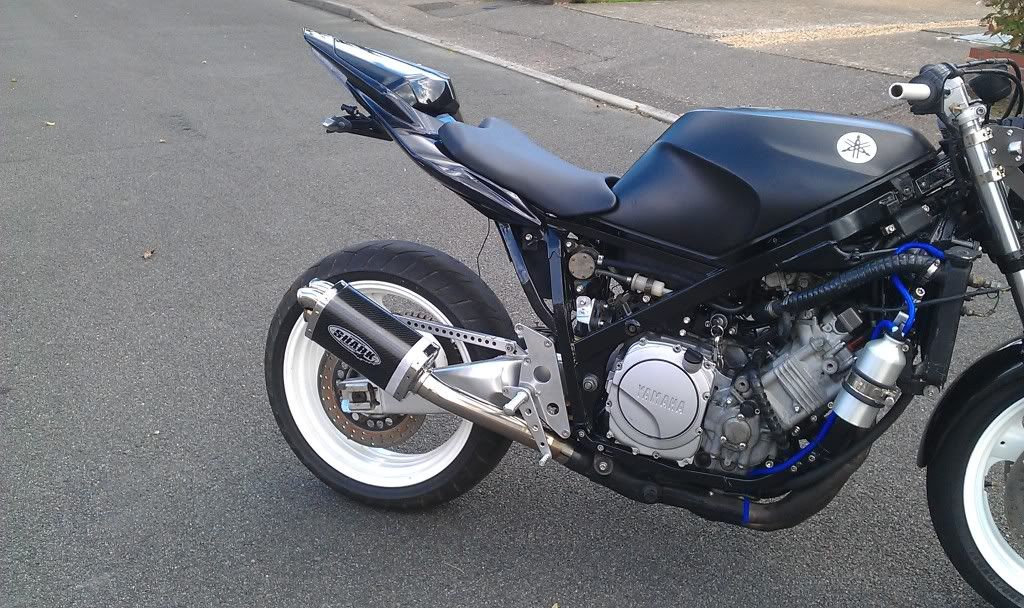
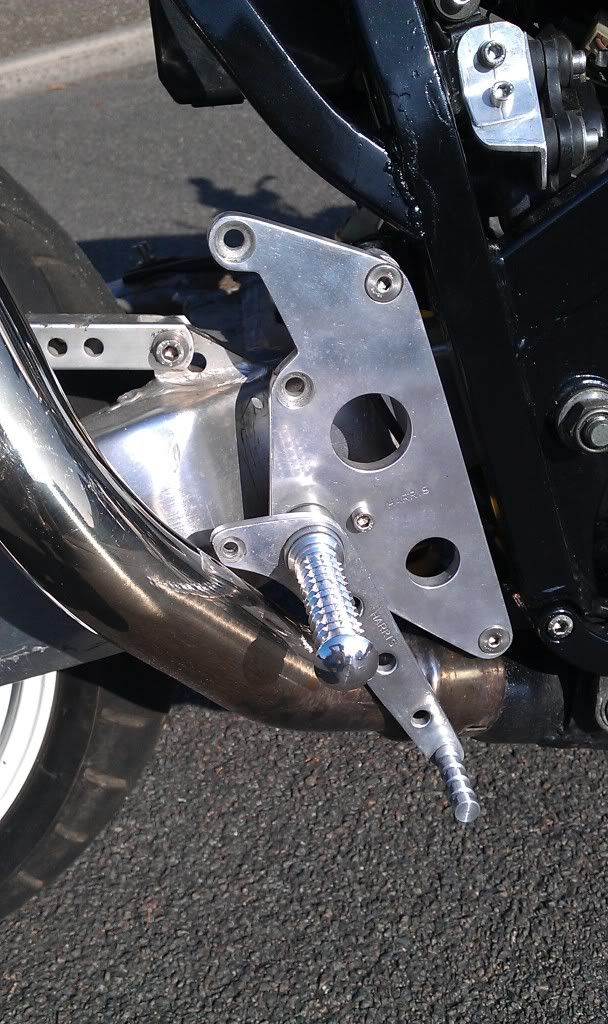
stumpy
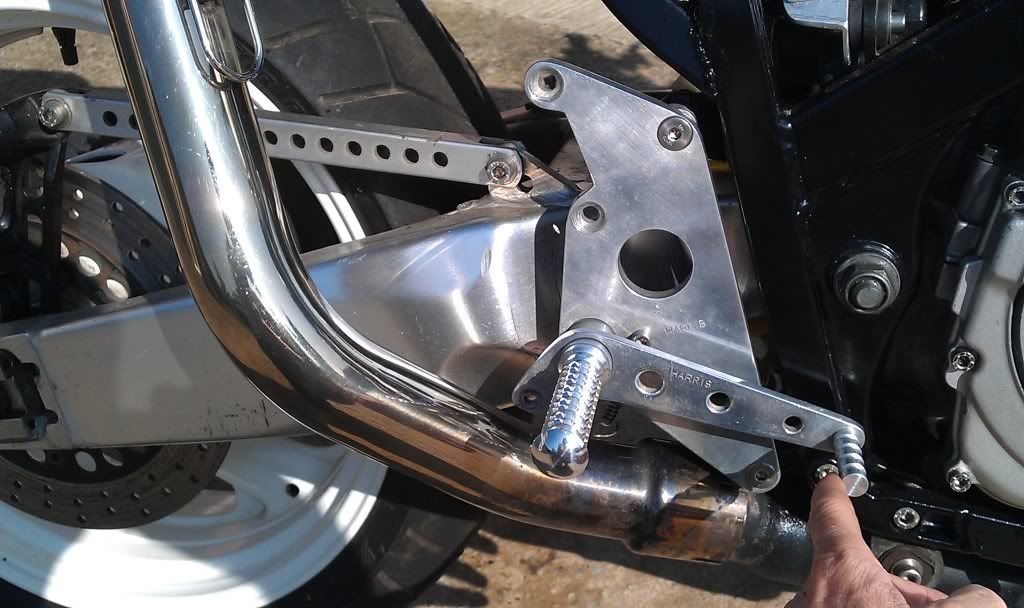
pushed rearward
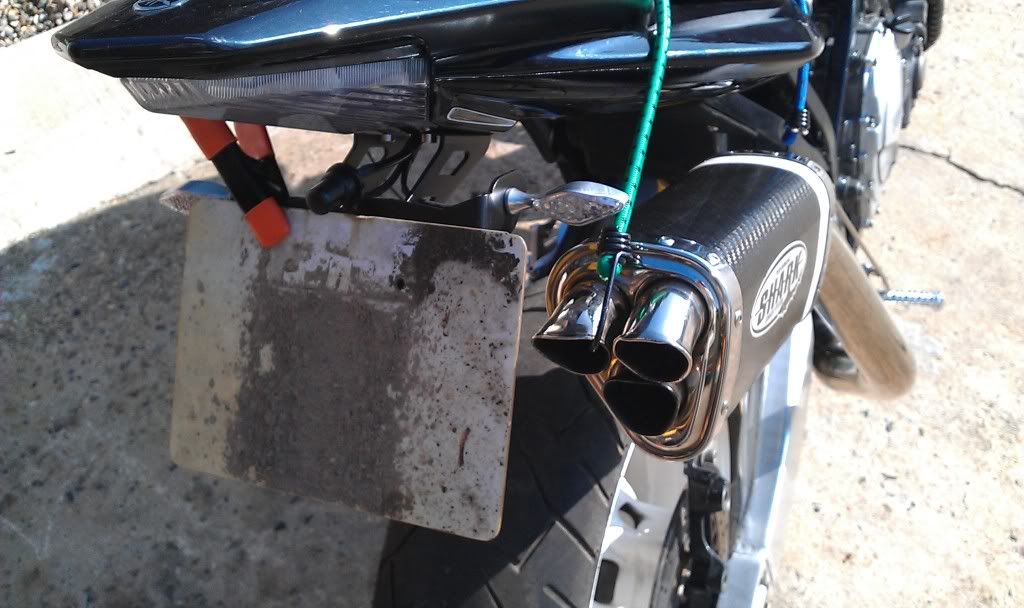
Not bad, but it fills the space between the seat unit and rear wheel, which I rather like, and it has the potential to melt my number plate once fitted!!
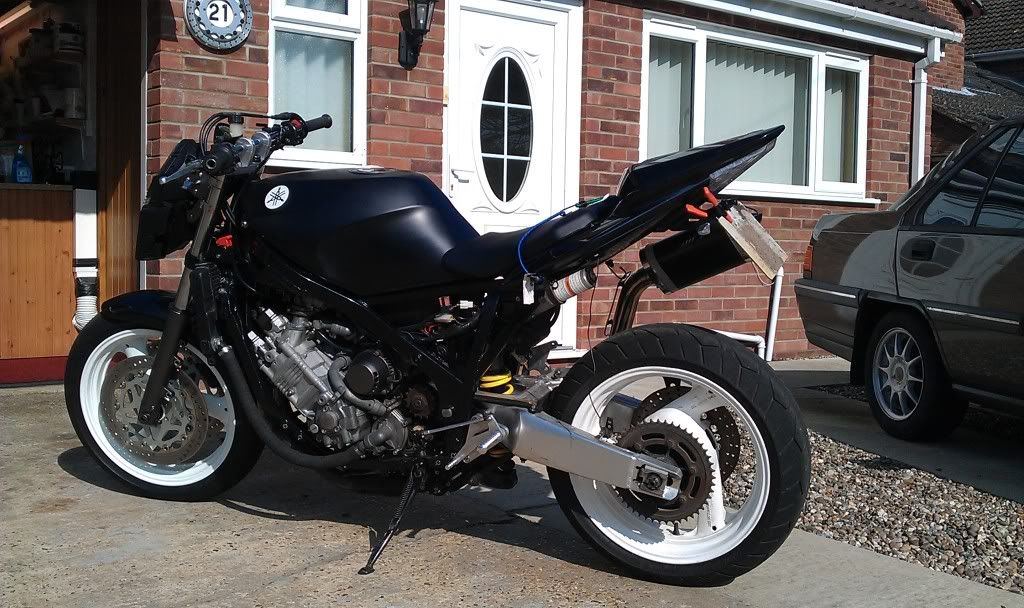
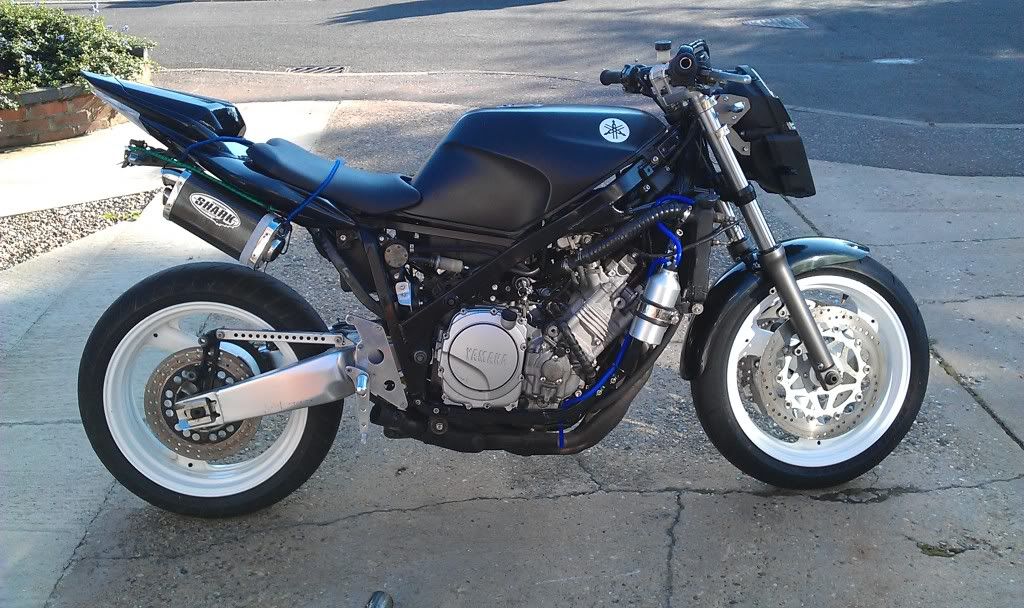
So I then looked at low slung options
Kicked up high
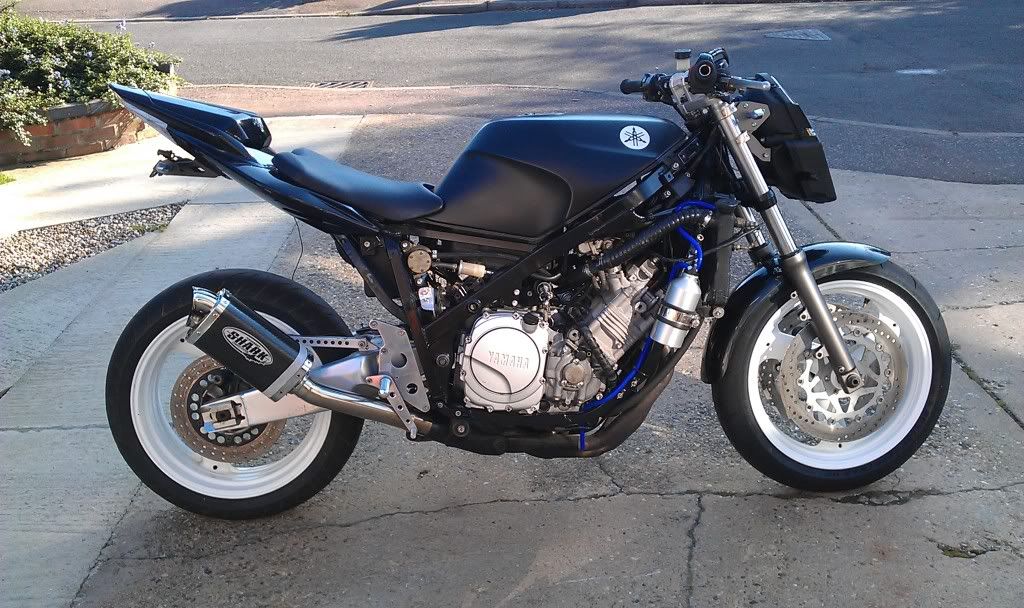
Following the line of the undertray
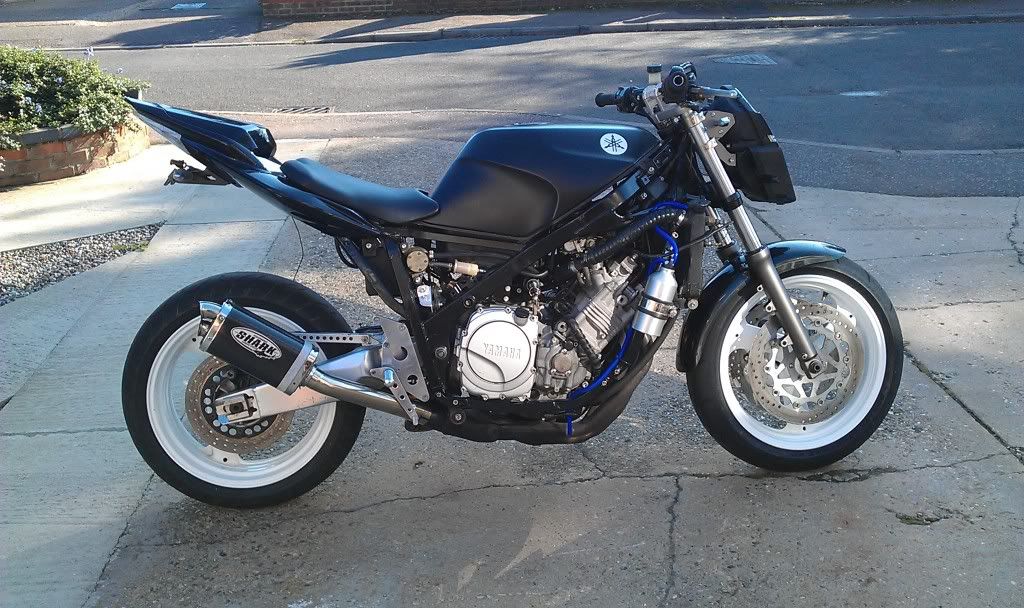
Flattened out
Of these I prefer the middle option, with maybe a bit shortened from the link pipe,
top pic actual, bottom pic photochopped
What do ya reckon????