Fangs "new" toy!!

Post your pictures here: your bikes, meets you've attended, modifications you've made, x-rays you've had taken...
Post Reply
User avatar
fang
Pit-lane Reporter
Pit-lane Reporter
Posts: 741
Joined: Mon Jun 19, 2006 5:38 pm
Location: Bootiful Norfolk

Post by fang »

Nope you need a compressor of some sort, at least for an exup shock.

I hoped that theory might be the case, as this was how I took the spring off the Quadrant shock to repaint it blue, and thats how the ohlins came apart.

Image
Image
Image

But on the Exup shock with the preload nut wound down as far as it will go the spring was still under tension, ( note bottom nut squashing rubber boot above compression adjuster)
Image

hence the heath robinson affair using the car coil compressors

Unless he was on about an FZR 1000 Genesis shock, which may be possible looking at it as theres no damping adjuster in the way so the preload can be wound down further?

Image
Never Ever Bloody Anything Ever!!!
User avatar
nuggitt
Moderator
Moderator
Posts: 5968
Joined: Fri May 22, 2009 9:45 pm
Location: North Yorkshire

Post by nuggitt »

Thanks fang. I thought as much :nod:
Bit of advice. Buy a good bed and a good pair of shoes, because if you aren't in one you'll be in the other.
User avatar
fang
Pit-lane Reporter
Pit-lane Reporter
Posts: 741
Joined: Mon Jun 19, 2006 5:38 pm
Location: Bootiful Norfolk

Post by fang »

Todays installment

Managed to rebuild the shock without damaging the paint on the coil, so then painted the top half silver

Image
Image
Image

Looked wrong so repainted it in the same colour as I was going to do the fork lowers, much better

Image

Gave the forks a rub down then masked and sprayed them, in the sunshine.

Image
Image
Image

After wrapping the shock with card, so as not to chip the paint, I set about installing it, but it wont fit????????????????

This is why

Original frame

Image

New frame

Image

Forgot to make the cut out for the reservoir hose :retard:

so a quick dismantle and out with the frame again to make the neccesary alterations!!

Image
Image
Image

A quick blast of paint to prevent rust and it was re assemble time, AGAIN :\

Image
Image

But in my haste to put the shock together and back in the bike I forgot to reset the preload, so home made adjuster in hand i scrabbled on the floor to do so.

Image
Image

Couldn't resist putting bodywork on to get an idea of how it will look.

Image
Image
Image

Will be better when the front wheels in and I can get her outside and get a better shot, but on the plus side I should be able to mount the shock reservoir behind the battery box. :unibrow:

Image
Never Ever Bloody Anything Ever!!!
User avatar
Stig
Site Admin
Site Admin
Posts: 11787
Joined: Wed Sep 28, 2005 7:54 am
Location: Searching for my bike

Post by Stig »

lookin good. That colour for the forks looks VERY close to OEM :nod: ...real smart too to say its from a rattle can


oh, and did someone mention the shock mount earlier :rolleyes: Image :lol: Image


Image Image
AKA Bald headed b'stard
User avatar
nuggitt
Moderator
Moderator
Posts: 5968
Joined: Fri May 22, 2009 9:45 pm
Location: North Yorkshire

Post by nuggitt »

You bet me to it stig. :nod:

I was going to bring it to fangs attention that it was mentioned by you earlier. Can't let him get away with that can we. :lol: :lol: :lol:

Ps and yes those fork look spot on mate.
Bit of advice. Buy a good bed and a good pair of shoes, because if you aren't in one you'll be in the other.
User avatar
fang
Pit-lane Reporter
Pit-lane Reporter
Posts: 741
Joined: Mon Jun 19, 2006 5:38 pm
Location: Bootiful Norfolk

Post by fang »

Right then todays little effort

Got out there and fabricated a couple of brackets for Yzfpauls build (I use the term "fabricate" with tongue very firmly in cheek)

Image

My replacement adjuster bolts arrived to replace the nasty rusty ones in the swingarm

Image

then decided to set about cleaning the front wheel as it was covered in fork oil from the knackered seals.

Image

All the bolts came out easily, bar one

Image
Image

But it came out after a little "persuation" and the wheel and discs didn't come up too badly after plenty of soapy water and Halfords wheel cleaner (eats brake dust rather well, mild acid, just dont get it on polished ally!!!)
One disc clean, one not

Image

At this point Lisa came home and came outside with a cuppa so I could carry on.

One in a million I tell ya :D :D though camera shy before you ask :paranoid:

Image

So once the front wheel was in I thought I'd thread it through the gap in the garage to get her outside for some proper pics....

here goes the bandwidth :whistle:

Arty shot !!

Image
Image
Image
Image
Image
Image
Image

And finally, my ugly mug on it.

Image
Image

Need to replace the wheel bearings though as they are well FUBARed!!
Never Ever Bloody Anything Ever!!!
User avatar
nuggitt
Moderator
Moderator
Posts: 5968
Joined: Fri May 22, 2009 9:45 pm
Location: North Yorkshire

Post by nuggitt »

And finally, my ugly mug on it.


Yep!! Can't argue with that my good man :p :p :p
Bit of advice. Buy a good bed and a good pair of shoes, because if you aren't in one you'll be in the other.
User avatar
fang
Pit-lane Reporter
Pit-lane Reporter
Posts: 741
Joined: Mon Jun 19, 2006 5:38 pm
Location: Bootiful Norfolk

Post by fang »

:finger:


:D :p
Never Ever Bloody Anything Ever!!!
User avatar
yzfpaul
Commentary Team
Commentary Team
Posts: 937
Joined: Tue Feb 21, 2006 12:56 am
Location: paisley scotland

Post by yzfpaul »

must admit that is lookin seriously cool
cant wait for it to come together :)
User avatar
fang
Pit-lane Reporter
Pit-lane Reporter
Posts: 741
Joined: Mon Jun 19, 2006 5:38 pm
Location: Bootiful Norfolk

Post by fang »

Thought I'd better set about splitting the engine from the original frame, so after removing the carbs I set about removing the wiring loom.

Image
Image

After taking plenty of photo's of all the associated connectors for referance she was out.

Image

That'll be fun come the day of install :retard:

Next the rad had to come off, but as the engine is unmovable I drained it into an old litter tray (clean) trying not to get any on the carpet tiles :D

Image

The engine has been converted to a water cooled oil filter housing ( no oil cooler needed) but this has meant a bodged rear oil line.
Think I'll see if I can replace this with something a little better.

Image
Image

Now I was stuck, as I cant lift the frame off on my own.

Had to wait till my beautiful, yet camera shy, assistant came home to give me a lift. :lol:

Image

So here we are, engine and frame seperated.

Image

Next on the list will be clean the engine and sort out replacement bolts for It.

Laters :D
Never Ever Bloody Anything Ever!!!
User avatar
oldskoolexup
Motormouth
Motormouth
Posts: 1219
Joined: Sun Jul 19, 2009 11:45 am
Location: THE place...some are born here, some drawn here...Manchester

Post by oldskoolexup »

lovin' the way it's coming together...can't wait to see the final install!
Life begins at the end of your comfort zone,
Learn from the mistakes of others.............................
You can't live long enough to make them all yourself
&
Carpe Diem - seize the moment. Don't dream... Do!
User avatar
fang
Pit-lane Reporter
Pit-lane Reporter
Posts: 741
Joined: Mon Jun 19, 2006 5:38 pm
Location: Bootiful Norfolk

Post by fang »

oldskoolexup wrote:lovin' the way it's coming together...can't wait to see the final install!
Cheers oldskool, that may be some way off yet, as will become evident. :D

Right managed to muscle the engine onto a trolley, that normally the welder is stored on, and got her outside for a bit of a clean.

Image
Image

Now that the engine is no longer supported by the engine rails I can remove them so I can replace the shitty rusted bolts with nice new stainless ones. :D

Image
Image

Only to discover the bolts are siezed in the engine!!

Image
Image

And when I say siezed I mean siezed, snapped my allen key in the process of trying to move them, couldn't find the bit that snapped off so that'll probably end up in my car tyre giving me a puncture. :crybaby:

Image

So it looks like the next few days will be spent heating and soaking in WD40 to try and release them if not I'll try and drill them out, but am not looking forward to that prospect!!!!!

And just to add insult to injury the inlet rubbers are cracked so will also need replacing :(

Image

Might be a while till the next update, depending on how the bolt situation goes. :retard:

Laters :D
Never Ever Bloody Anything Ever!!!
User avatar
nuggitt
Moderator
Moderator
Posts: 5968
Joined: Fri May 22, 2009 9:45 pm
Location: North Yorkshire

Post by nuggitt »

Well good look with them matey. :\
I think there going to be a bit of a pig to get out. It's not the easiest place to get a drill bit in straight is it? :(
Bit of advice. Buy a good bed and a good pair of shoes, because if you aren't in one you'll be in the other.
User avatar
joeboy
More Rabbit Than Sainsbury's
Posts: 3821
Joined: Sun Oct 07, 2007 12:06 am
Location: Warrington

Post by joeboy »

You can always just wire brush them and put some hammerite on them and use them again, There still strong and will do the job.

I know this isnt ideal but if you are struggling with them and to save any damage to the ally case just use them again.
GOVERNMENT WARNING!:
If you are having individual free thoughts please switch on your TV immediately and watch x factor, or go shopping, or buy a happy meal, free thought will lead to extremism.
User avatar
fang
Pit-lane Reporter
Pit-lane Reporter
Posts: 741
Joined: Mon Jun 19, 2006 5:38 pm
Location: Bootiful Norfolk

Post by fang »

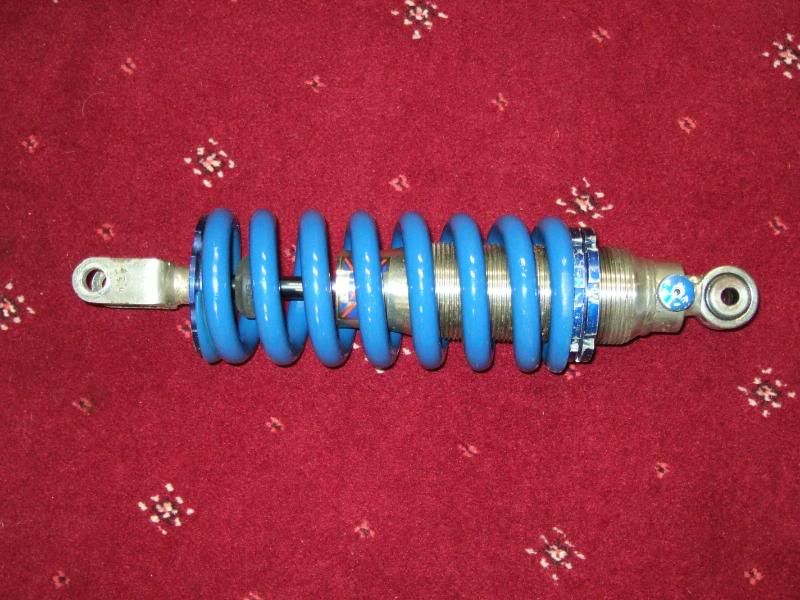
Joeboy, yep I could use them again but the plank that installed these bolts cross threaded an M10 x 1.25 nut on a 1.5 bolt so they have to come out :(


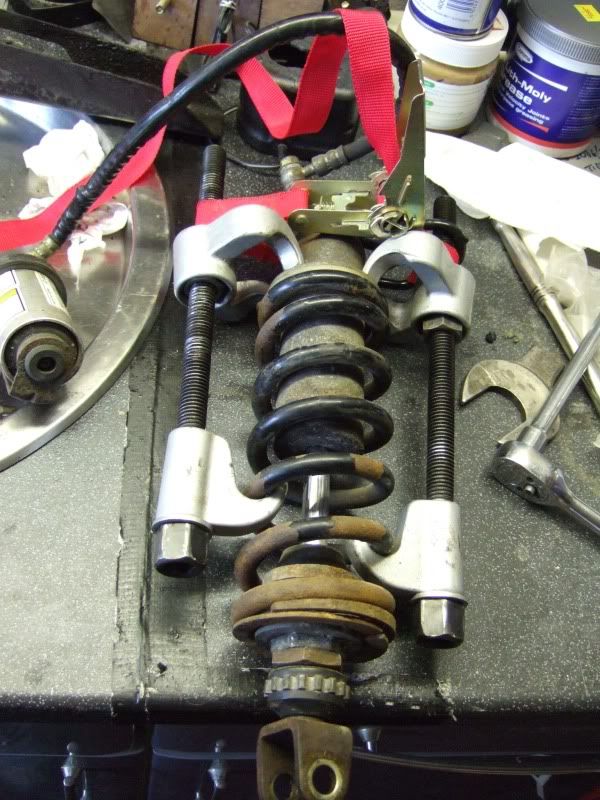
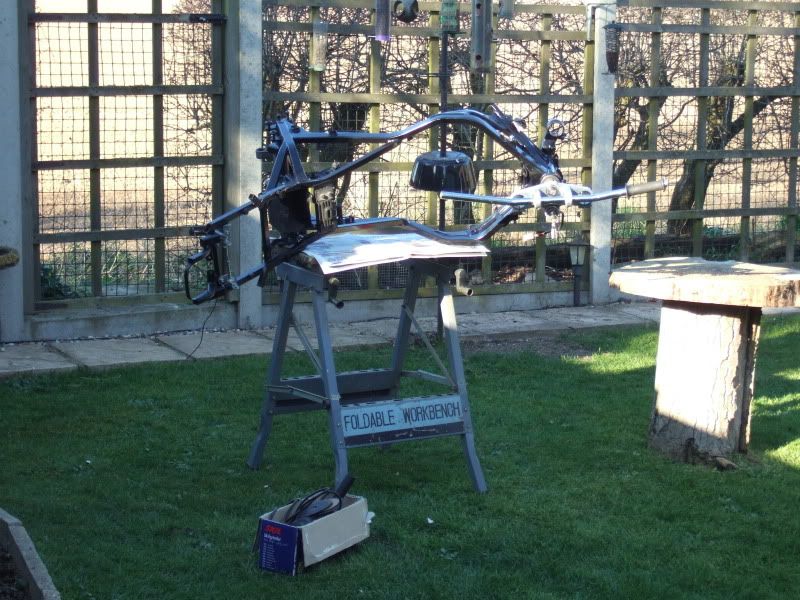
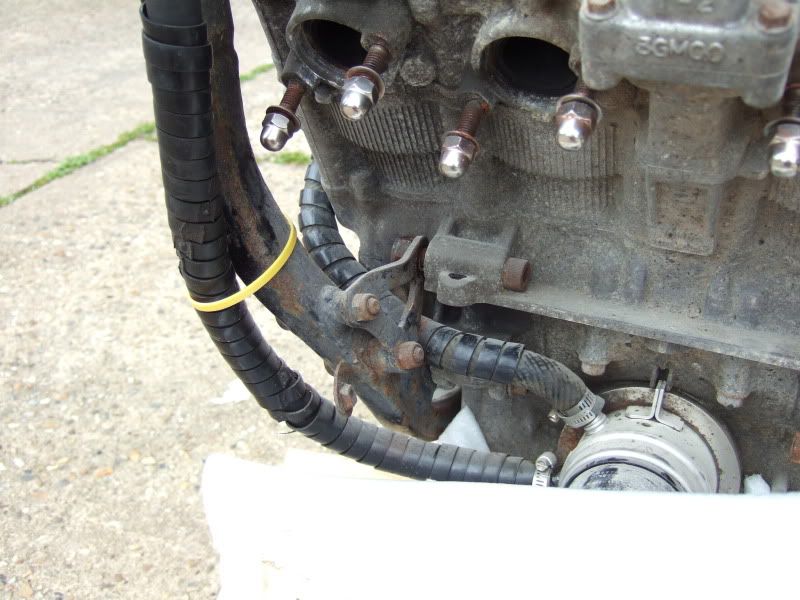
Right I have just spent 3 hours this afternoon trying what I could.

Image

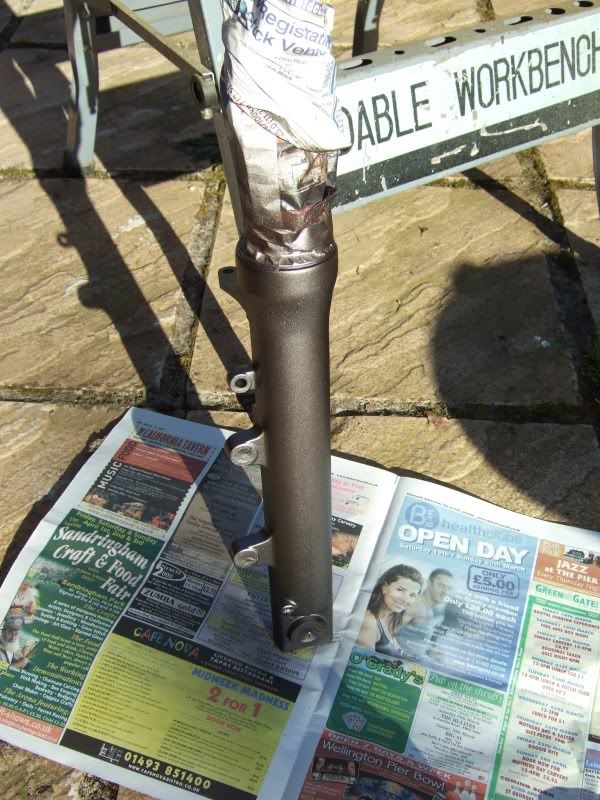
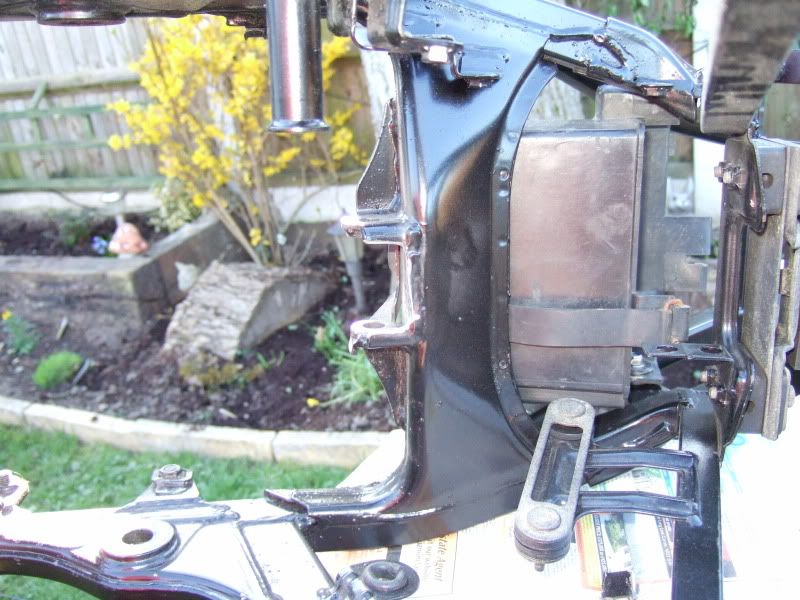
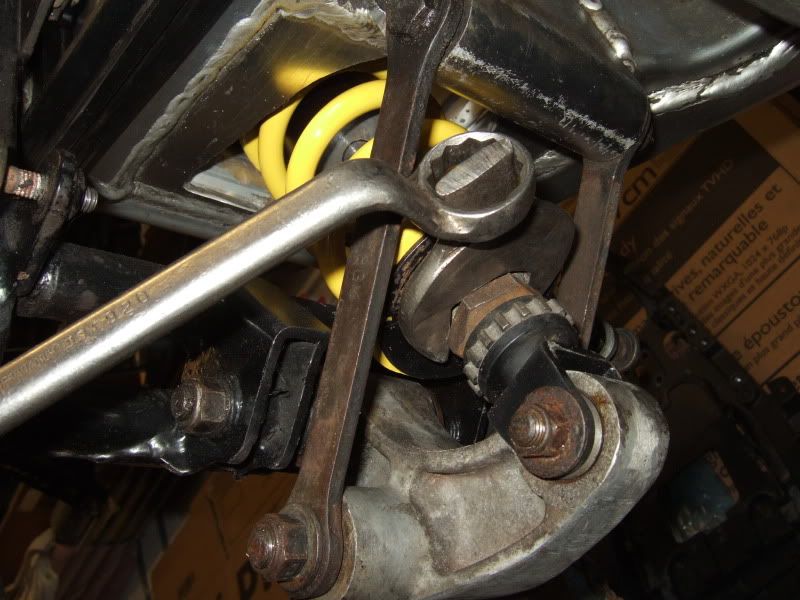
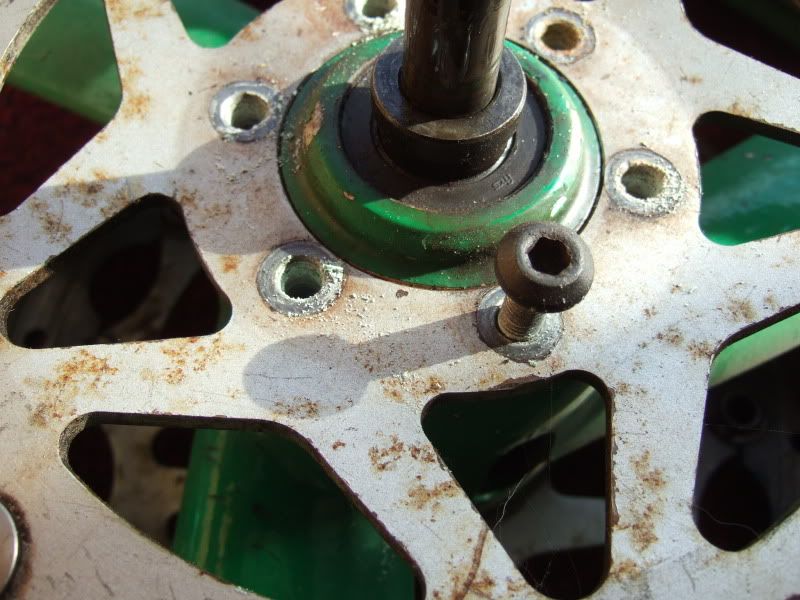
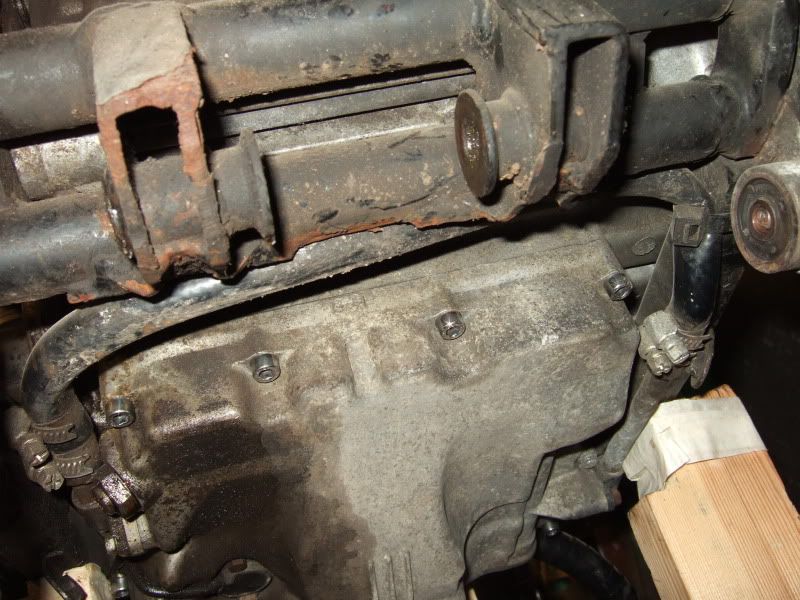
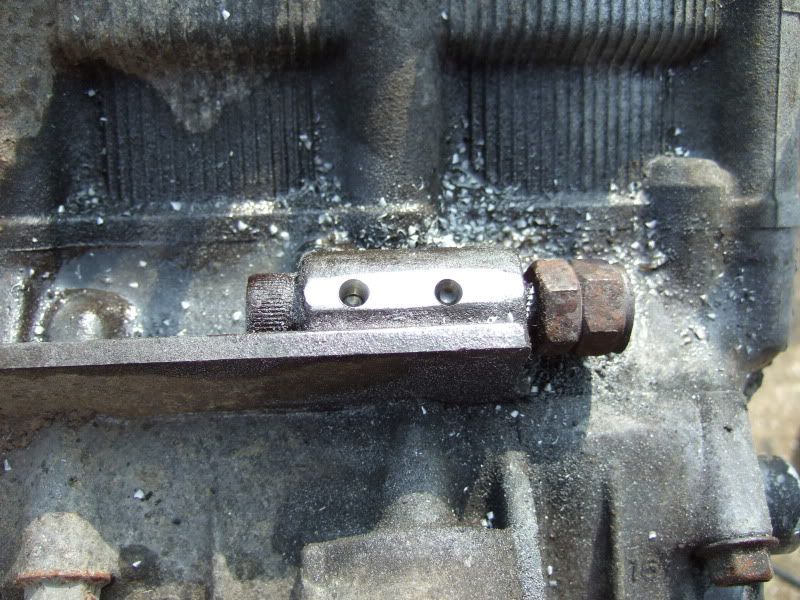
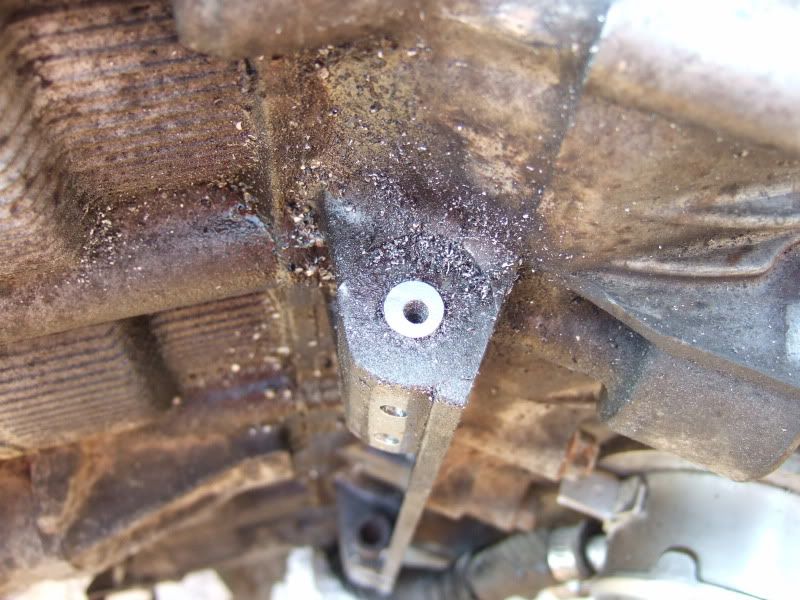
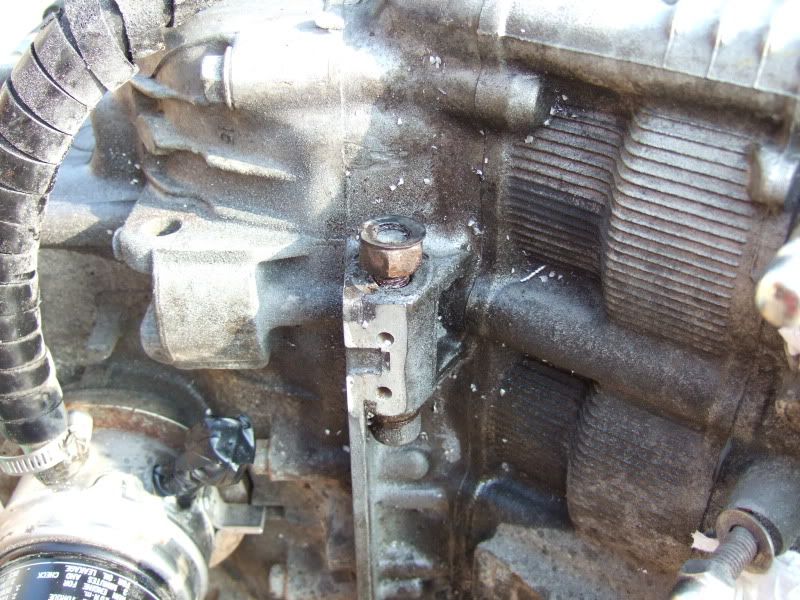
Started on the right bolt (worst one) ground the burred bit of so I could fit a nut back on it.

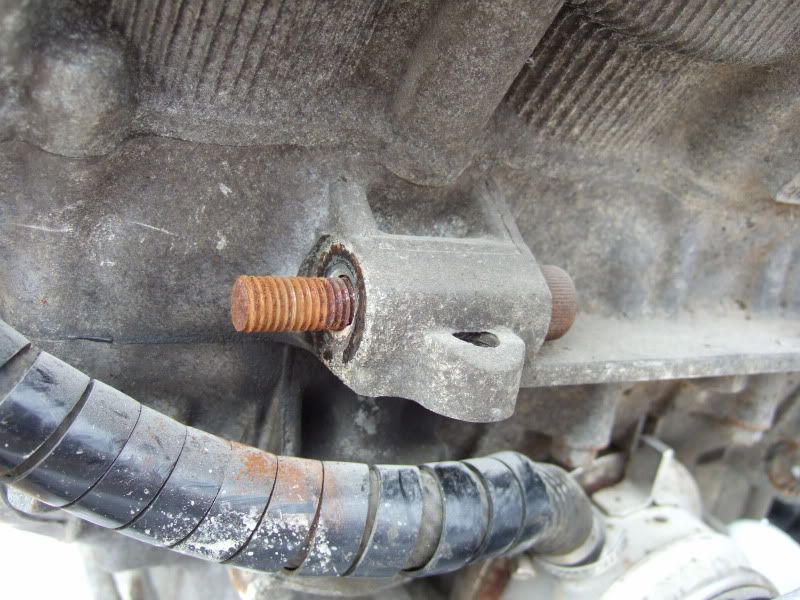
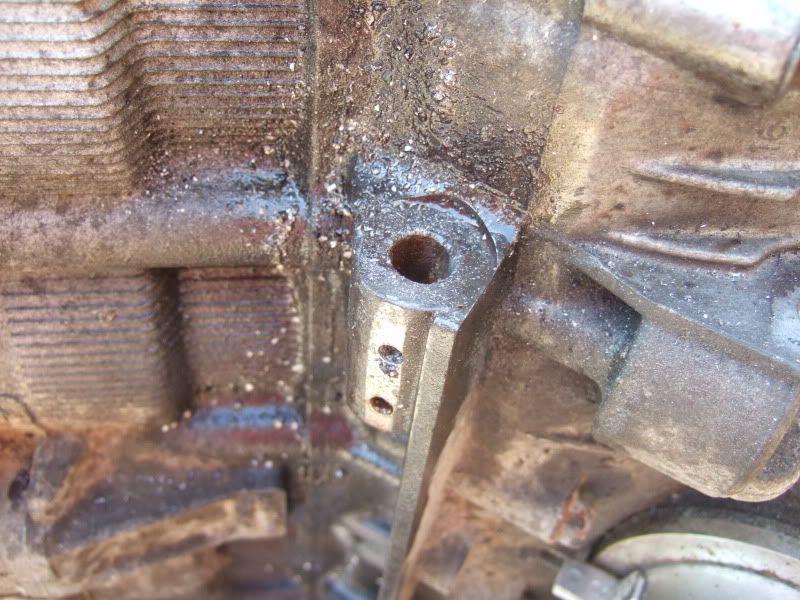
And also drilled a couple of holes in the ally mounting lug so I could get WD40 to, hopefully, penetrate the hidden part of the bolt.

Image

Tried the 2 nut approach but to no avail, wouldn't lock off, just screwed the thread off.........Result, No movement :(

Tried the heat then soak in wd40 then hit said nuts with lump hammer and drift........Result, No movement :(

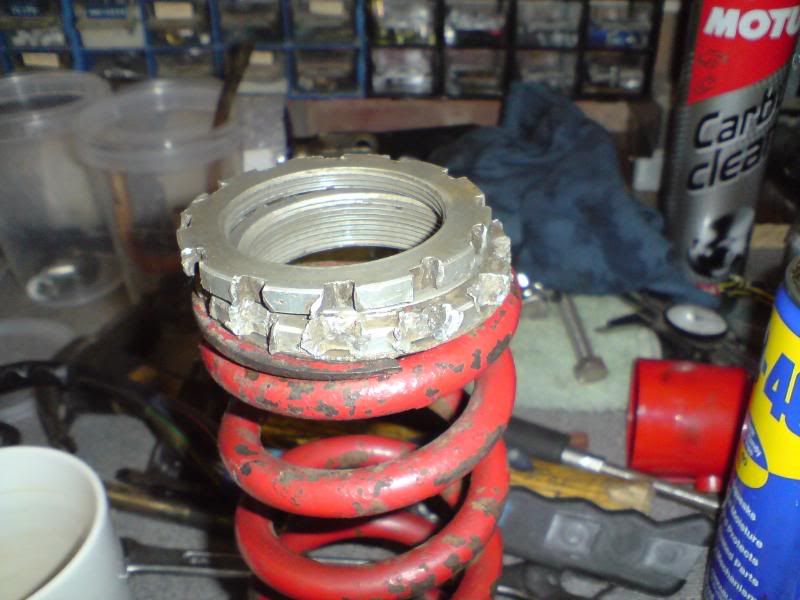
Tried welding nuts on, two pronged attack, the heat would be better than my blowtorch, and It will overcome the thread issue above, .......Result, No movement :(

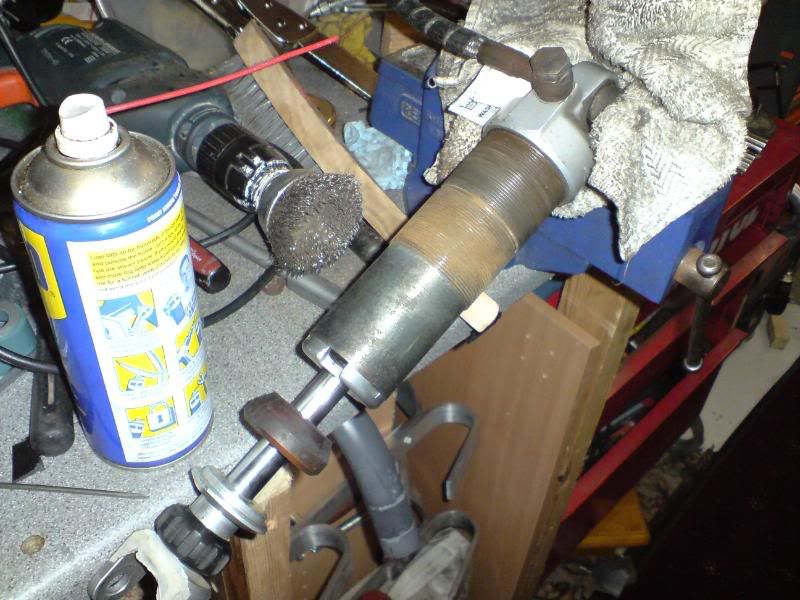
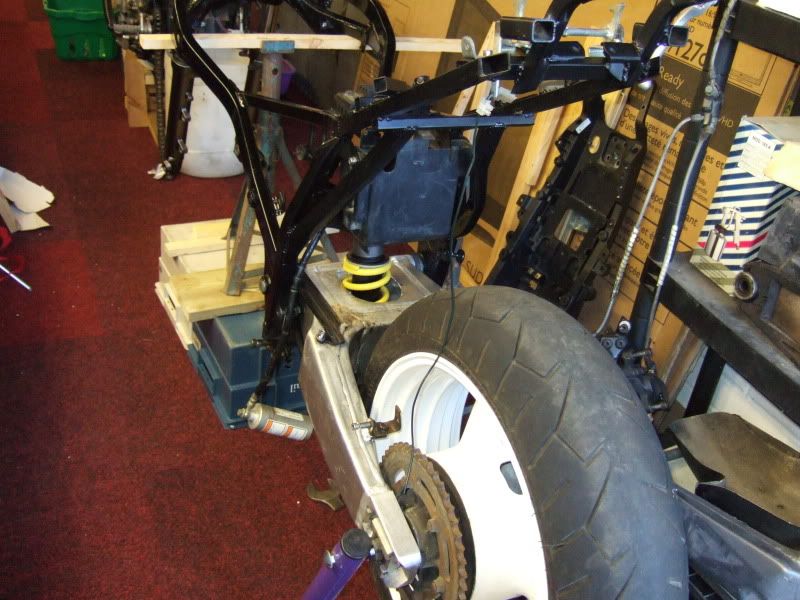
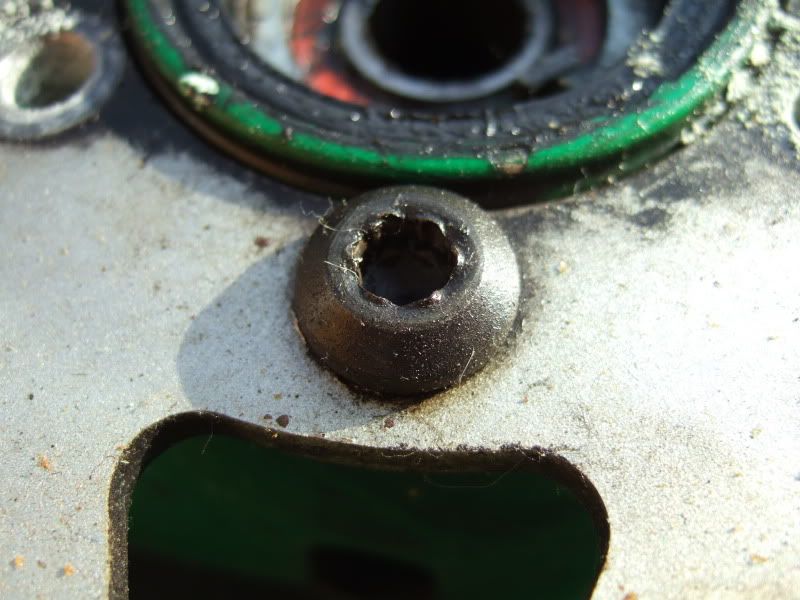
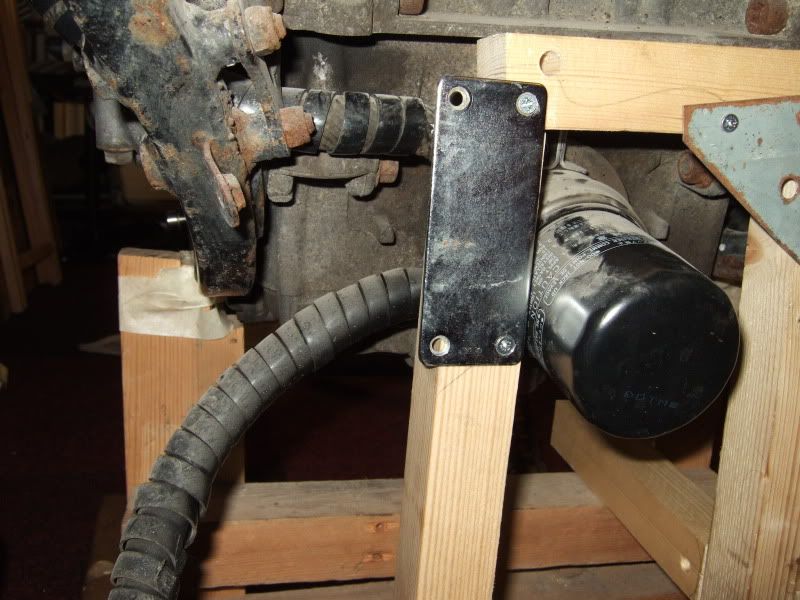
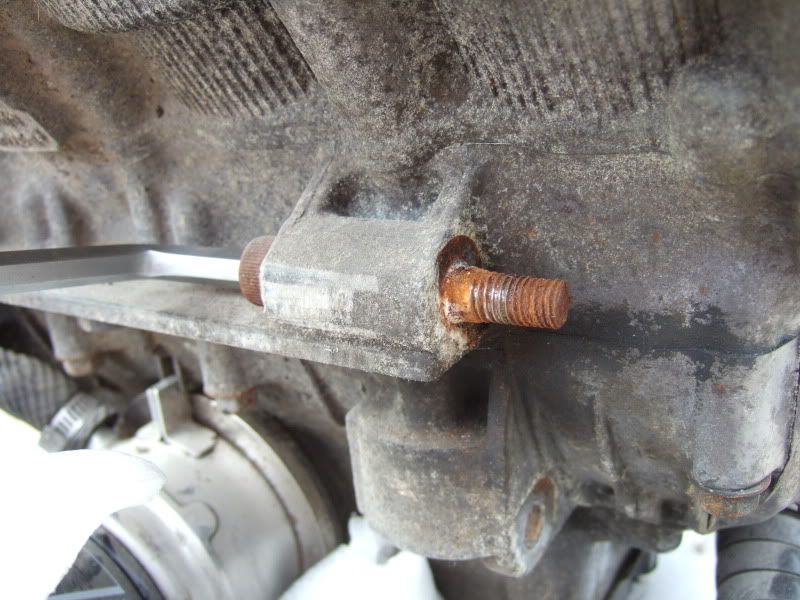
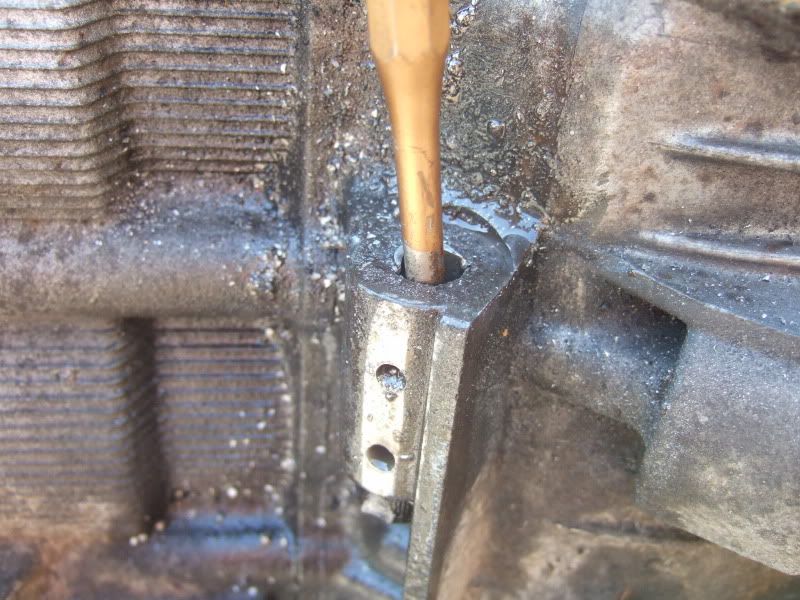
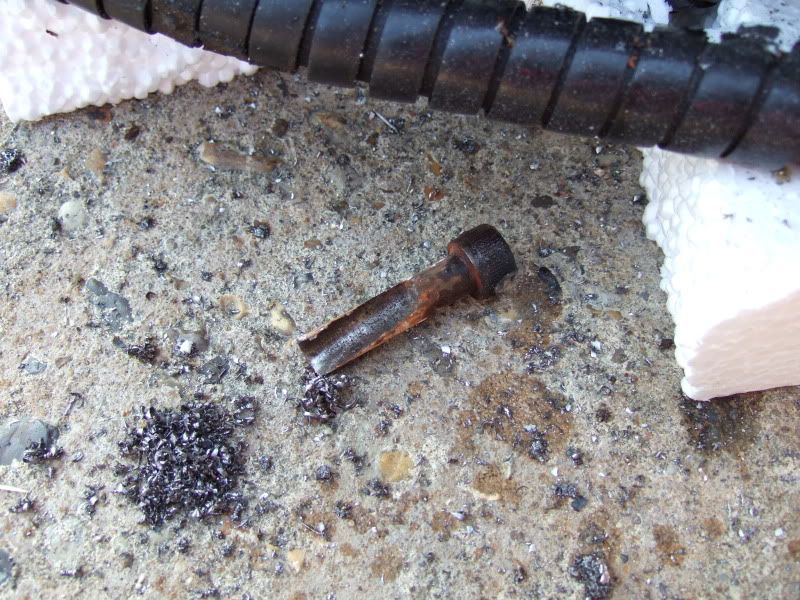
So,I cut the bolt off flush with a grinder and resigned myself to the long task of drilling it out.

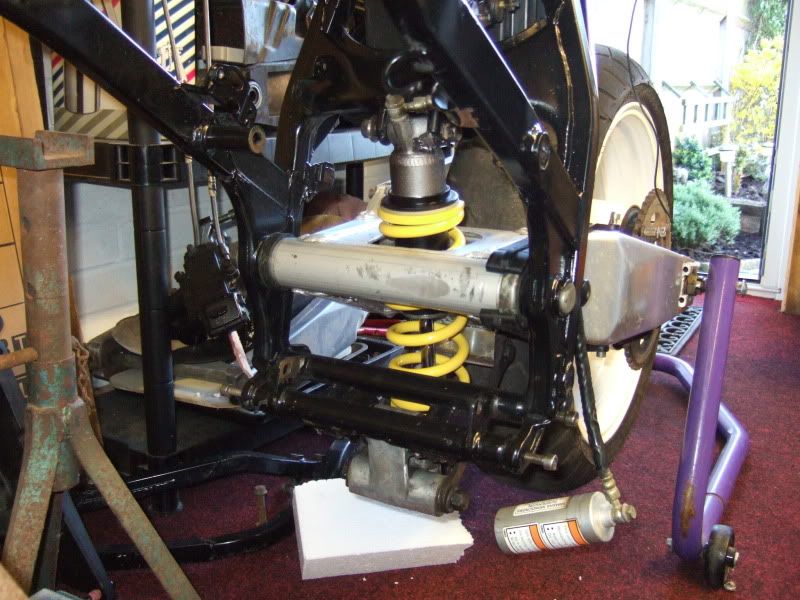
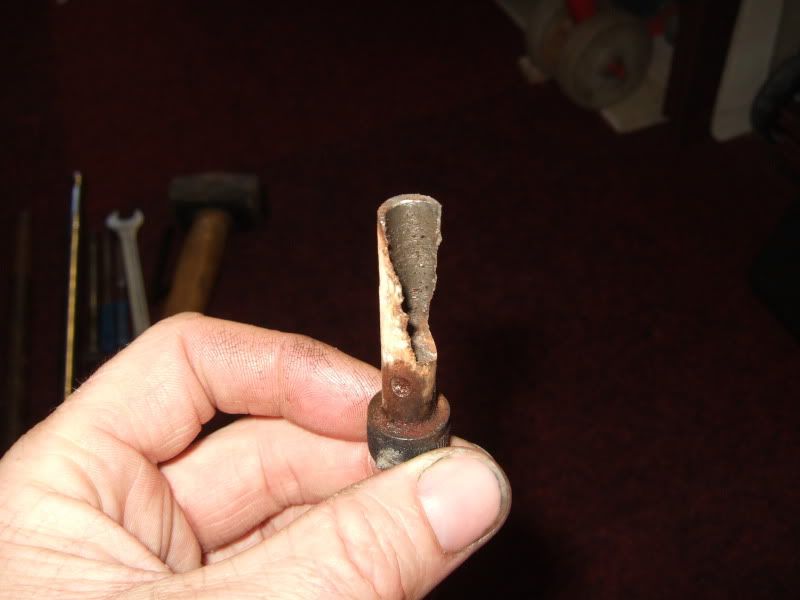
Just about room for the chuck to clear the casing, slightly off centre but managed to get a 9mm hole that removed one side of the bolt down to 3/4 its depth and twatted it with a drift,whilst applying heat, as this way its effectively being pulled out rather than pushed through the mounting....Result, Movement, just a little, but movement none the less
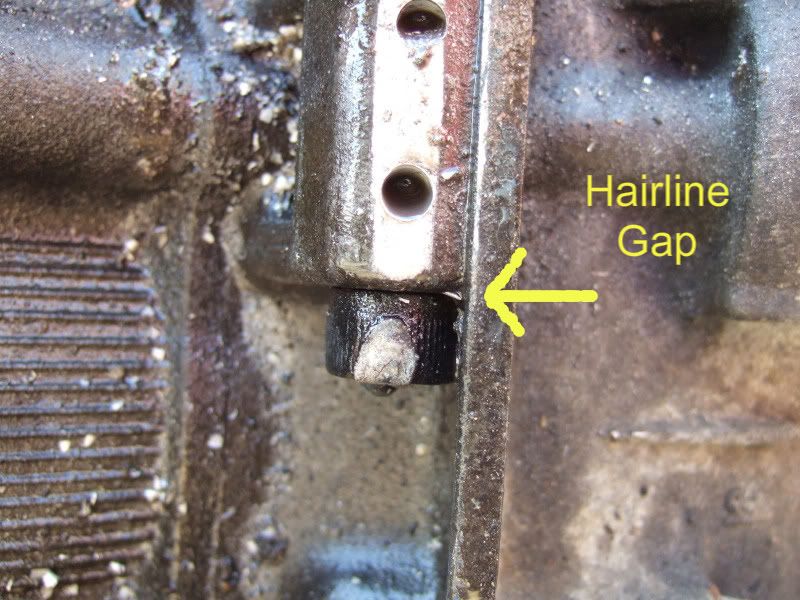
 :unibrow:

Image
Image
Image

Success :D :D :D :D :D

Image
Image
Image

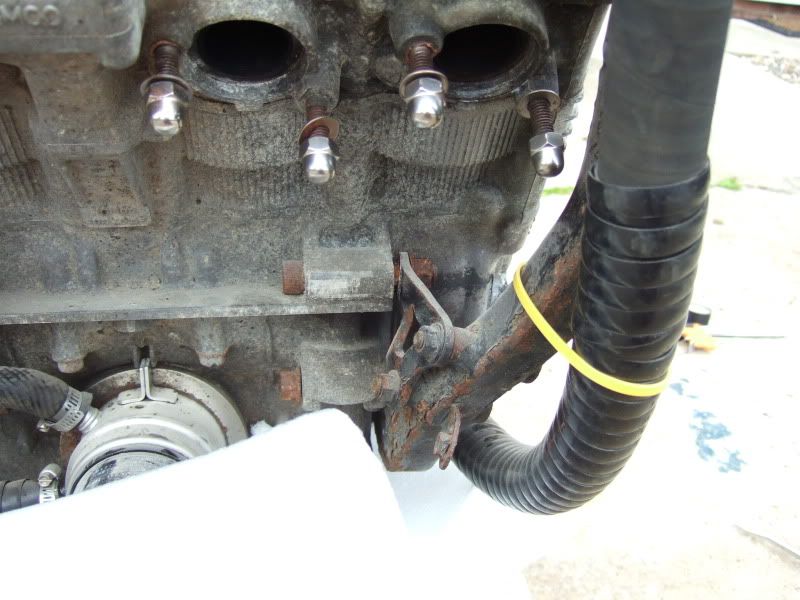
Not looking forward to doing the left hand side but it came out with just a swift clout and some heat, as I said the other one was worse.

Image
Image

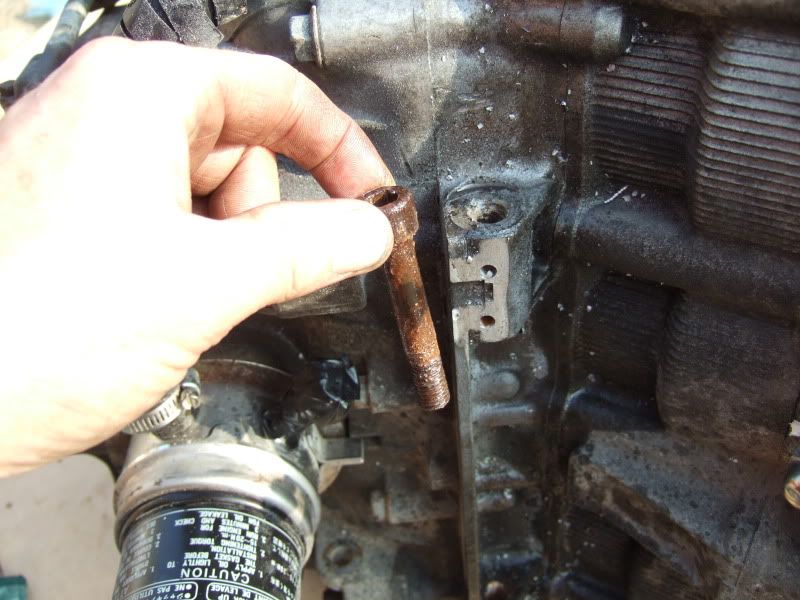
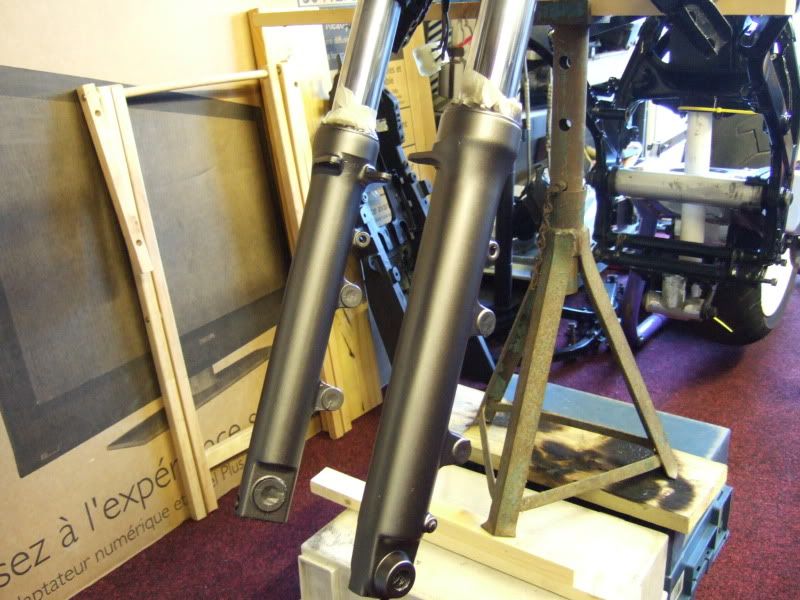
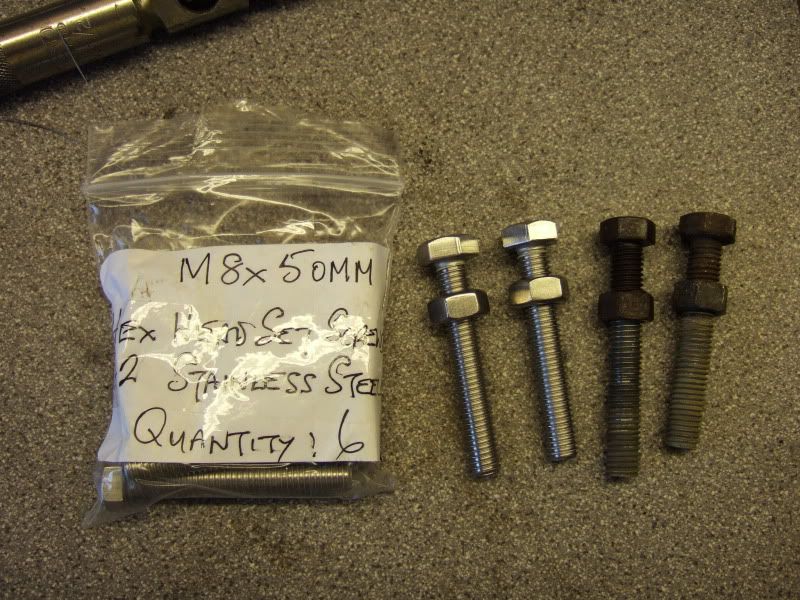
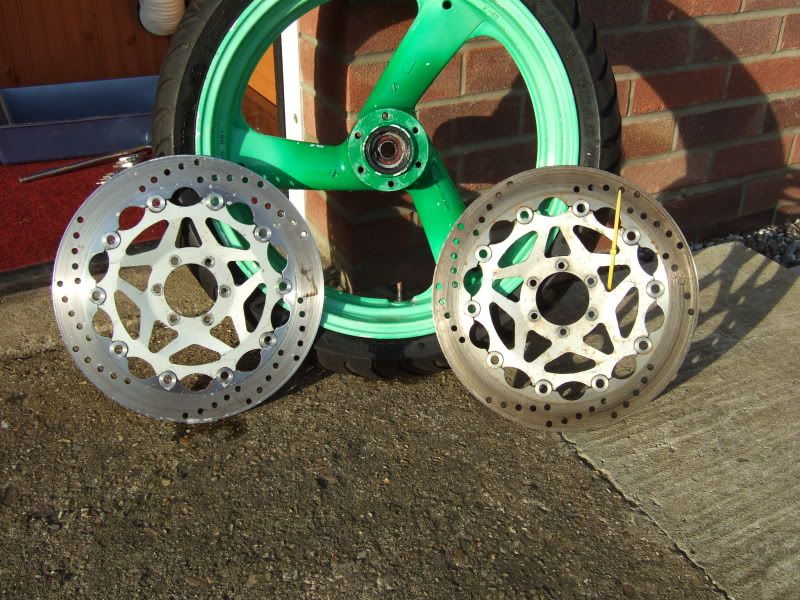
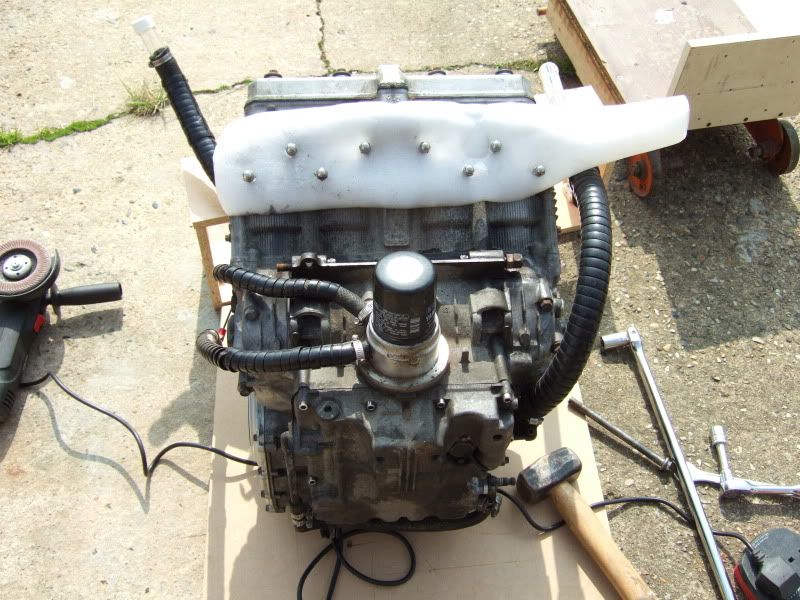
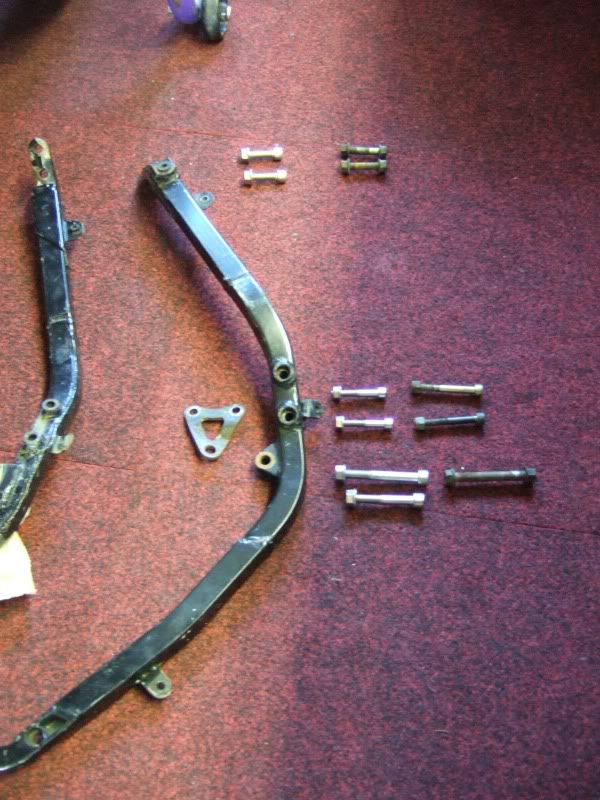
So now I can replace all the crappy mounting bolts with nice new shiny stainless ones :cool:

Image

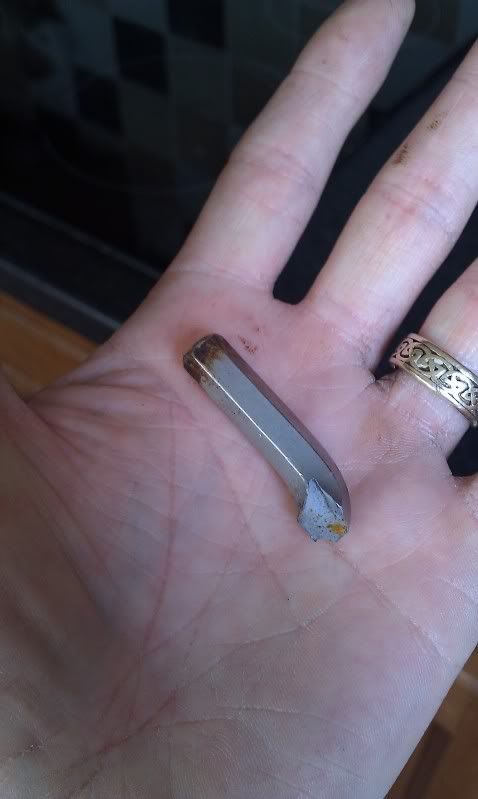
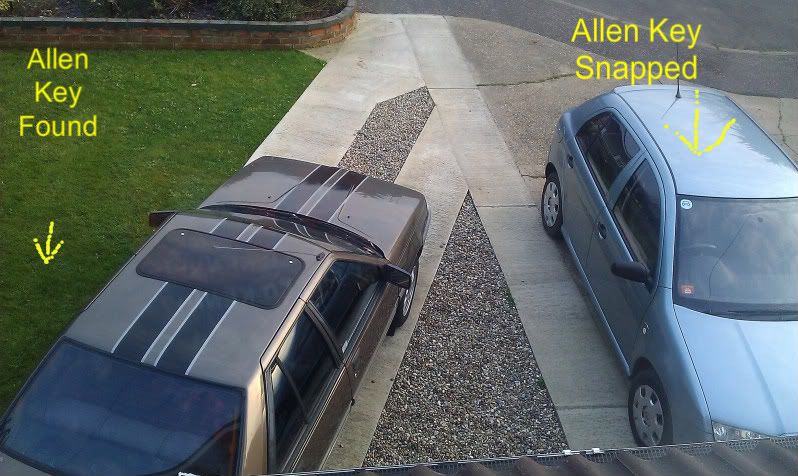
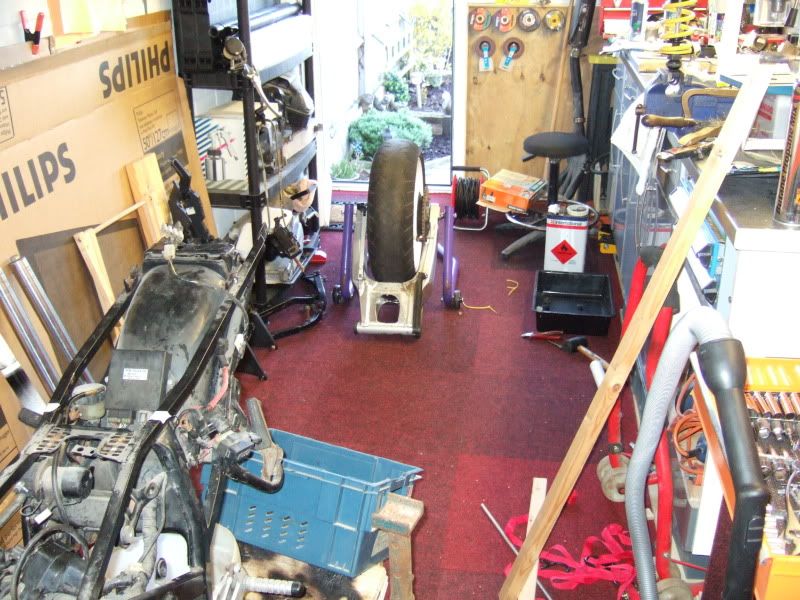
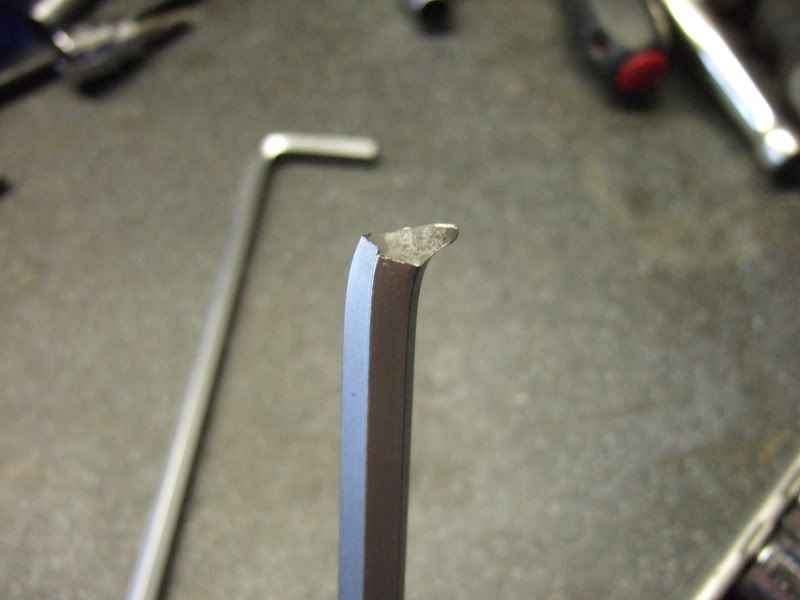
Oh and I found the end of my allen key, it was 15 feet away from where I was working on the driveway on the garden, the other side of my car!?!?!?

Image
Image
Never Ever Bloody Anything Ever!!!
Post Reply