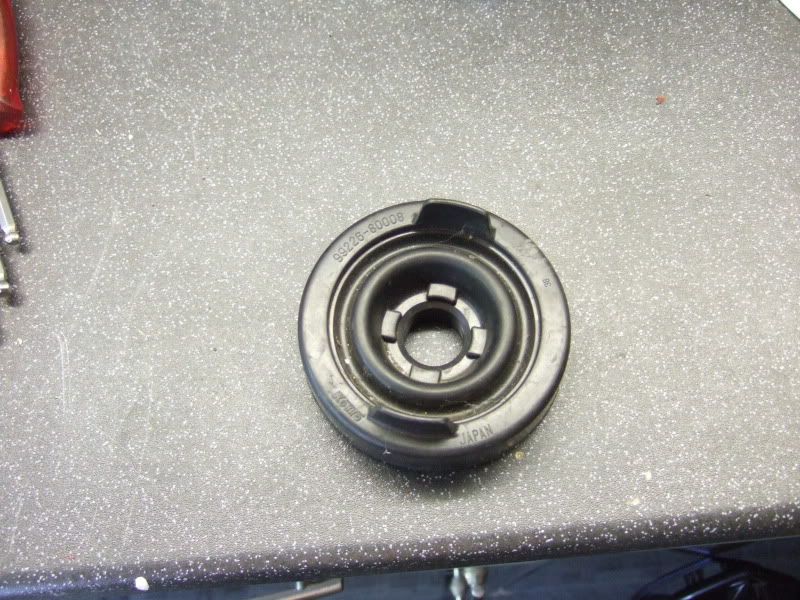

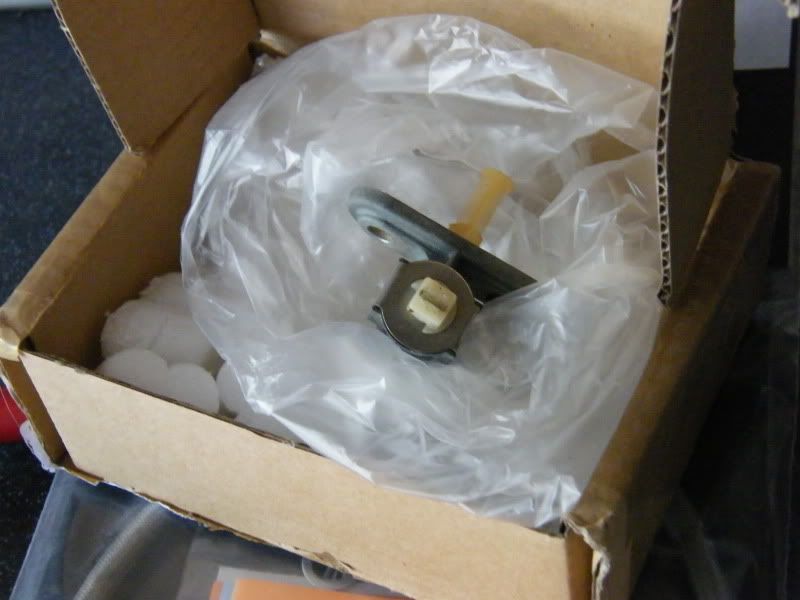
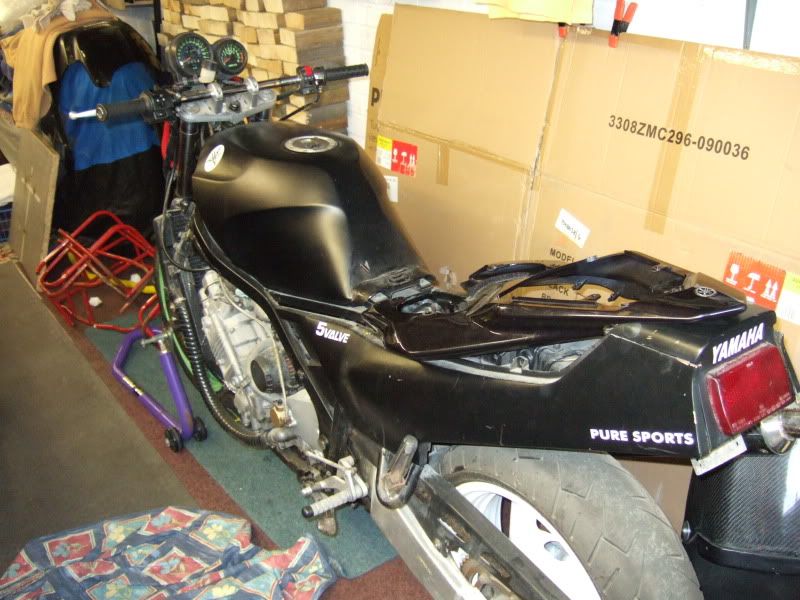
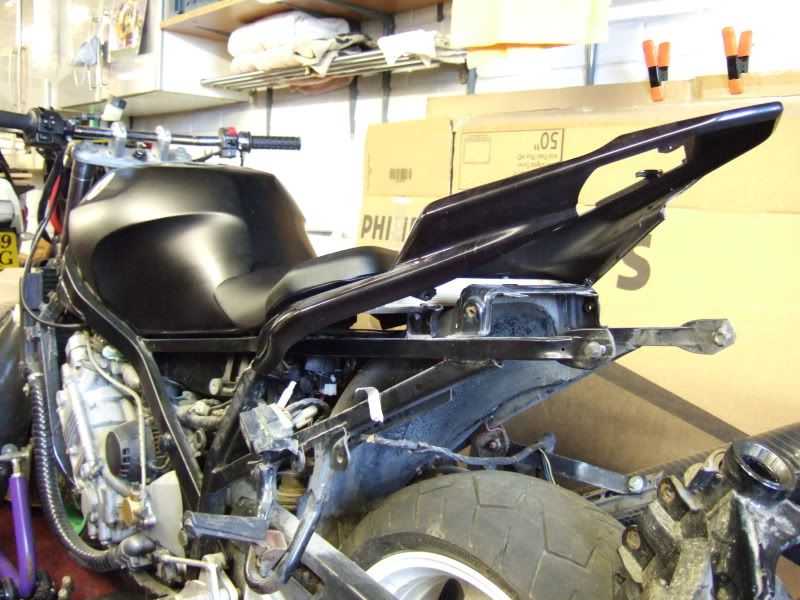
Unmolested fuel tap
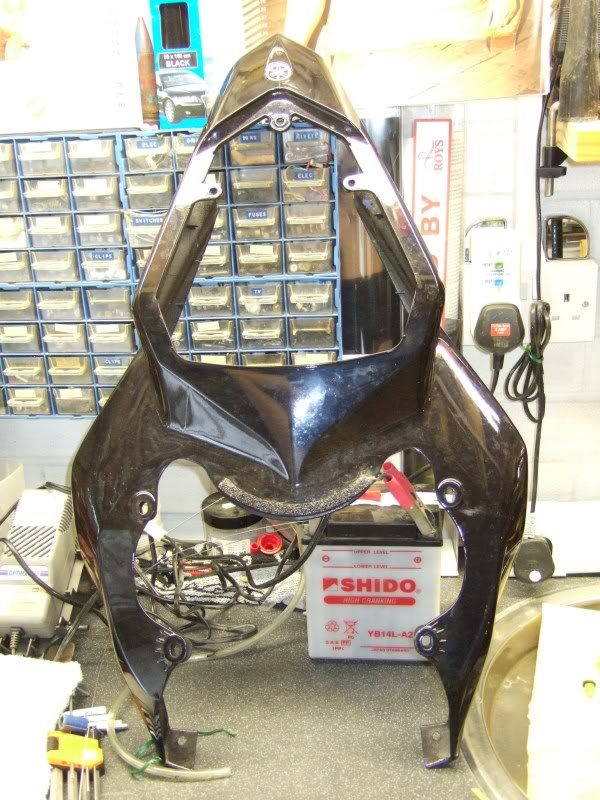
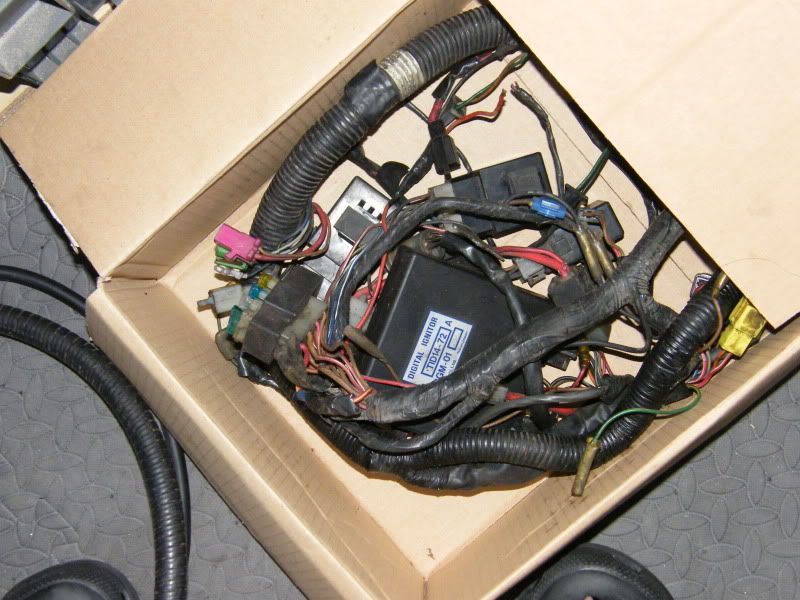
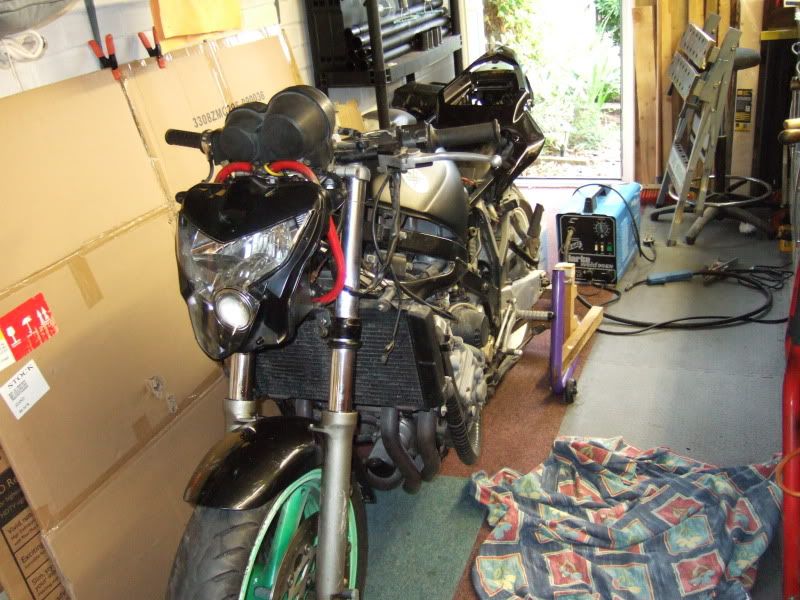
FZR1000R wiring loom and CDI incase YZF750 one fitted gives me grief
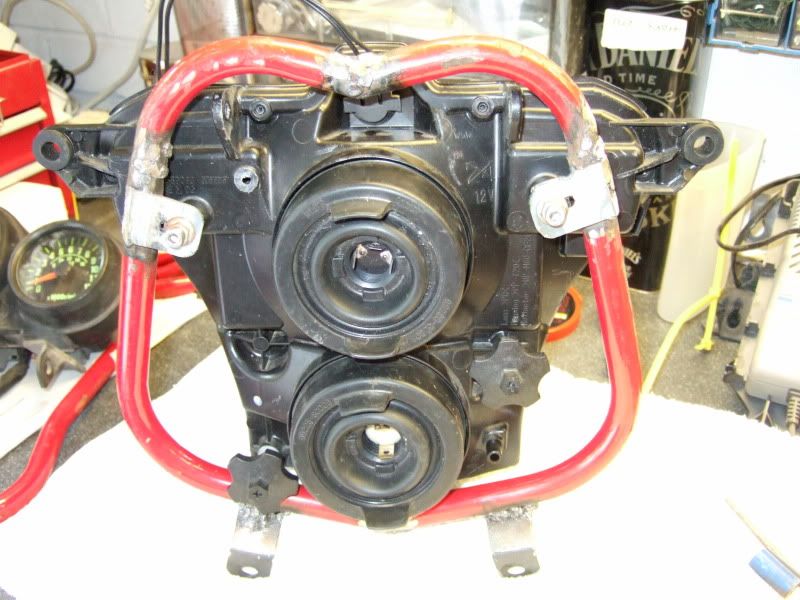
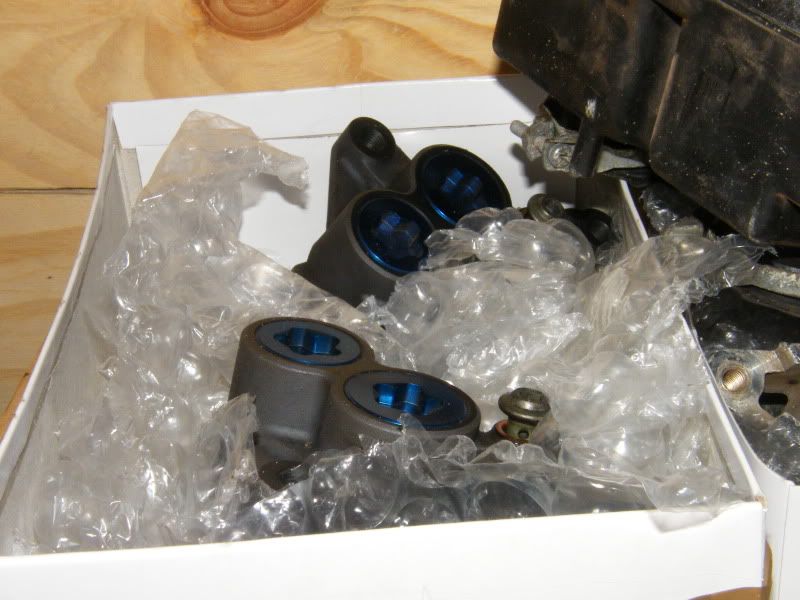
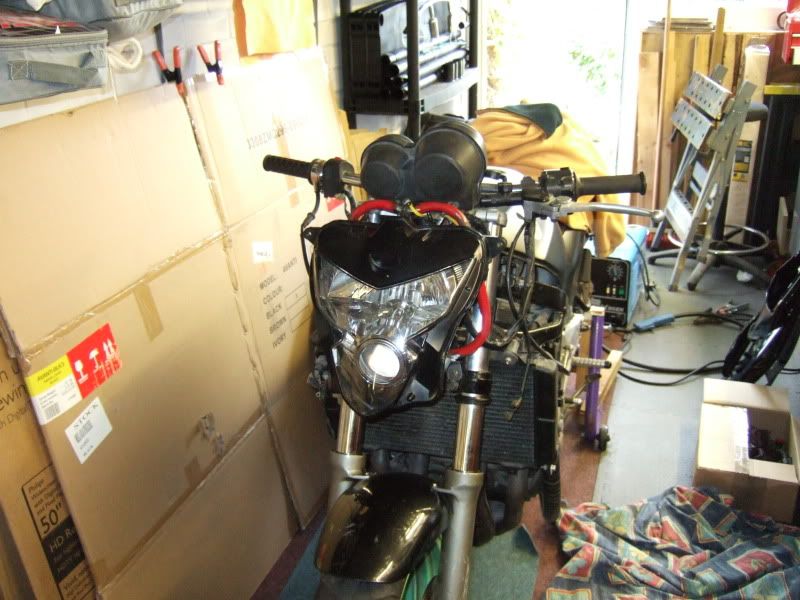
Obligatory blue spots purchased 2 years ago!!
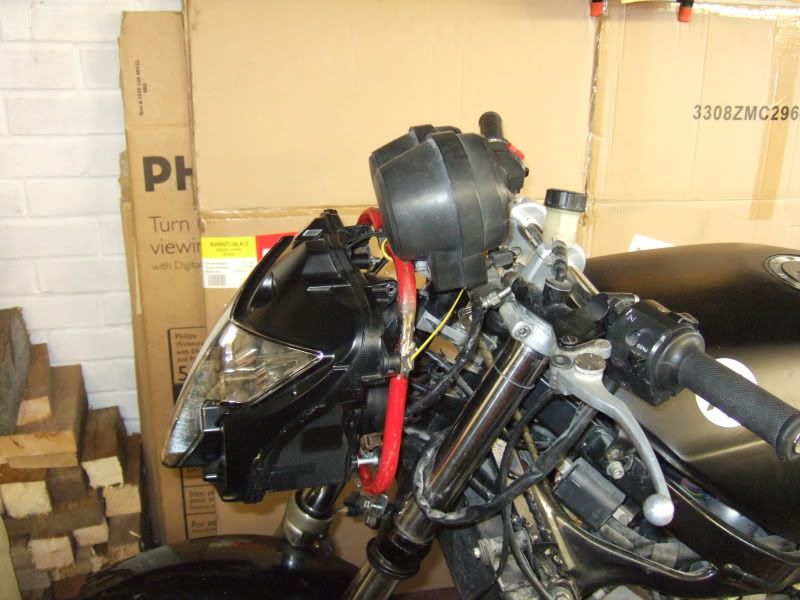
LED indicators purchased 2009 BMF
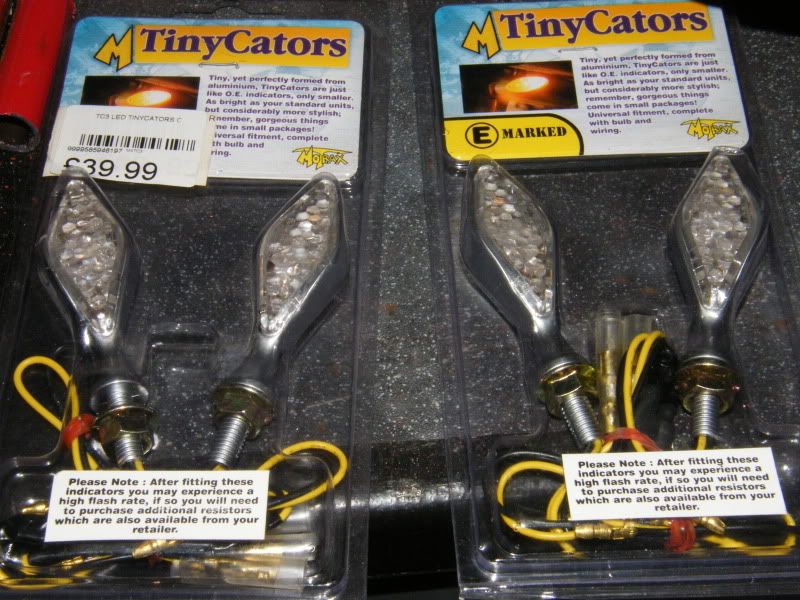
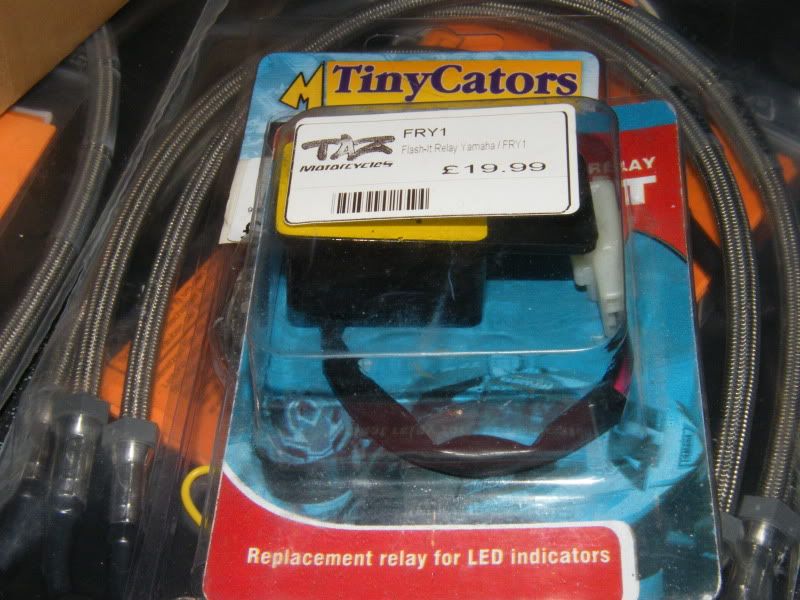
LED relay purchased 2010 BMF
Its gonna be a long 6 weeks!!
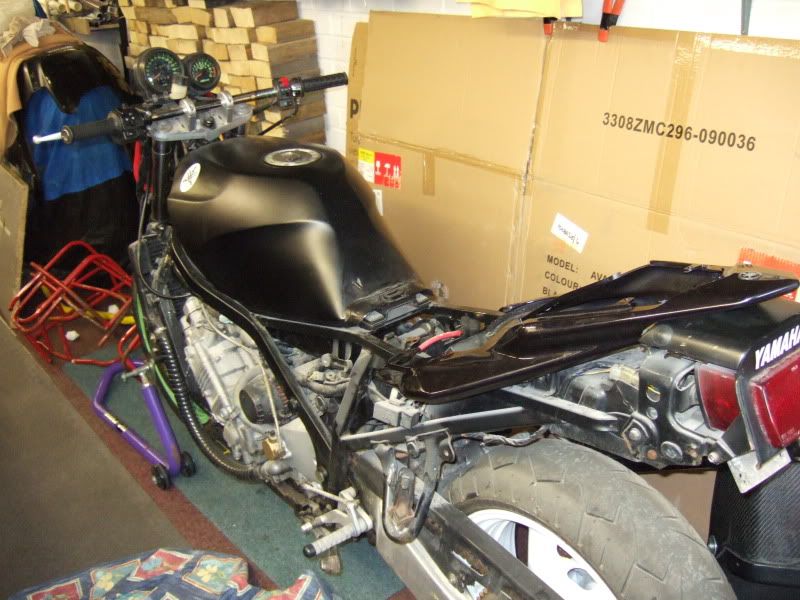
Cheers Vagabond, Youre right if you look closely I swear I can see the bike scowling!!Vagabond wrote:Yep Fang, love these threads, the whole story line just gets better!
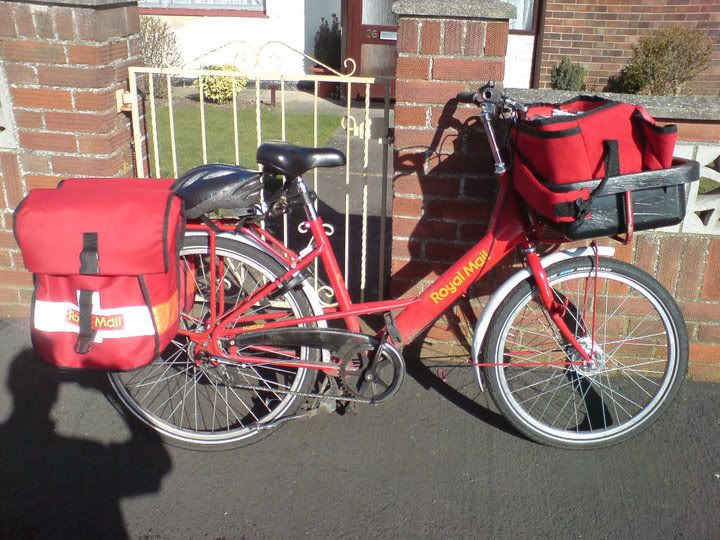
I think it was karma you falling off your postbike after you cannabised one one them
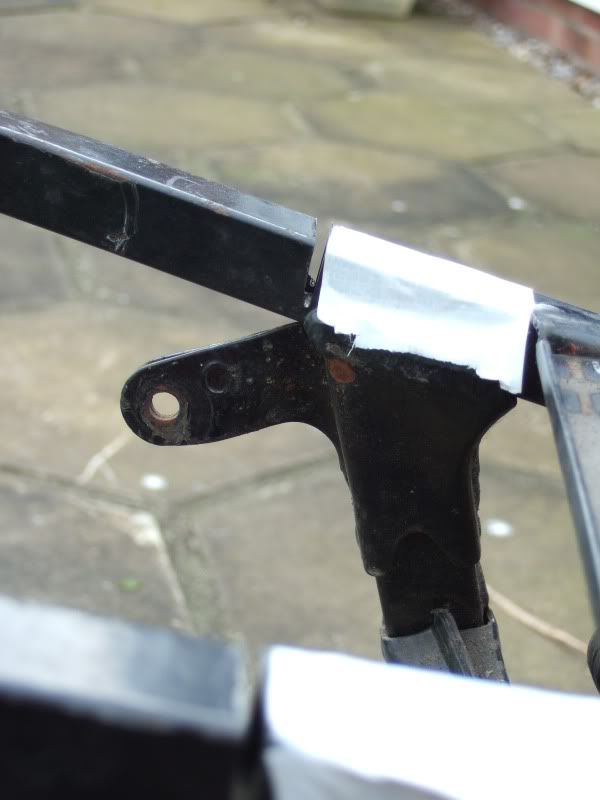
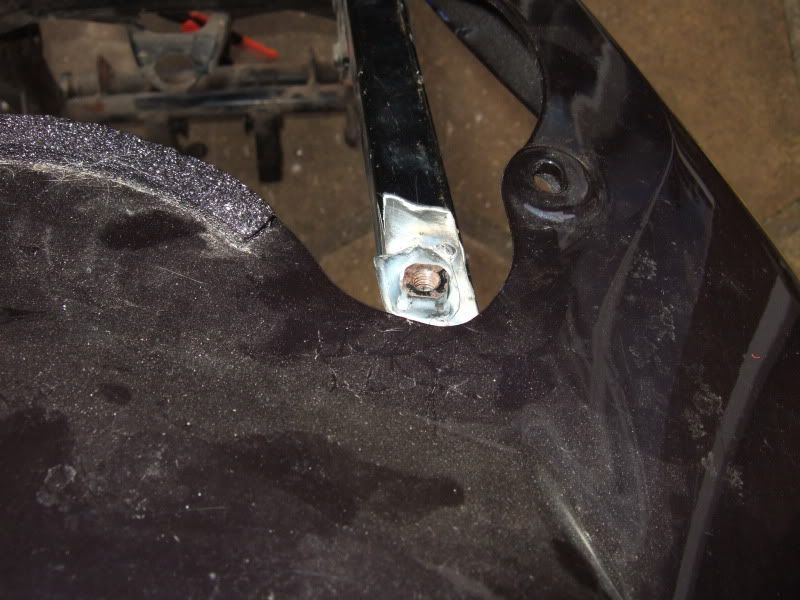
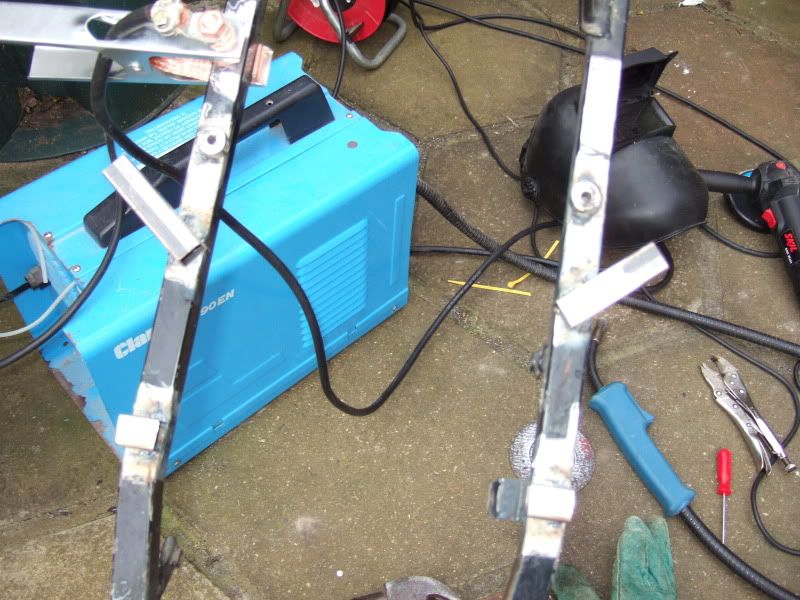
That 1st piece of welding looks like there was no shielding gas being applied, that's they way mine goes when the gas bottle empties, tho after seeing the bead of weld with the gasless wire I might get some when my wire runs done this time.
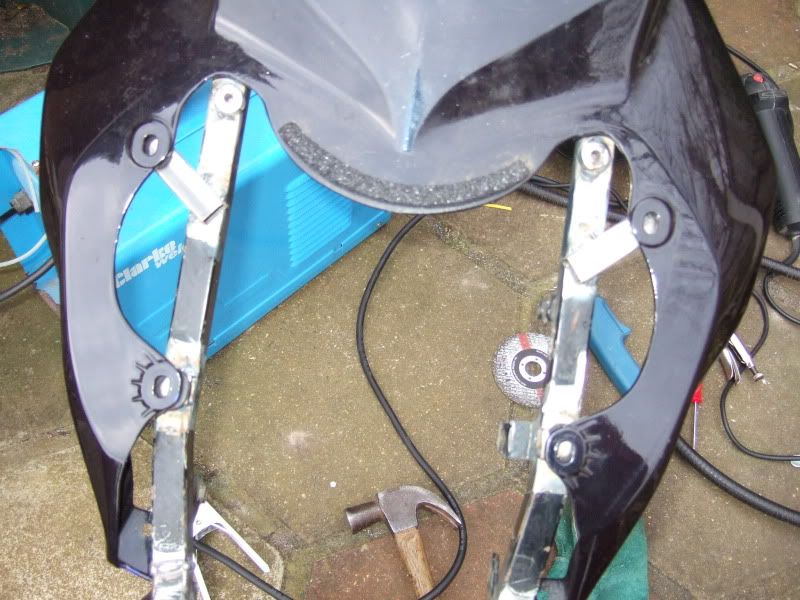
As I was told the only way to get good with welding is practise, practise, practise - even just welding scrap pieces of metal together.
I'm sure you've found THIS forum when doing your internet searches.

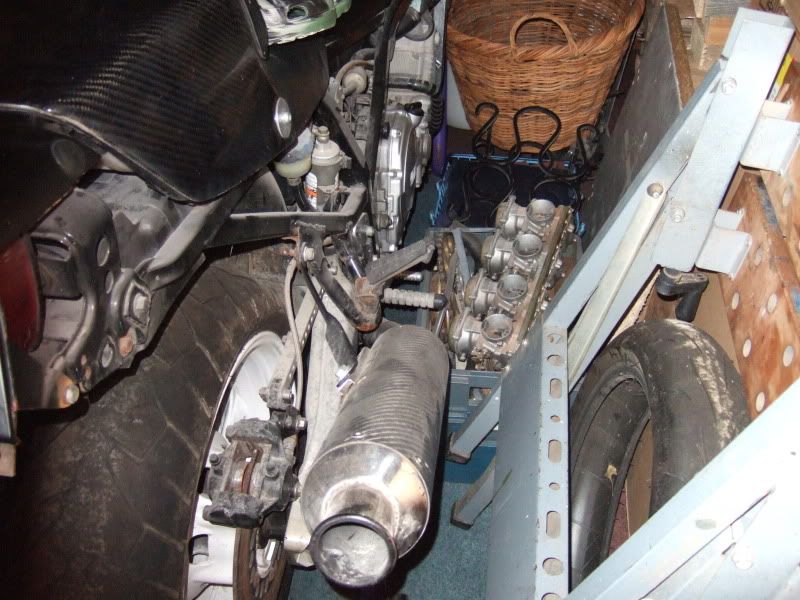
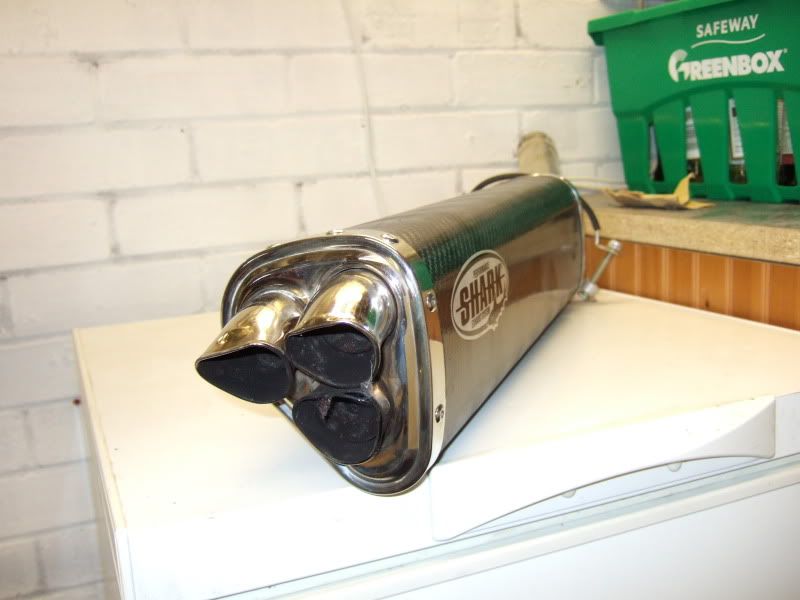
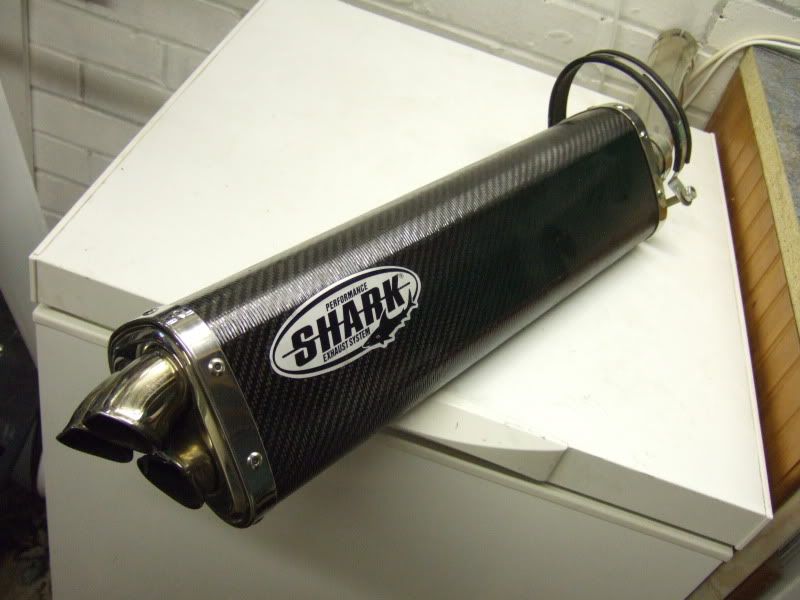
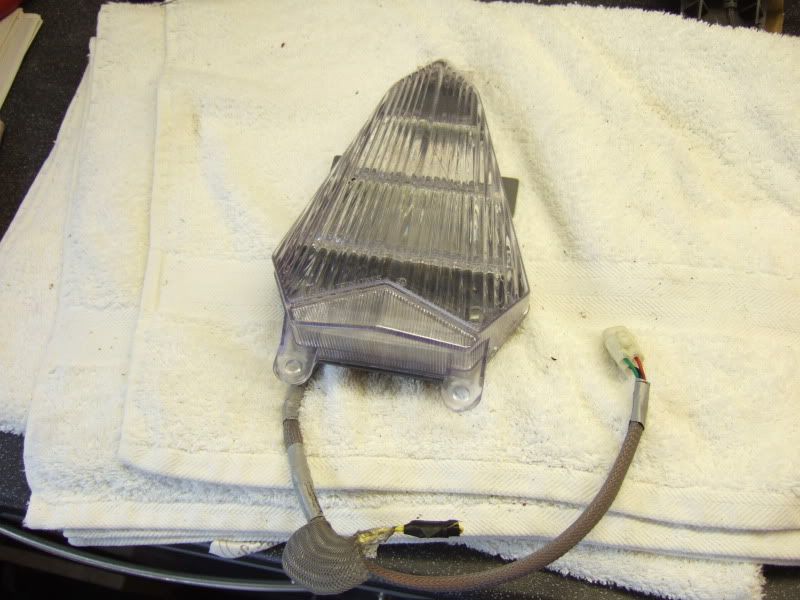
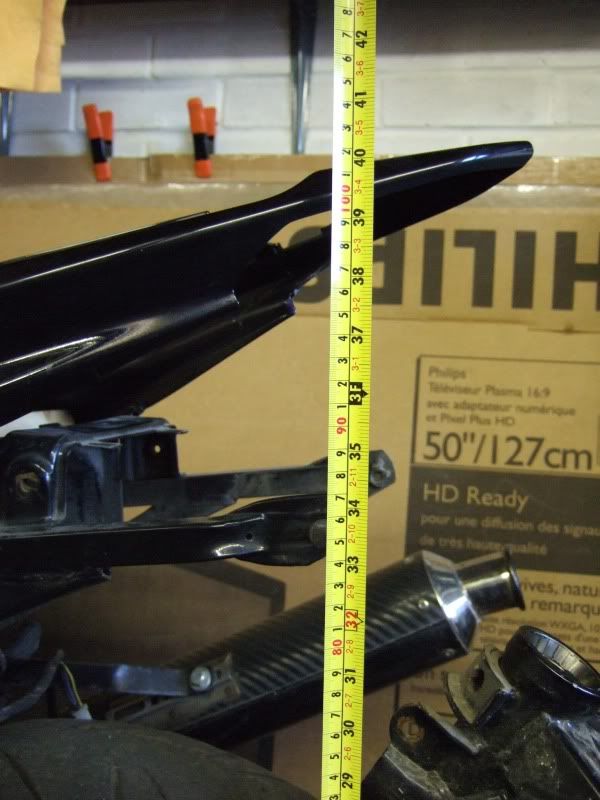
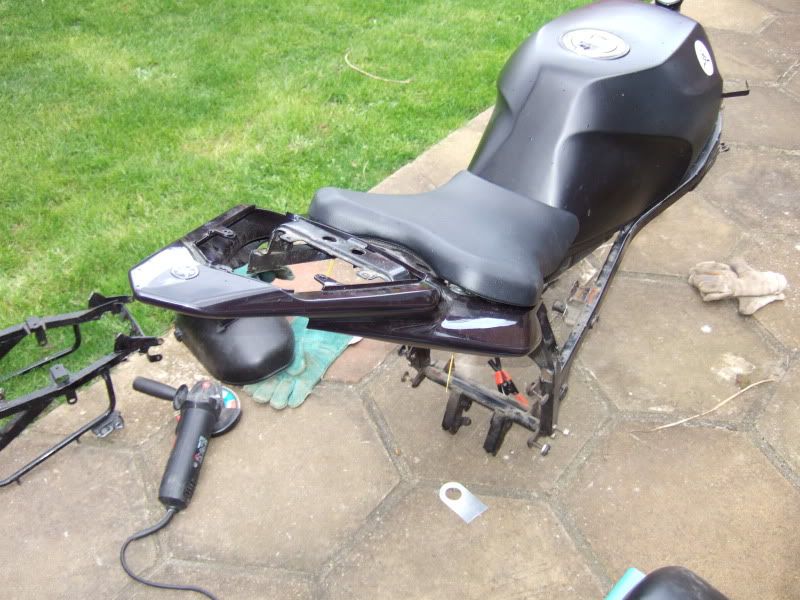
Stig,Stig wrote:that tri-can is crying out to be shortened
did you get the house extension completed?
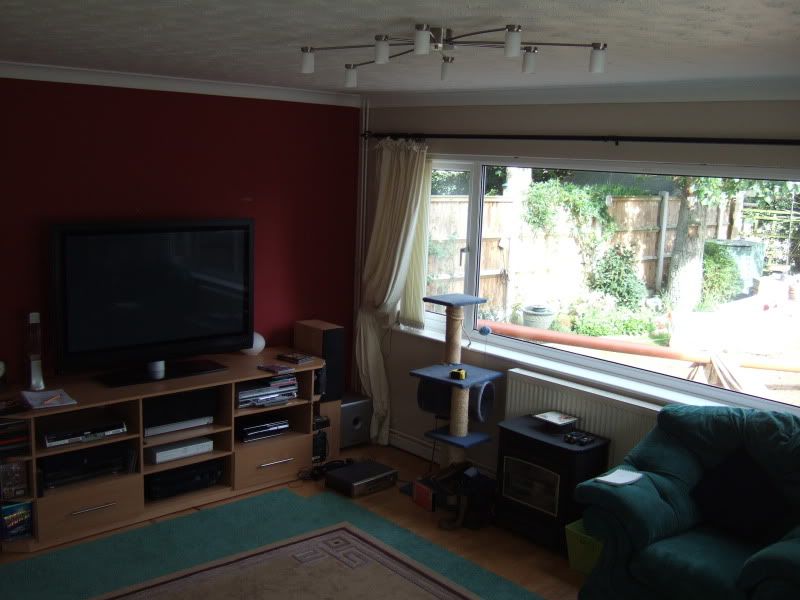
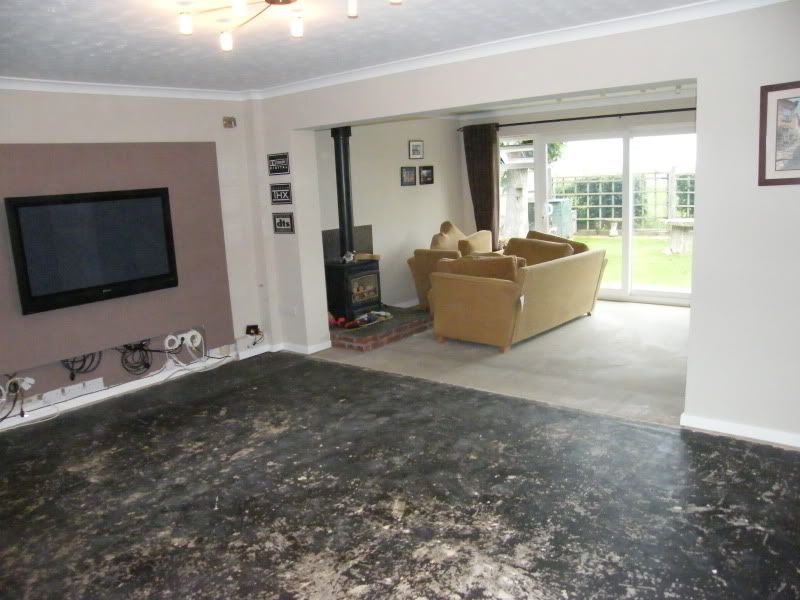
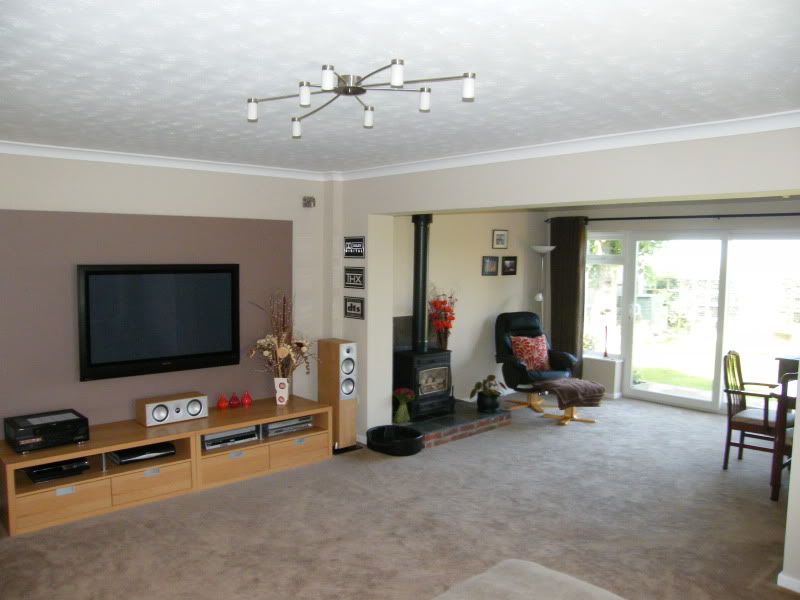
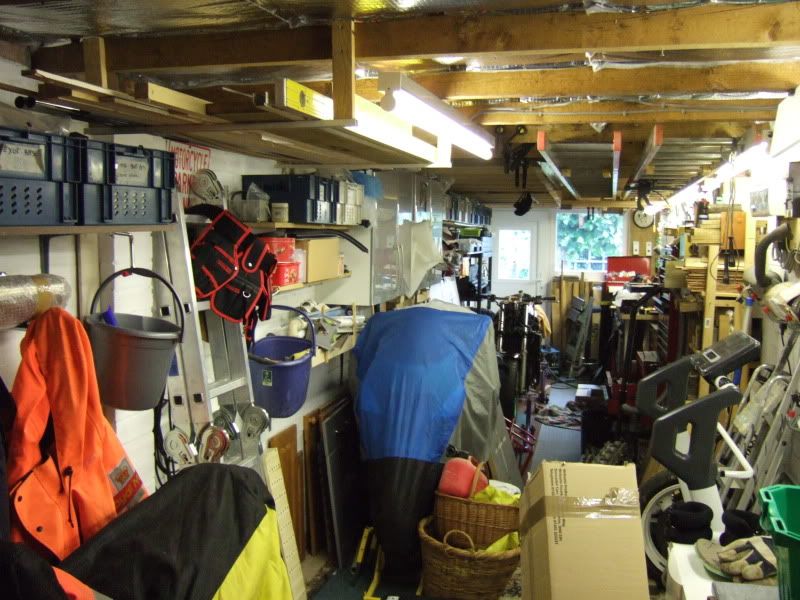
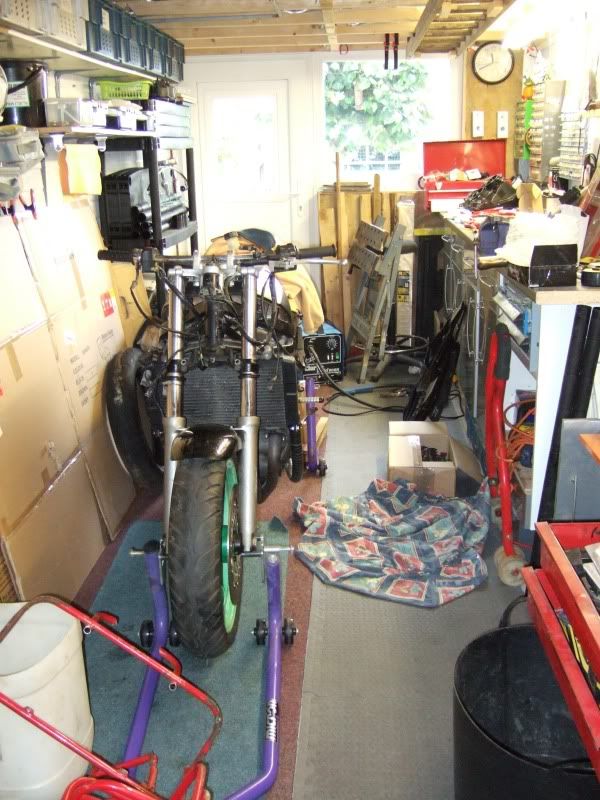
As mentioned earlier, it doesn't seem to matter how much space you have, you Will fill it with shite ( AKA stuff that might come in handy one day)The garage is at least done construction wise...just needs sorting properly and organizing
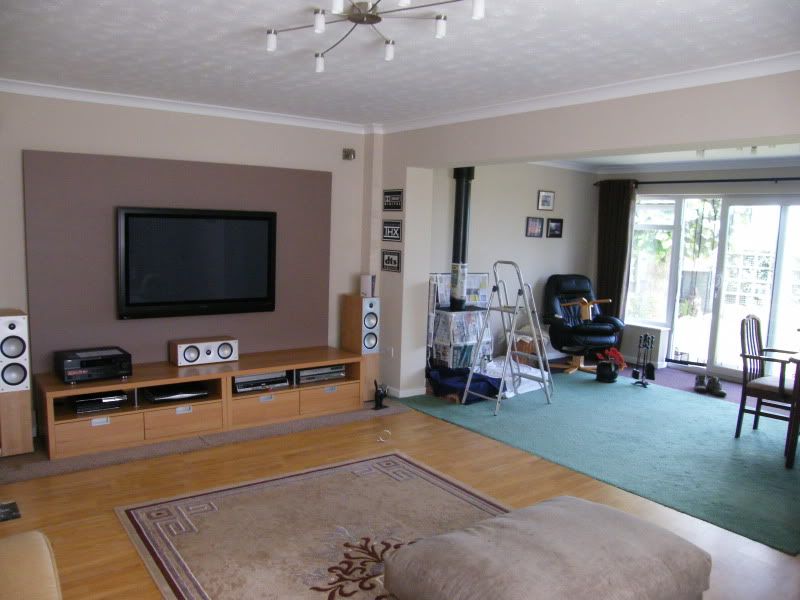
Oooo posh!This year its the garden landscaping, drive to garage and orangery at the rear

Users browsing this forum: Ahrefs [Bot] and 2 guests